
an extremely in depth guide to danish soaped floors
Intro
We first looked into Danish Soaped Floors after seeing them on our trip to Denmark in the spring of 2022. They were velvety and light and airy and everything you could possibly want. We were mesmerized and wanted to replicate that in our own home, only to find that there is almost no information about this finish online. It seemed like the best of everything - raw look floors, a finish that you can repair, completely safe and non-toxic, and affordable! Cue our grand experiment!
As I mentioned, this finish is CHEAP. We spent $15 on soap for 10 coats of finish on about 800sqft. I beg you to find something that could even touch that from a cost perspective. And the best part? Any additional soap that you have leftover you can make up additional soap for periodic cleaning of your floors, or just take it to the shower and use it on your face. Seriously, what other wood finish could you put on your floors and then clean your own body with? Now that is a non toxic finish.
In this post, I’ve decided to painstakingly walk you through every step of how we finished our floors with soap because there is so little on the internet about Danish Soaped Floors, not to mention that whatever information does exist is too vague for my liking and seems to run the gamut. I’m hoping to have distilled all relevant information into one location, so you can benefit from the hours upon hours I’ve spent digging through the internet as well as our shoot first ask questions later trial of it in our own home.
Want to know if a soaped finish is really high maintenance? Read about our results here.
Materials & Supplies
Things you need prior to starting:
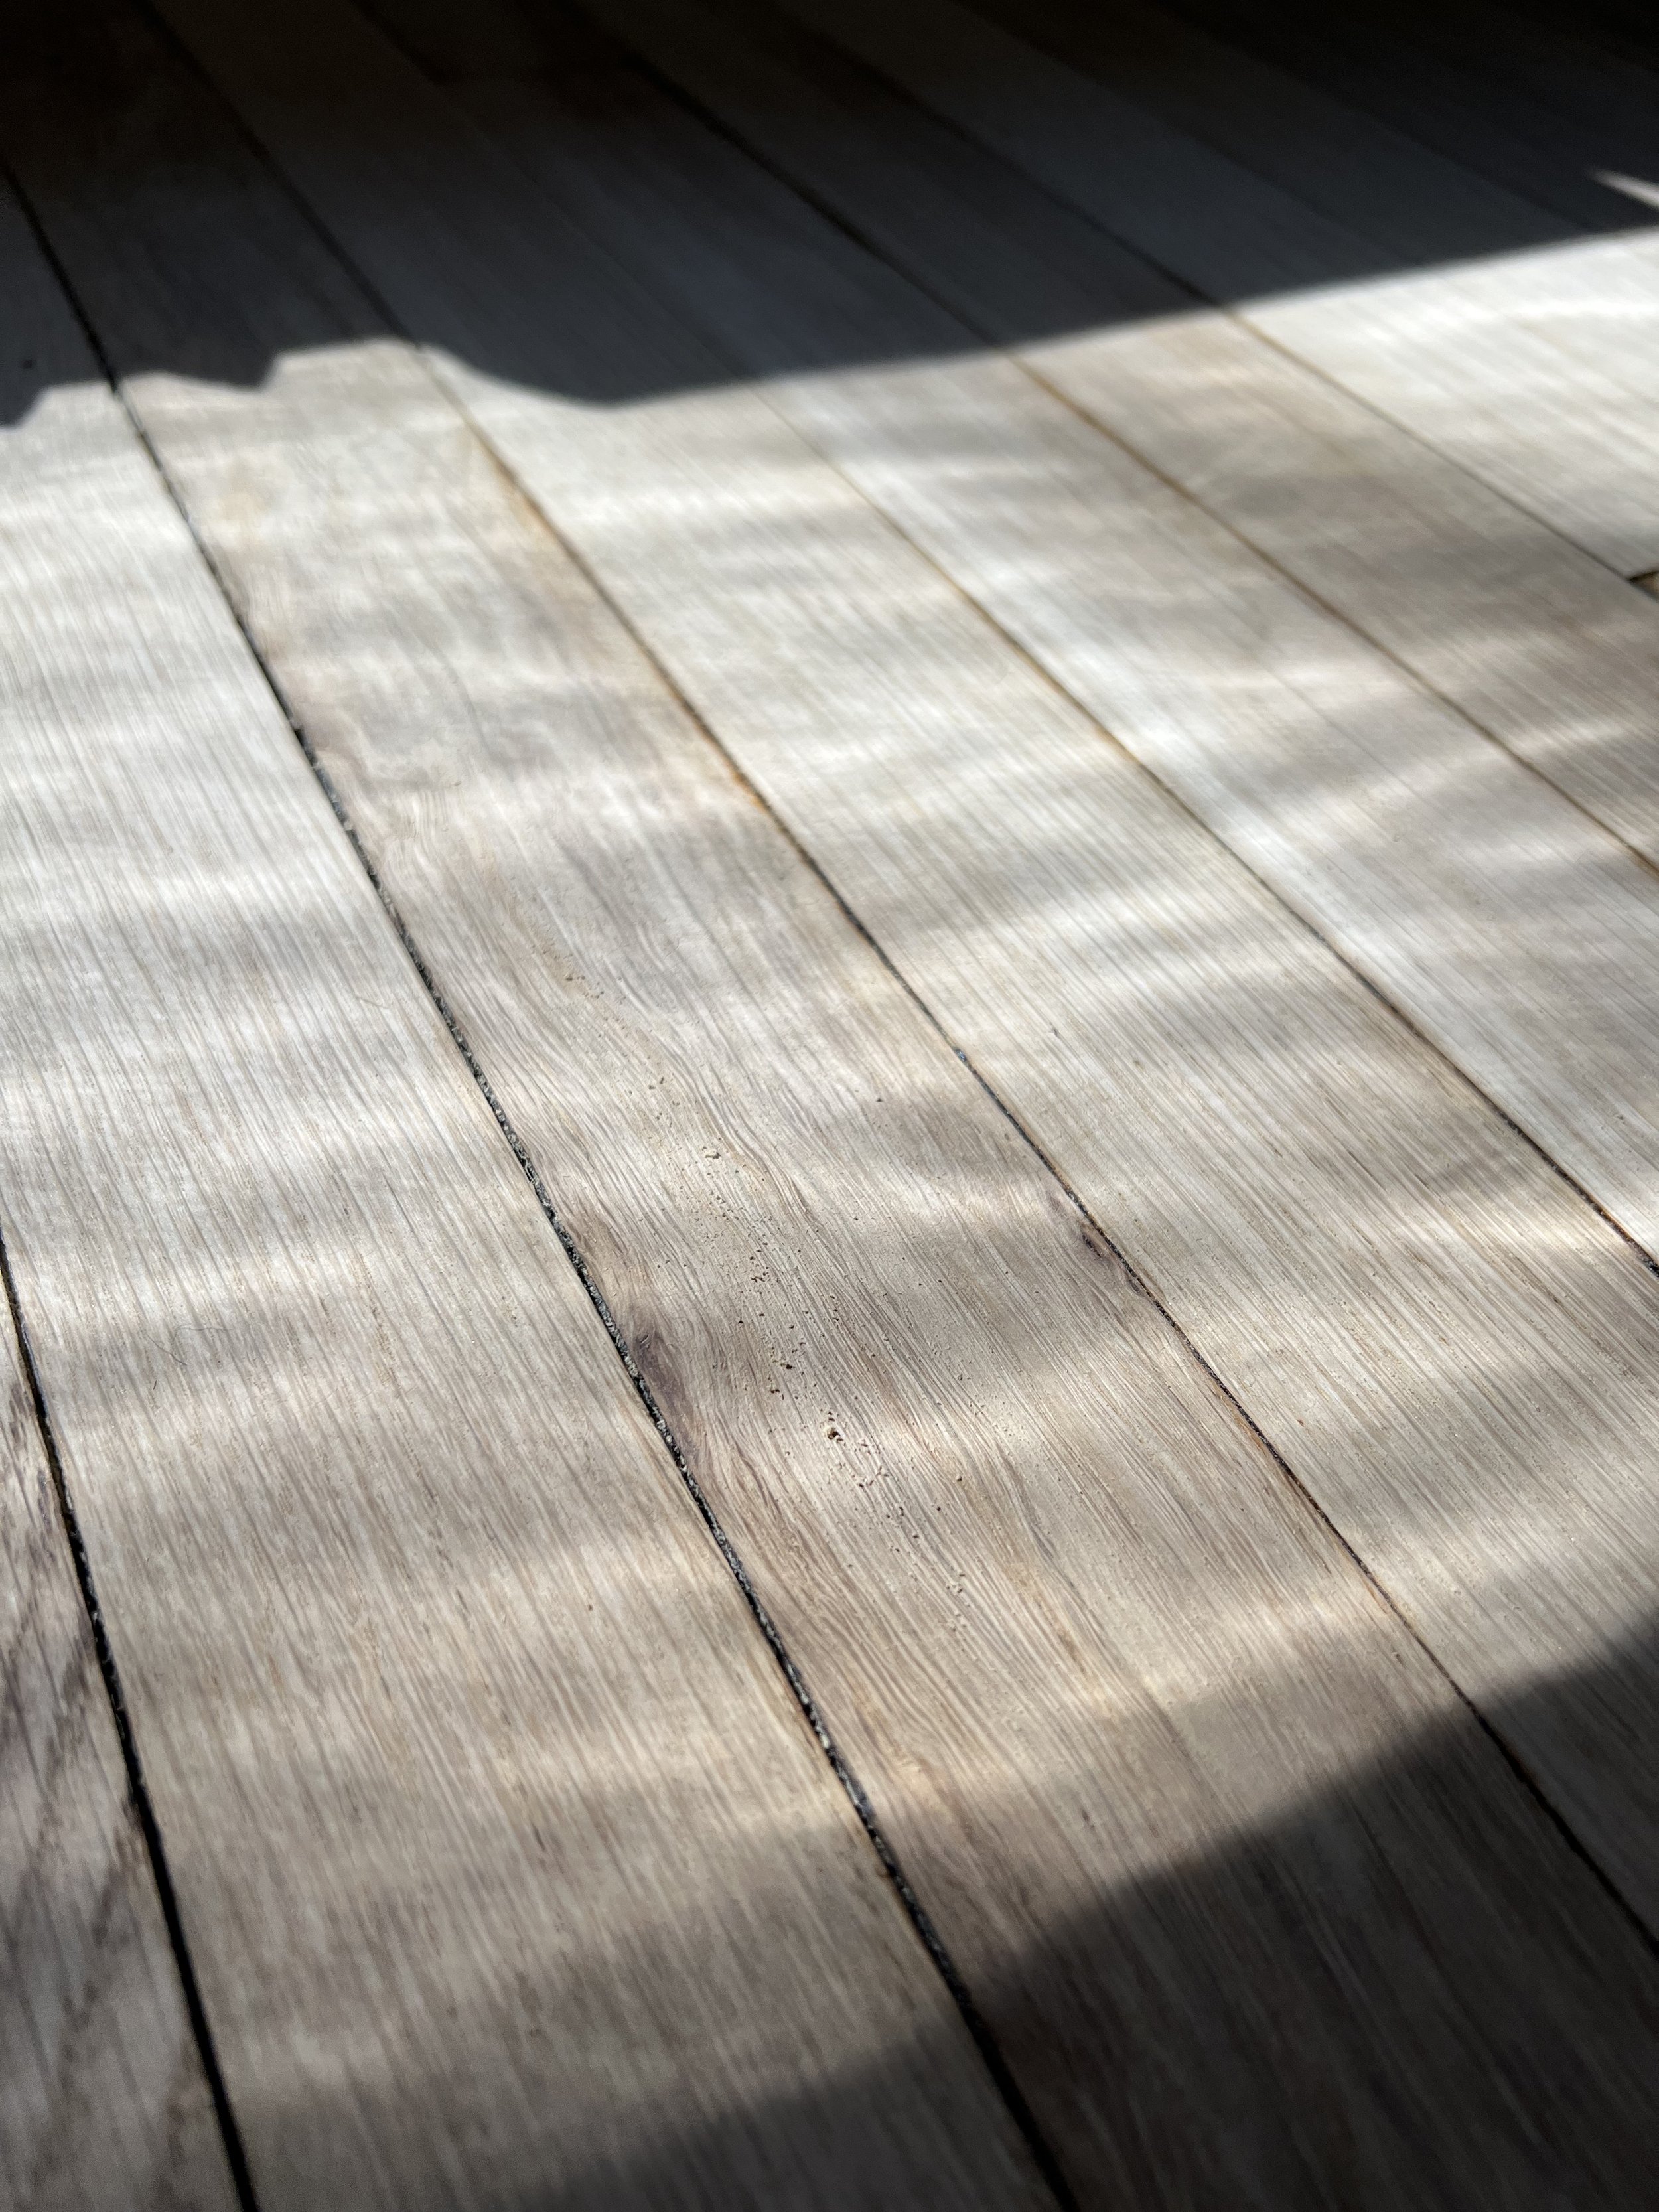
Fresh floors, sanded to 220 grit. We refinished our floors up to 100 with a drum sander and edger, then used our Milwaukee orbital sander to finish the job. 220 might seem awfully high for floors, but soap finish is unlike common poly finishes in that you don’t need anything for the soap to “grip” onto like a polyurethane finish would require.
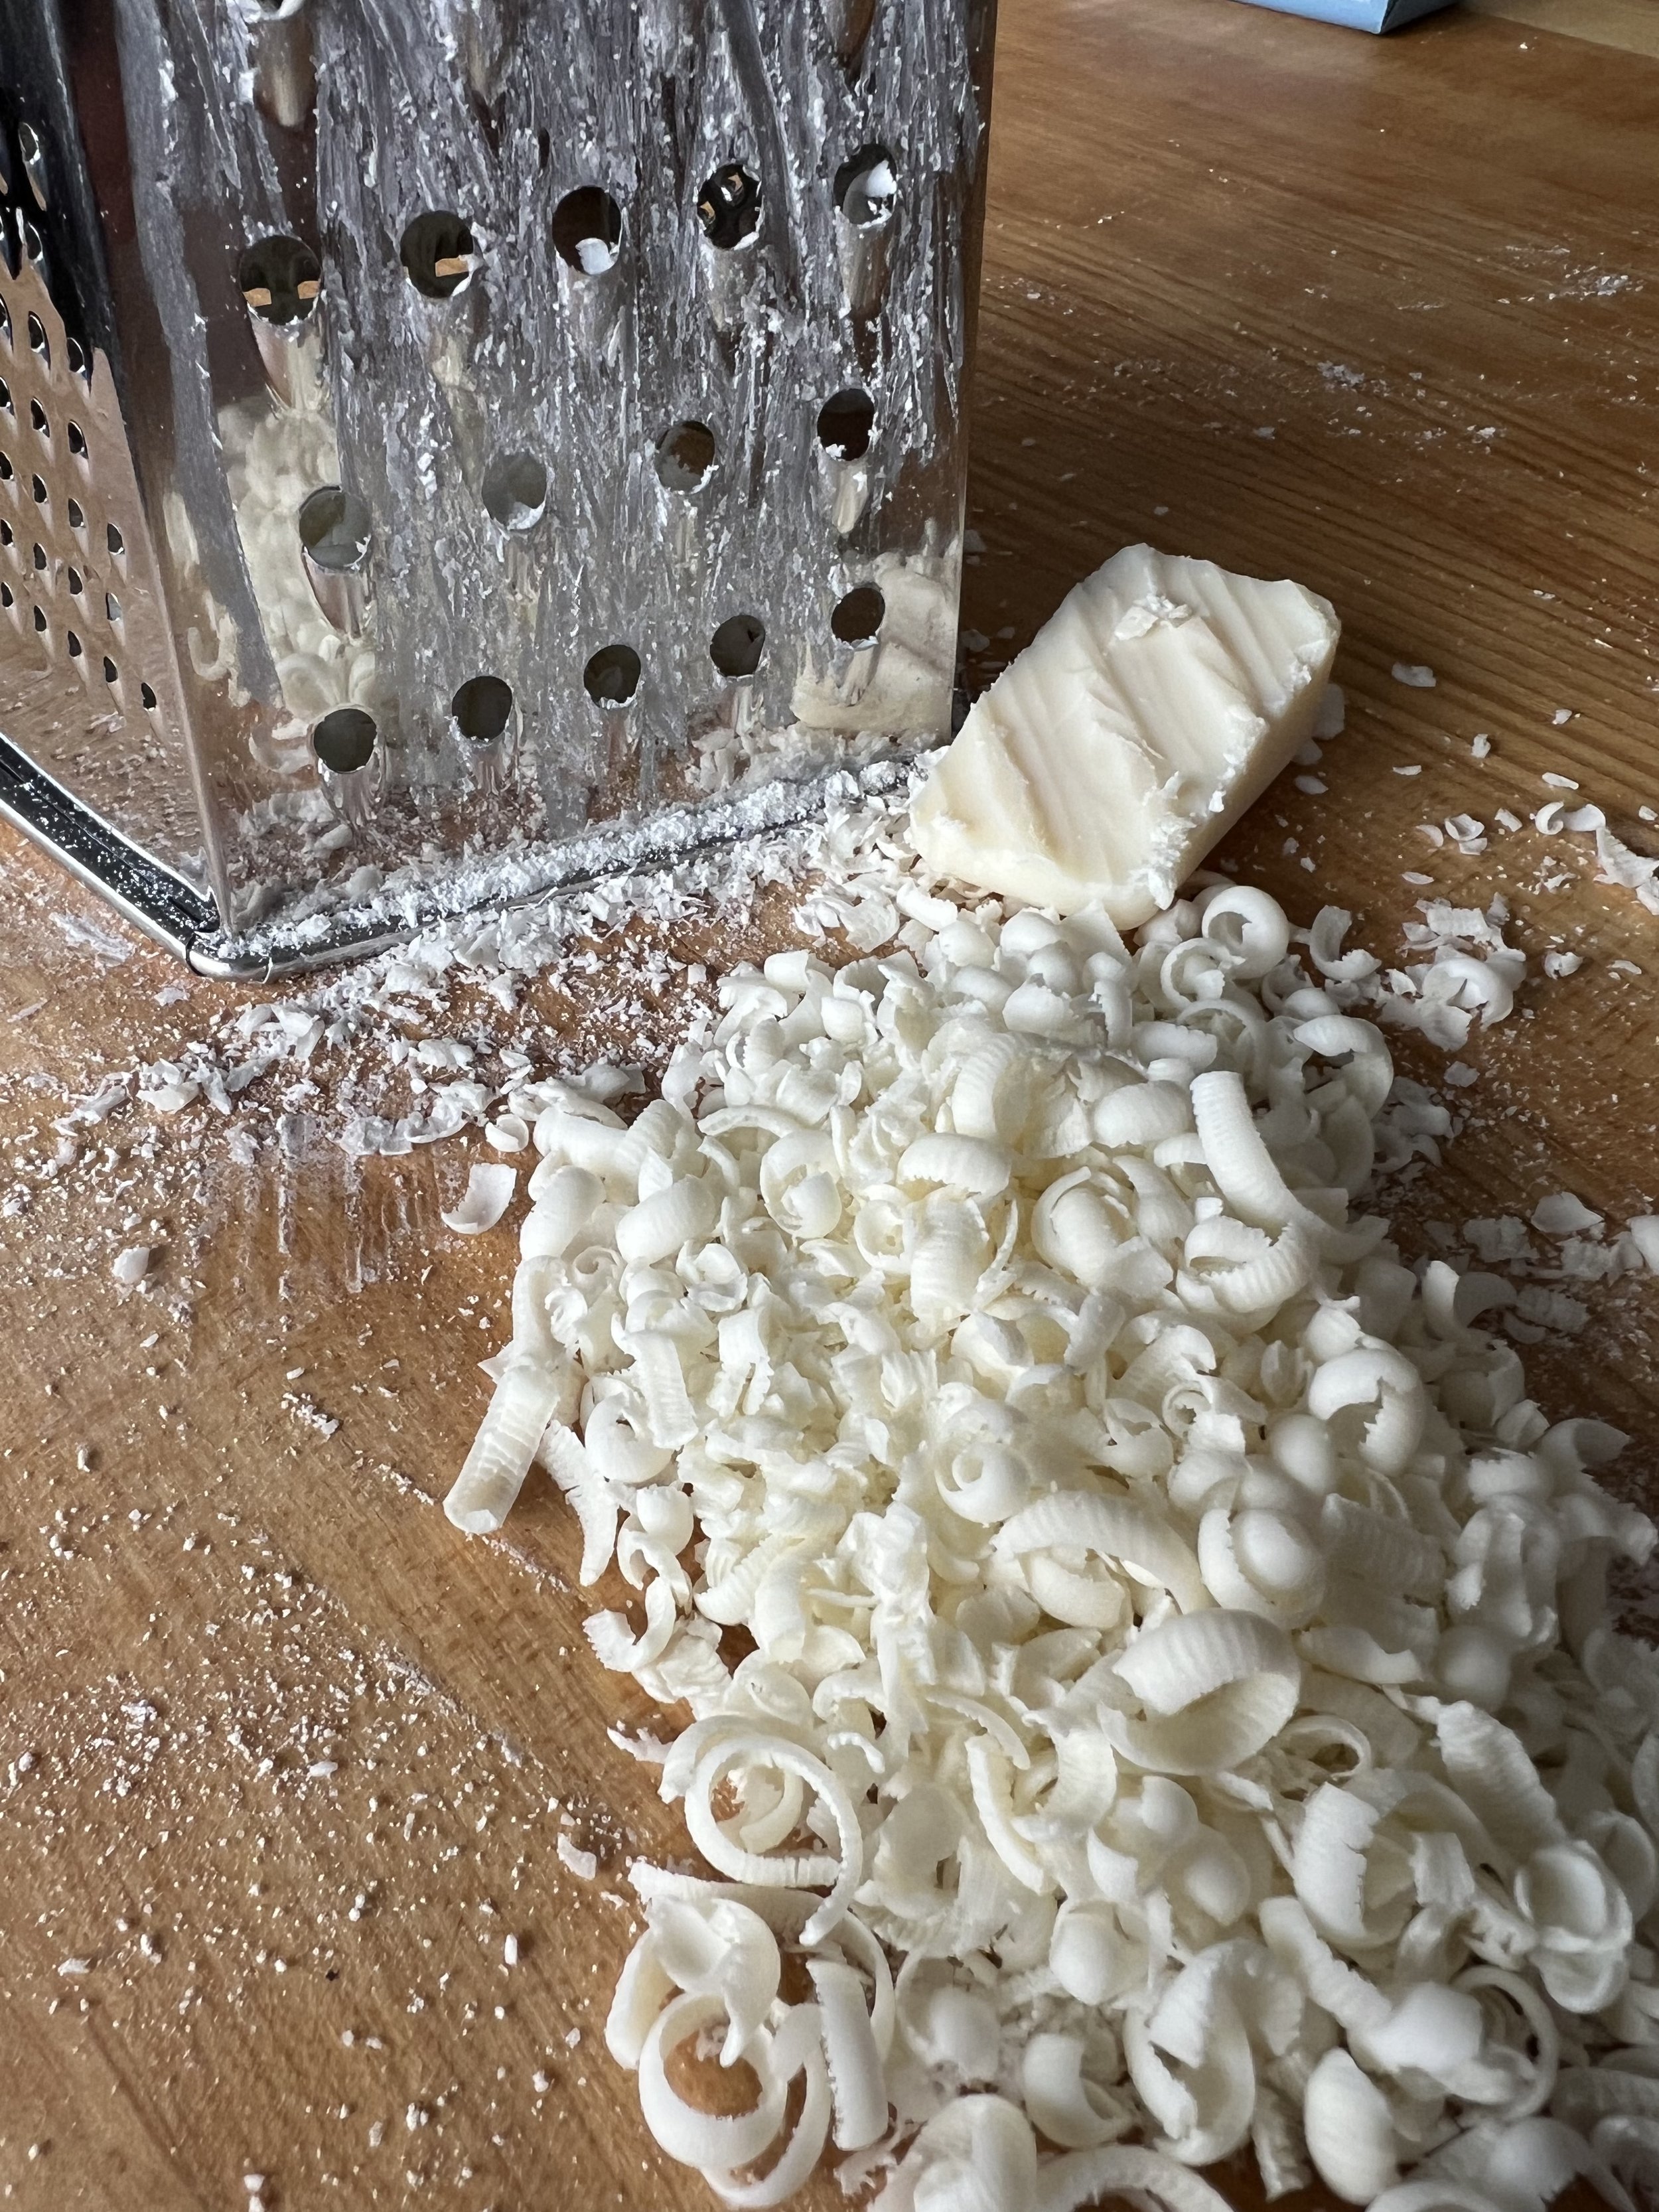
Castille bar soap or soap flakes. Soaps that have been recommended - Pure Soap Flake Company, Dr. Bronner’s, or any other high quality lye based vegetable soap. It apparently must be unscented! I tried a patch with lavender, because who wouldn’t want their floors to smell like lavender, but it seemed to discolor a bit. I haven’t nailed down whether that was because of the essential oil reacting to tannins in the wood, or whether or not I applied too strong of a mixture to our red oak floors (more on that below). If anyone would like to be a brave soul and research this for science, please report back! Otherwise I might do more testing on our maple floors upstairs that have yet to be refinished.
Cheese grater.
220 sandpaper and a sanding block.
Electric tea kettle/etc.
Large bowls/5 gallon buckets for putting your soap mixture into.
Water/distilled water if using on white oak. I ran into this post that discussed someone having issues with the white oak turning green. The consensus was that the minerals in the water must be reacting with the wood, so if you are using a soap finish on white oak, be sure to do a test patch to make sure you will not suffer from this same affliction using your own tap water.
Microfiber cloths or reusable rags of your preference
*Optional - WOCA Wood Lye - if you have pine or softwood that is prone to yellowing and want to keep that white look and prevent the yellowing, you will need to apply wood lye before starting this process. Woca makes a wood lye that seems to do the trick! We tested it on our wood floors but it was just far too white for our liking. Follow the instructions that Woca provides to get you ready for finishing.
Step 1: Make your soap solution.
Part 1: The Ratio
From everything I’ve read online, the consensus is that there is no consensus to how much soap to put in how much water to make your soap soup that goes on the floor. I’ve read everything from a 1:1 ratio, to eyeballing it, to a handful thrown into a bucket of water, to a 1:64 ratio. I had tried doing some patches using a 1:4 and 1:1 ratio (as recommended by Lost Art Press, for your reference Article 1, Article 2, Article 3.), and found that when applied to red oak test patches it kept turning darker with a gray-ish hue. From everything I’d read, this finish is supposed to leave your wood looking the exact color, if not slightly lighter (for example). I was just going to go for it and see what happened, but the morning before we were going to start applying the finish, I happened upon a website for Danish design furniture by Carl Hansen & Son. They had this bit of information under their finishes & care page (italics mine) :
As an alternative to the recommended maintenance kit, you can make a soap mixture yourself for the maintenance of your wooden furniture. The soap mixture consists of 2.5 cl (a large tablespoon) of natural colorless soap shavings in 1 liter of hot water. Soap shavings should be dissolved in hot water and cooled to room temperature before use. Be careful, never pour the soapy solution directly on the furniture. Furniture only needs soap grease, not water. An excessive amount of water can cause cracks in the wood during subsequent drying. Also pay attention to oak, which is a wood particularly sensitive to treatment: the solution should not be too strong, because a strong solution will make the wood darker.
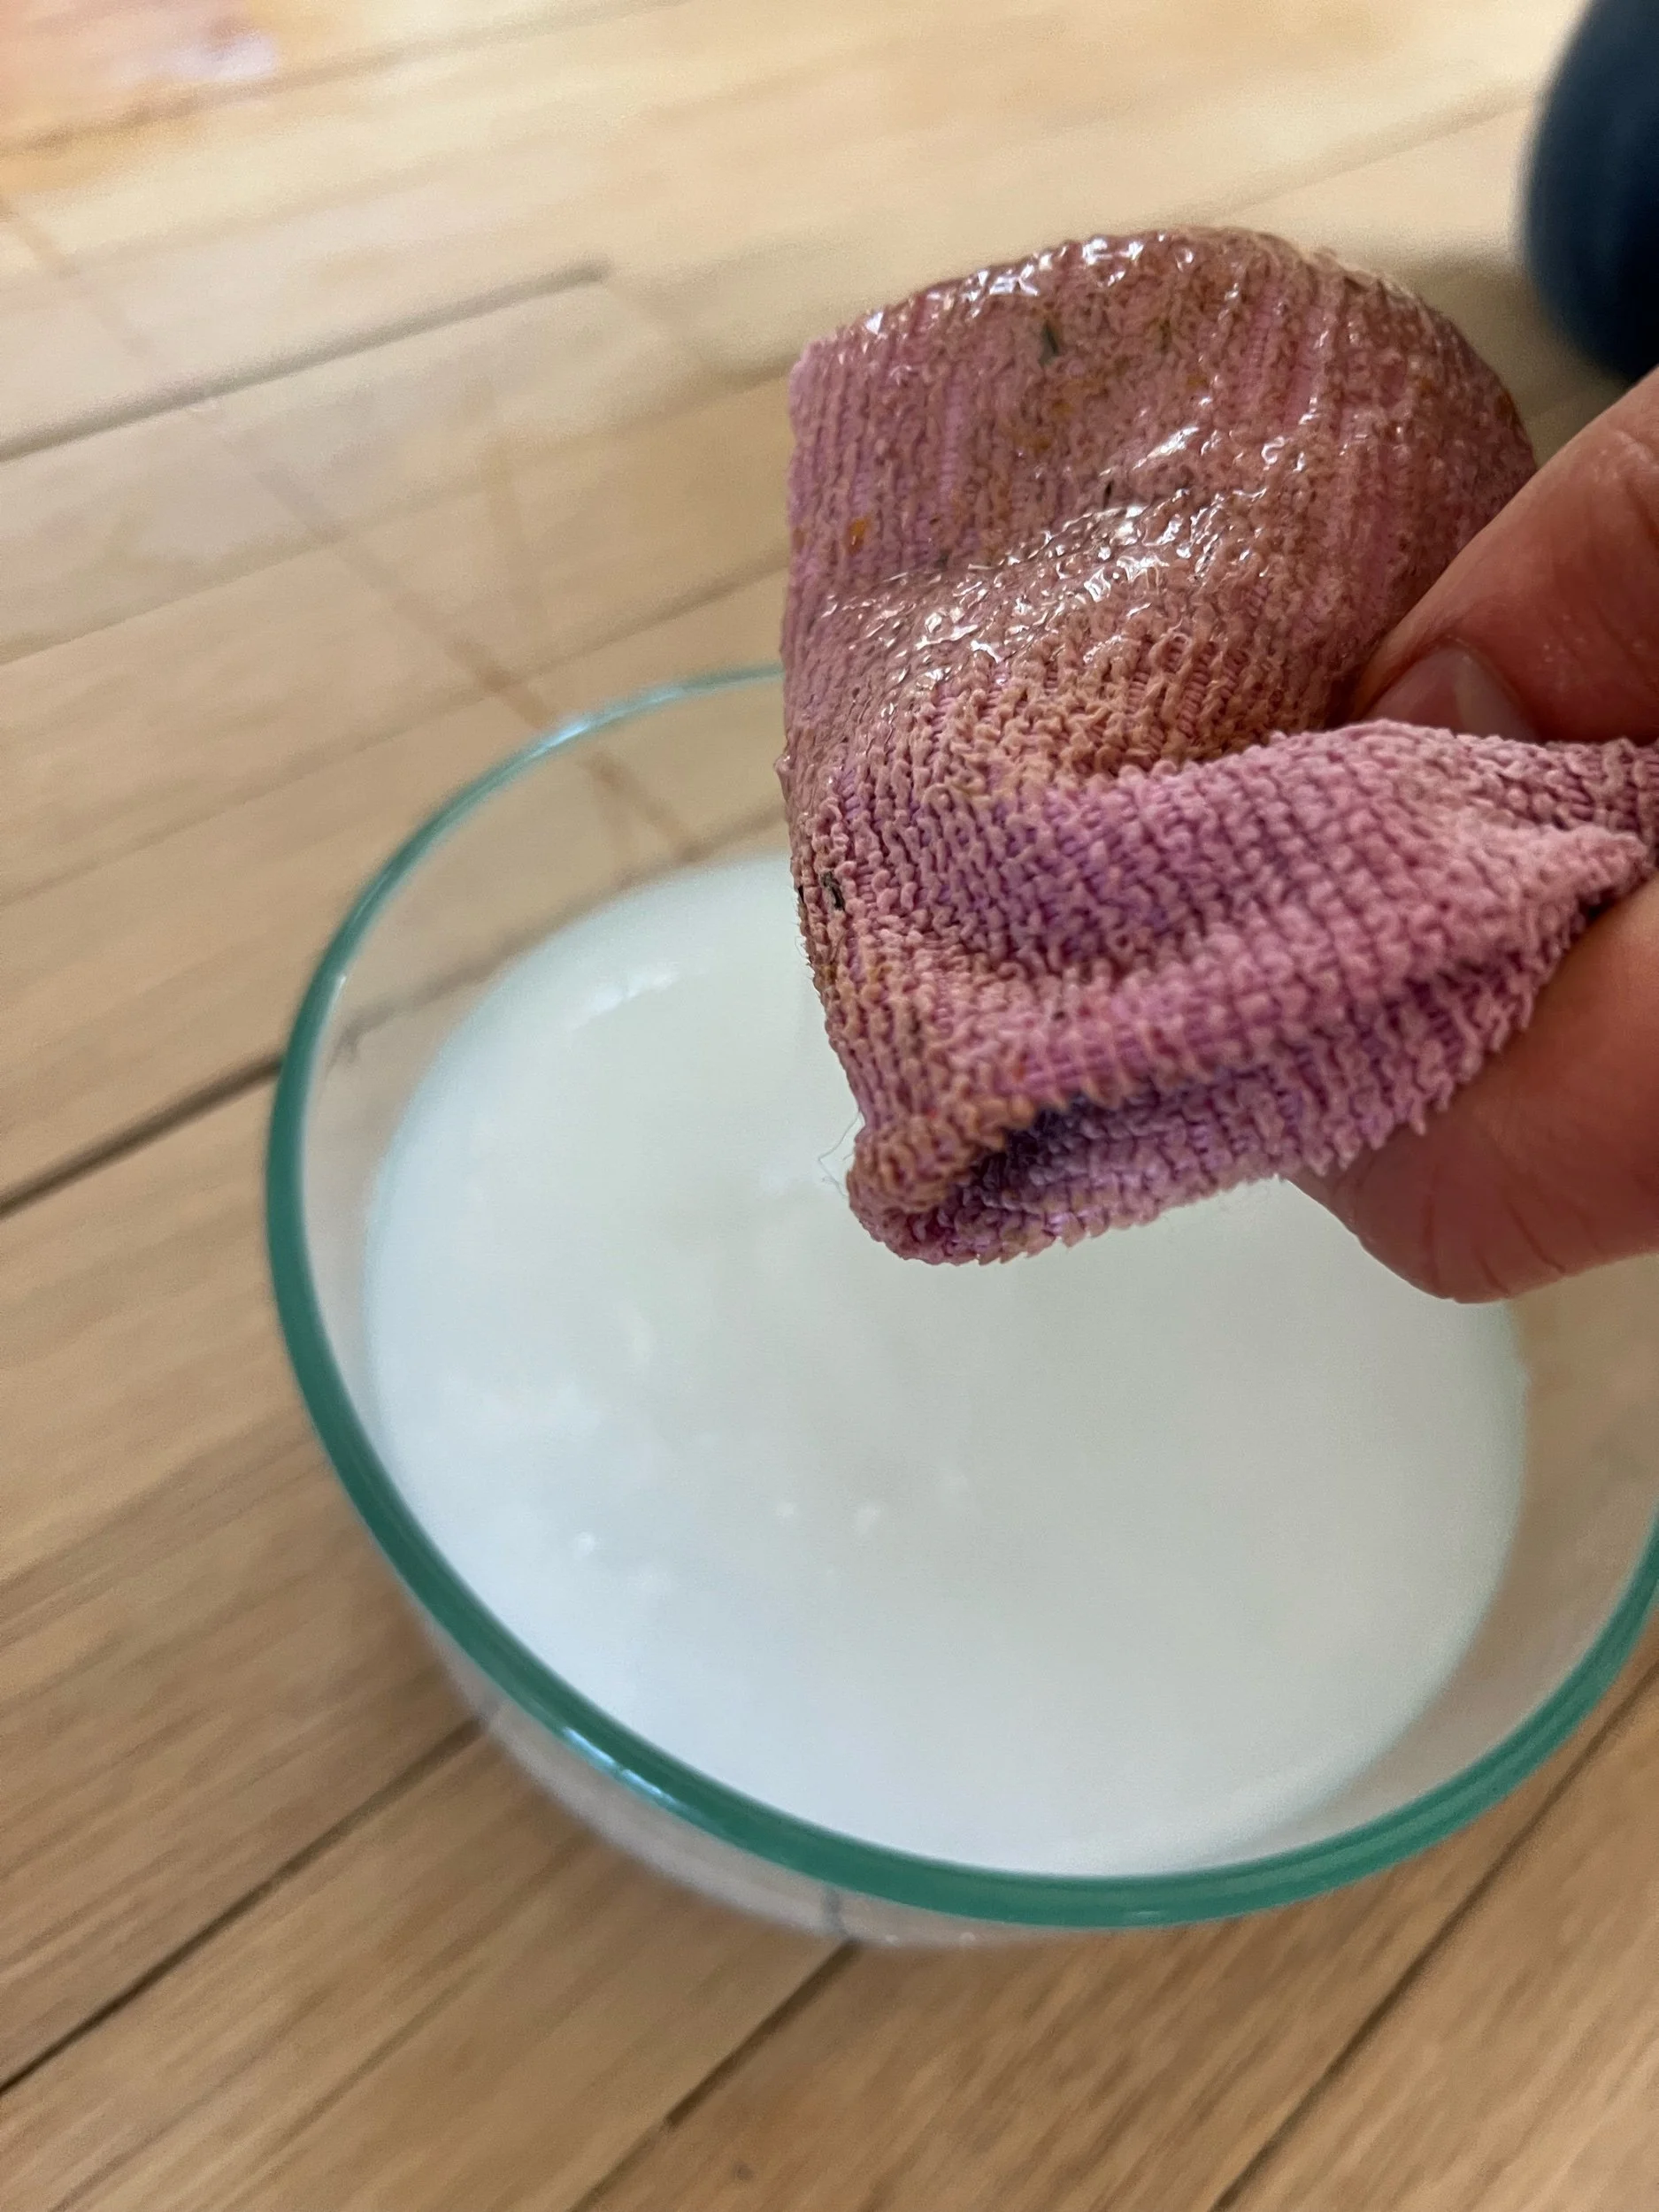
Ah ha! The red oak must have been discoloring due to the strength of the mixture I had been mixing! The above recipe calls for a 1:64 ratio whereas I had been testing out a 1:1 and a 1:4 ratio, and a 1:64 ratio turns out to be a rounded tablespoon to one liter of water. We decided to make up our batches using 2 tablespoons to live life on the edge (also, we just could not imagine how 1 measly tablespoon of grated soap was supposed to thicken up an entire liter of water!).
Part 2: Make Your Mixture
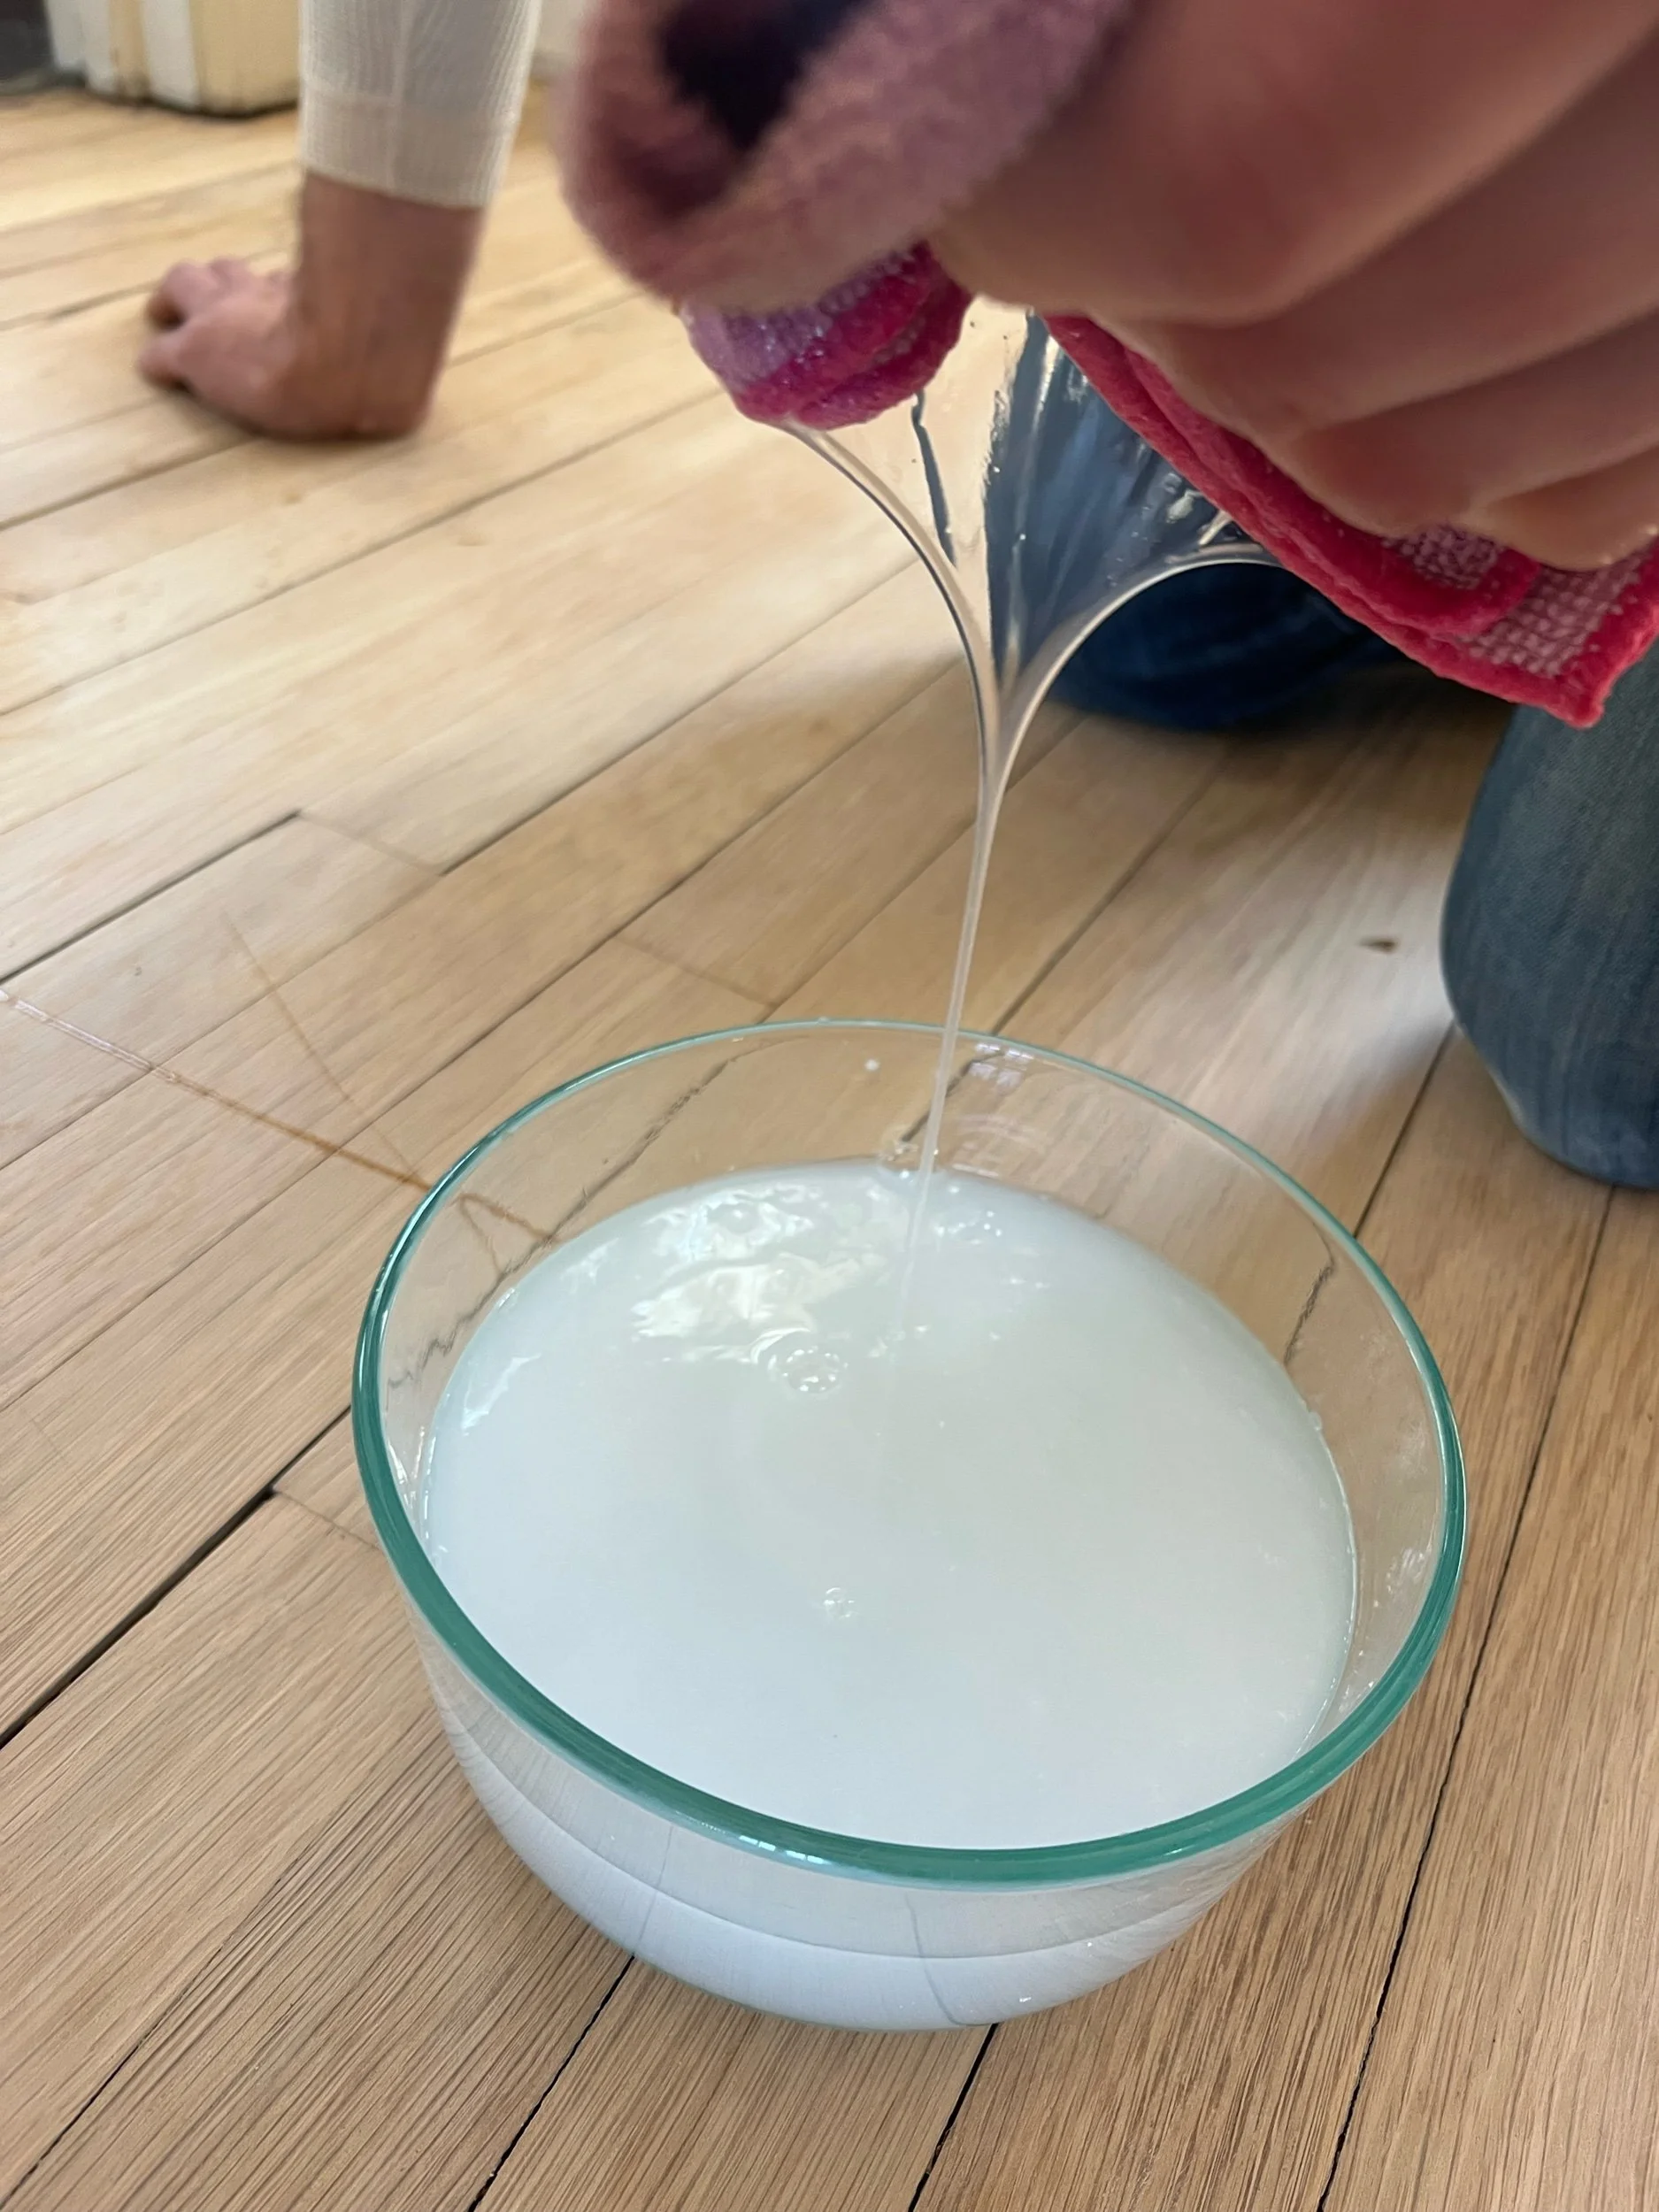
Preface: If anyone is as impatient as I am, I will start with this: YOU HAVE TO LET THE MIXTURE SIT. I know, I know. You want to do it NOW. But, you have to wait. When you first mix up your mixture of soap, it will be hot and straight up watery. But over the next 18-24 hours, the solution will thicken up so it looks like a liquefied jellyfish. You have to let it get to jellyfish stage before you can apply it.
An important side note: Additionally, how much you make depends on how many coats you want to do. There is, once again, no hard and fast rule on this. 3 coats is reasonable. 10 coats is perfectly reasonable too. I’m sure you could even do 100 coats and you would have a wild time (please report back if you do this). Honestly it’s the wild wild west out here, and you get to make up your own rules. We chose to do 10 coats because it felt like that would provide an adequate amount of “protection” and we would have a good idea as to how these floors function.
Now that we’ve addressed that, here’s how we made it up. We have 2.5 gallon glass jars for punches and beverages that we used, so we did our math accordingly. Here’s what worked best for us:
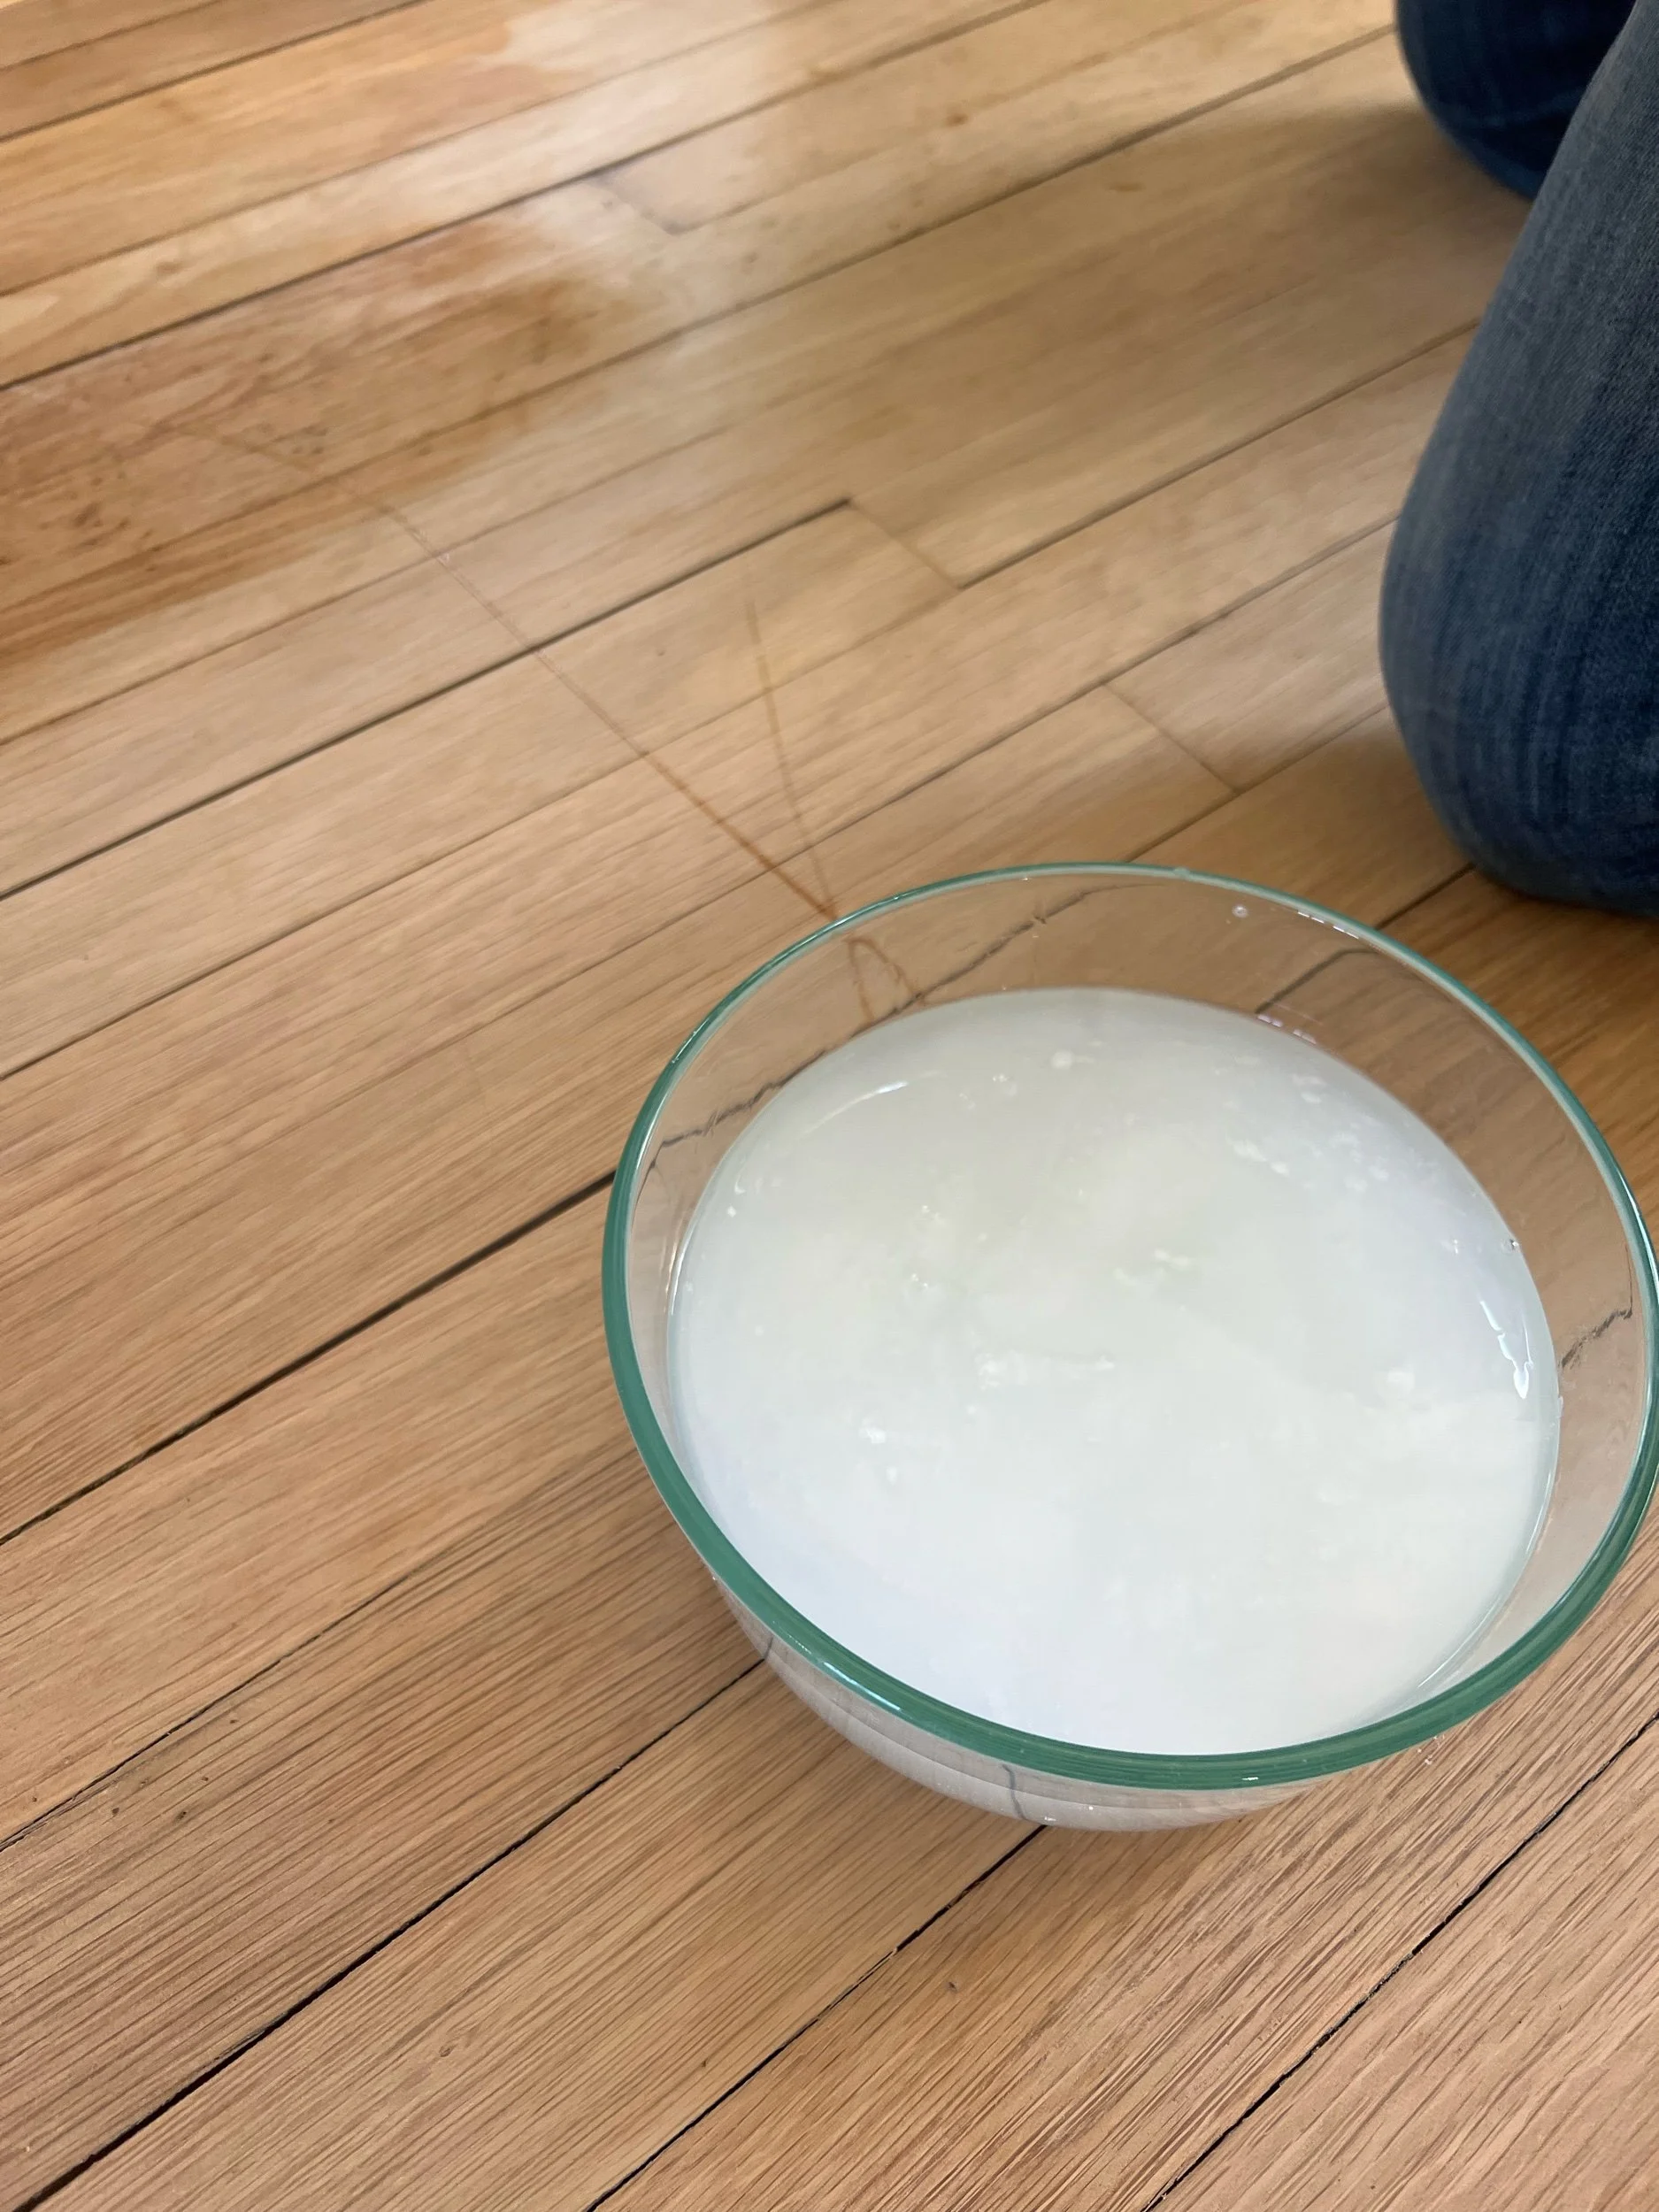
After figuring out how many liters of water the 2.5 gallon jars could comfortably hold (we did 8 liters), we figured out how many tablespoons of soap that meant we would need (16 tbsp). Our electric kettle could do 1.5 liters of water, so we heated up 1.5 liters of water to get started and grated up the 16tbsp of soap needed as well. We measured it by scooping off the table, so it was pretty airy and not packed down. Instead of having to heat up all 8 liters for this, we melted the 16tbsp in the 1.5 liters of boiled water in a sufficiently sized pyrex bowl. Once the soap flakes had all but dissolved, we transferred that mixture into the 2.5 gallon jar. We then added the remaining 5.5 liters directly from the tap to the big jar. Set it aside where it won’t be in the way. You should notice after several hours that the mixture is starting to become translucent/hazy, this means it is working! We typically made the batches up in the afternoon and they were soap ready by the following morning.
If you’re craving cheese at this point you’re on the right track.
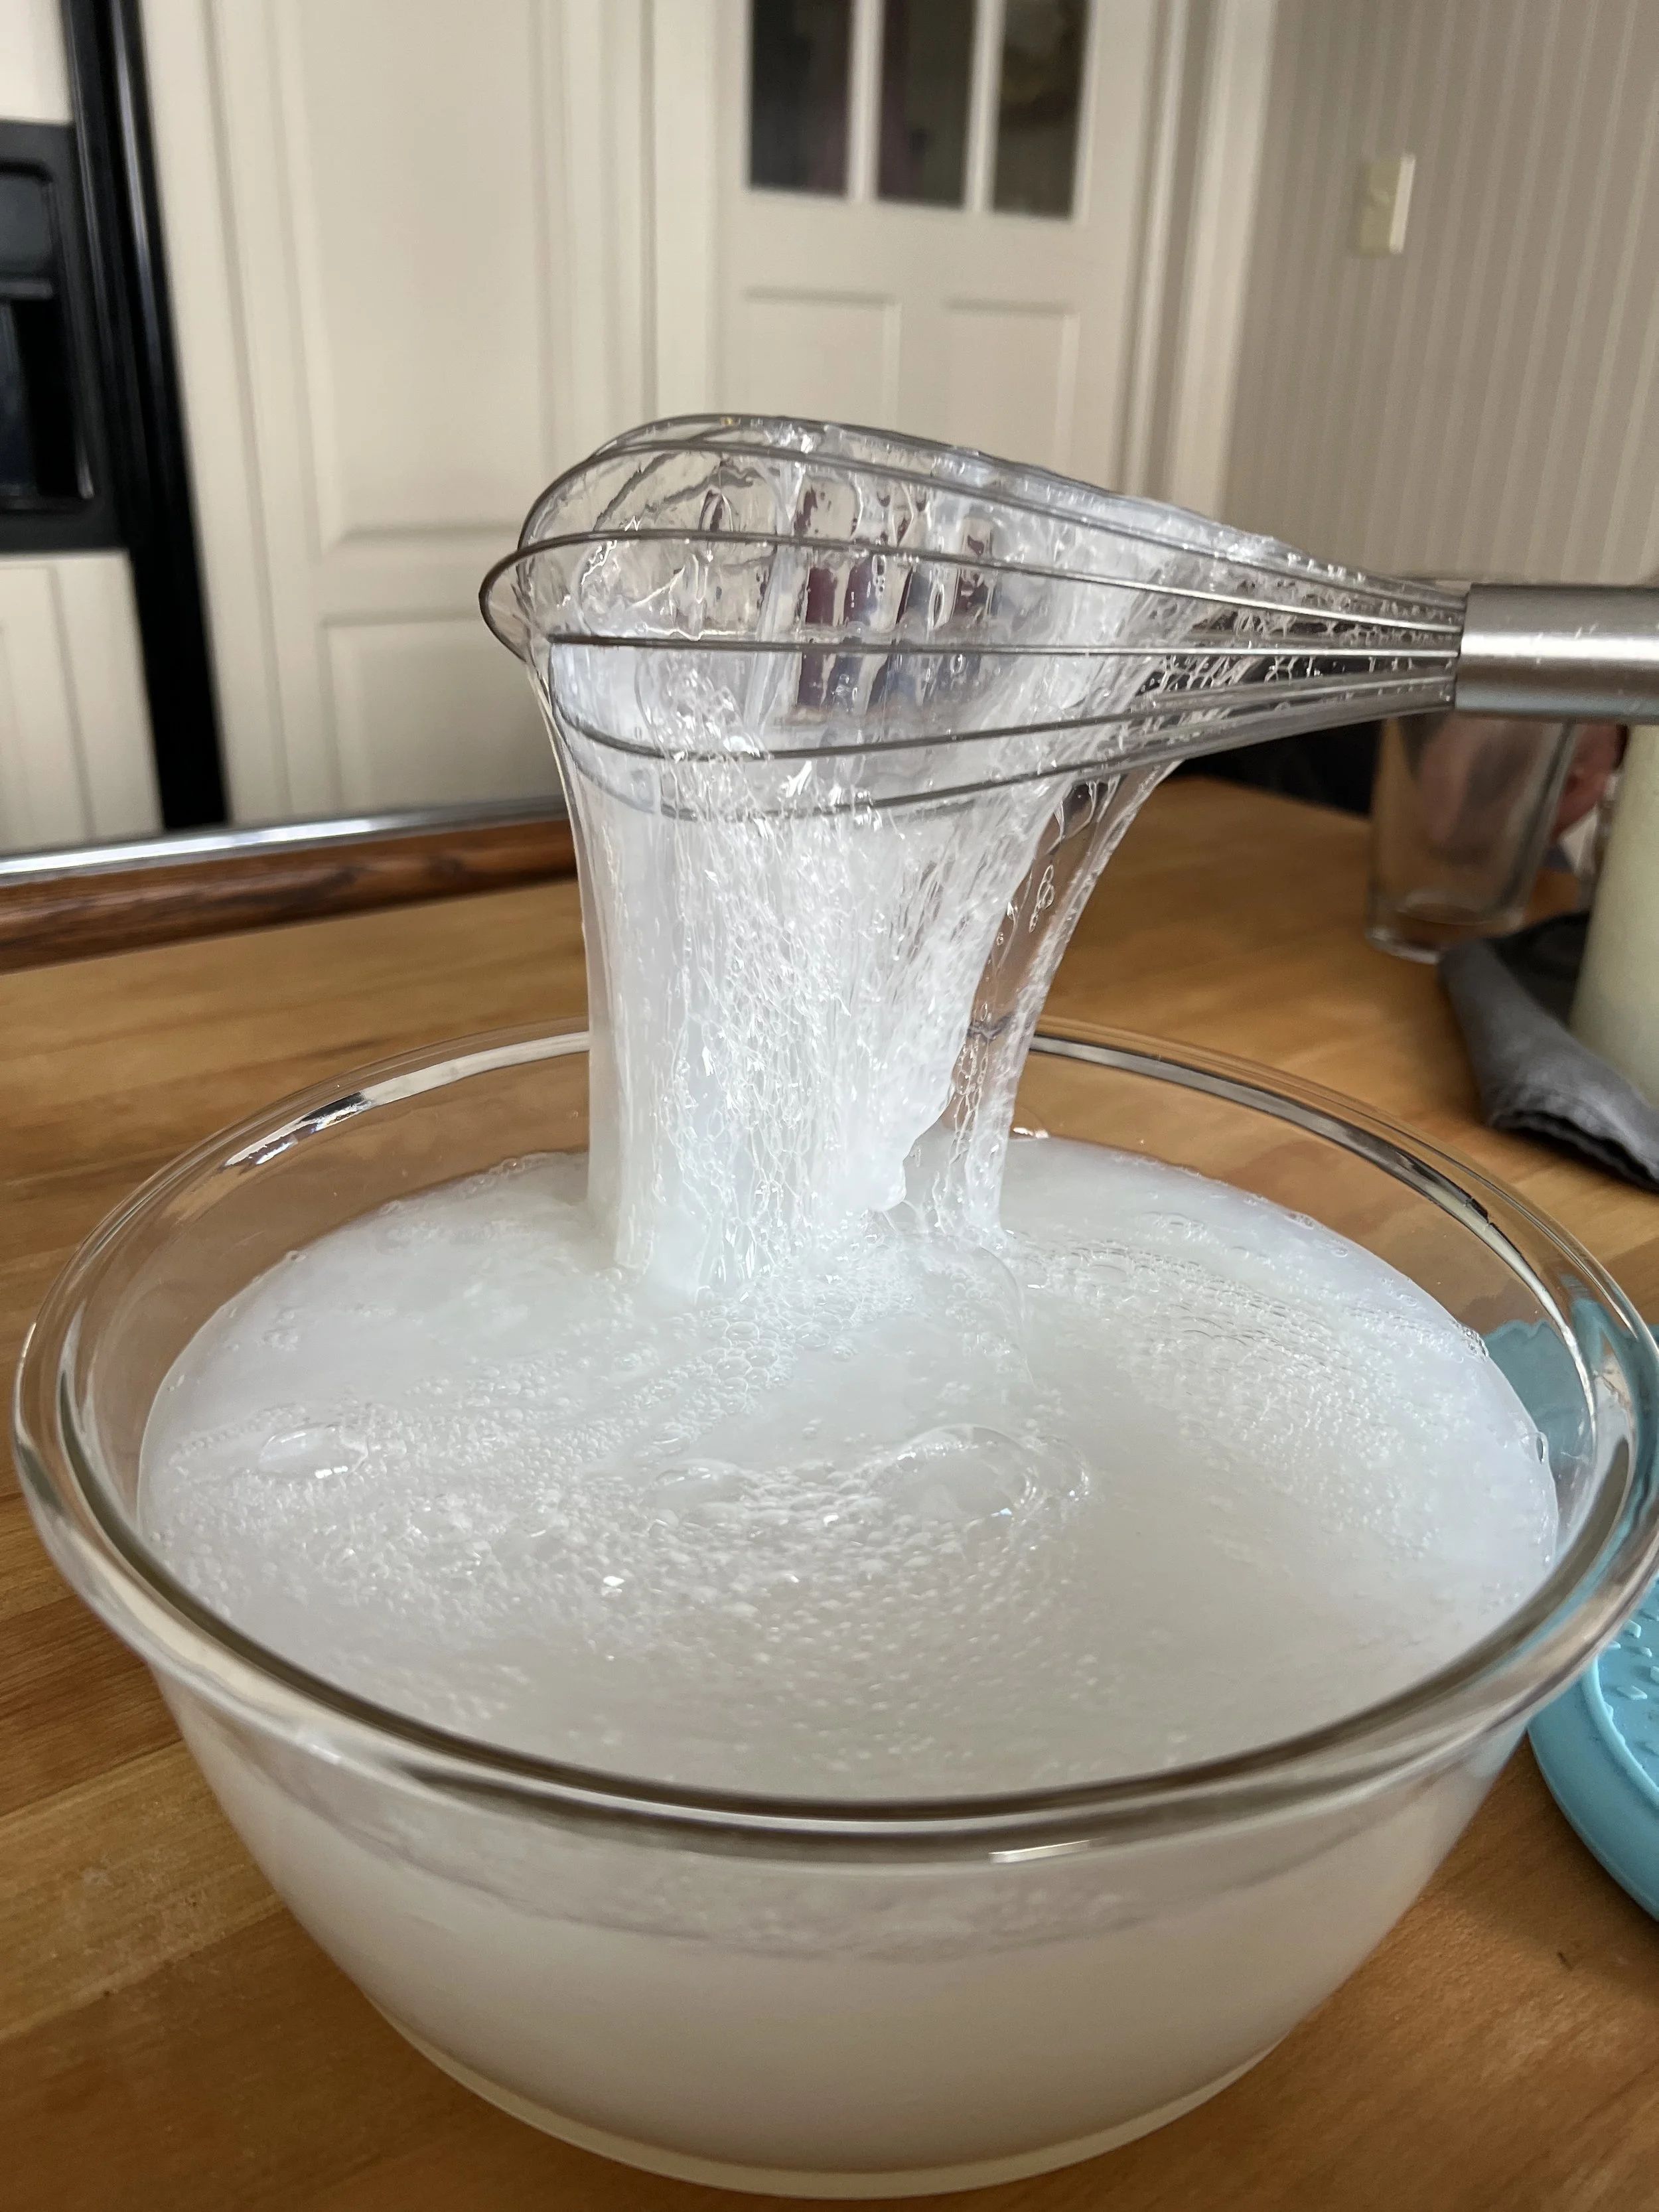
Jellyfish status complete.
Step 2: Apply the Soap Mixture to the Floors
I will warn you: the first coat is the hardest coat. You are going to put what very much seems like water on to the wood you just painstakingly sanded over the past 3 days. It will feel wrong. Everything in you will tell you this is insane. This is normal.
We both picked a side of the room and worked to the middle which then flowed into the next room and the next. This worked best for us, but do whatever works best for your layout.
In regards to how much to put on, you basically get your rag wet and slop it on the floor and then move it around. It should be wet, but not standing soap gel wet (little bubbles are okay). But you don’t want to spread it out so thin that it dries super fast. You’ll just have to go with it and see what I mean!


The first coat will dry the fastest and the progressive coats you do in one day will take longer and longer. We set up box fans to move air around after the second coat so that we could get 4-5 coats on in one day. You have to let it dry completely between coats. For us this took anywhere from 20 minutes (coat 1) to an hour/hour and a half (coat 4/5); but it depends on how many you are doing each day. We did our 10 coats over the course of 3 days. Every morning the first coat always dried the fastest by far, so the dry time seems dependent on ambient humidity and how many coats you’re trying to accomplish and in what type of time frame.
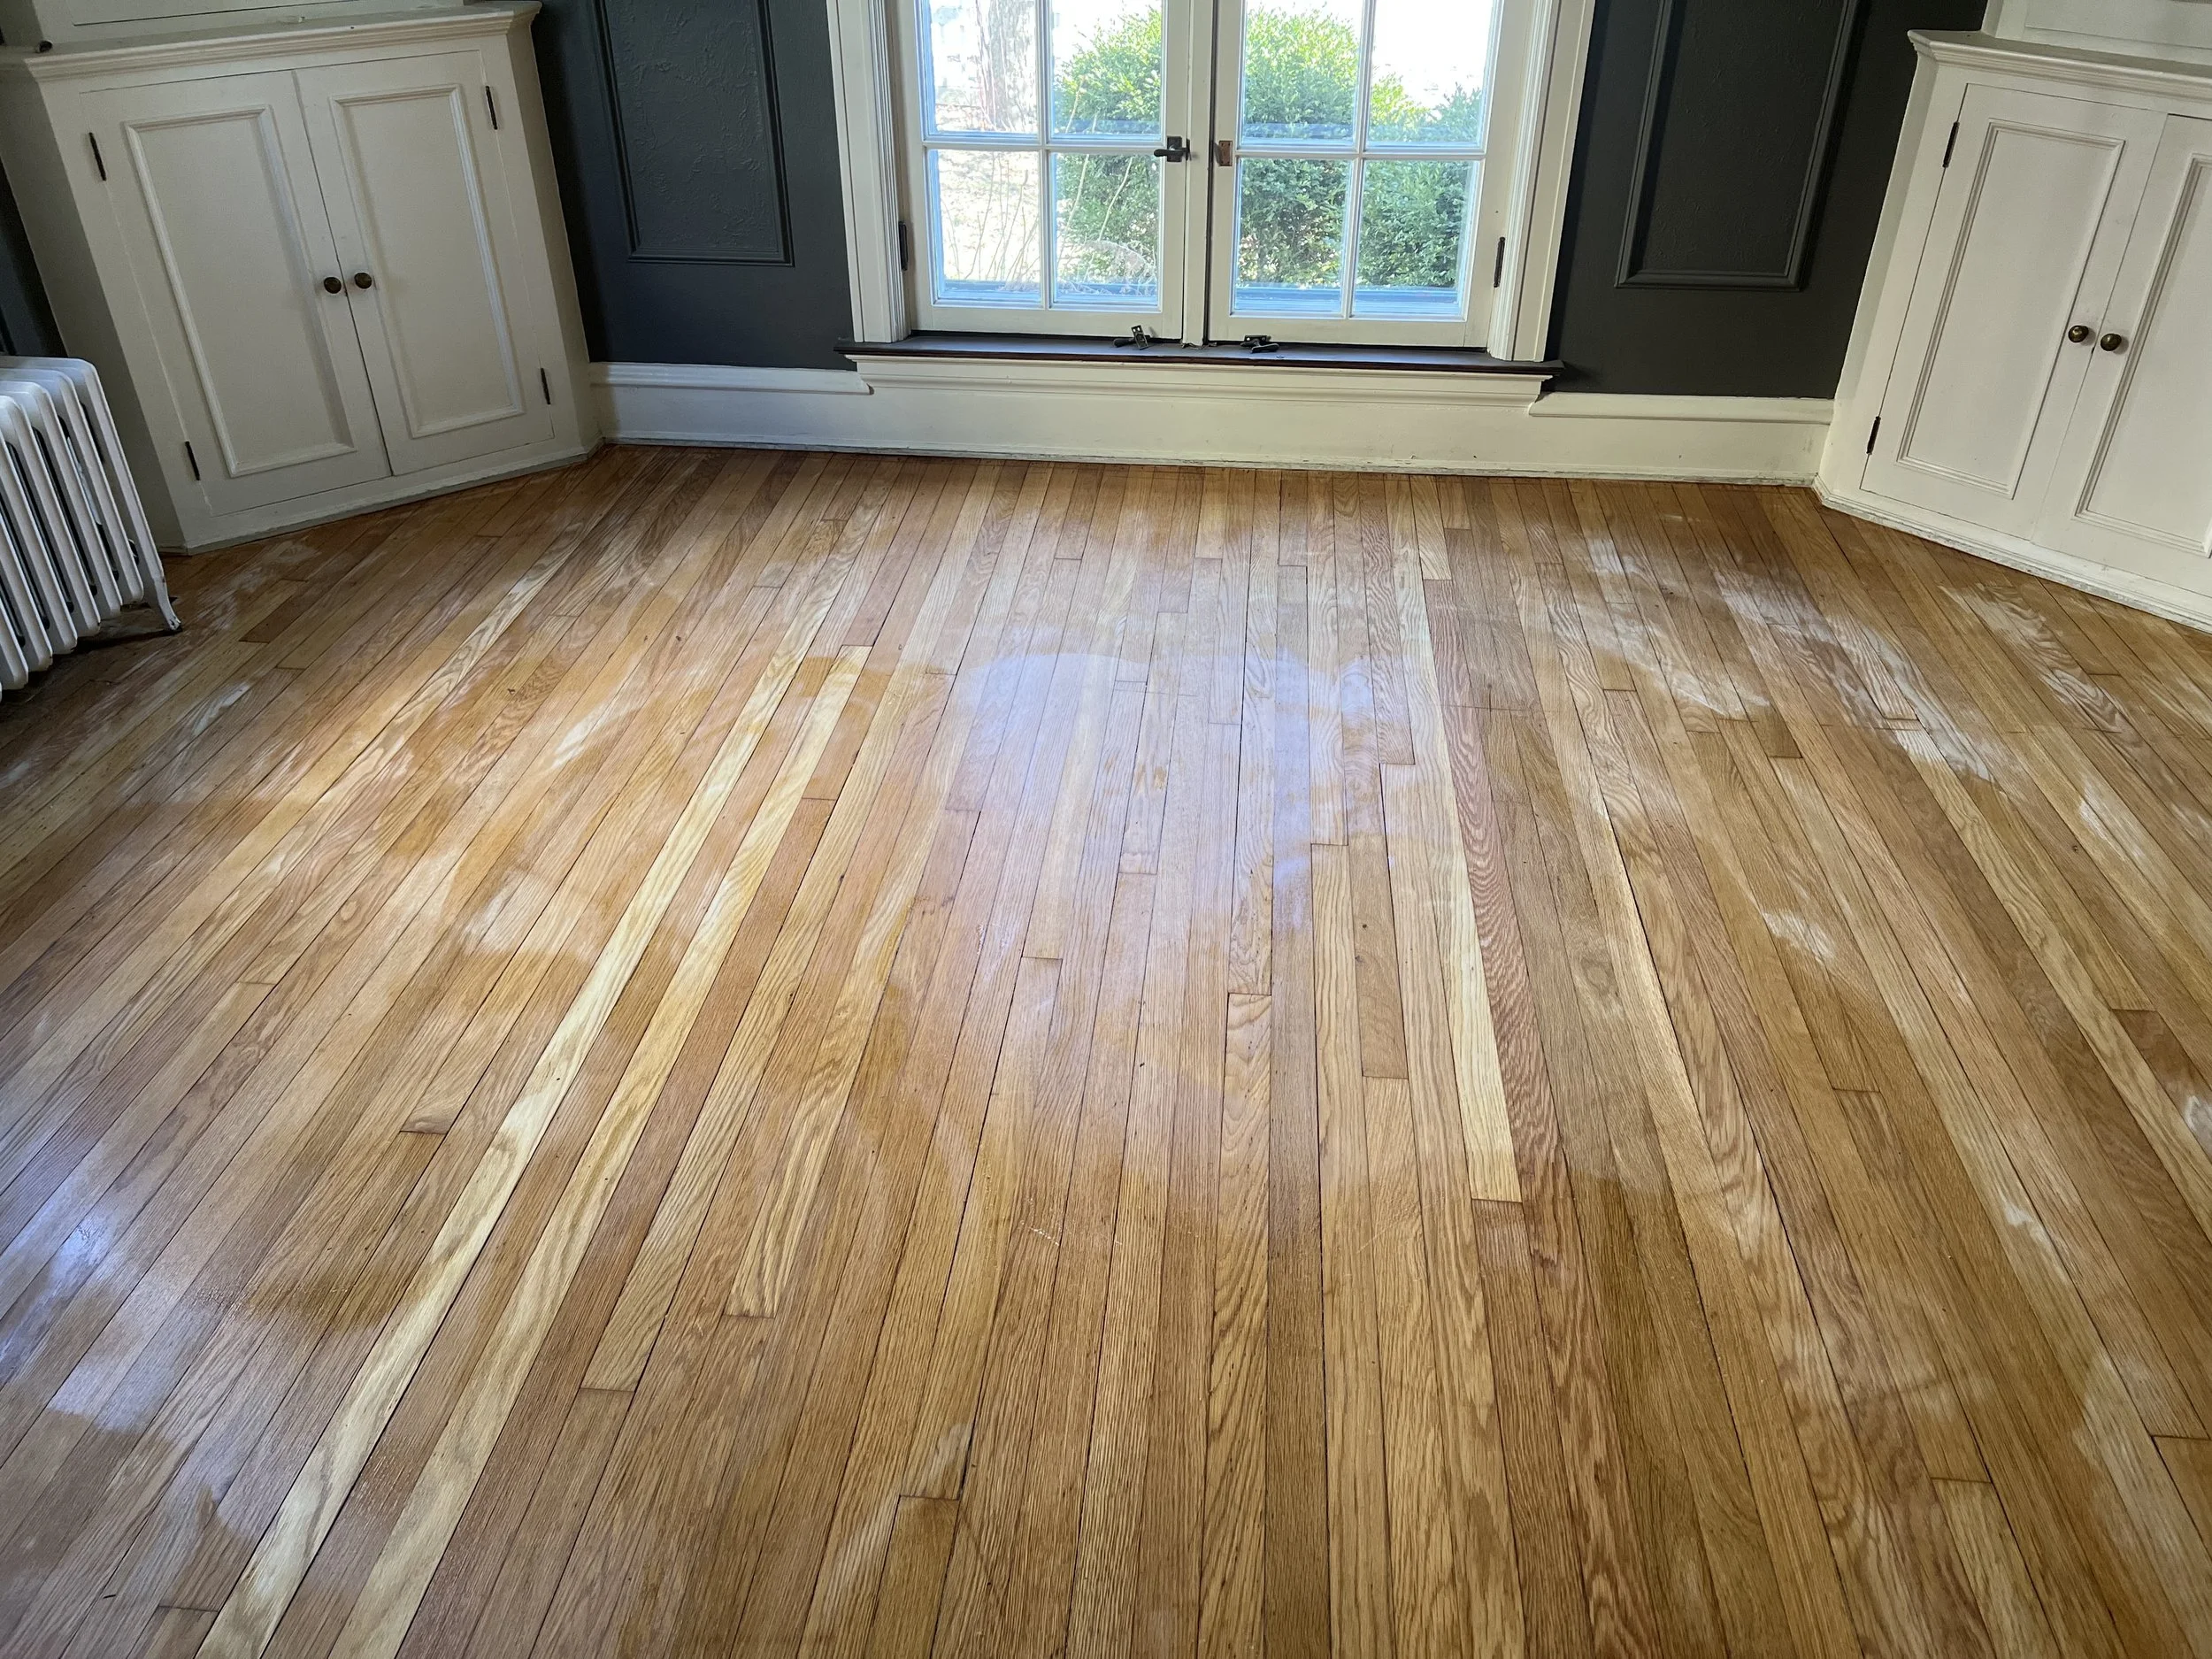
How the floors look just after just a room. Wet, but drying in places.
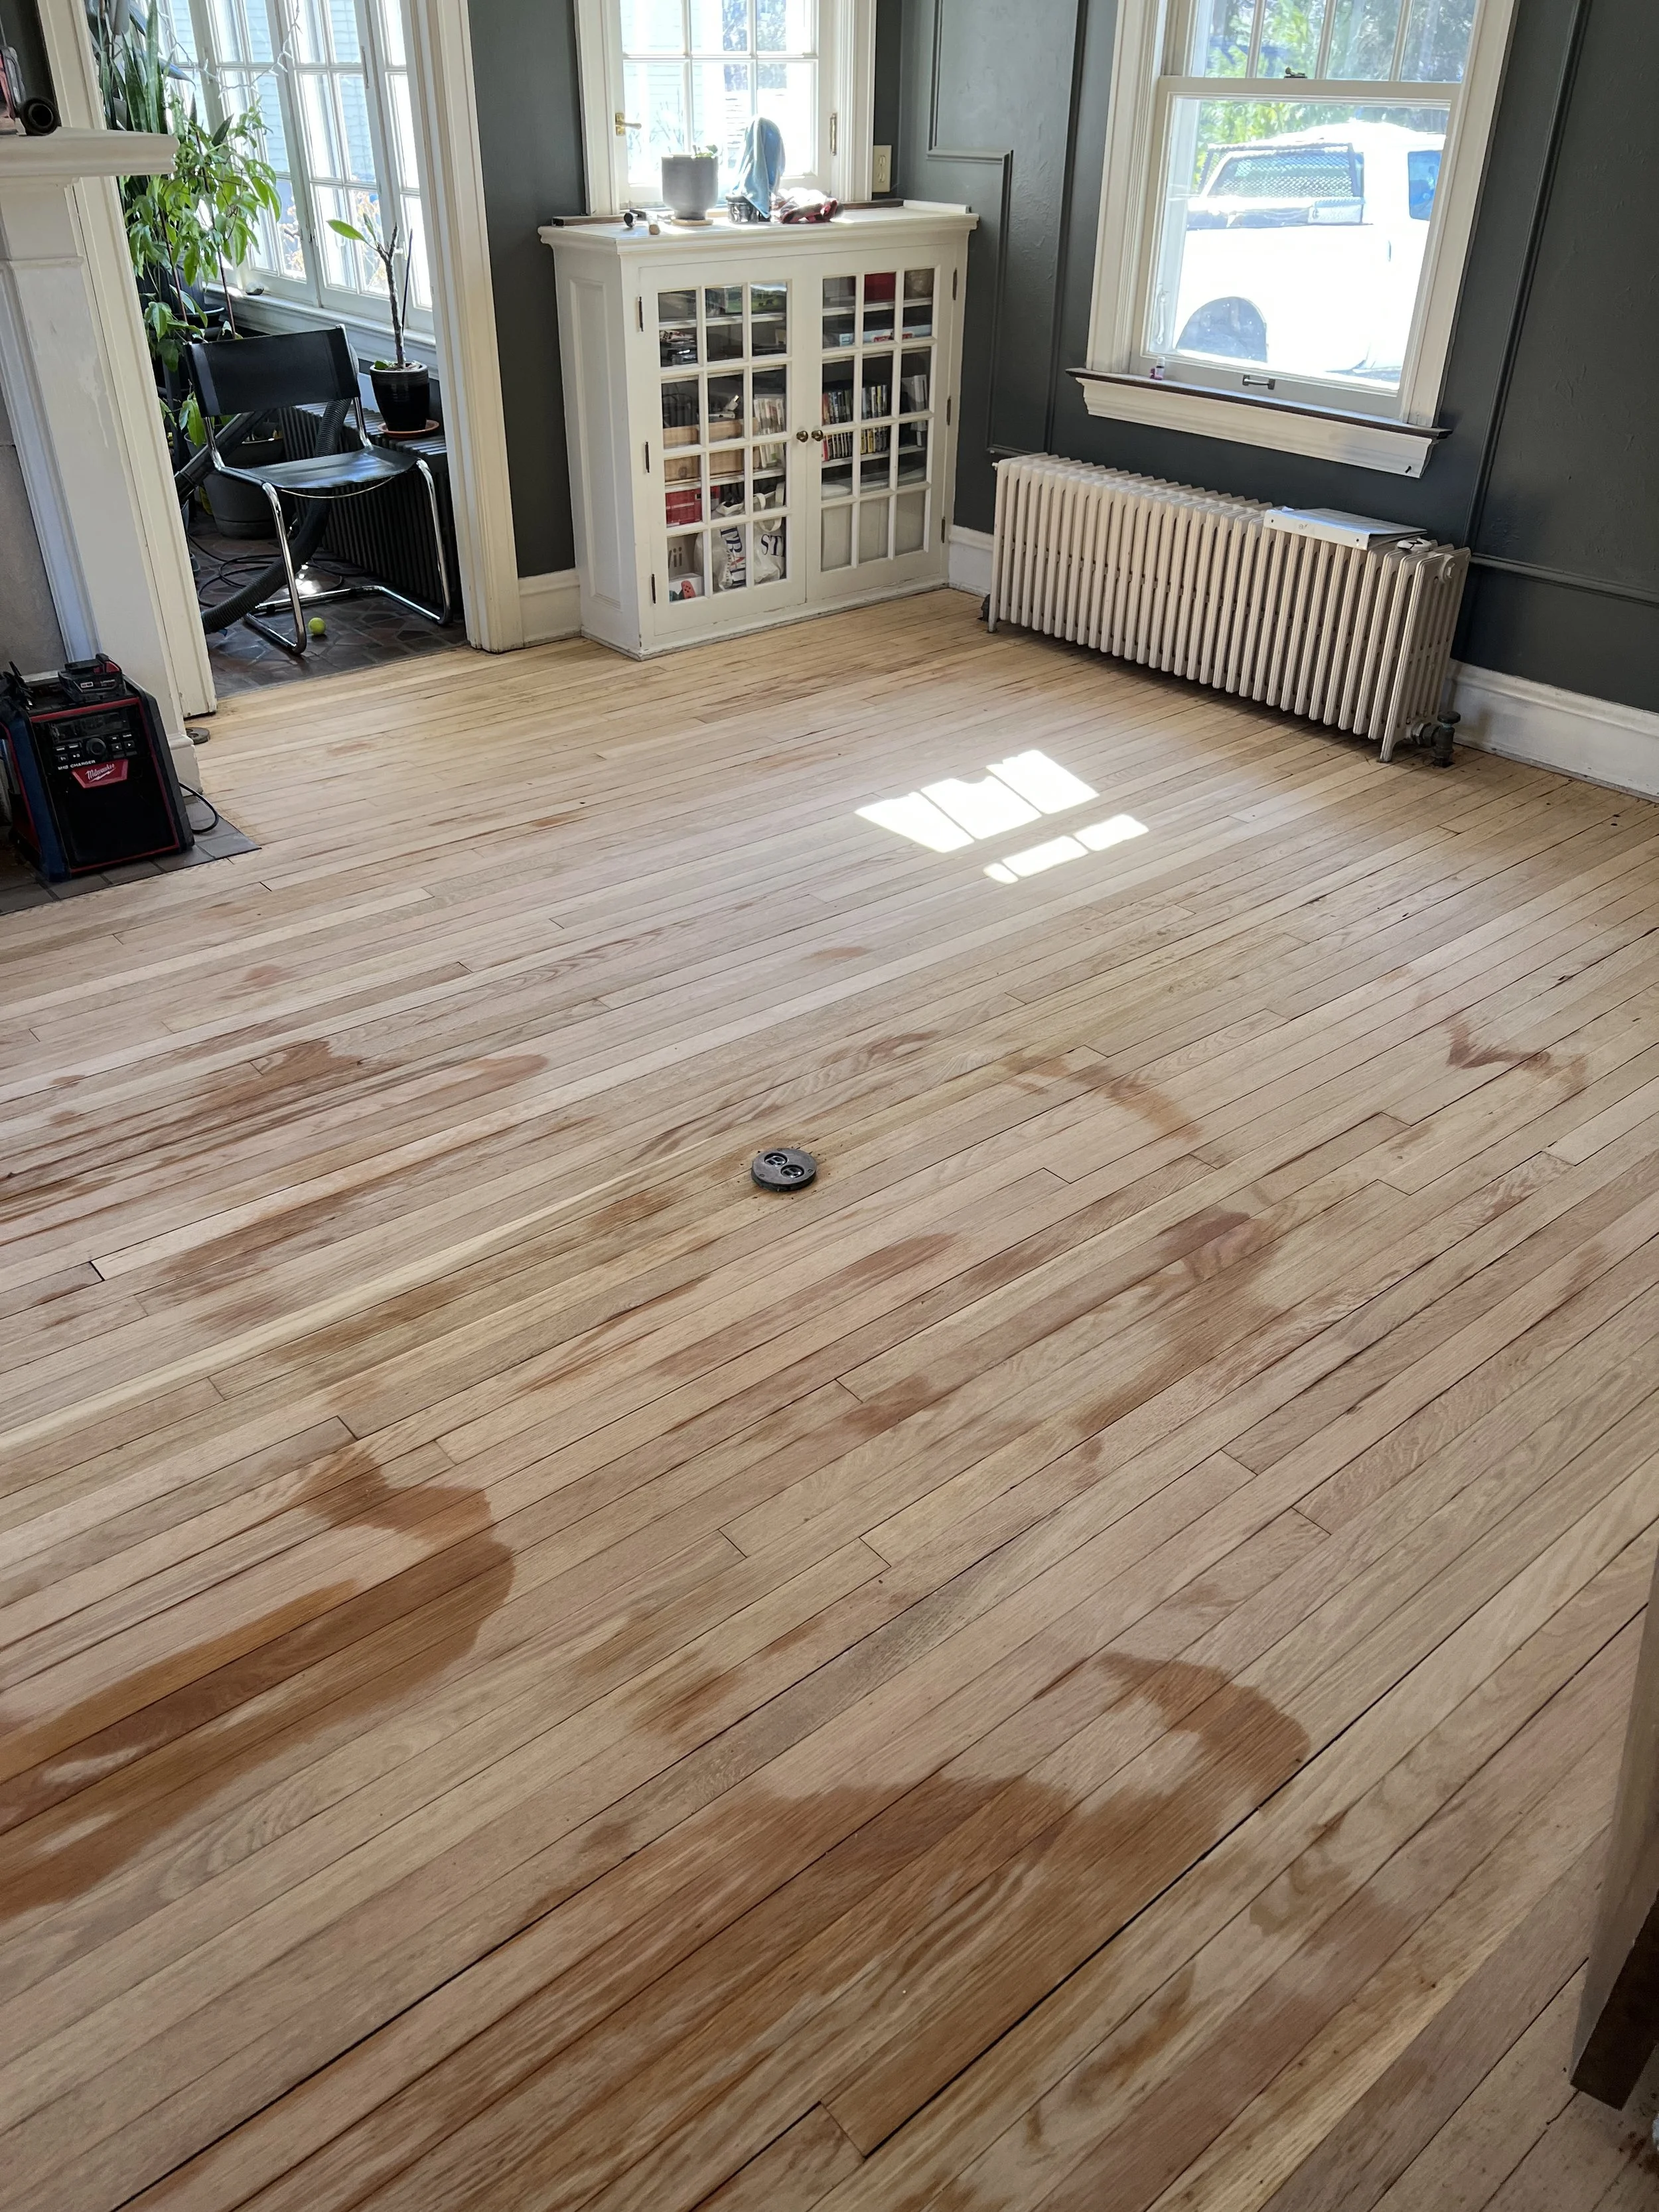
How the floors look after drying significantly. It looks like they still need about 20 minutes or so here.
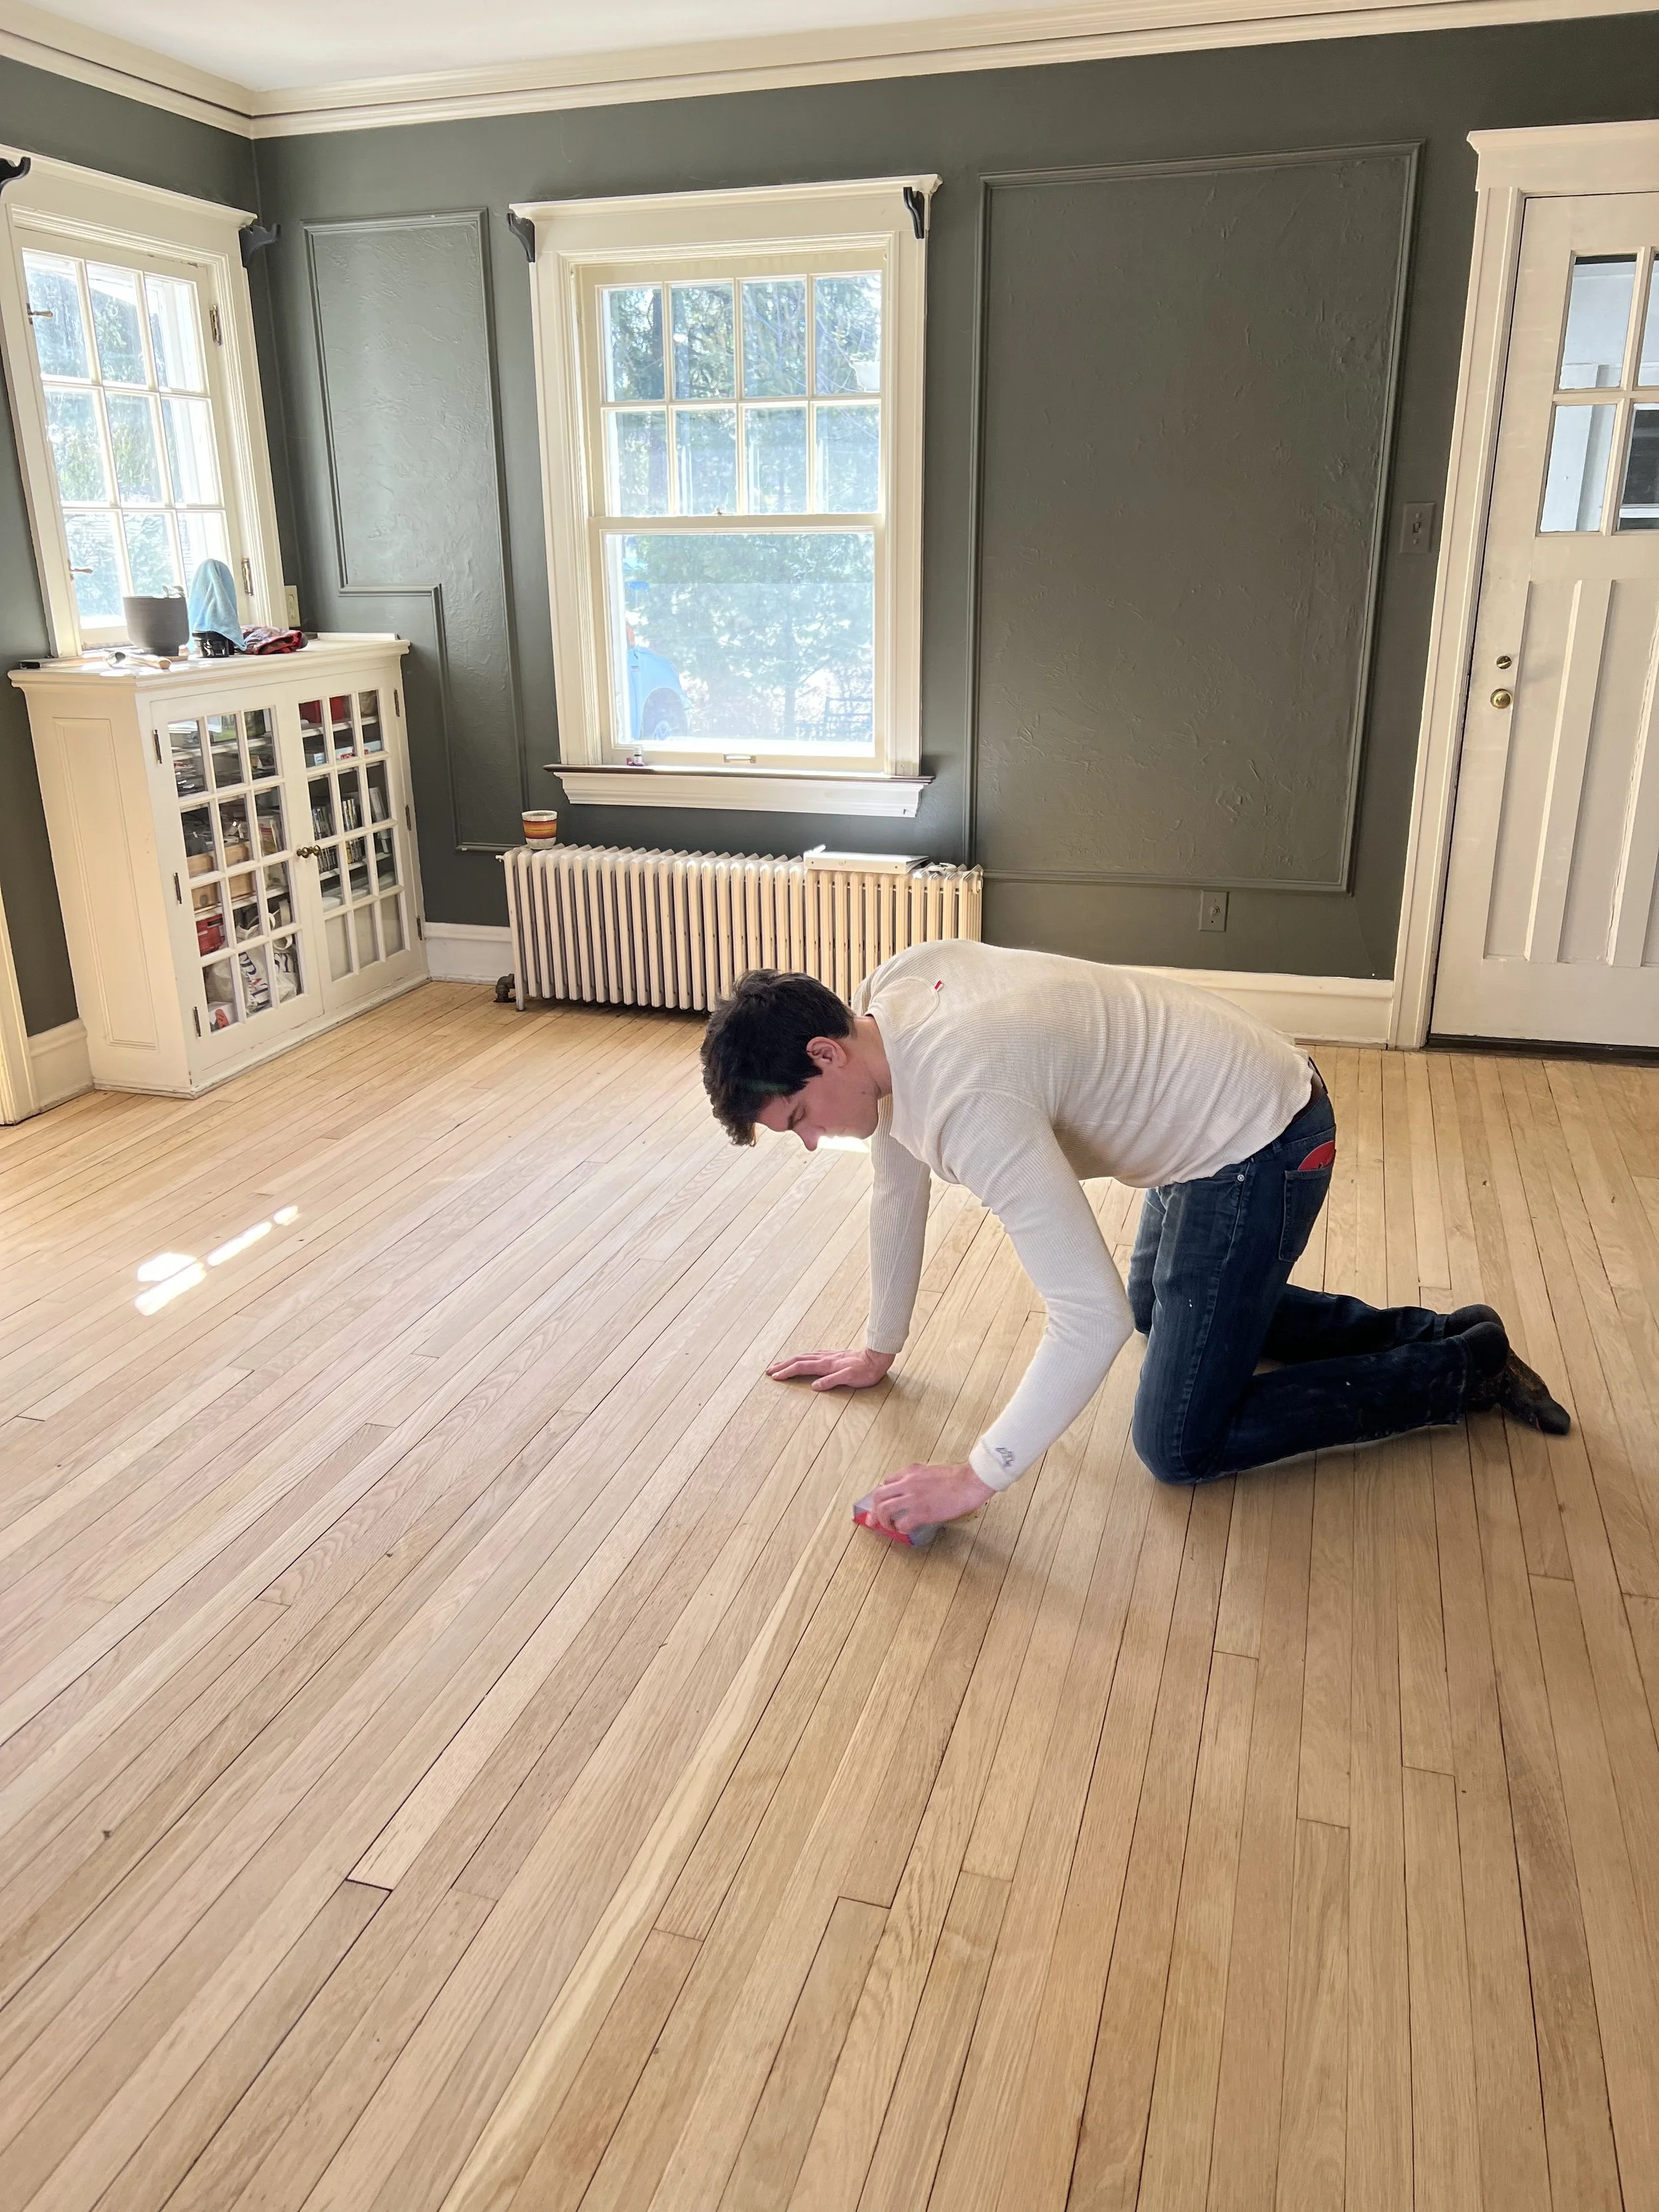
Step 3: Lightly Sand Floors & Vacuum
Once your floors are dry and don’t have any wet spots, then you’re going to want to sand them. This part is the least conclusive to us and it would be really interesting to see what happens on different wood species or even different soap ratios for that matter. We found that with our ratio (1:64) and our wood (red oak) that we had to sand between coats to take down the raised grain for every coat. We did not, however, feel like we had raised grain after the 8th coat, so sanding after the 9th was probably unnecessary.
We took the 220 grit sanding discs and wrapped them around sanding blocks and very lightly sanded down the floors. This should just be enough to knock the grain back, nothing more. Remember to change out your pad as soon as it seems like it’s not sanding as well! We probably were refinishing about 800sqft and were changing our pads 2-3 times each in one pass.
We also found that by the end of our coats, the sanding pads were getting gummed up quickly, which meant that something was actually building up on the floors! We took that as a very good sign!
After you have sanded, go through and vacuum the floors to remove the dust.
Step 4: Soap, Sand, Vacuum, & Repeat
Now you take the fate of your floors in your hands! Repeat the steps until you have as many coats as you’d like. Let the floors dry thoroughly before moving all your furniture back in. But that’s about it!
By the time you’re “done”, the floors should feel raw, but slightly velvety to the touch. They feel amazing under bare feet.
Step 5: Re-soap as Needed
The best thing about these floors? You clean them with the very soap that you finish them with. Basically, as you clean your floors, you’re also reapplying another layer of soap that helps increase the durability of the finish. You can pick how often this soaping happens based on your own preferences. I’ve read anything from weekly to bi-annually, so truly, do whatever works best for your life.
If you’re reading this, there’s a chance that you’ve already read that these floors are described as “unpractical” and “high maintenance.” It’s my next goal, after spending time living with the floors, to get to the bottom of what “high maintenance” really means. I’m planning to do some follow up posts so people can actually get a sense of what it entails when you have floors finished like this and what the implications are as far as real life goes. Stay tuned for that!
Update 5/8/23 - read our findings here!
Step 6: Repaint and Embrace the Danish Vibes {optional}
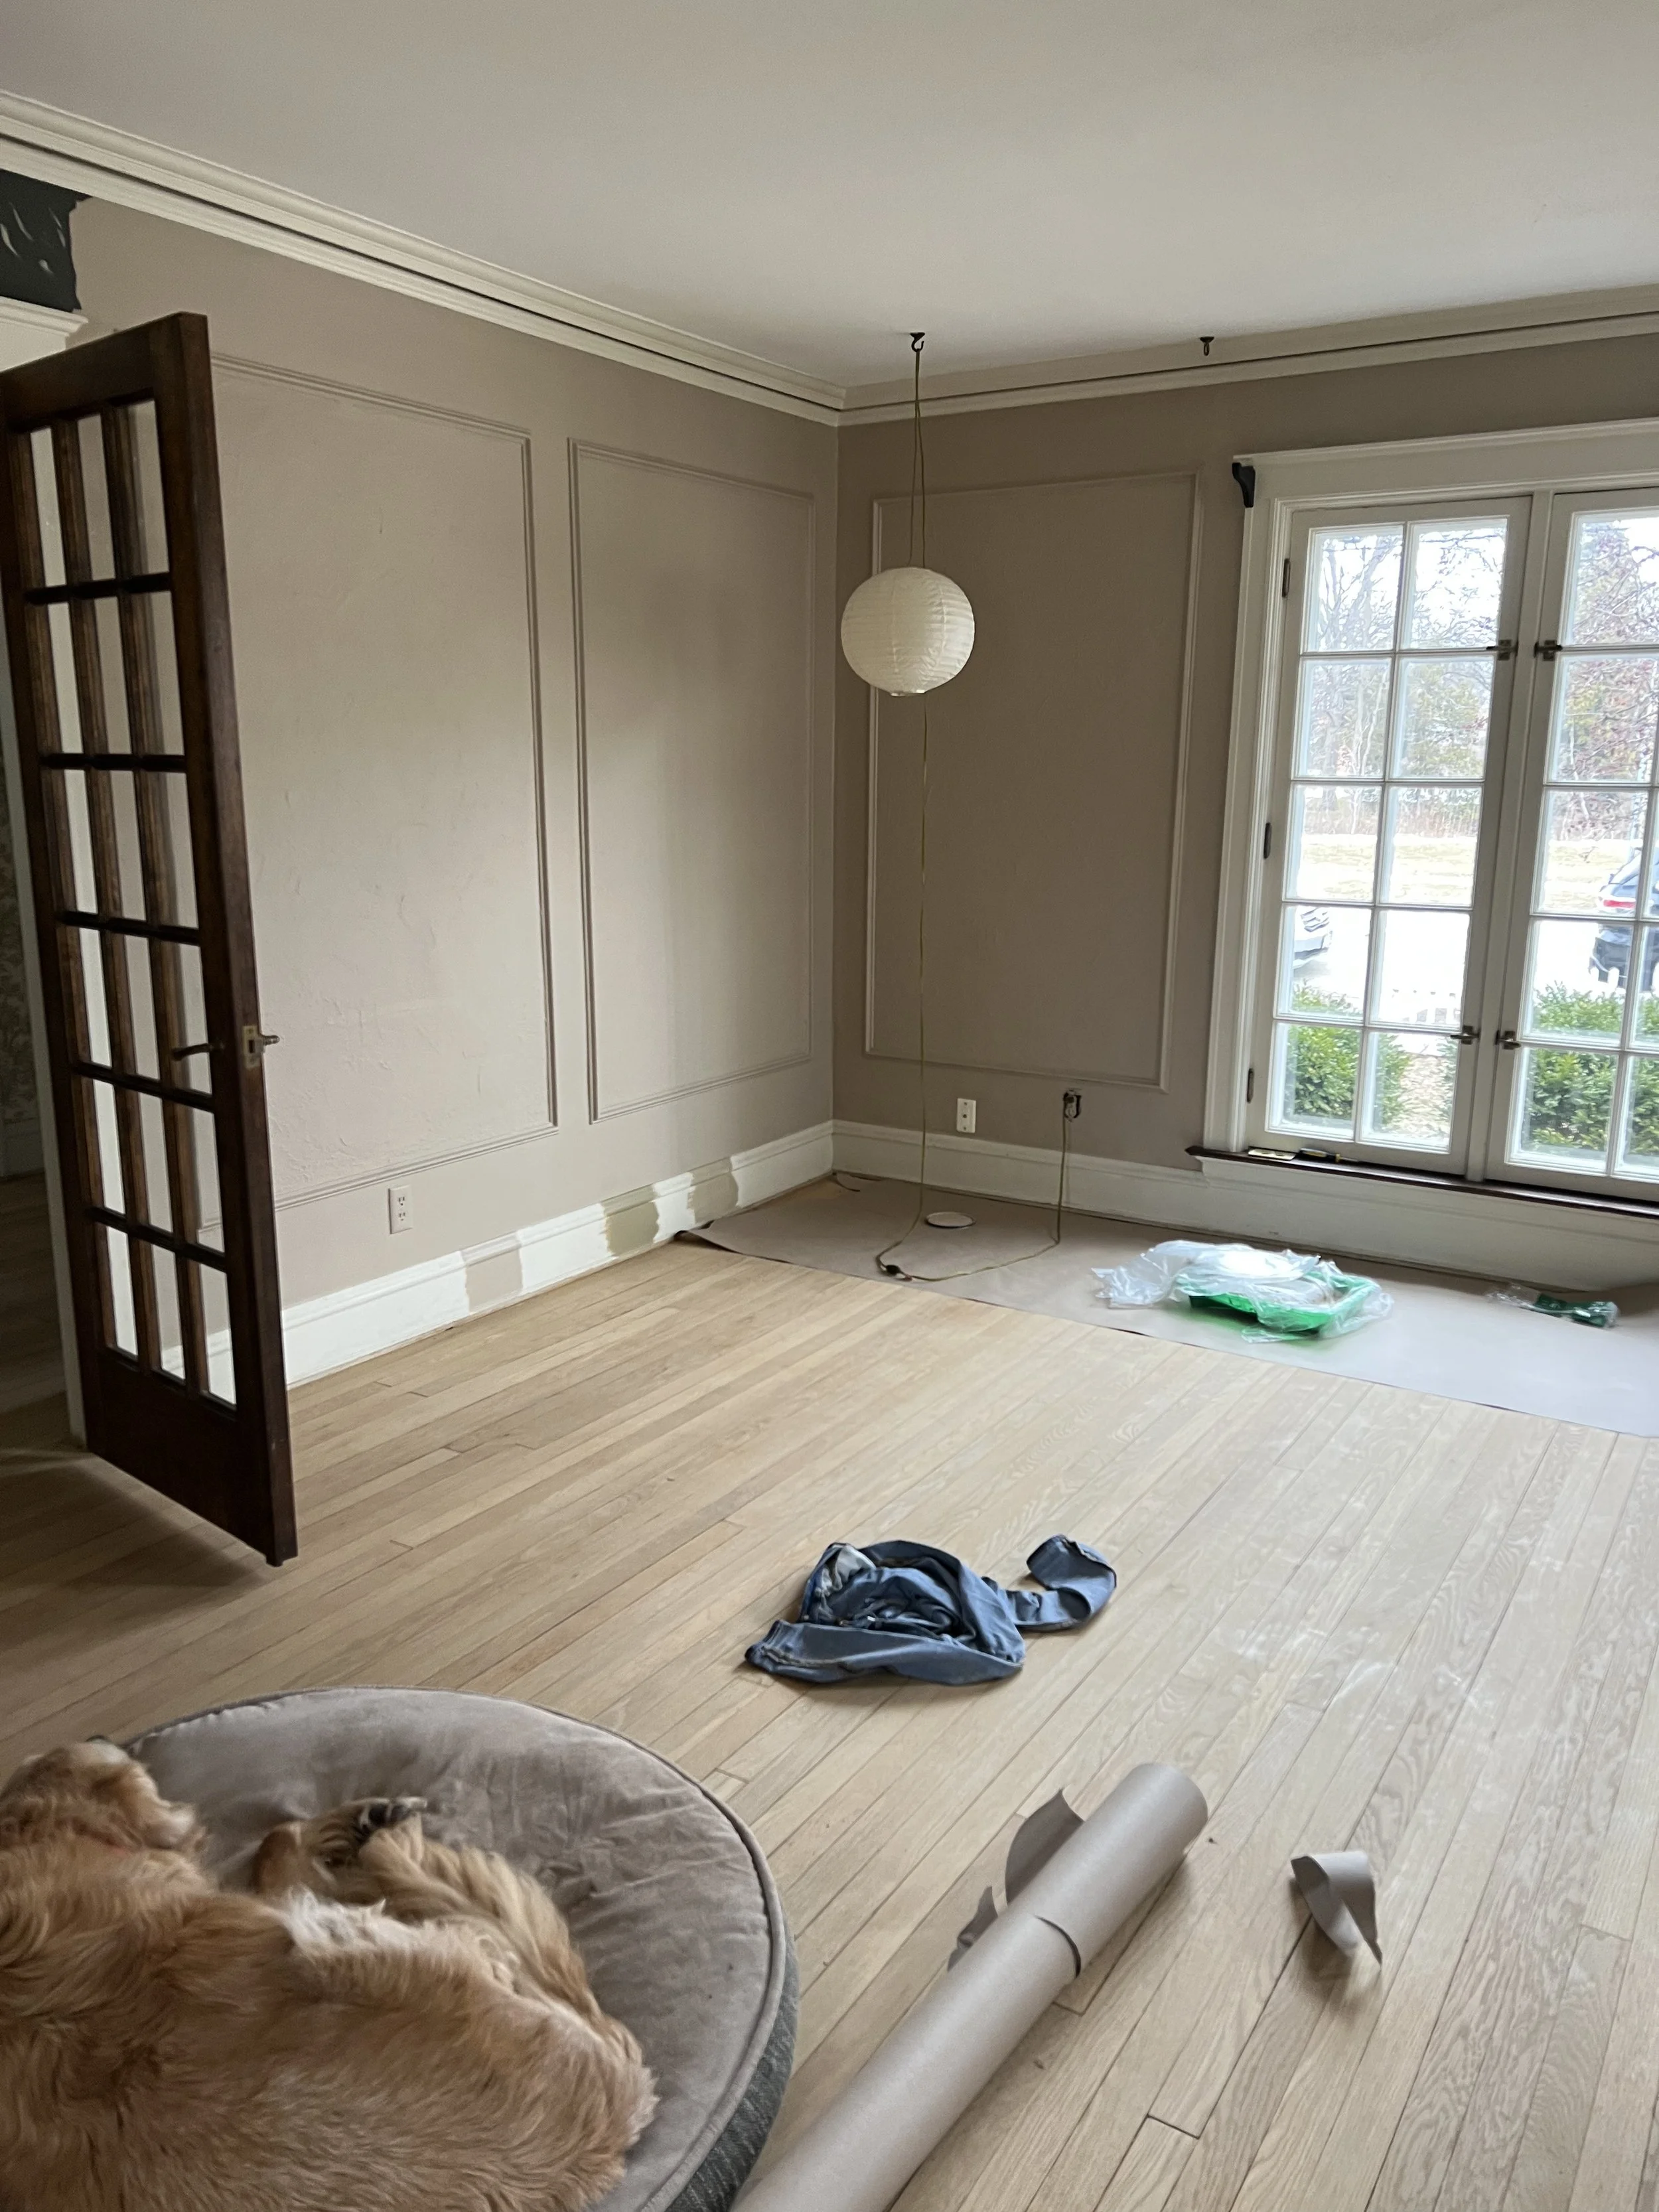
More pictures to come! Ugh! So good!
Feel free to shoot us any comments or questions if you have them! We’d love to chime in if we can help. Any adventurous people out there that have additional information or want to further our experiments, let us know how they went so we can update our information as well! :)