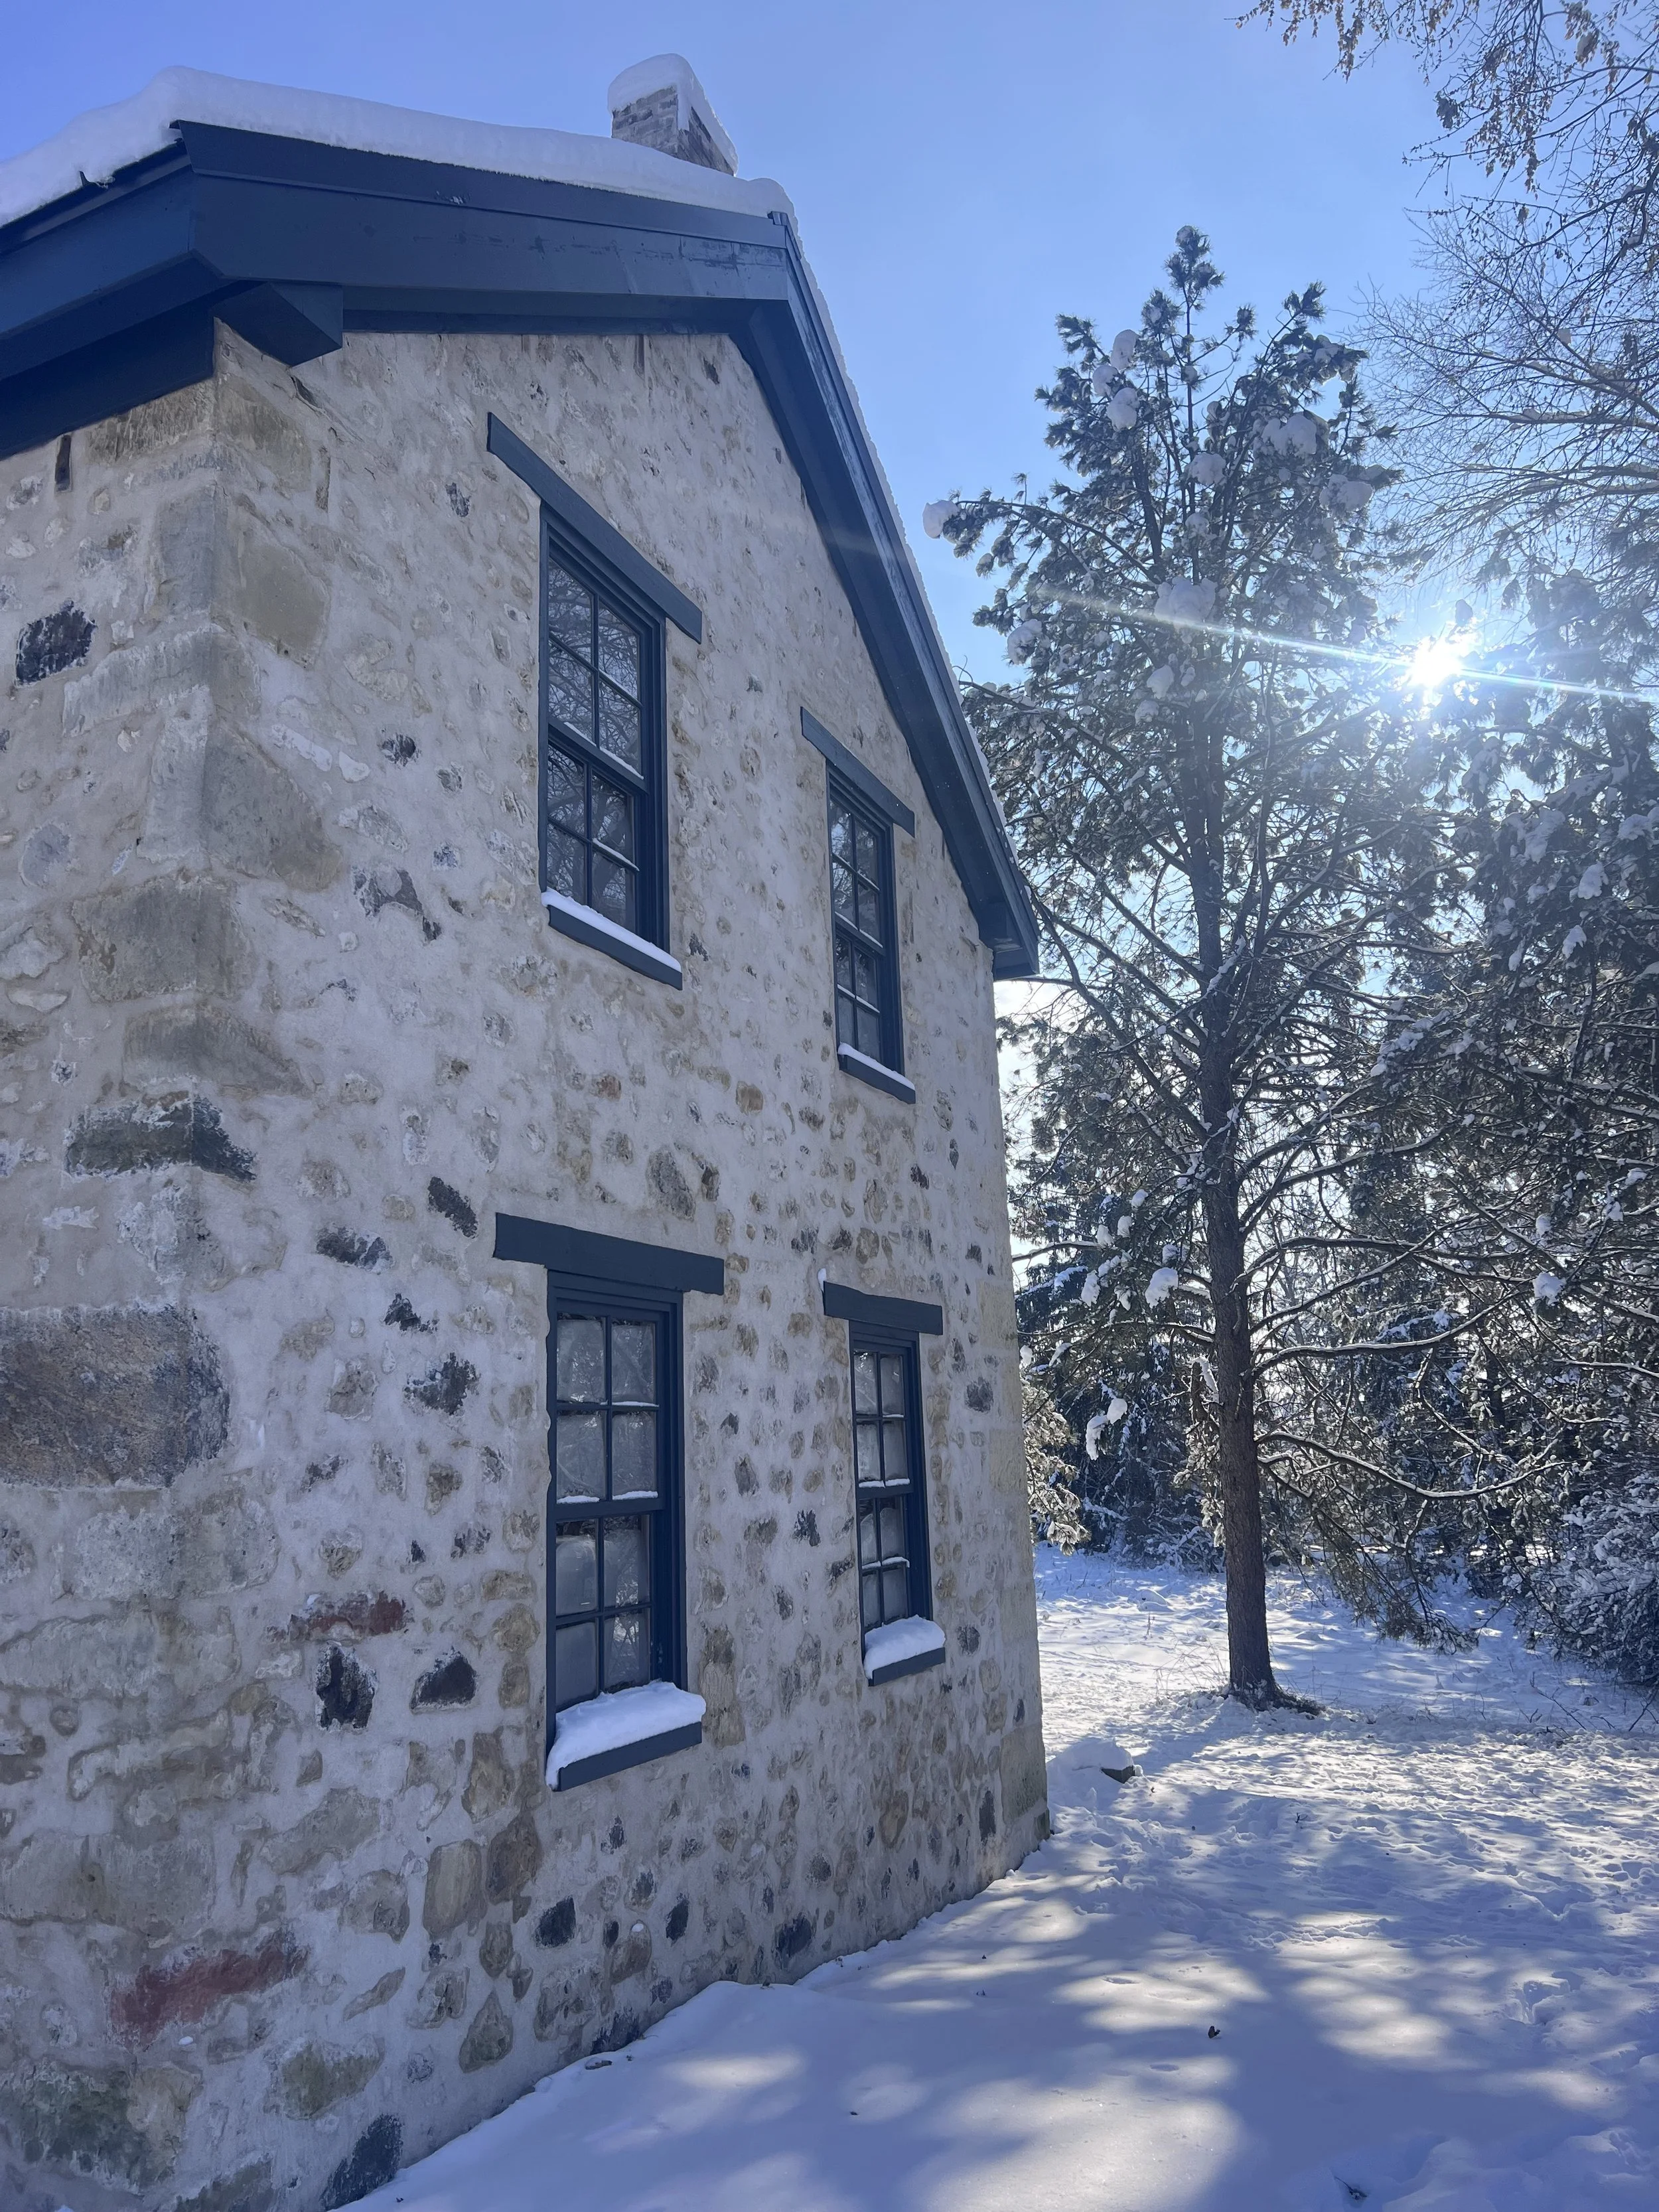
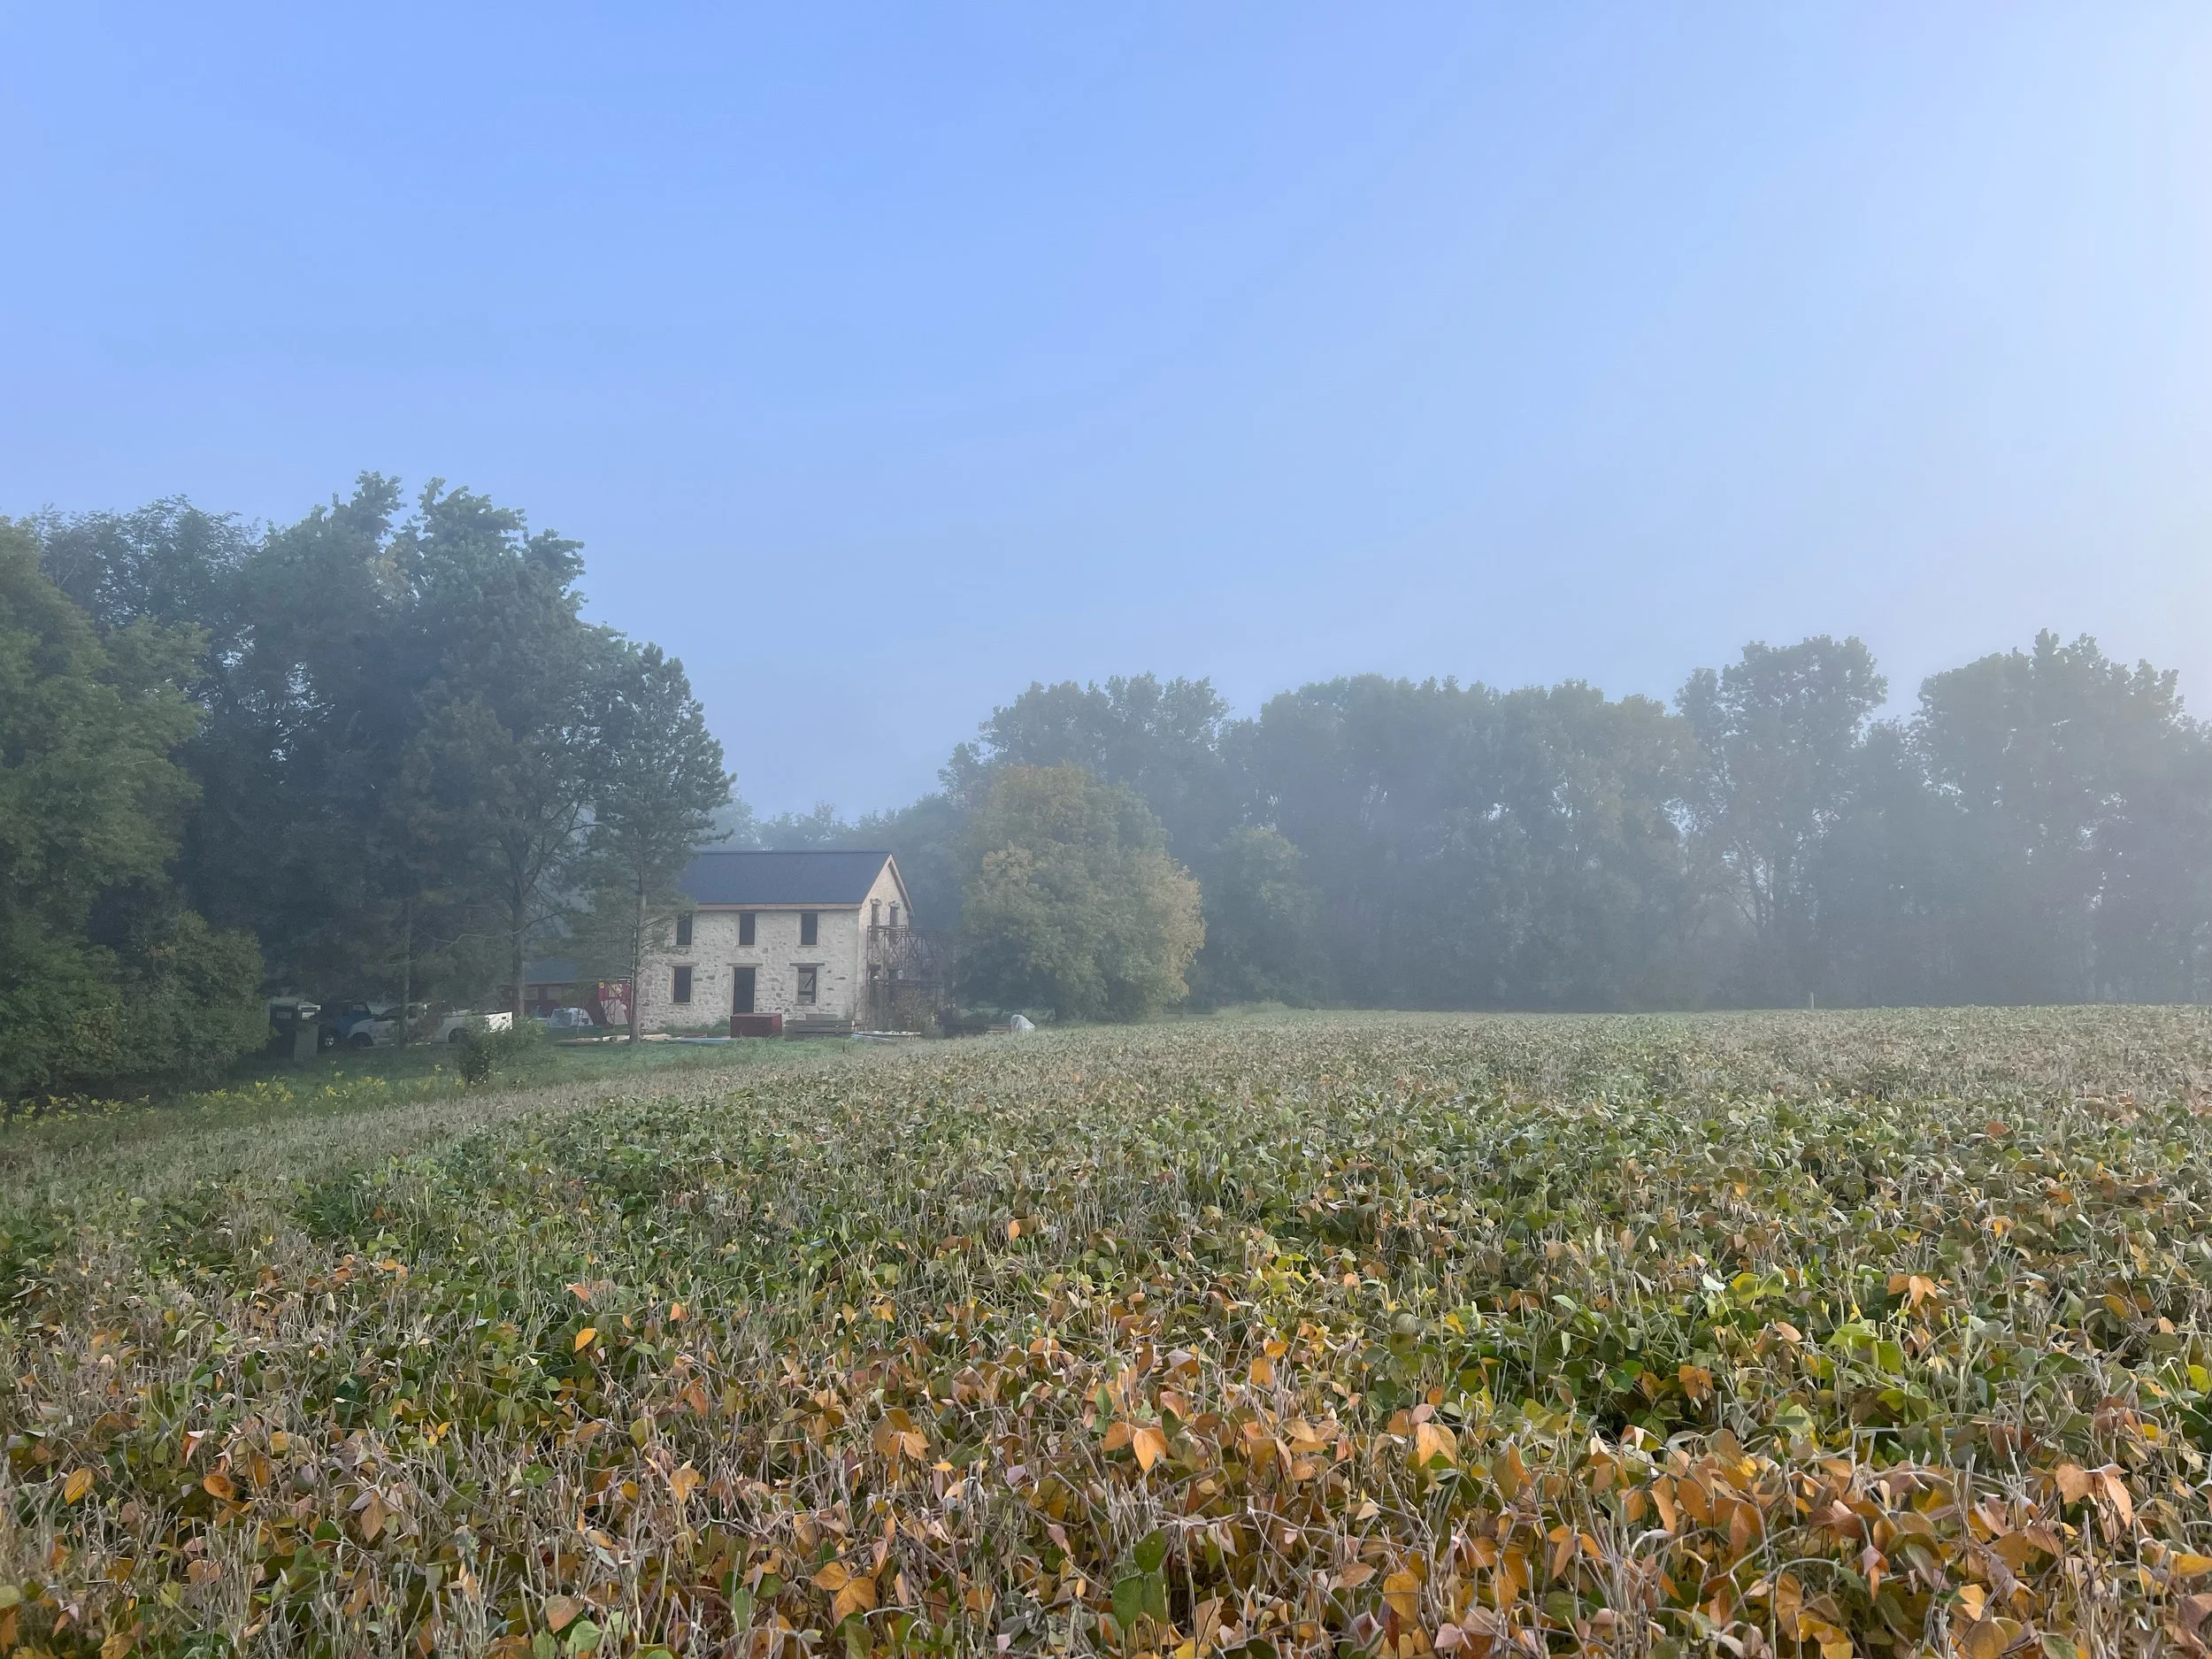
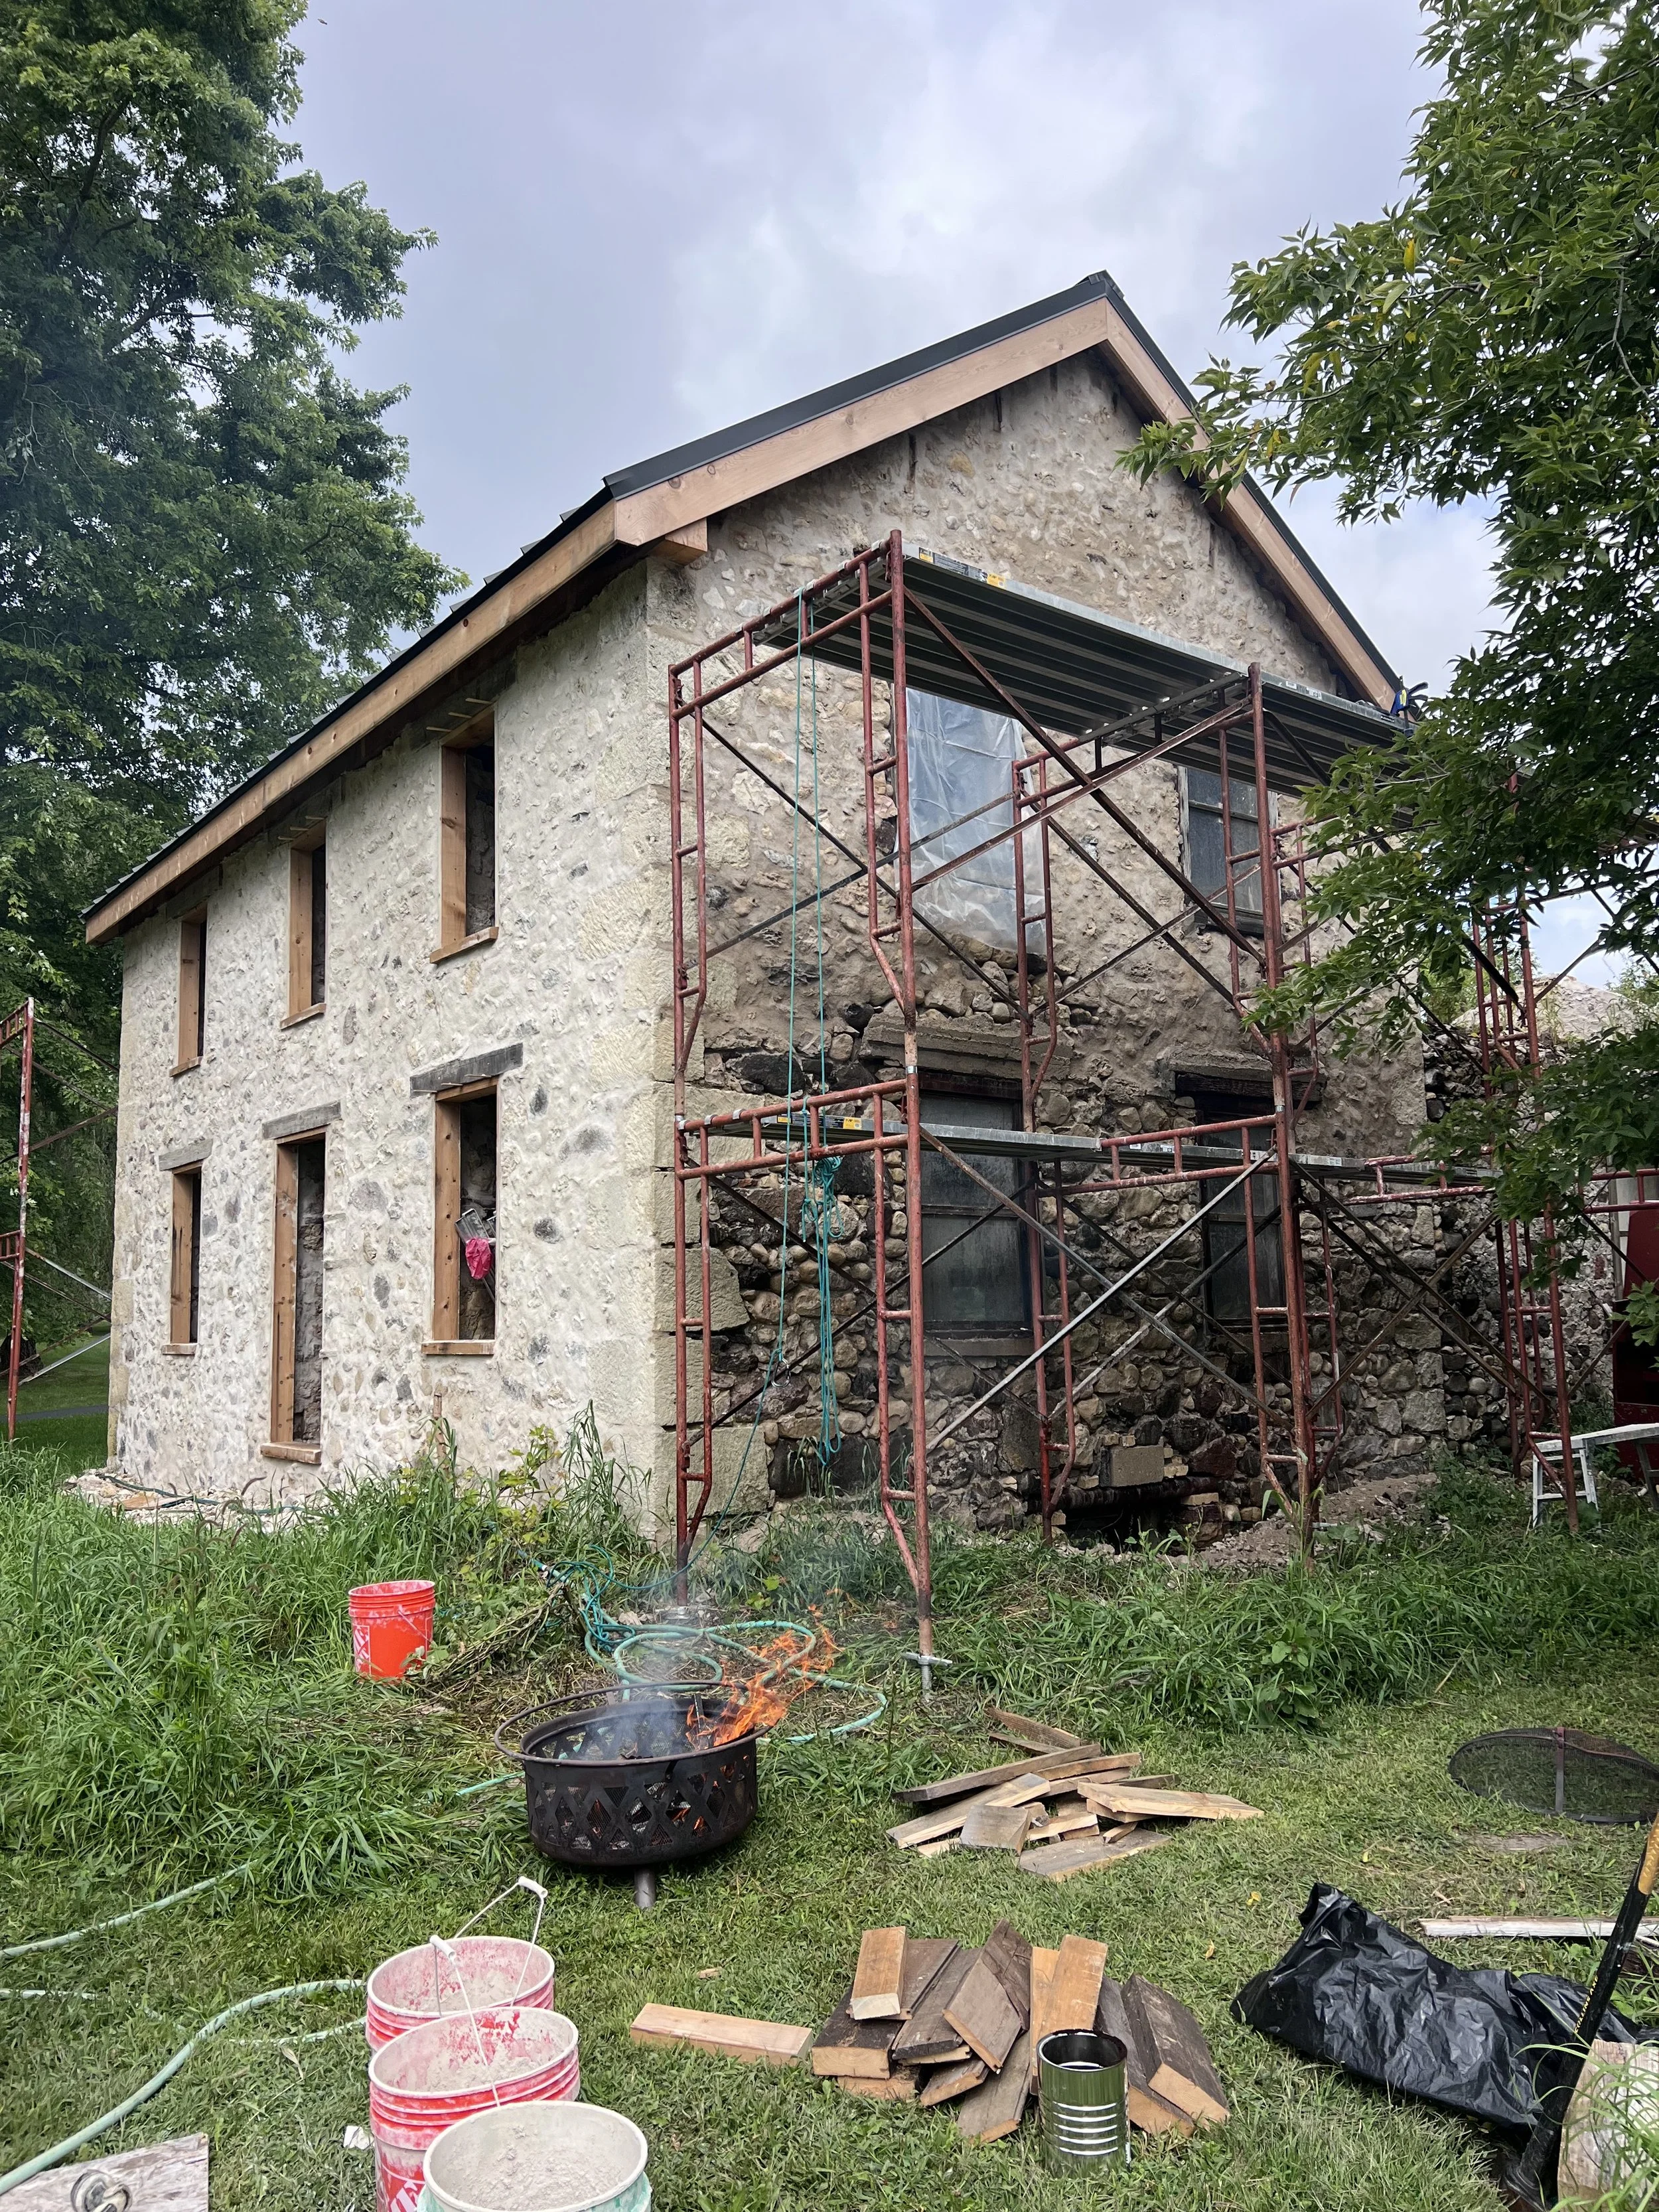
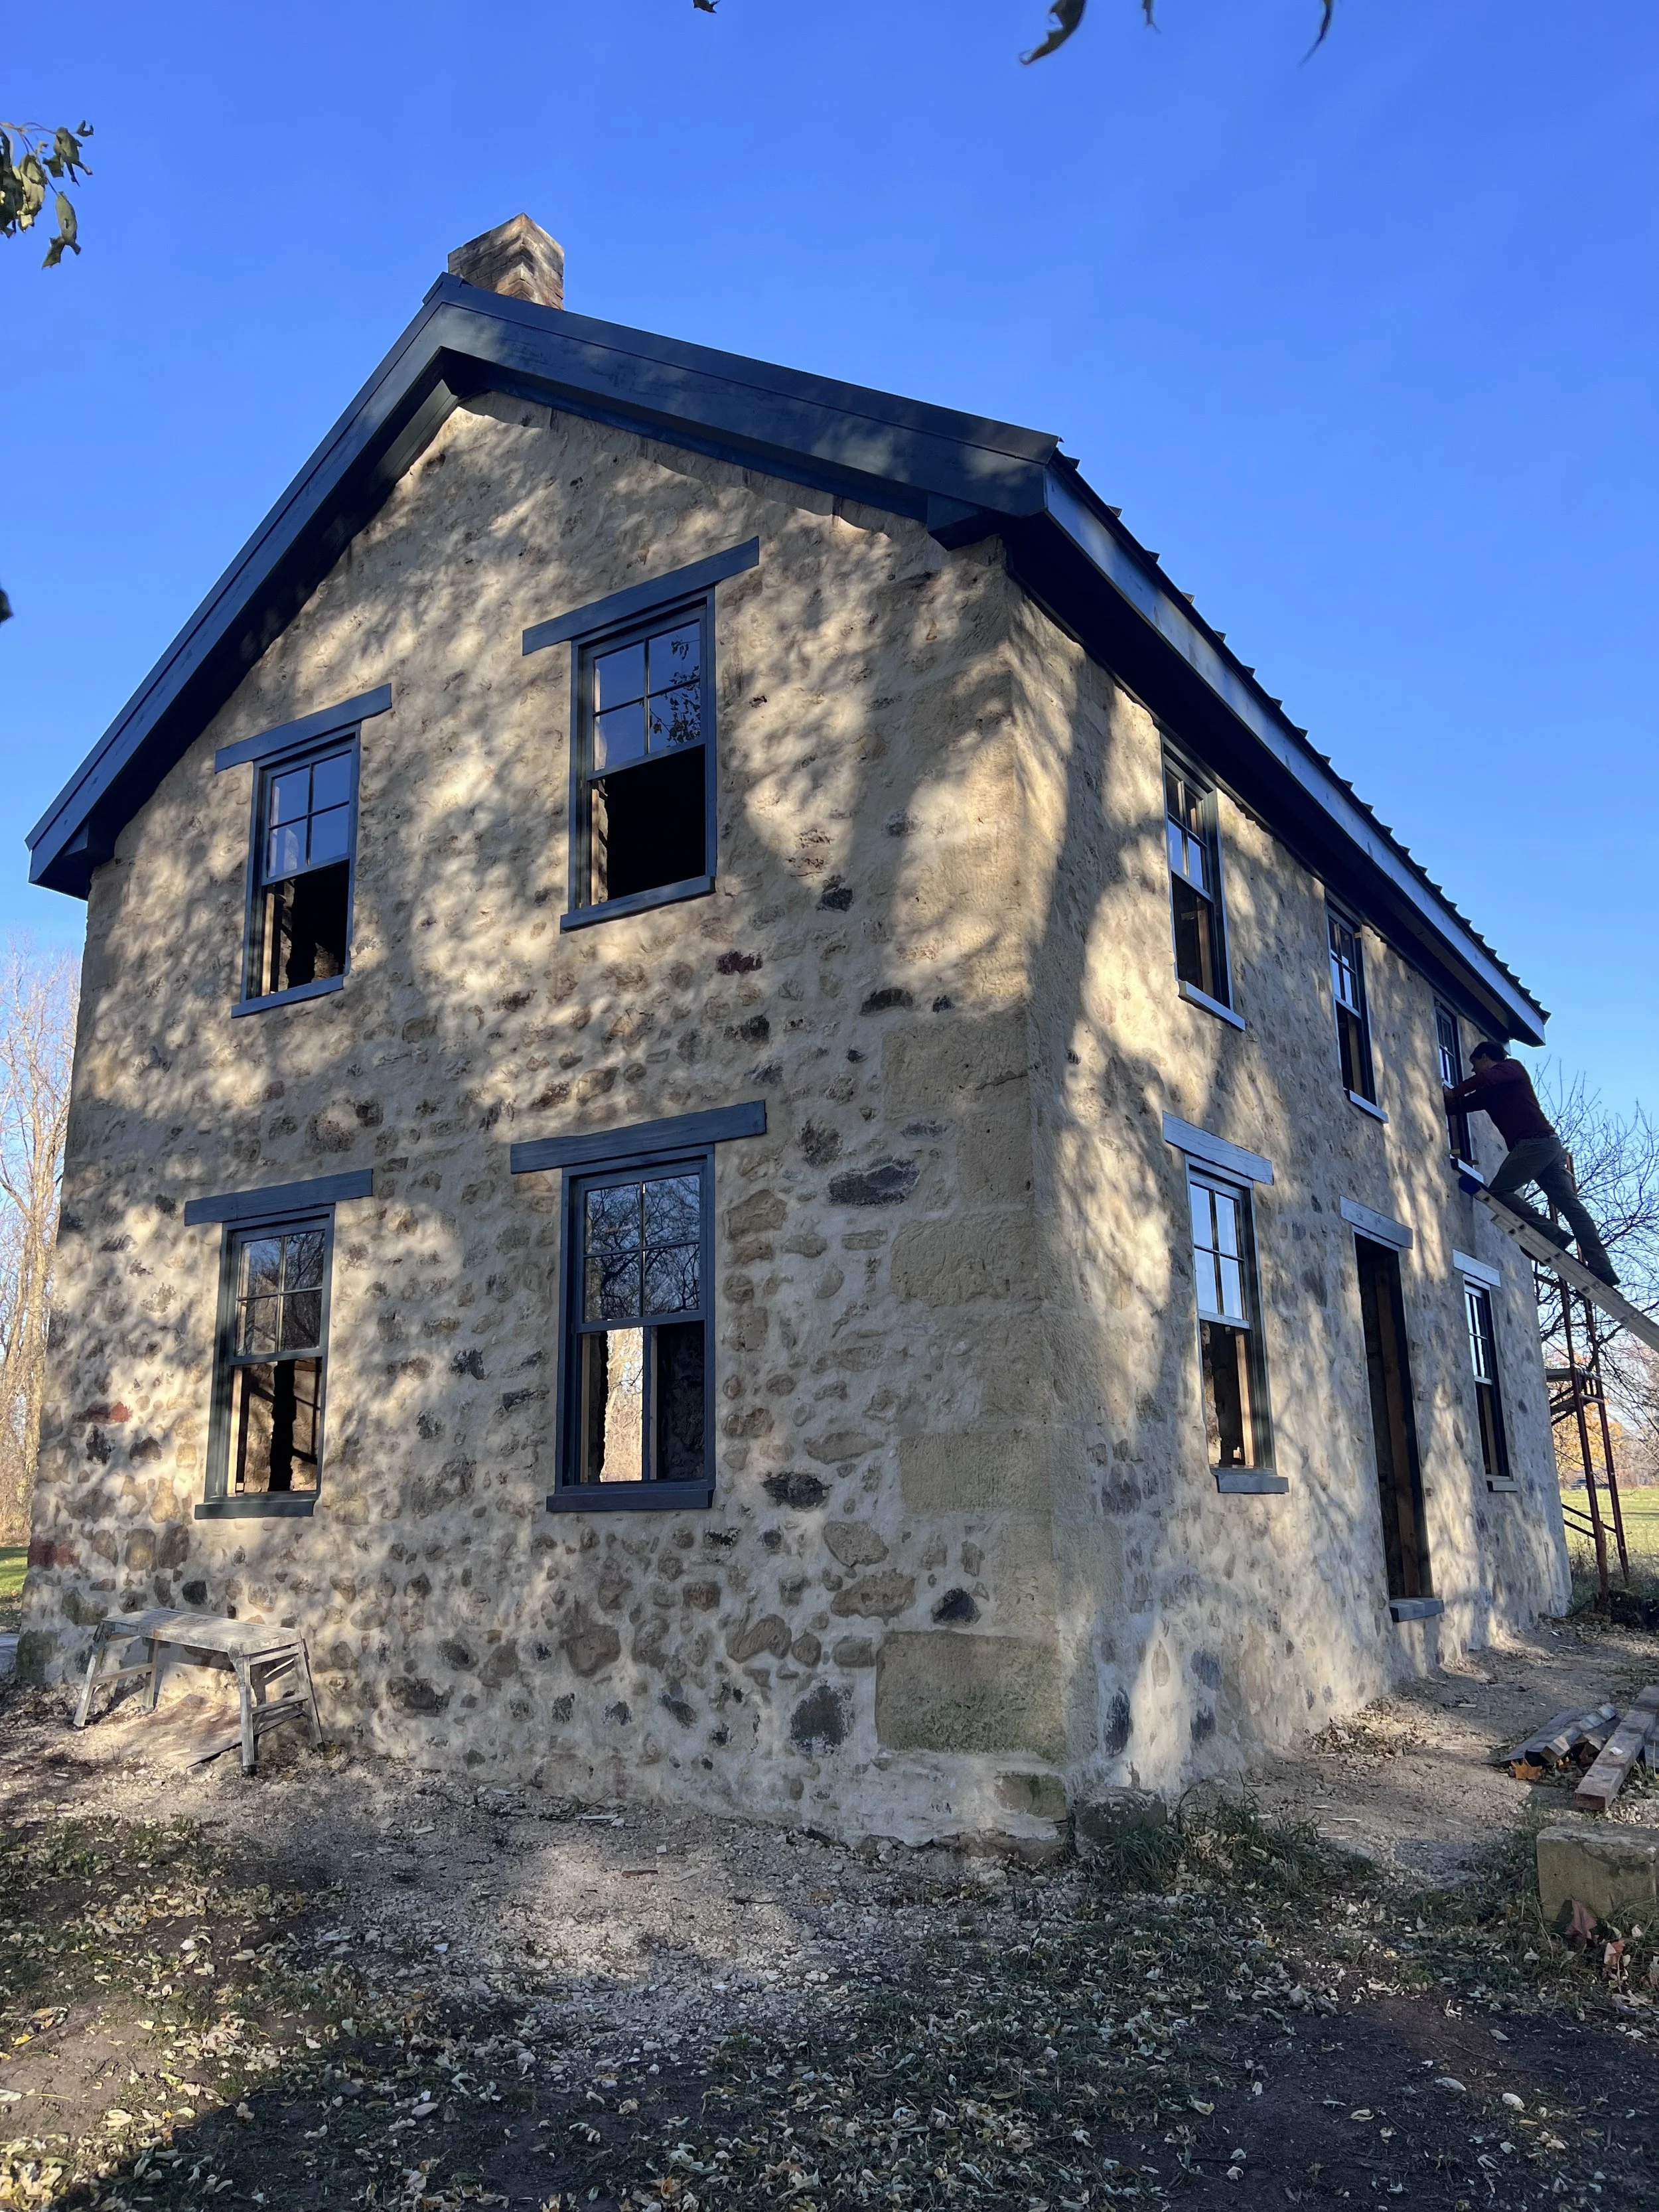
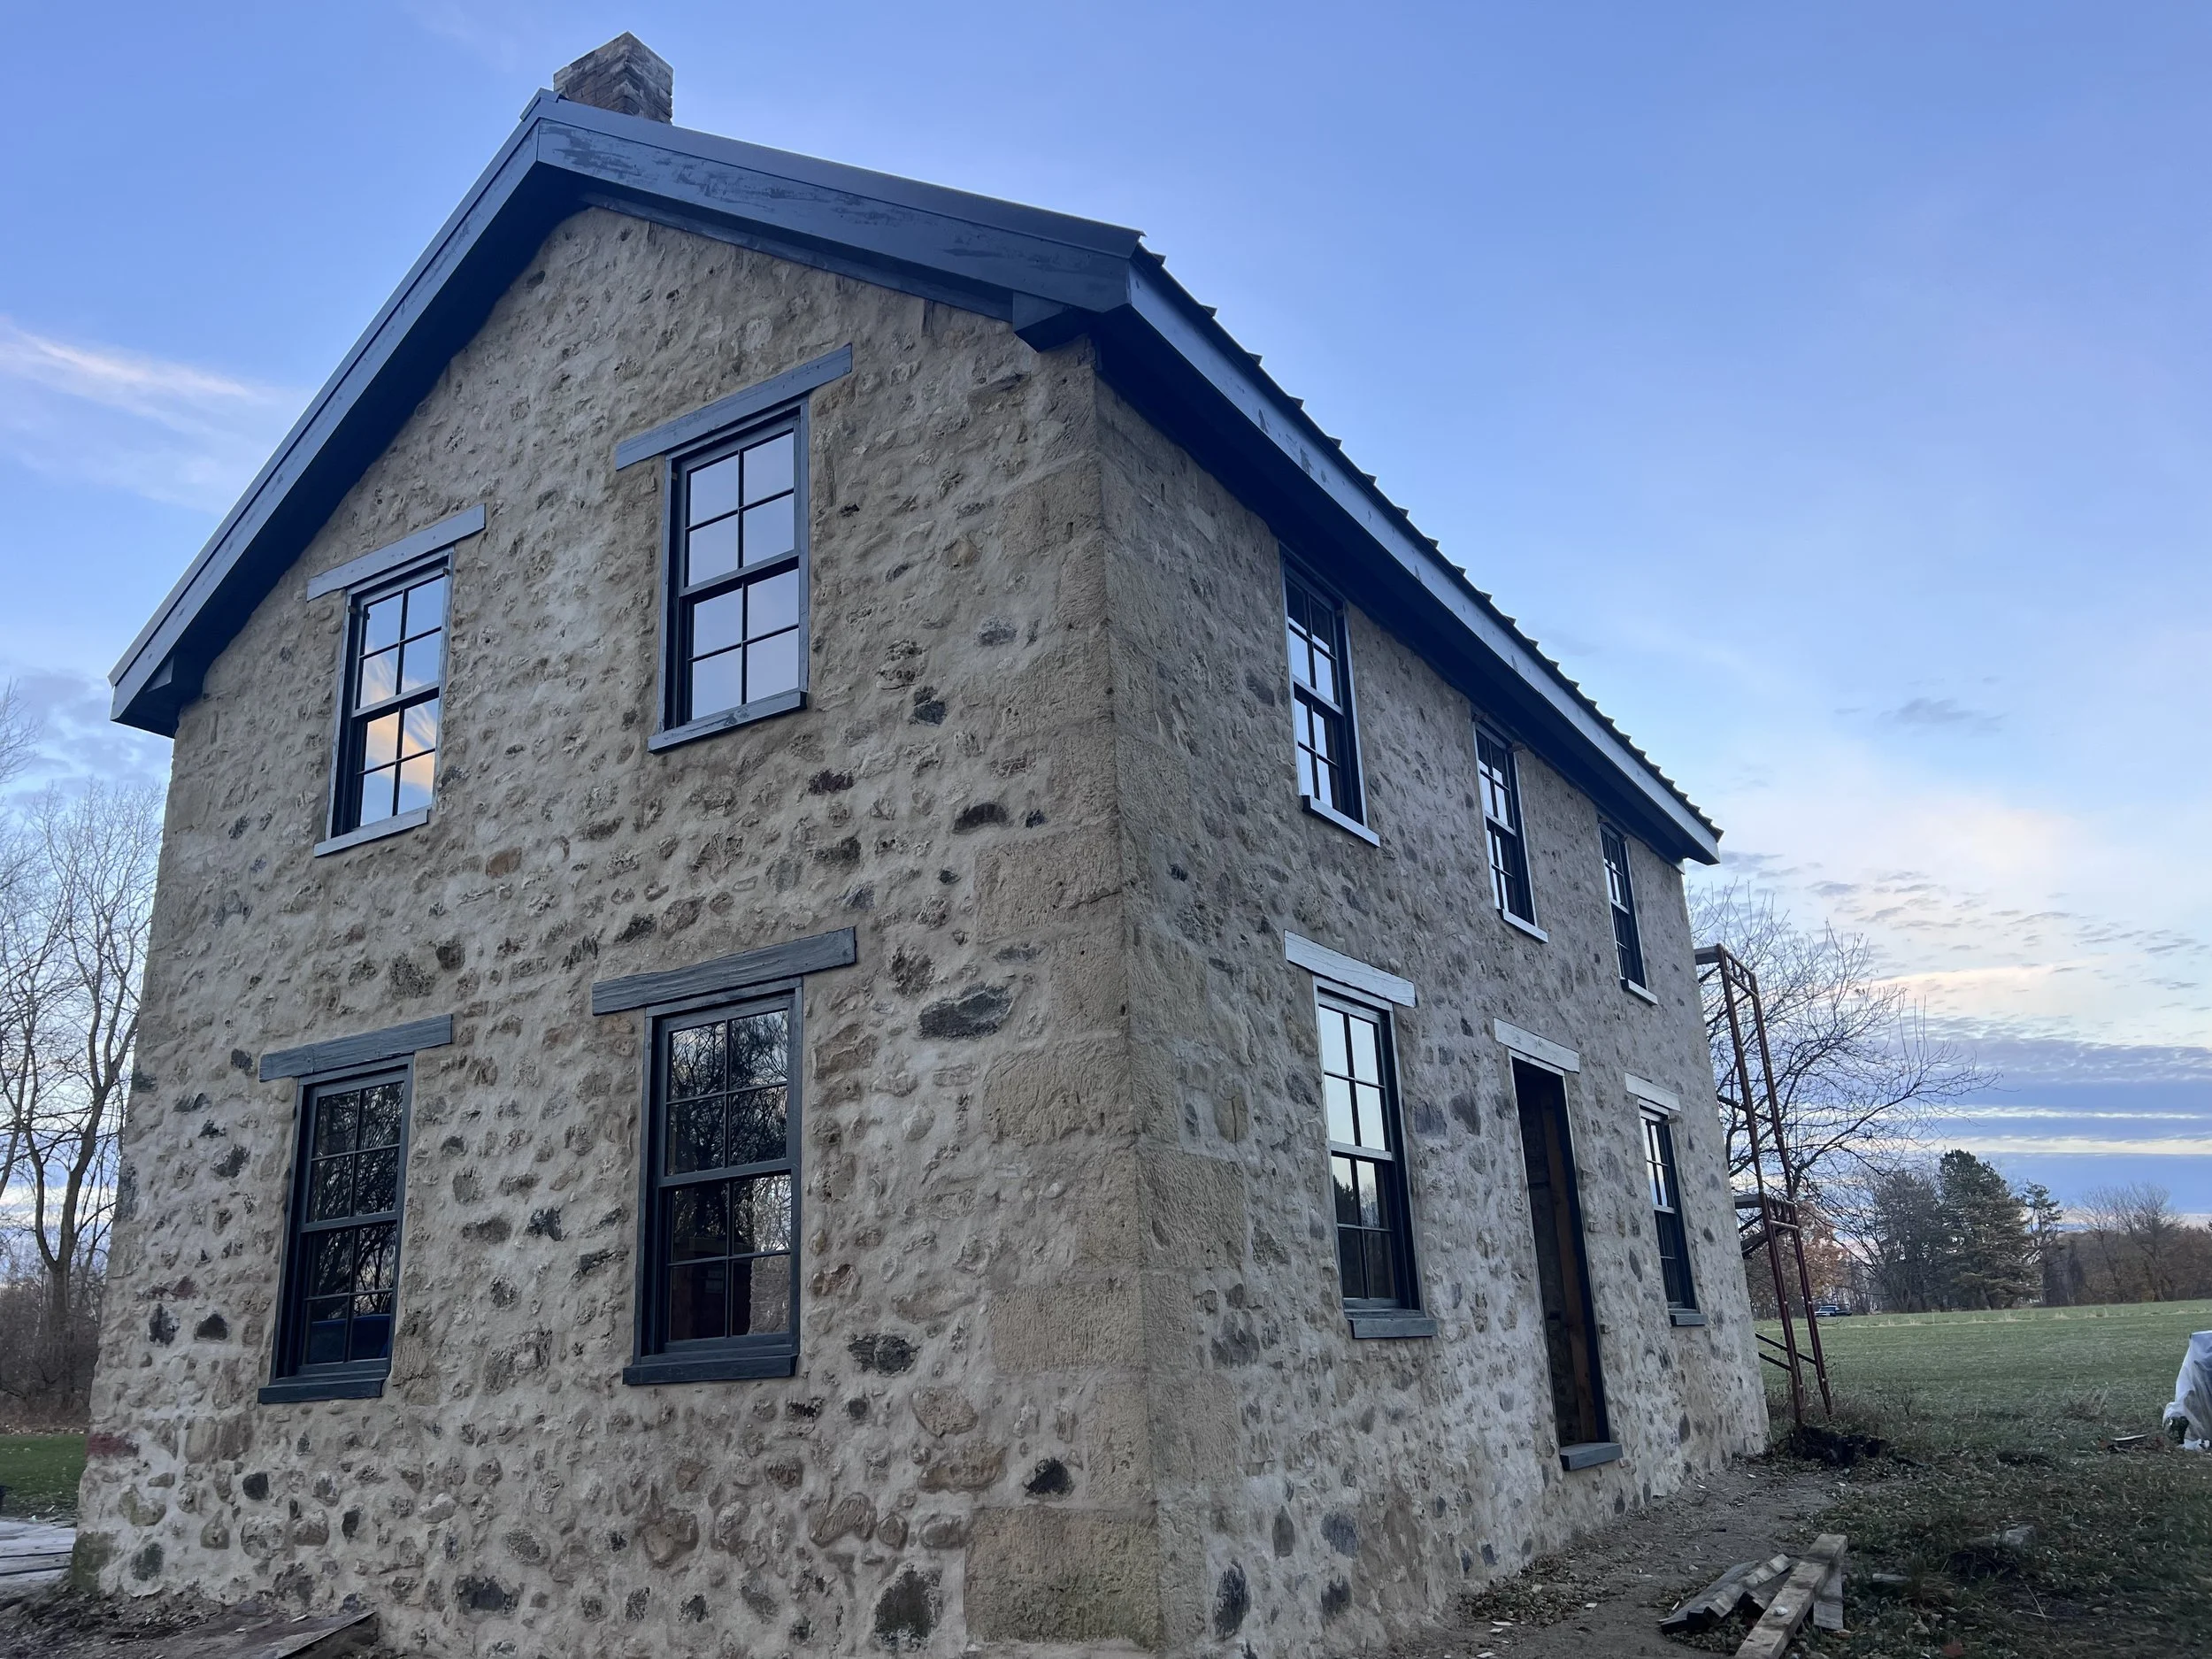
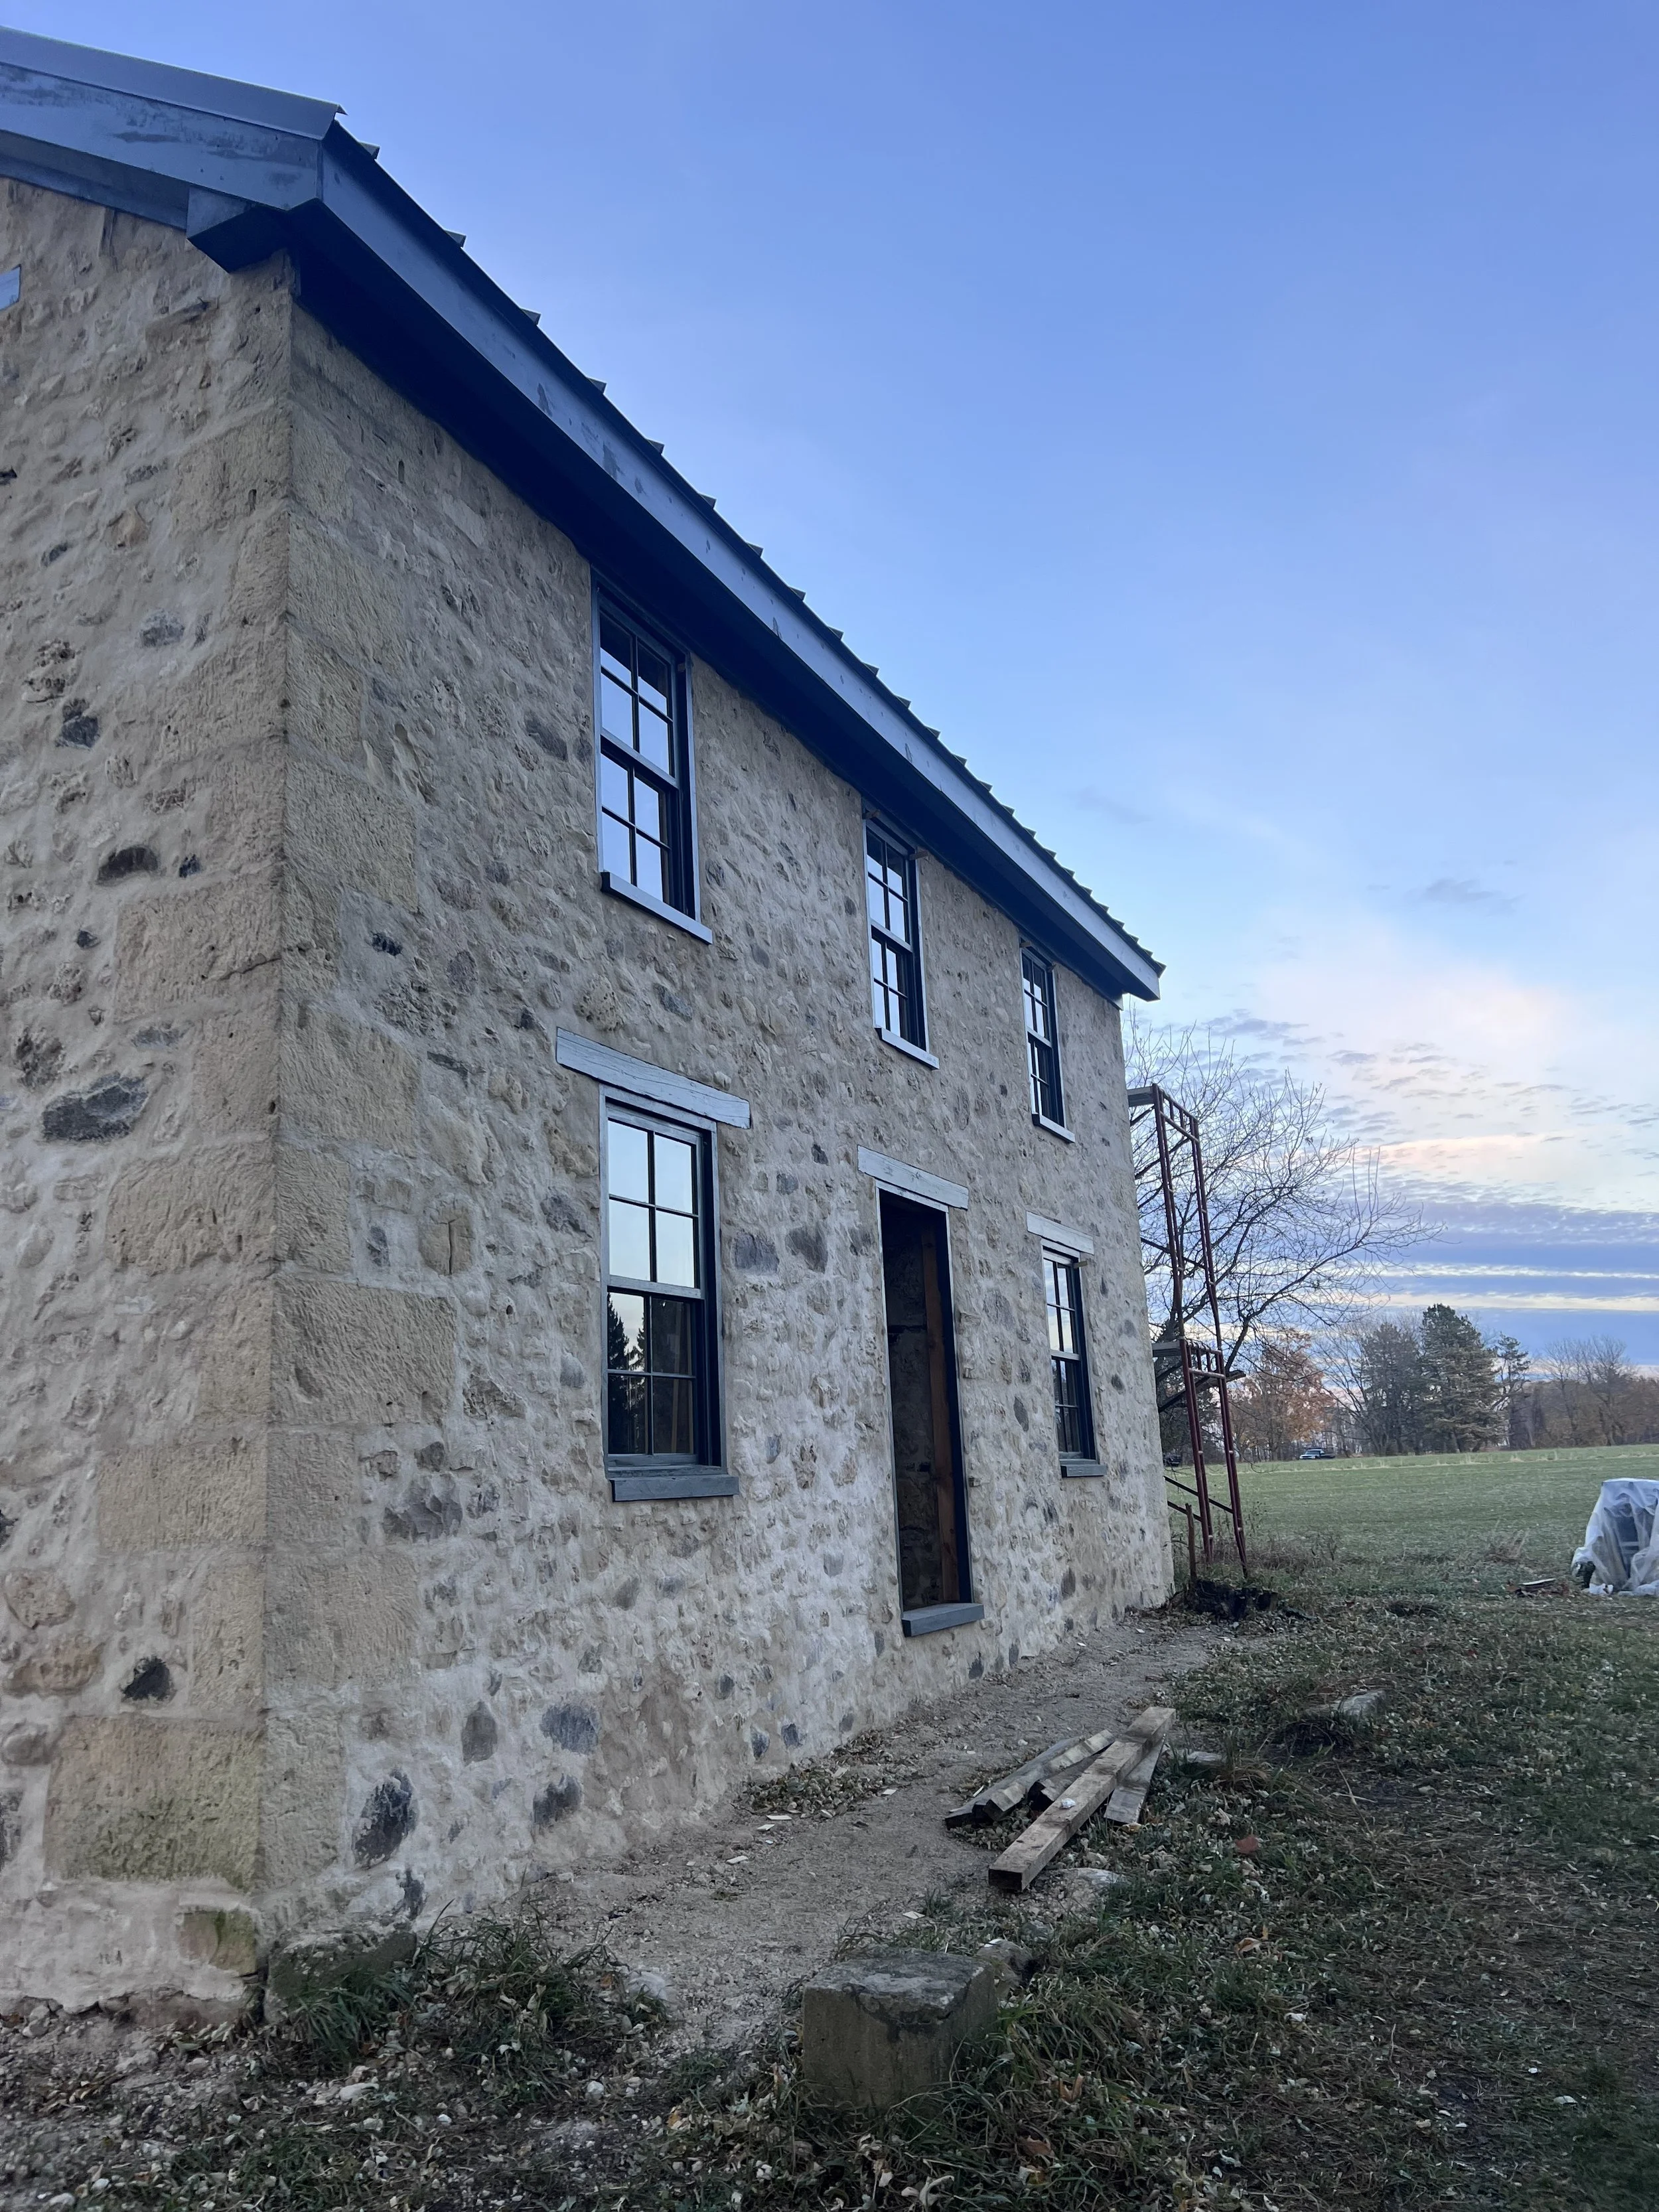
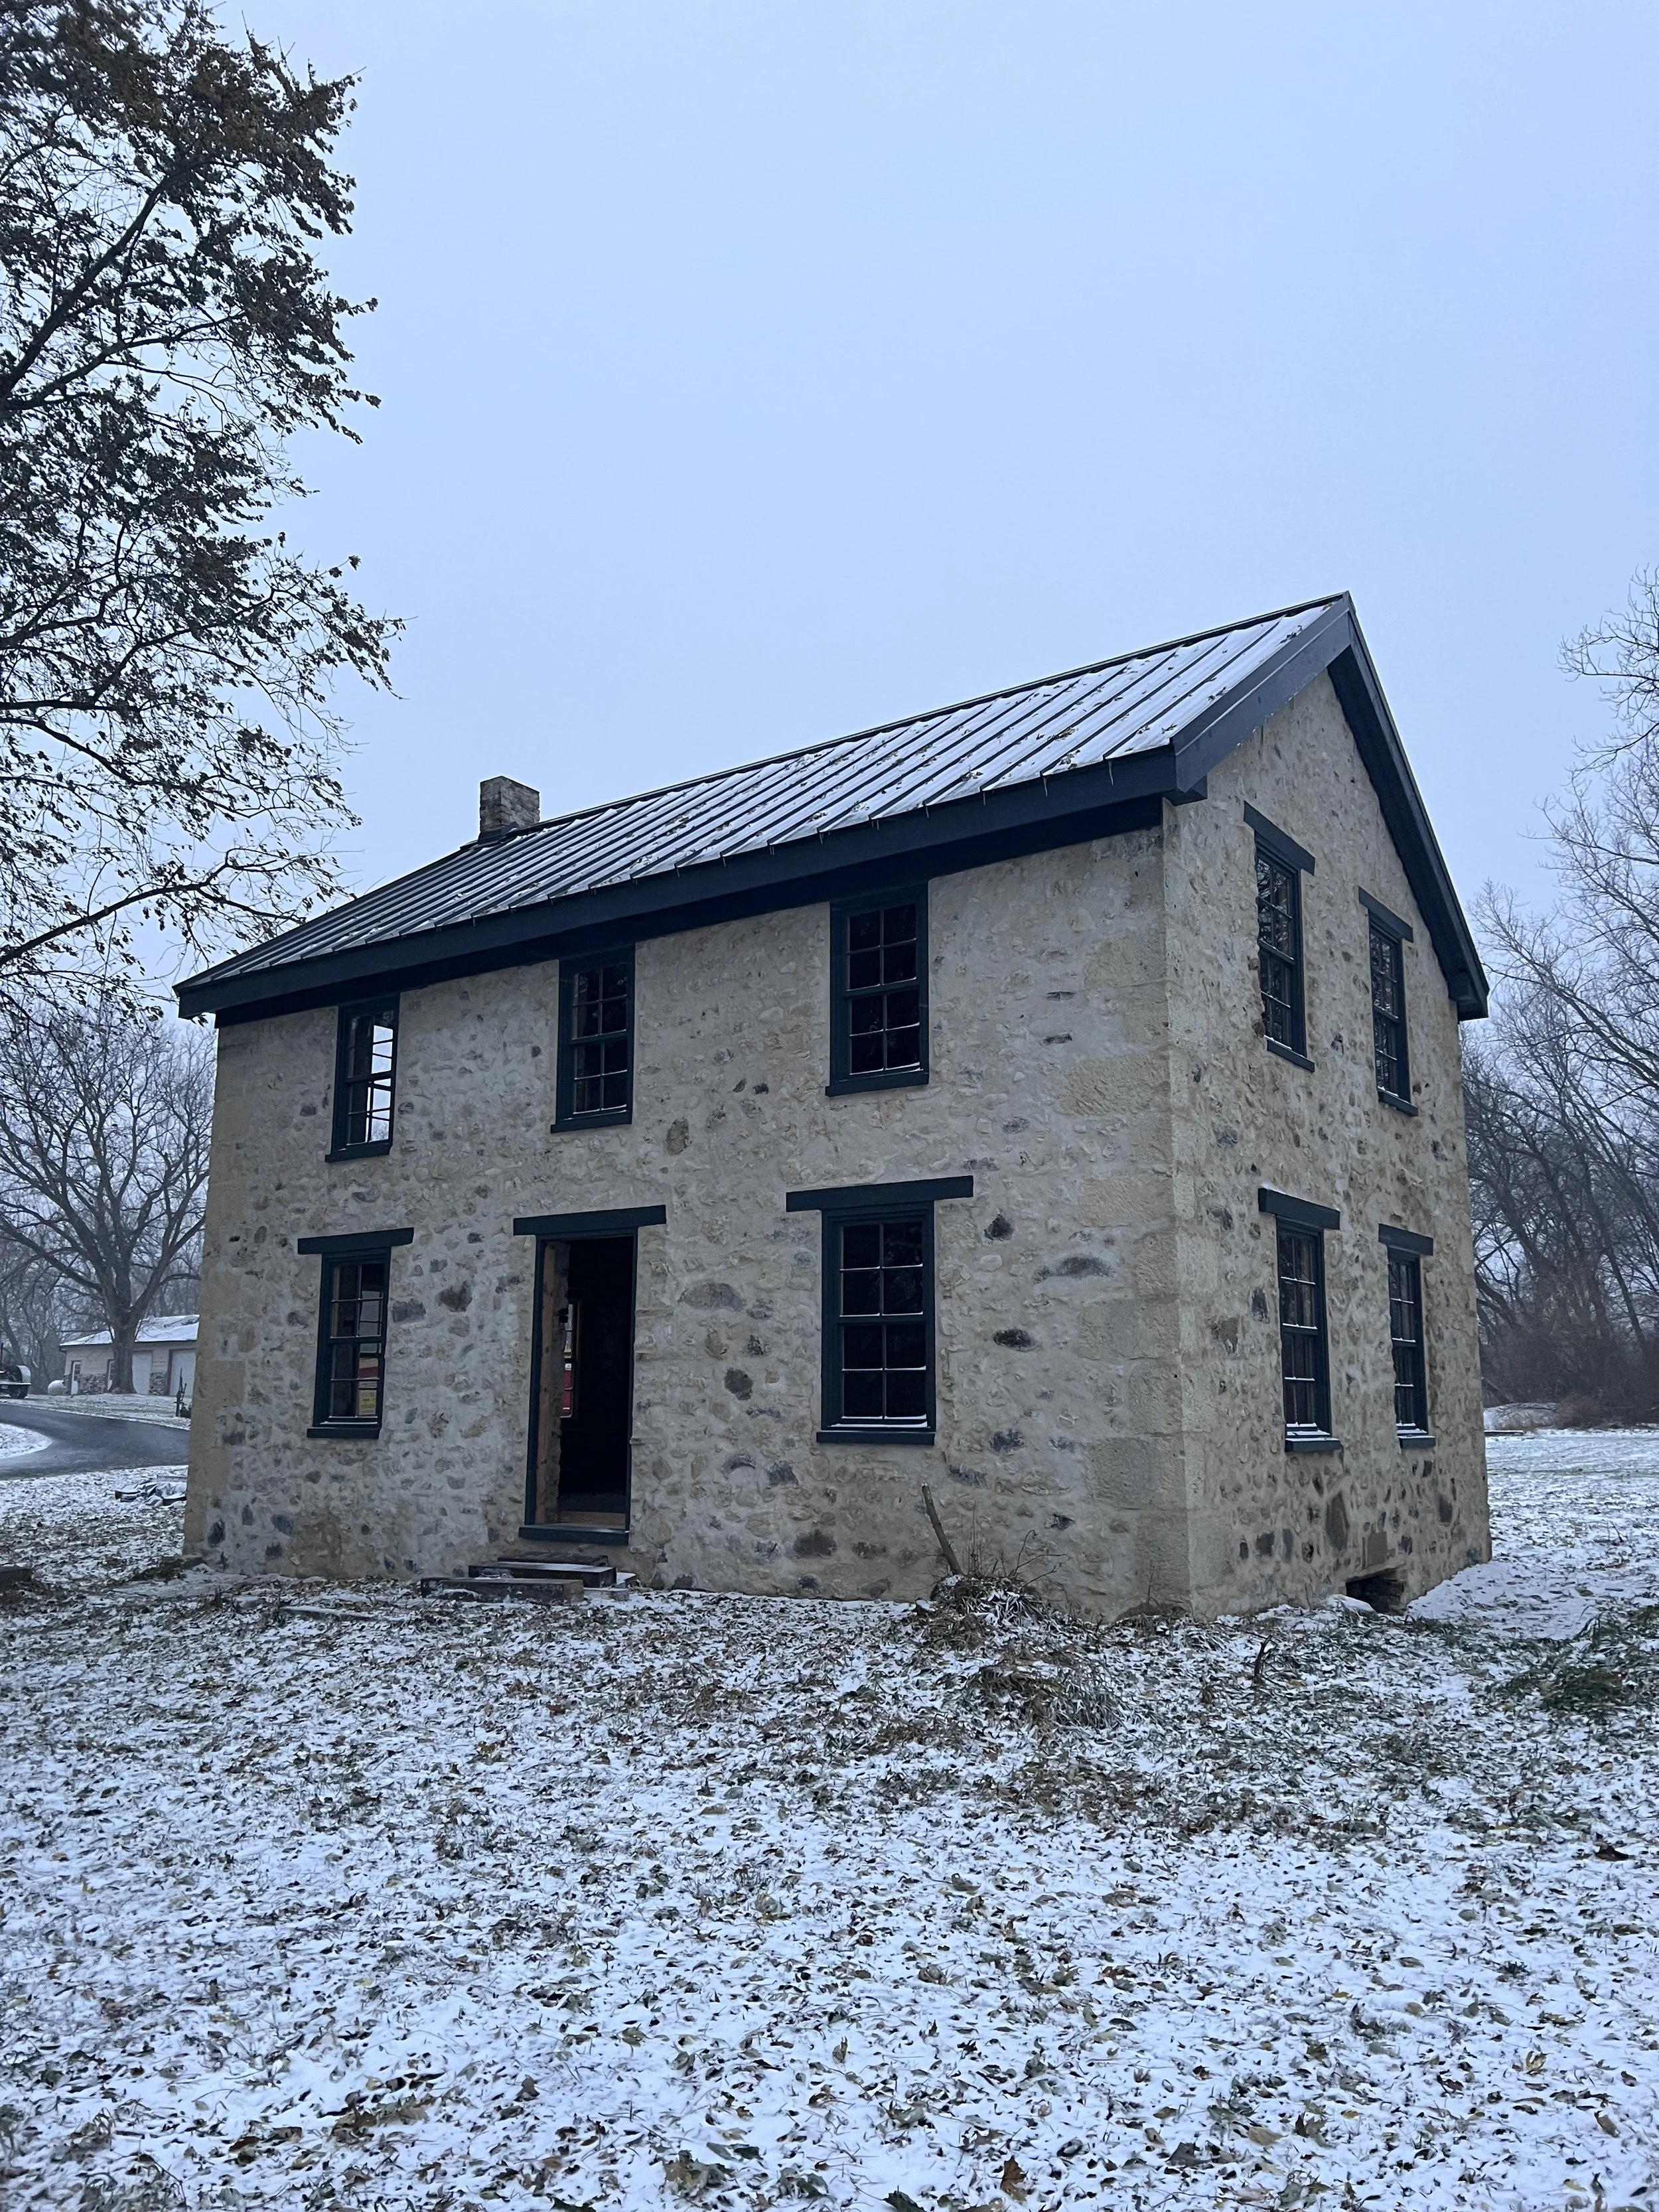
an 1866 fieldstone farmhouse
It has been A YEAR. But she is finally done and so beautiful! And sometimes, a video can help share what a project has all entailed better than any words could ever encompass. So without further ado, 14 months distilled into 14 minutes.
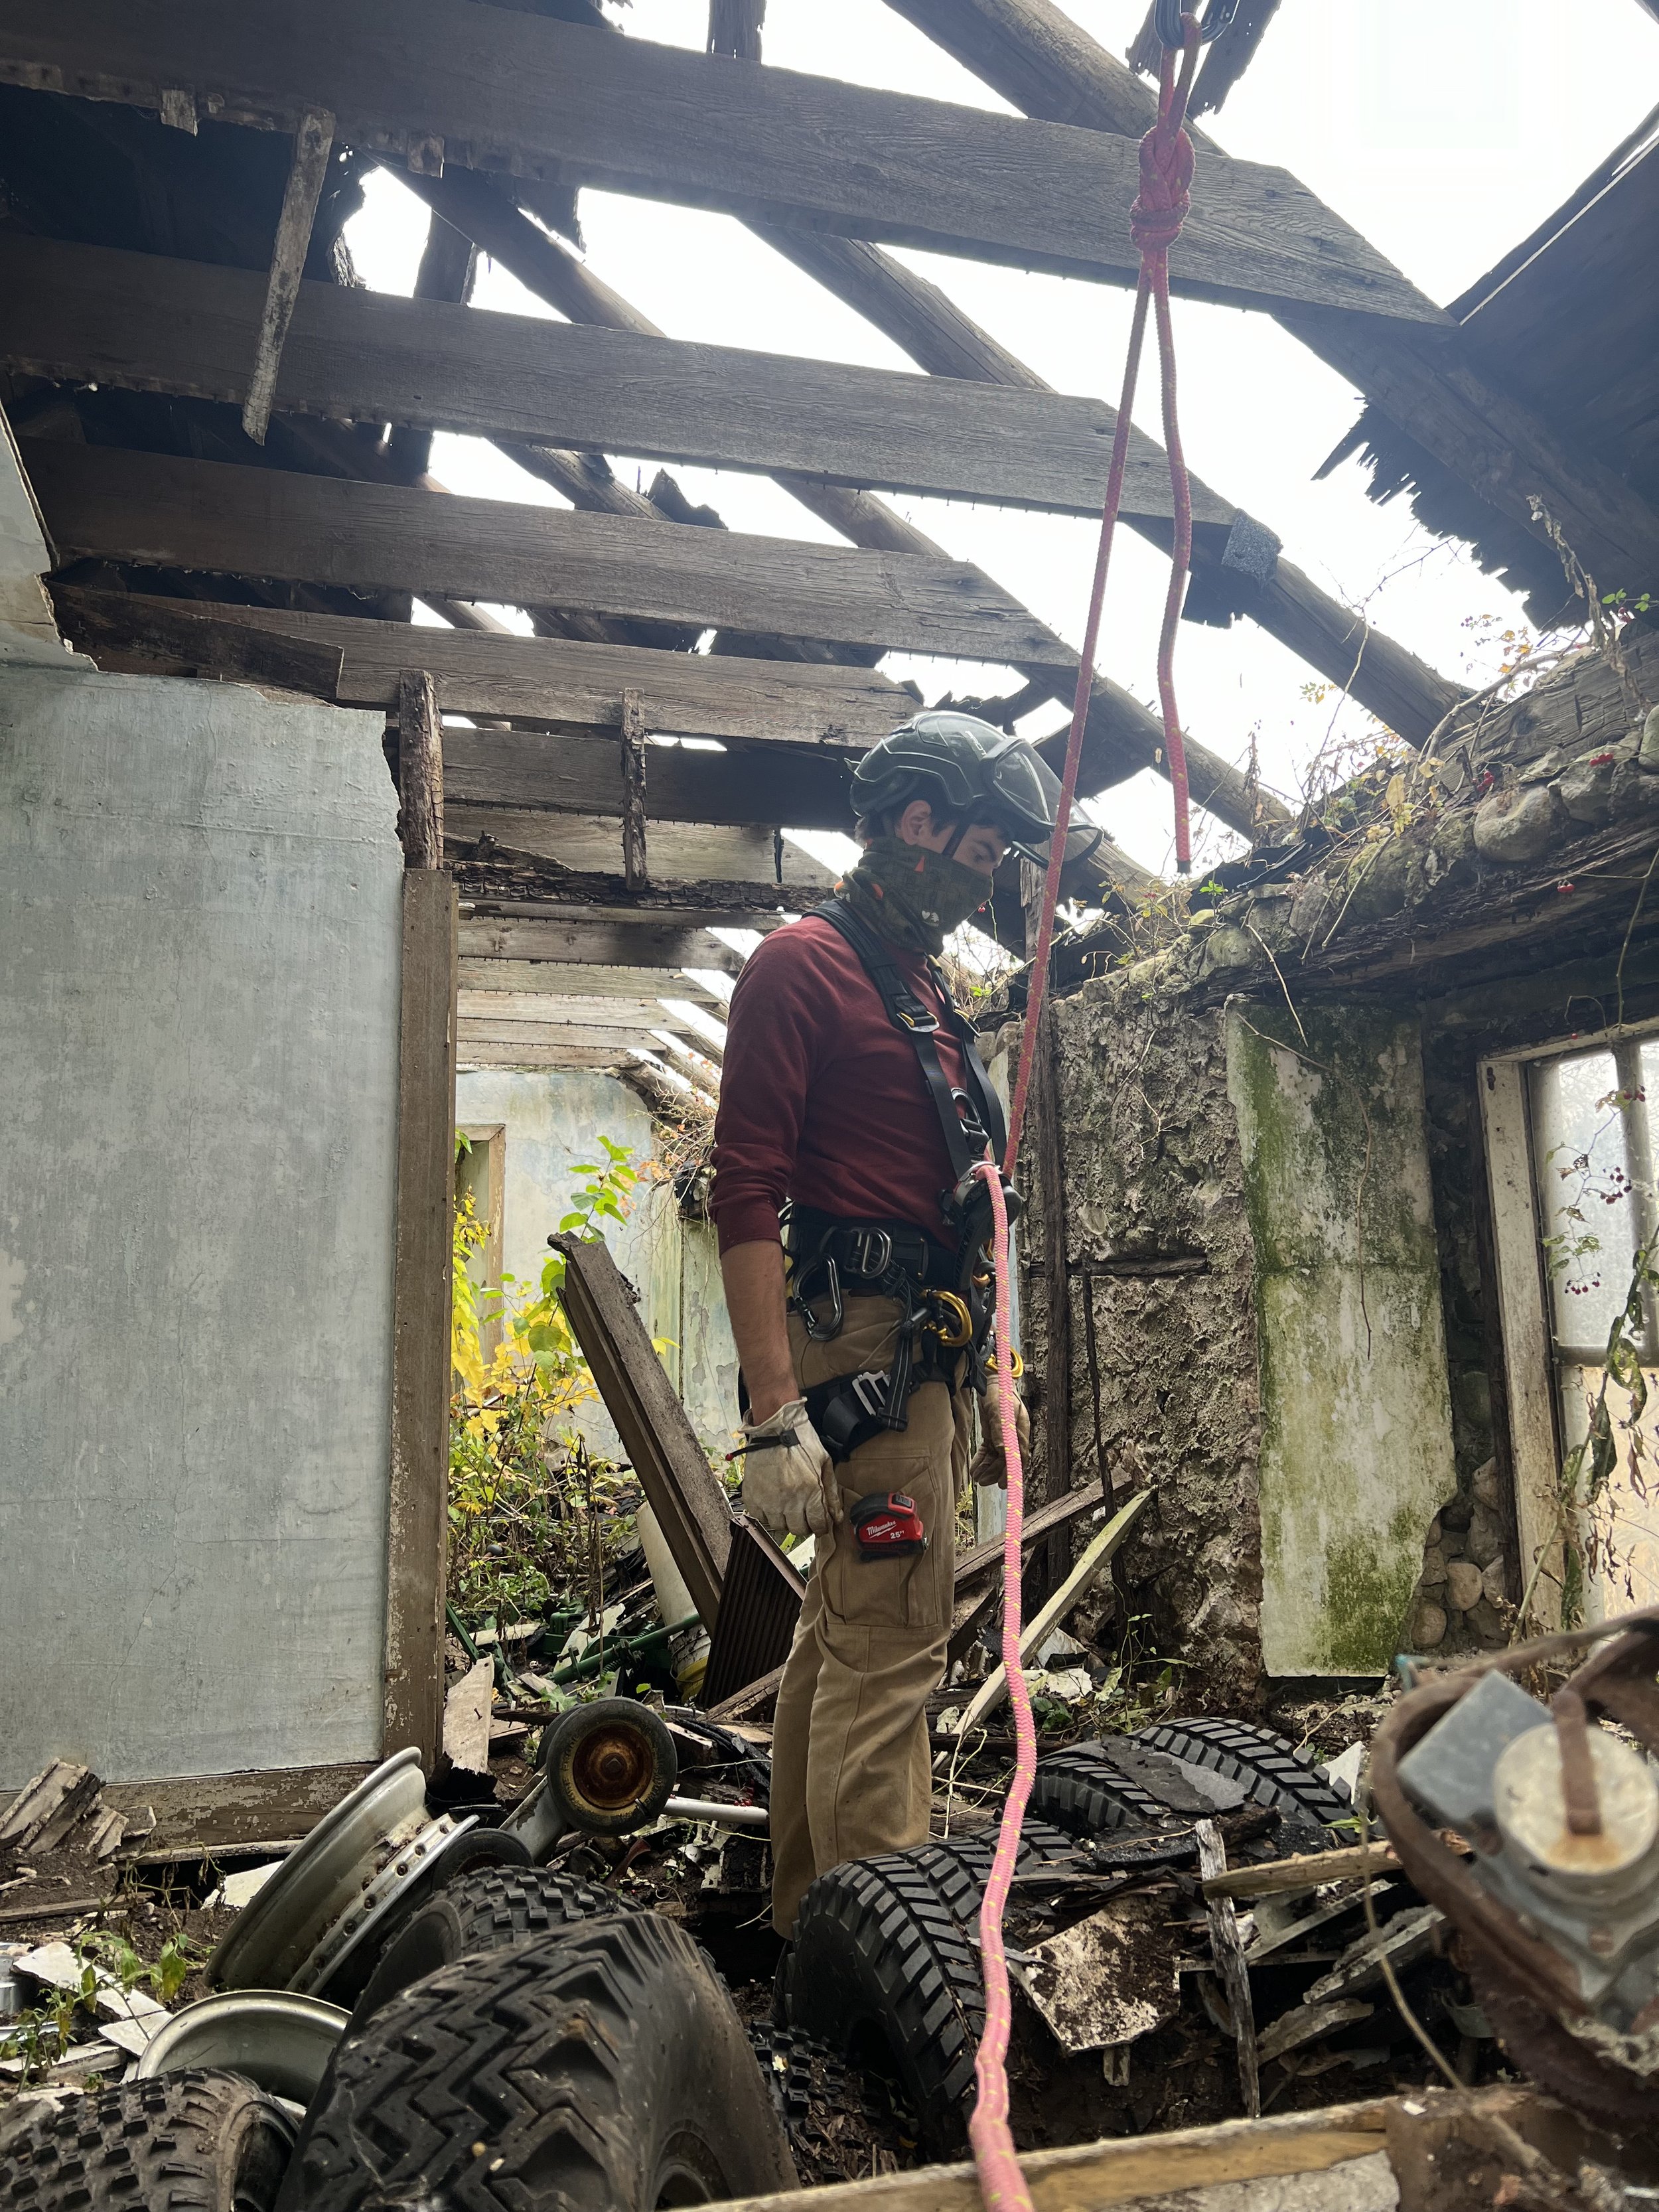
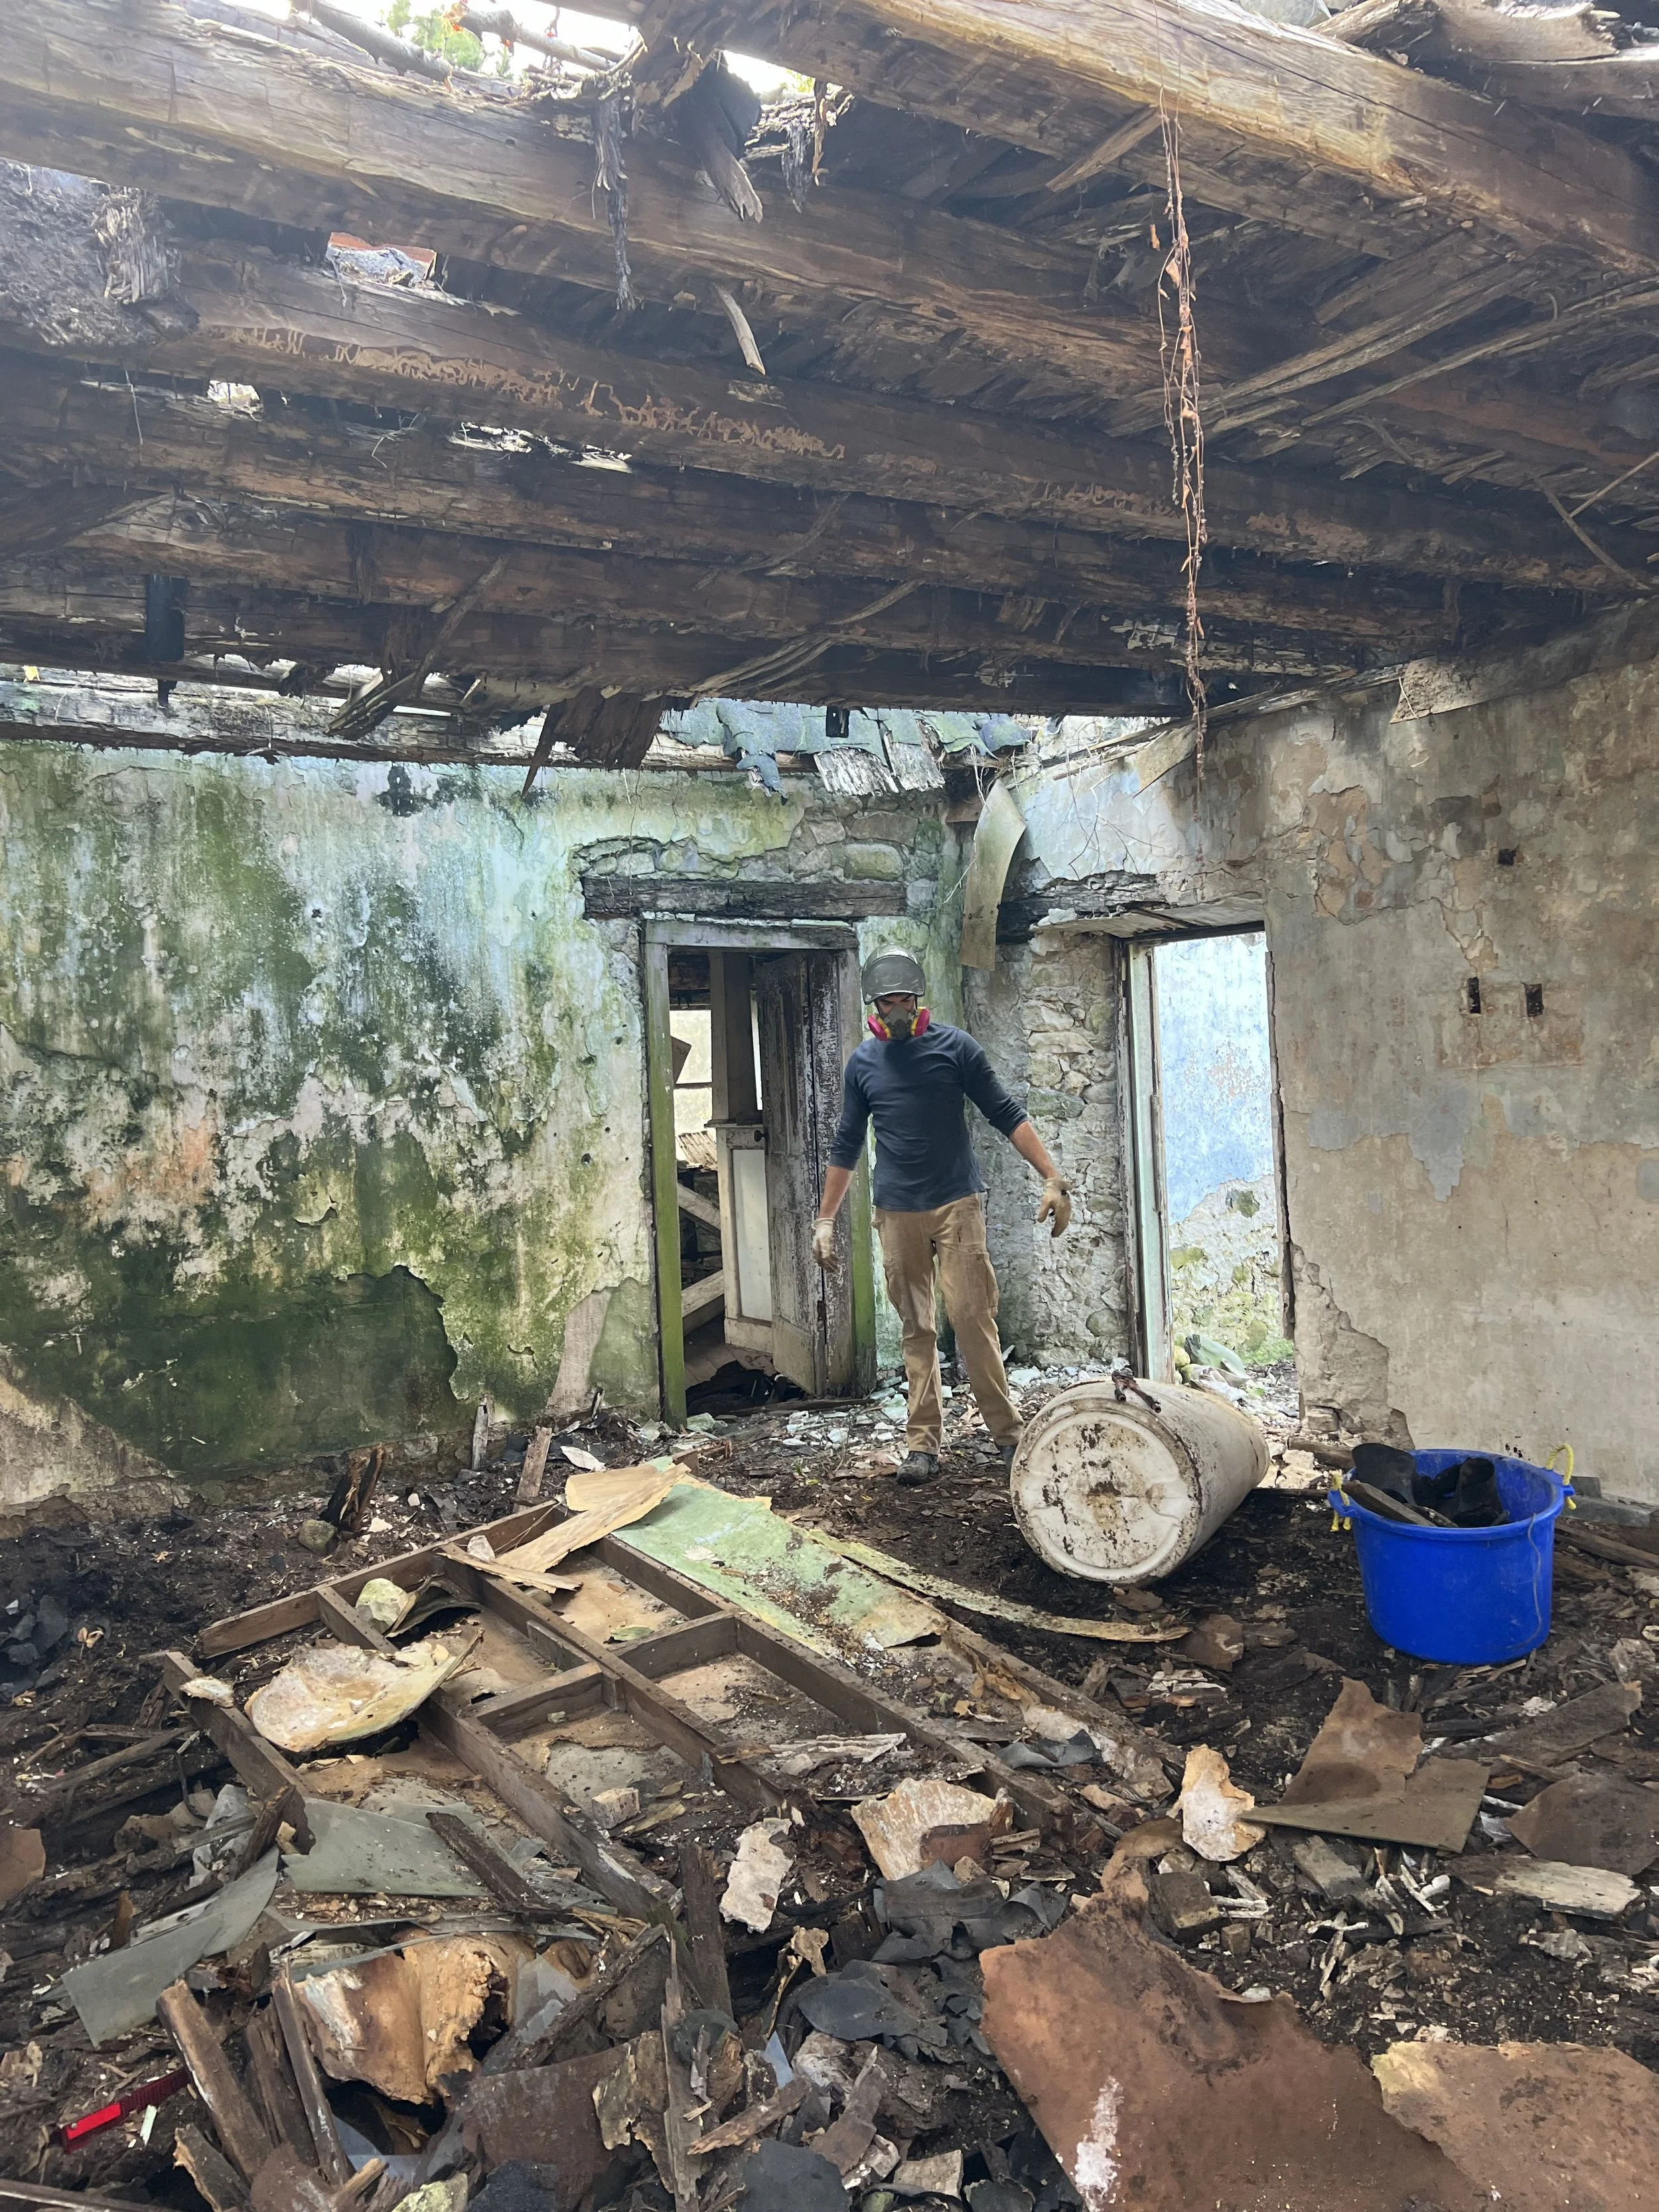
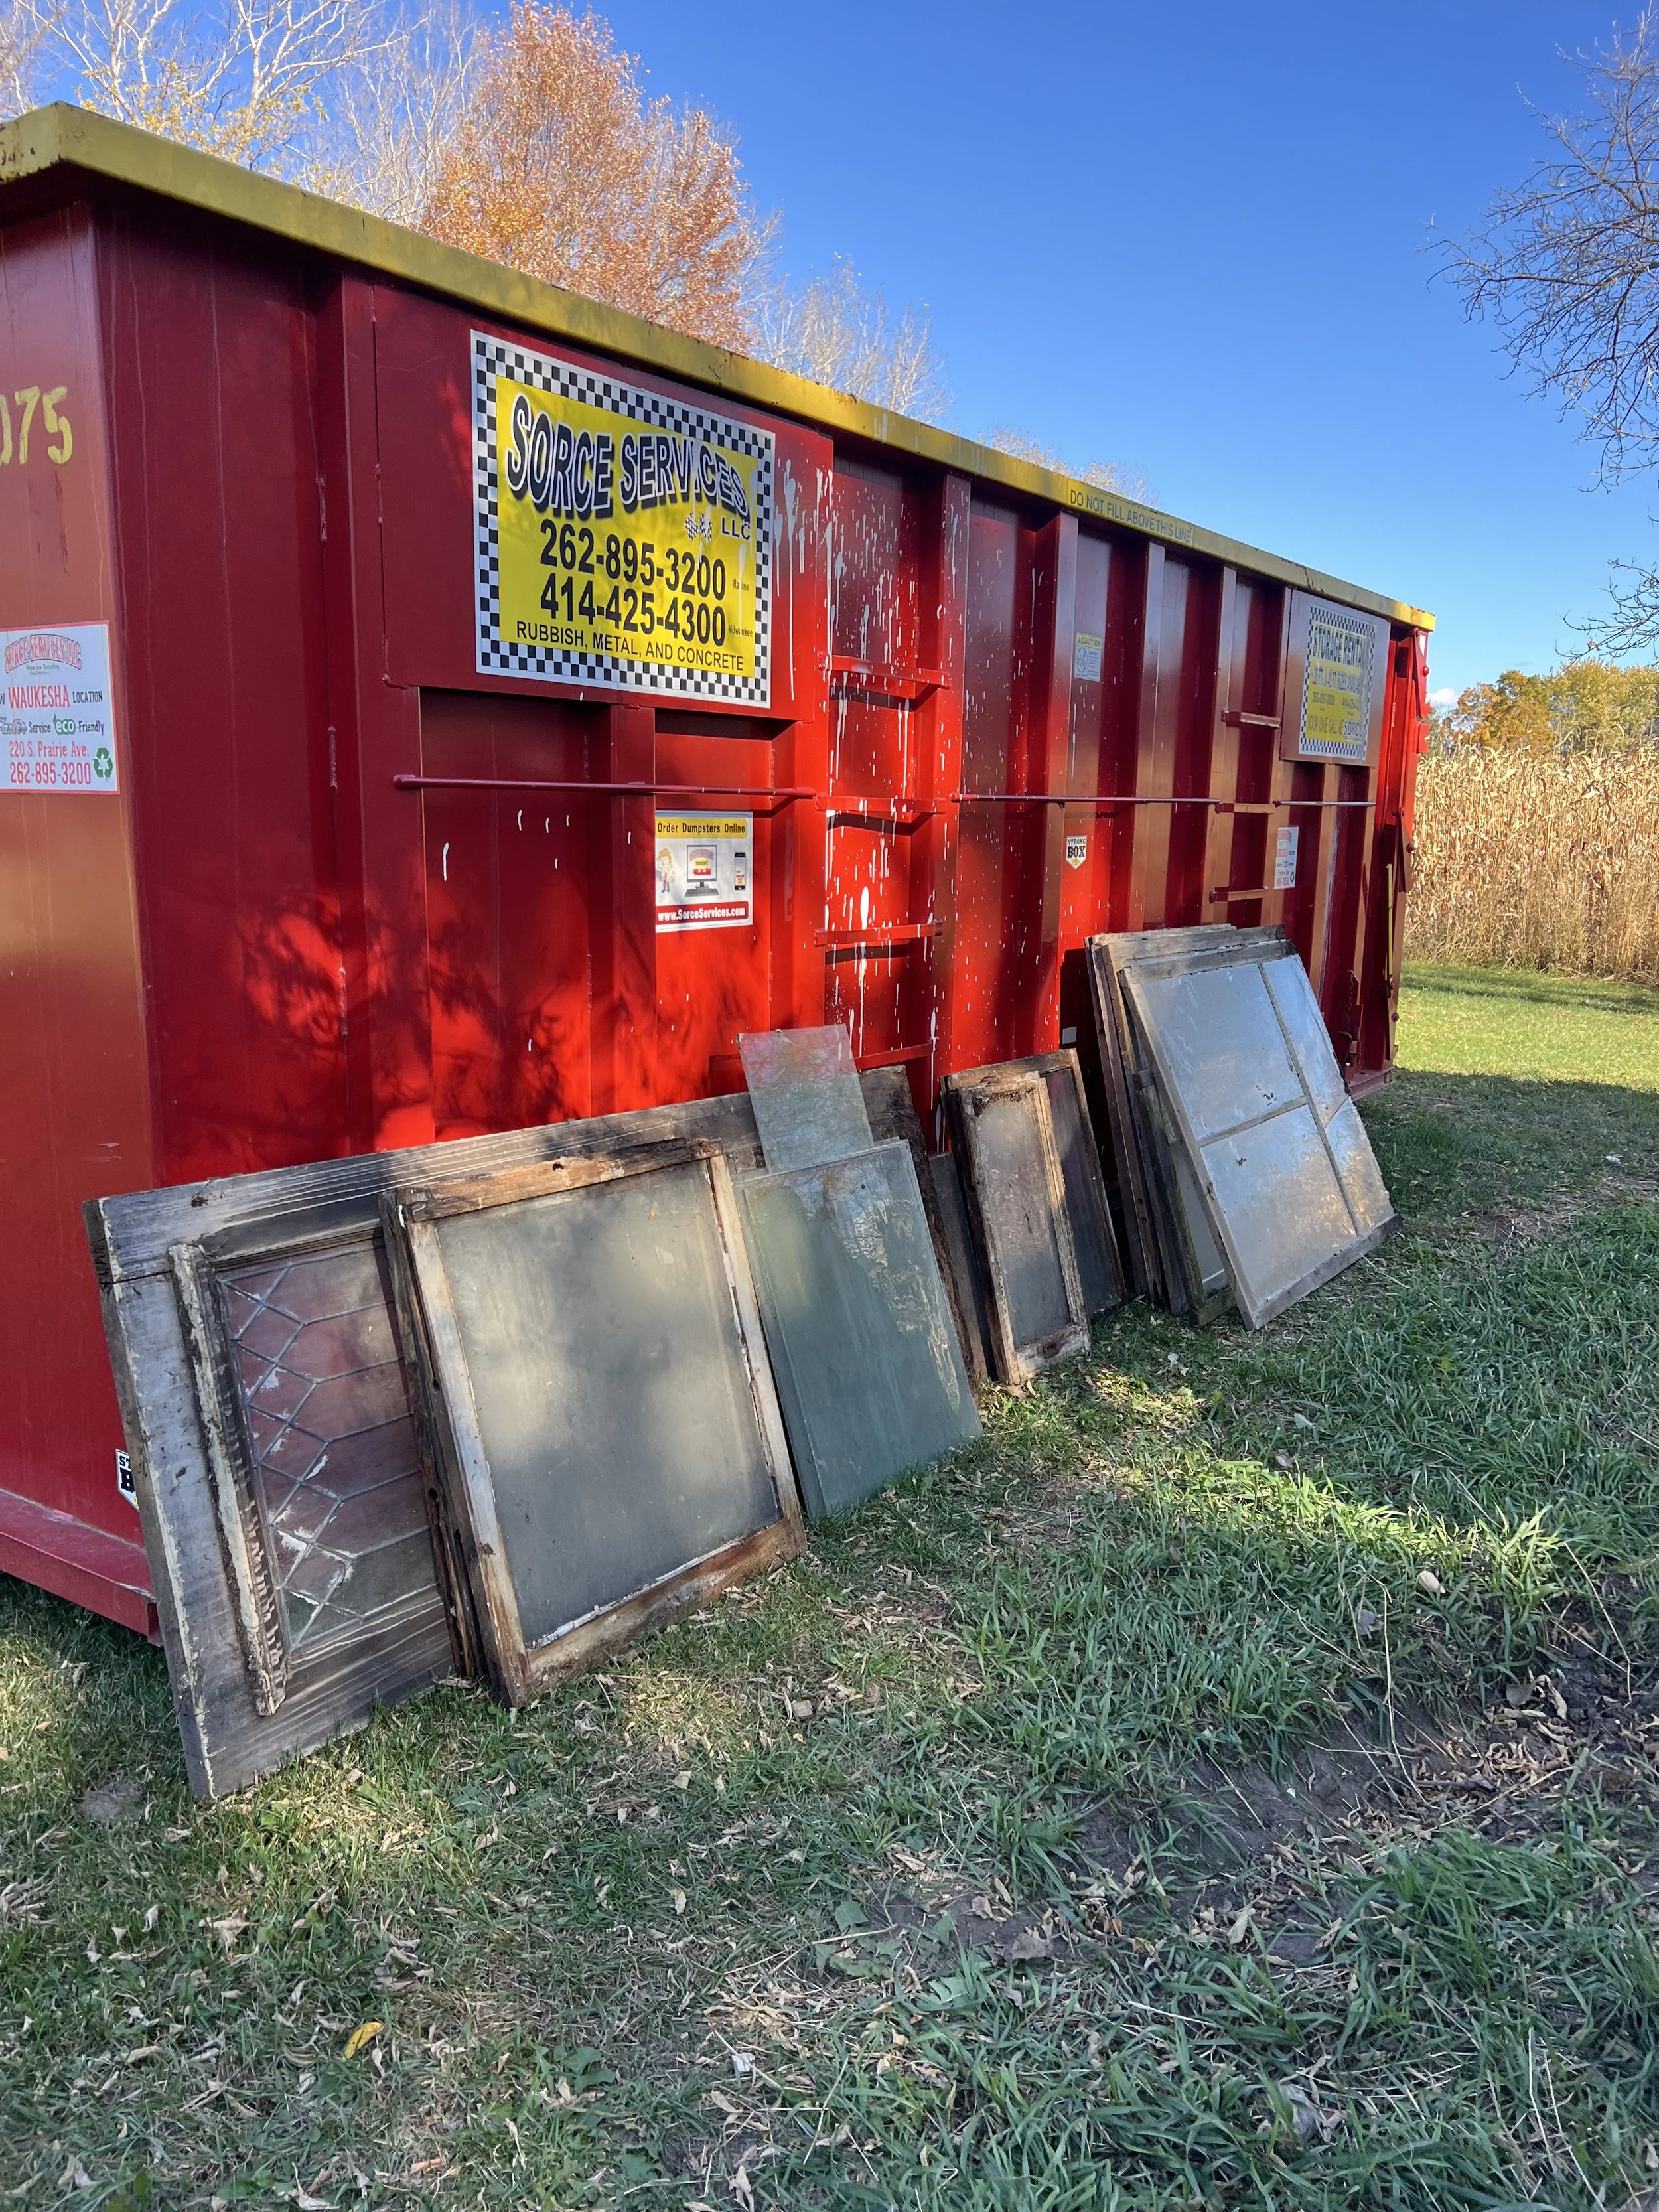
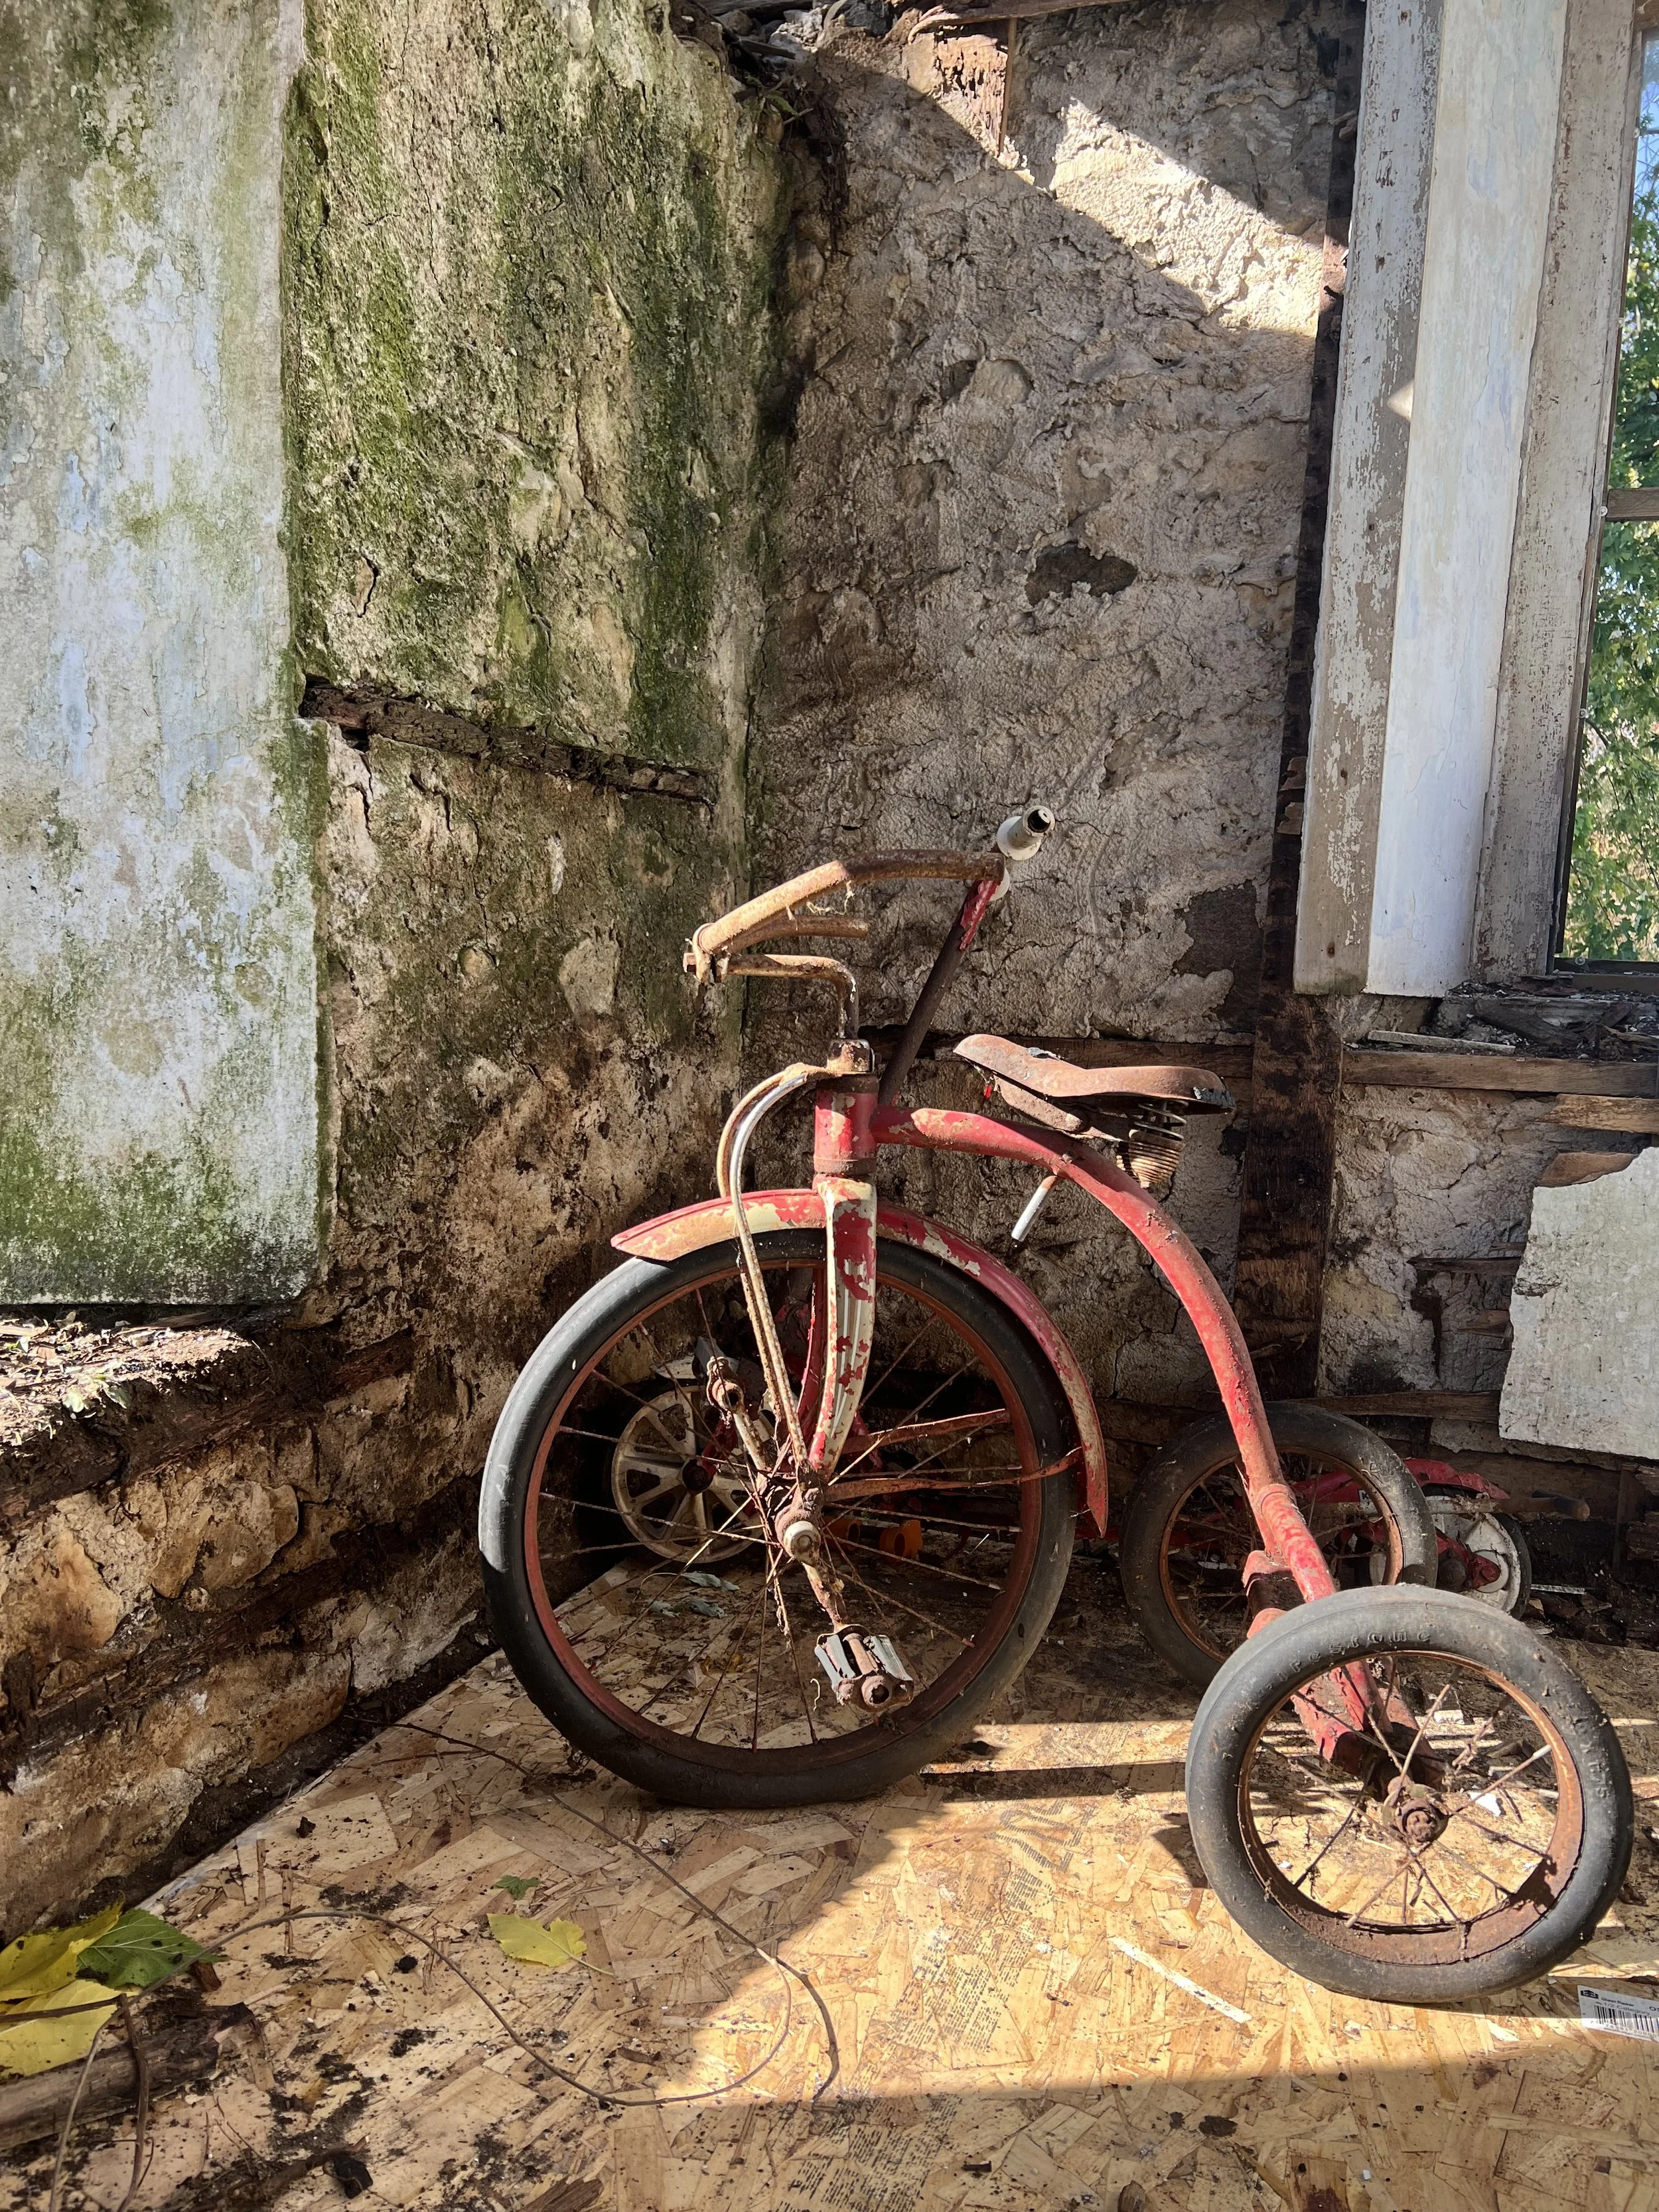
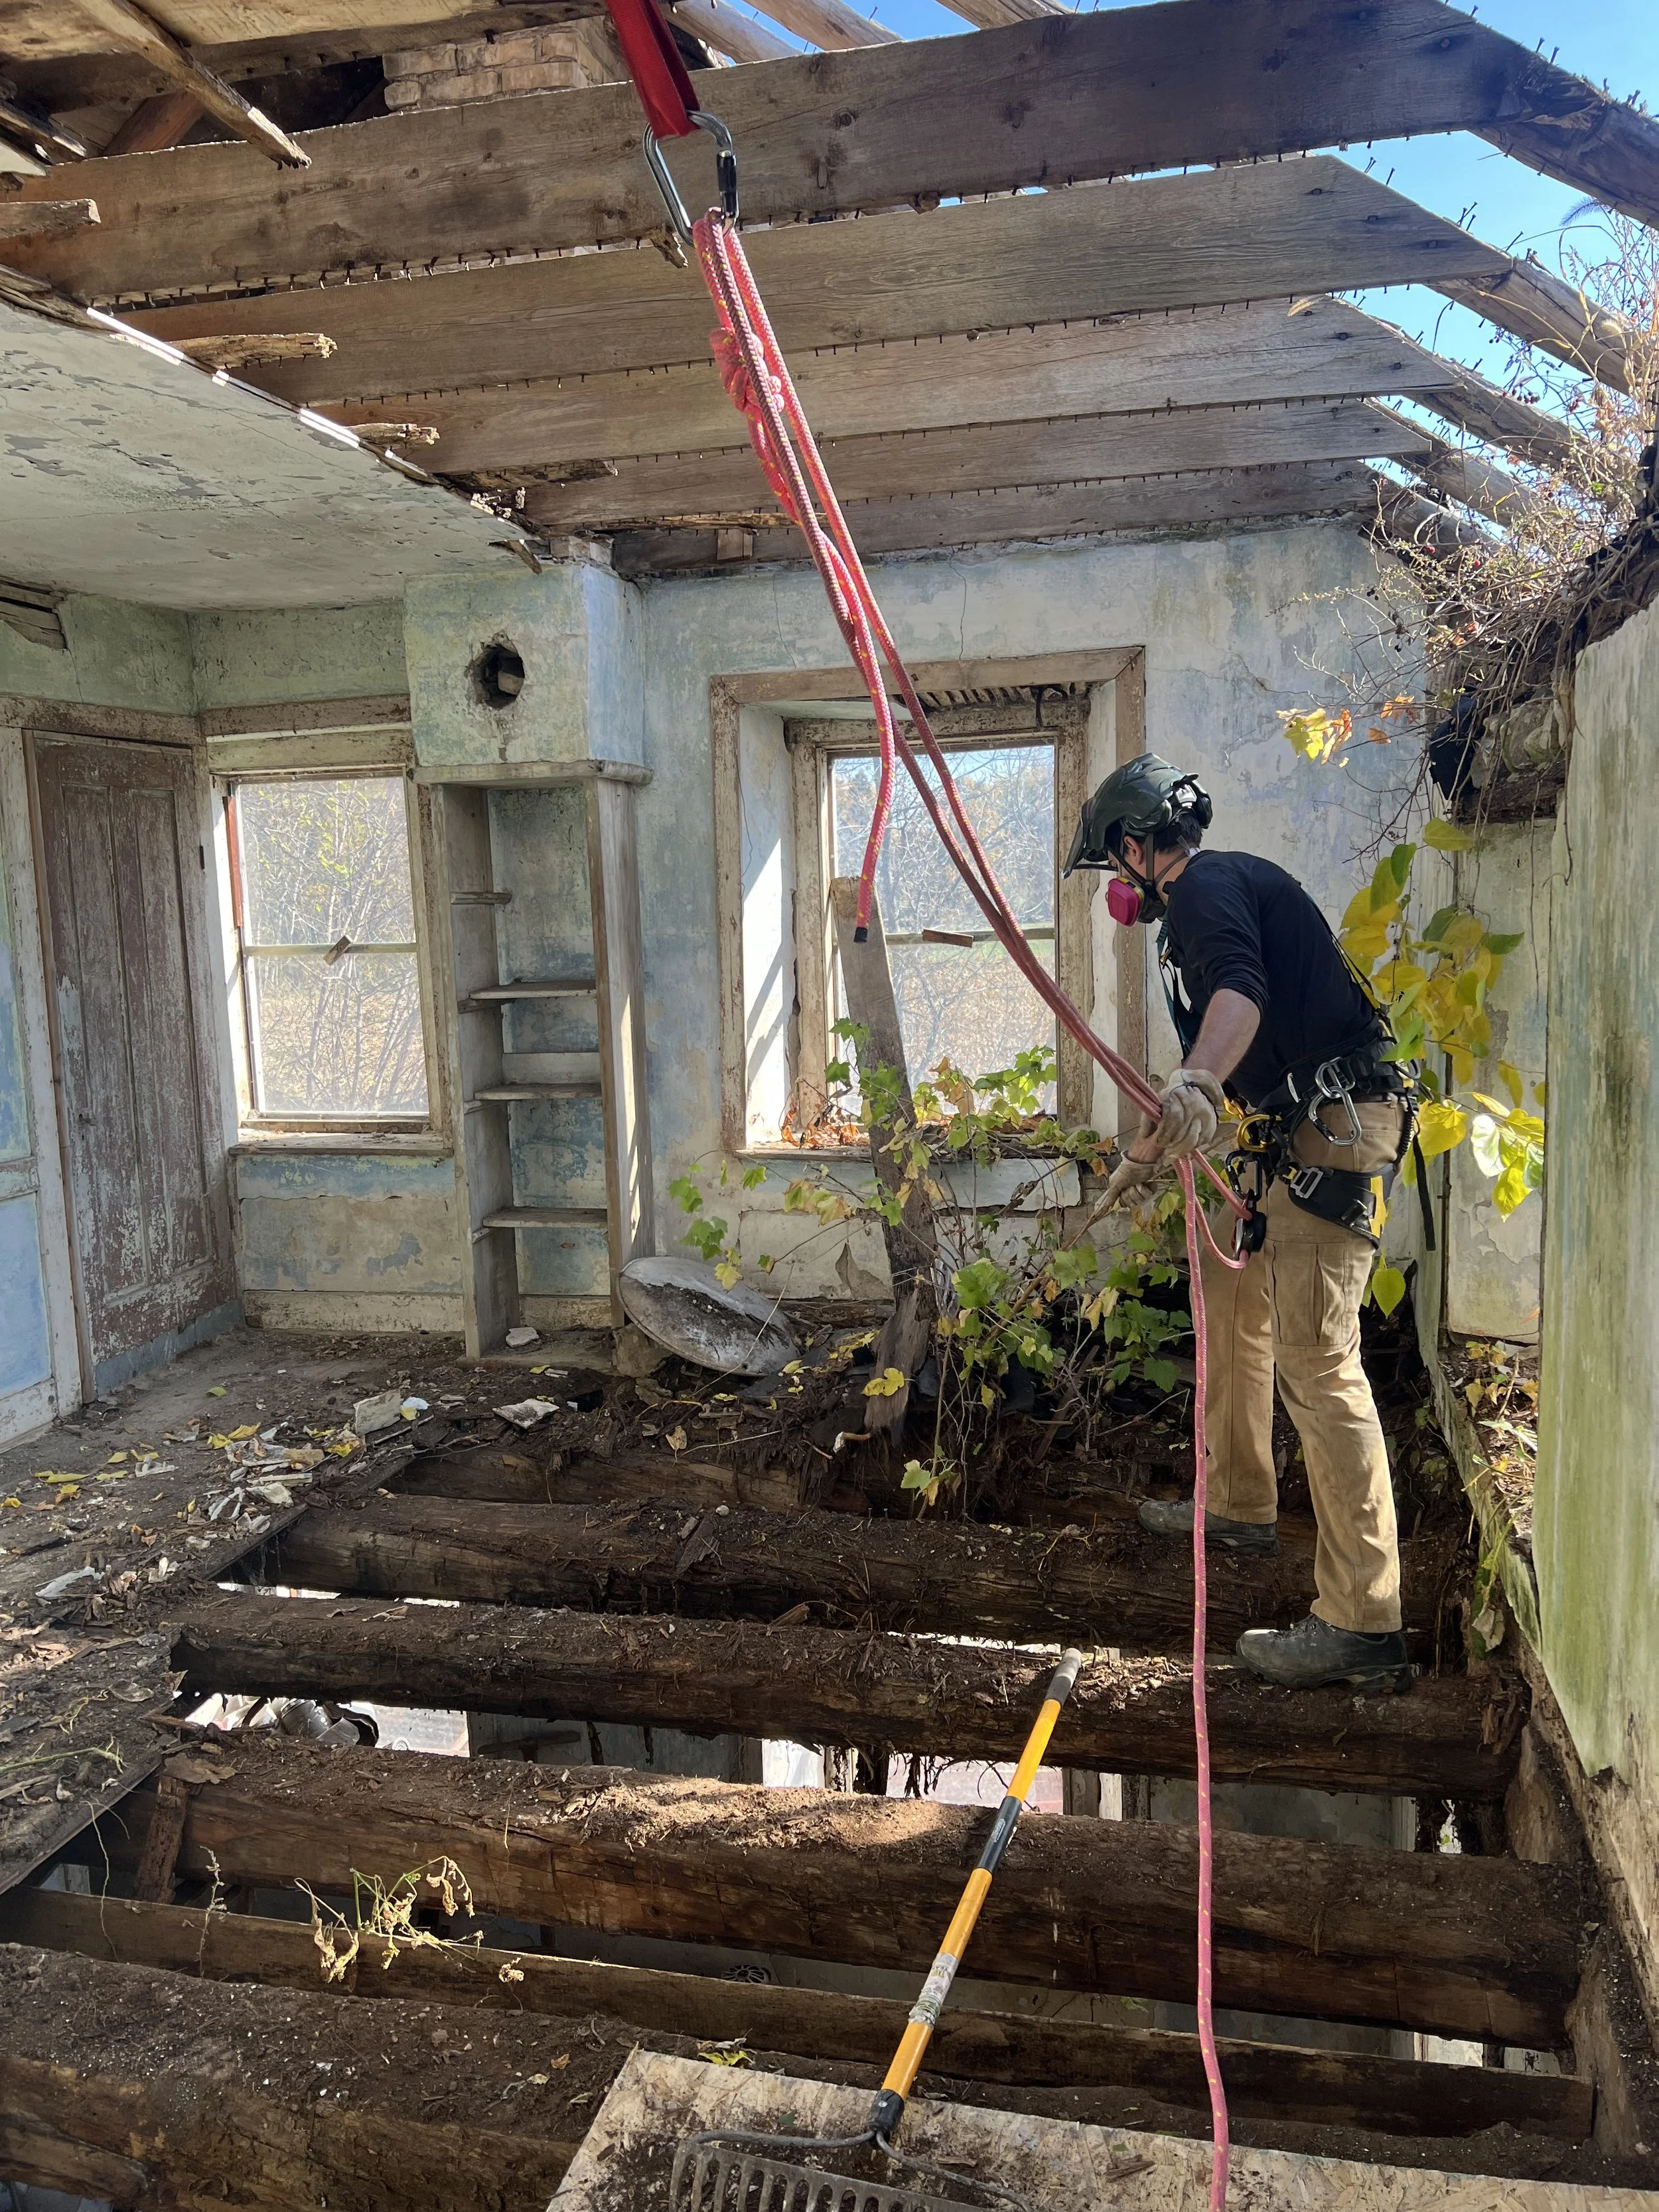
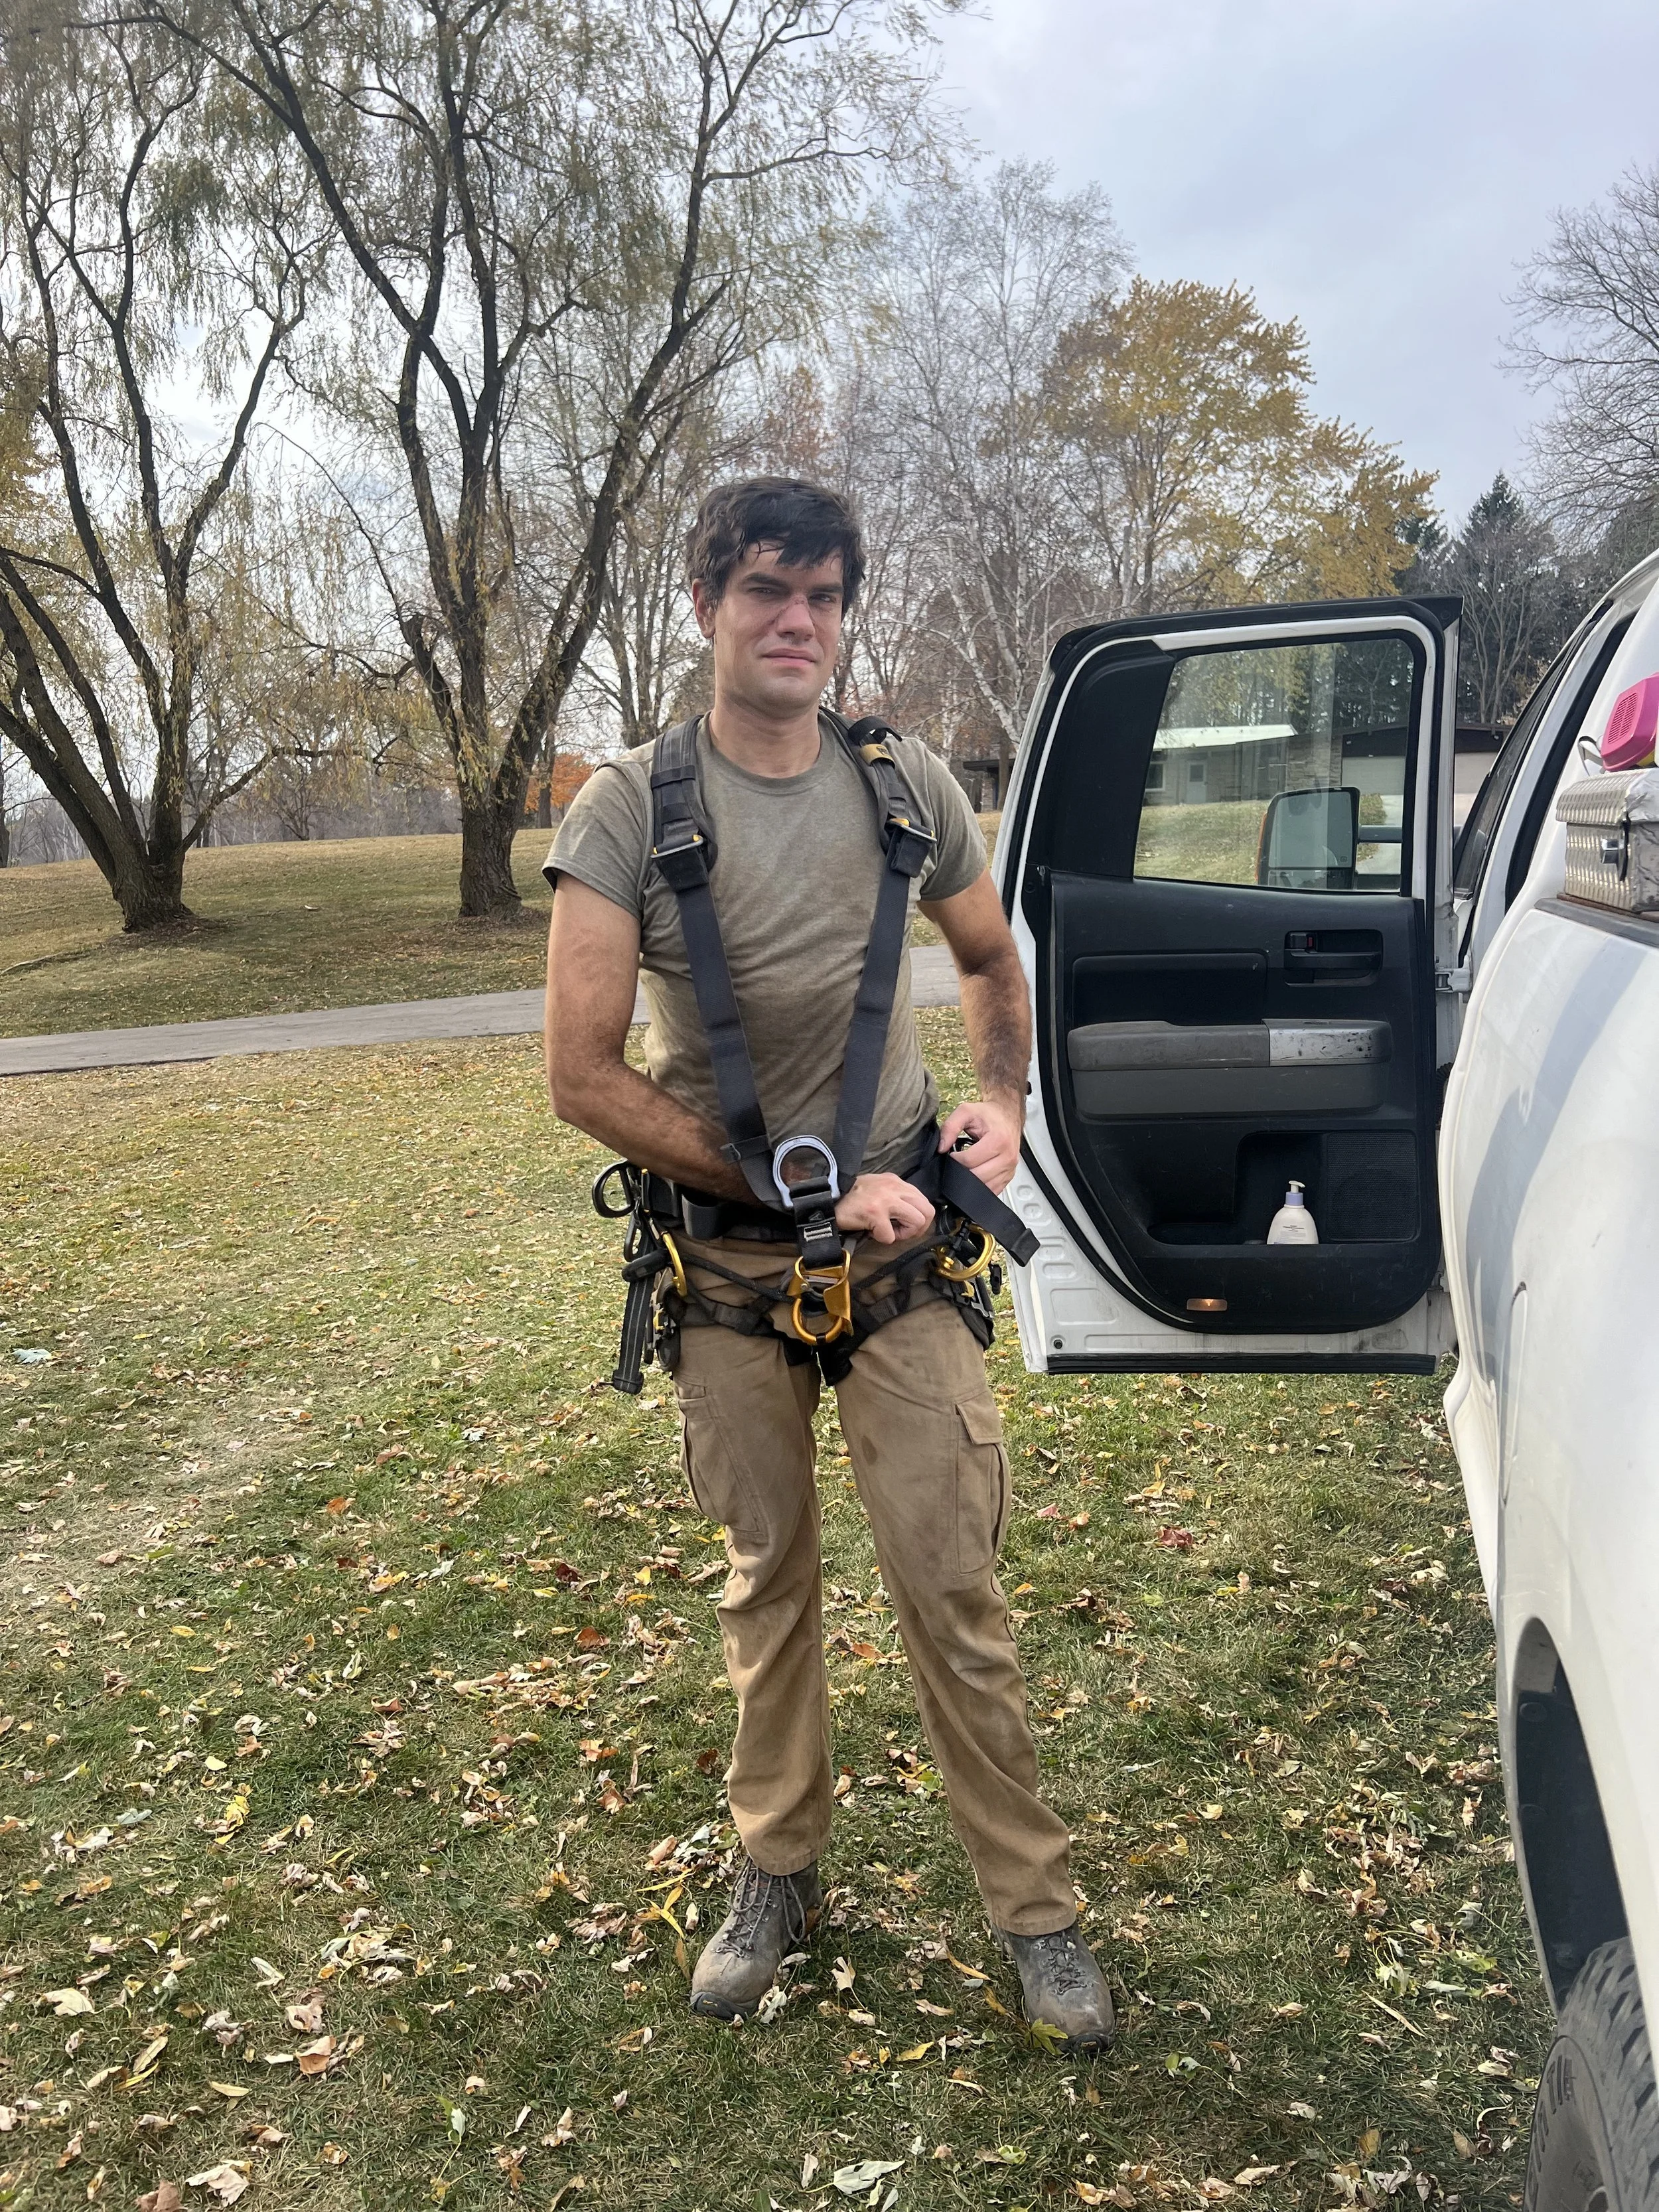
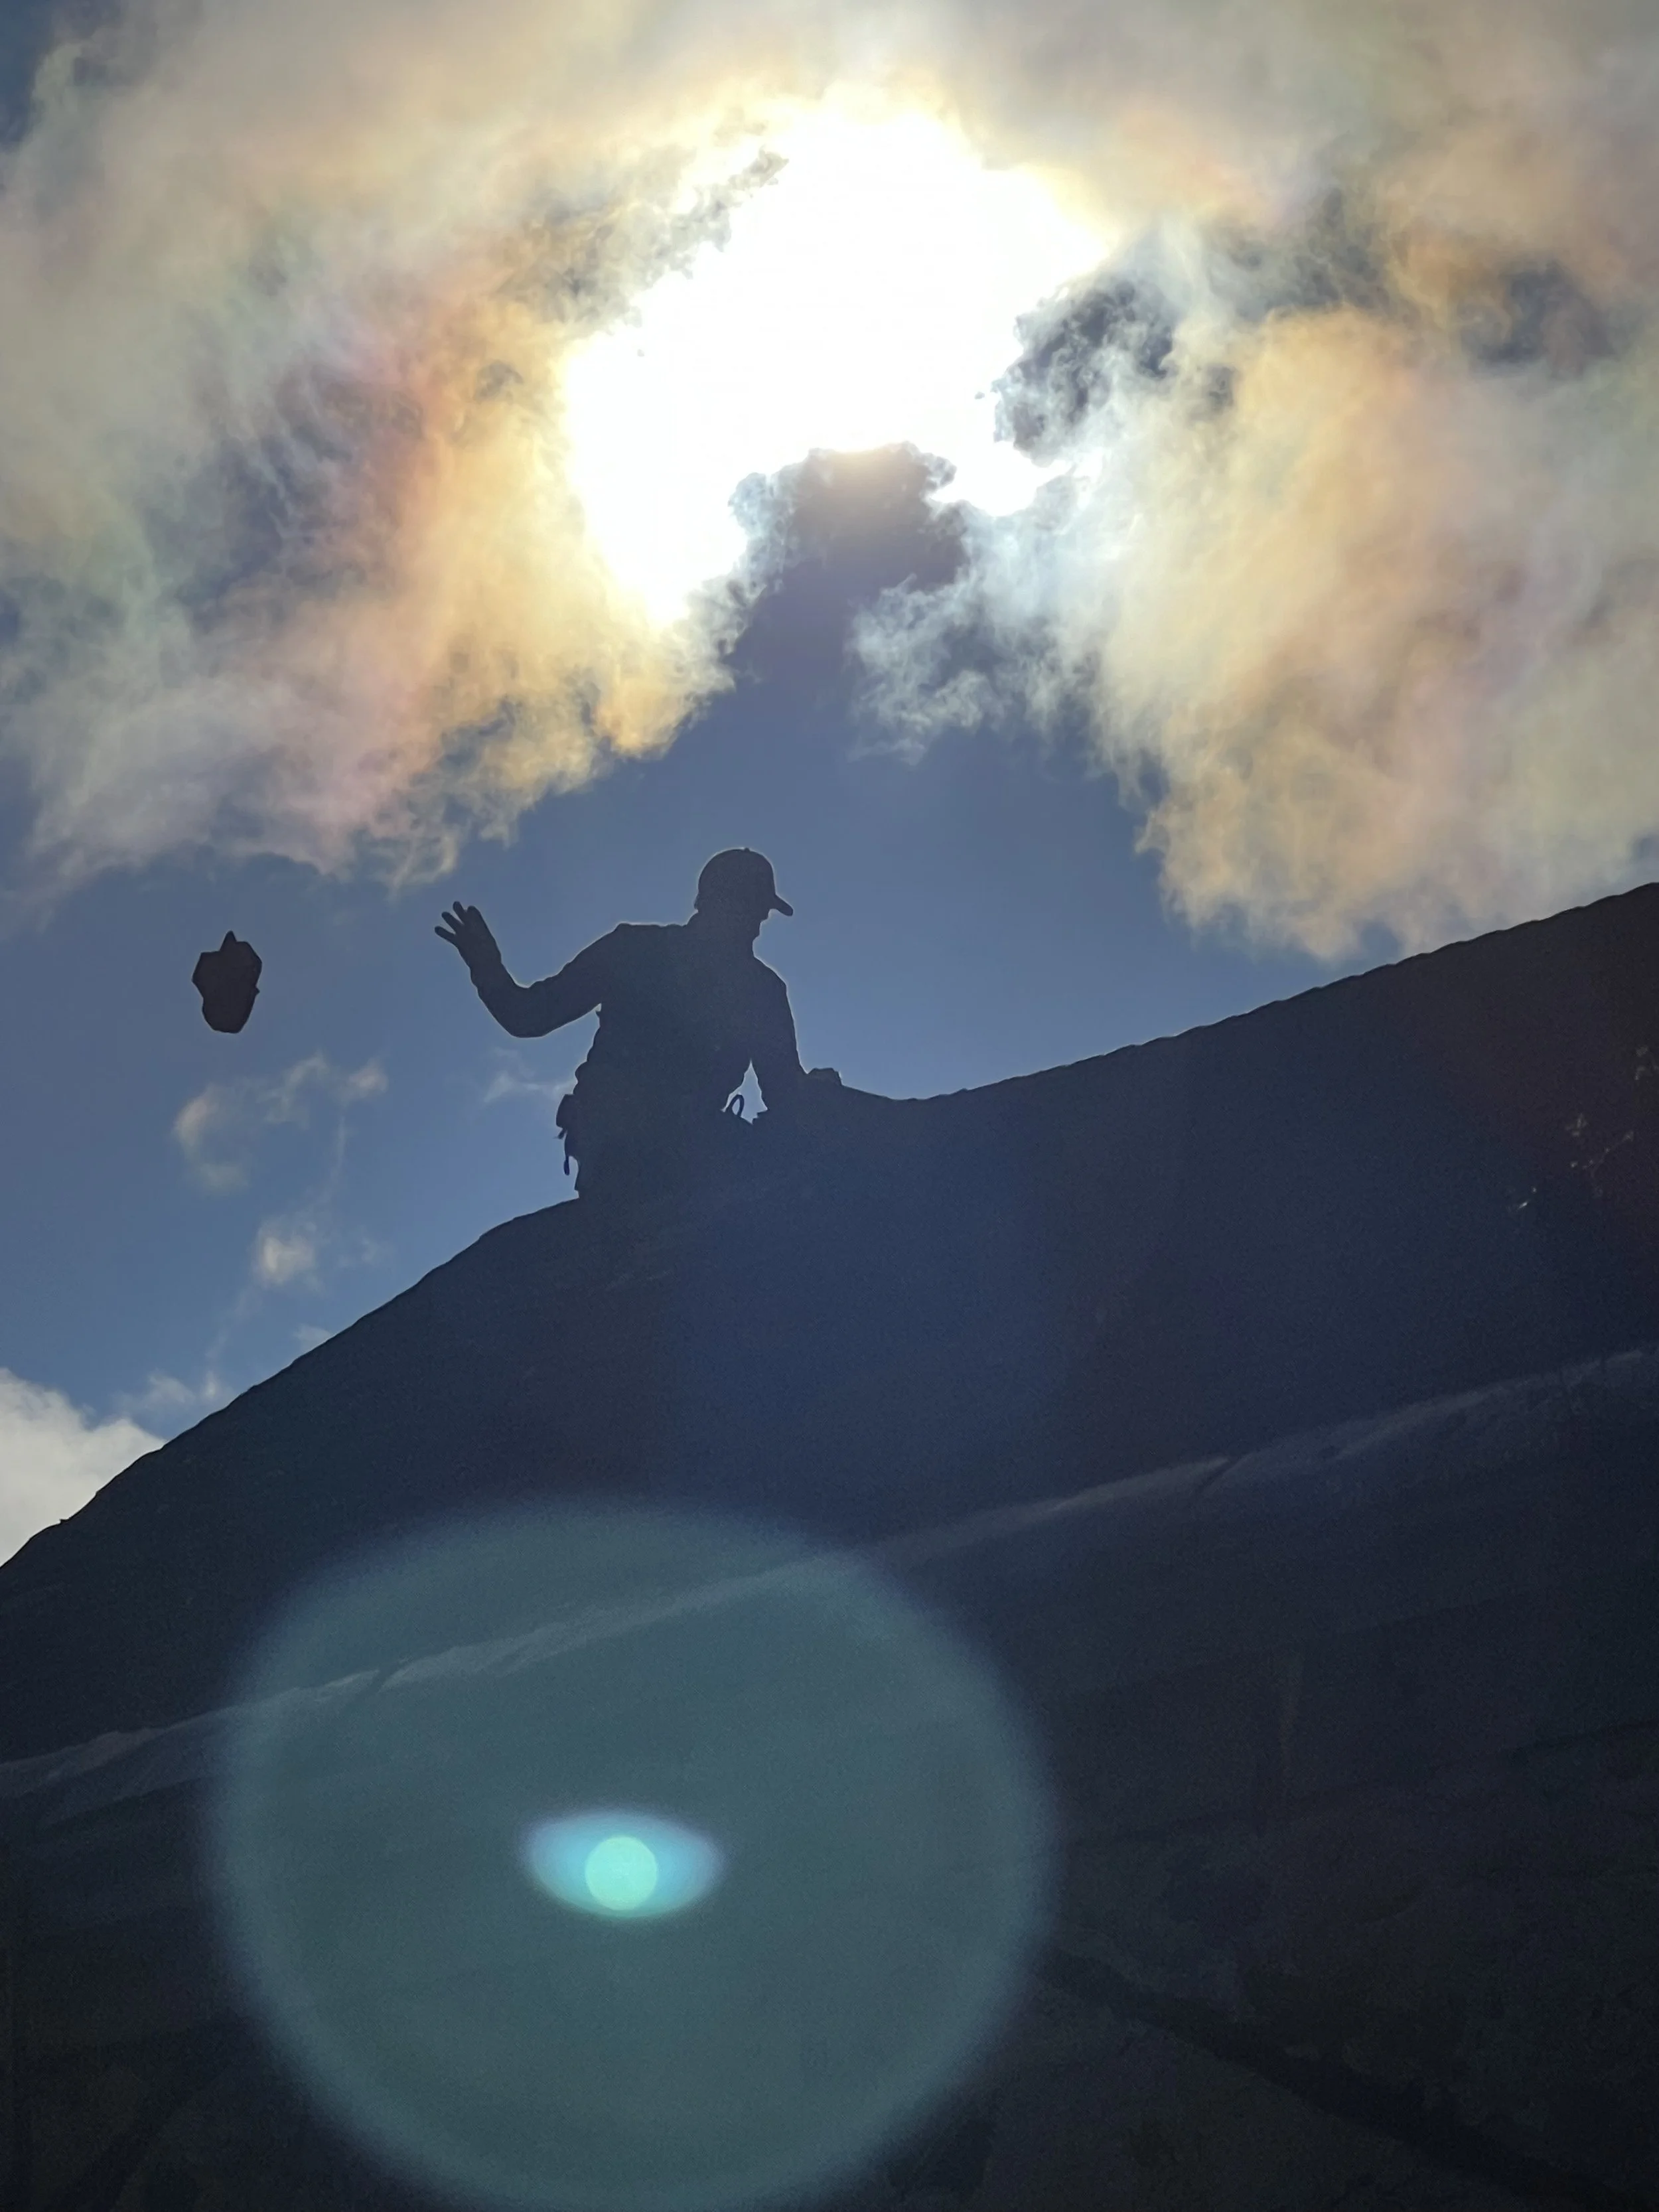
Last fall we took out 8 (yes, EIGHT!) giant dumpsters worth of debris totaling roughly 80,000 pounds, entirely by hand. As the roof had completely rotted out, that meant wearing all our normal safety gear like harnesses and ropes and respirators, and tying into rotted tamarack roof rafters and praying that if we fell through the second floor that maybe it would slow us down just enough to keep us from totally falling to our death. With the help of our favorite trusty crew, we took out tractor wheels, vintage tricycles, welding equipment, tractor weights (now those were a fun time getting out of the basement), a live colony of wasps living in a wall, so. much. raccoon poop. And old wavy glass windows! Which, you guys know us, we definitely saved!
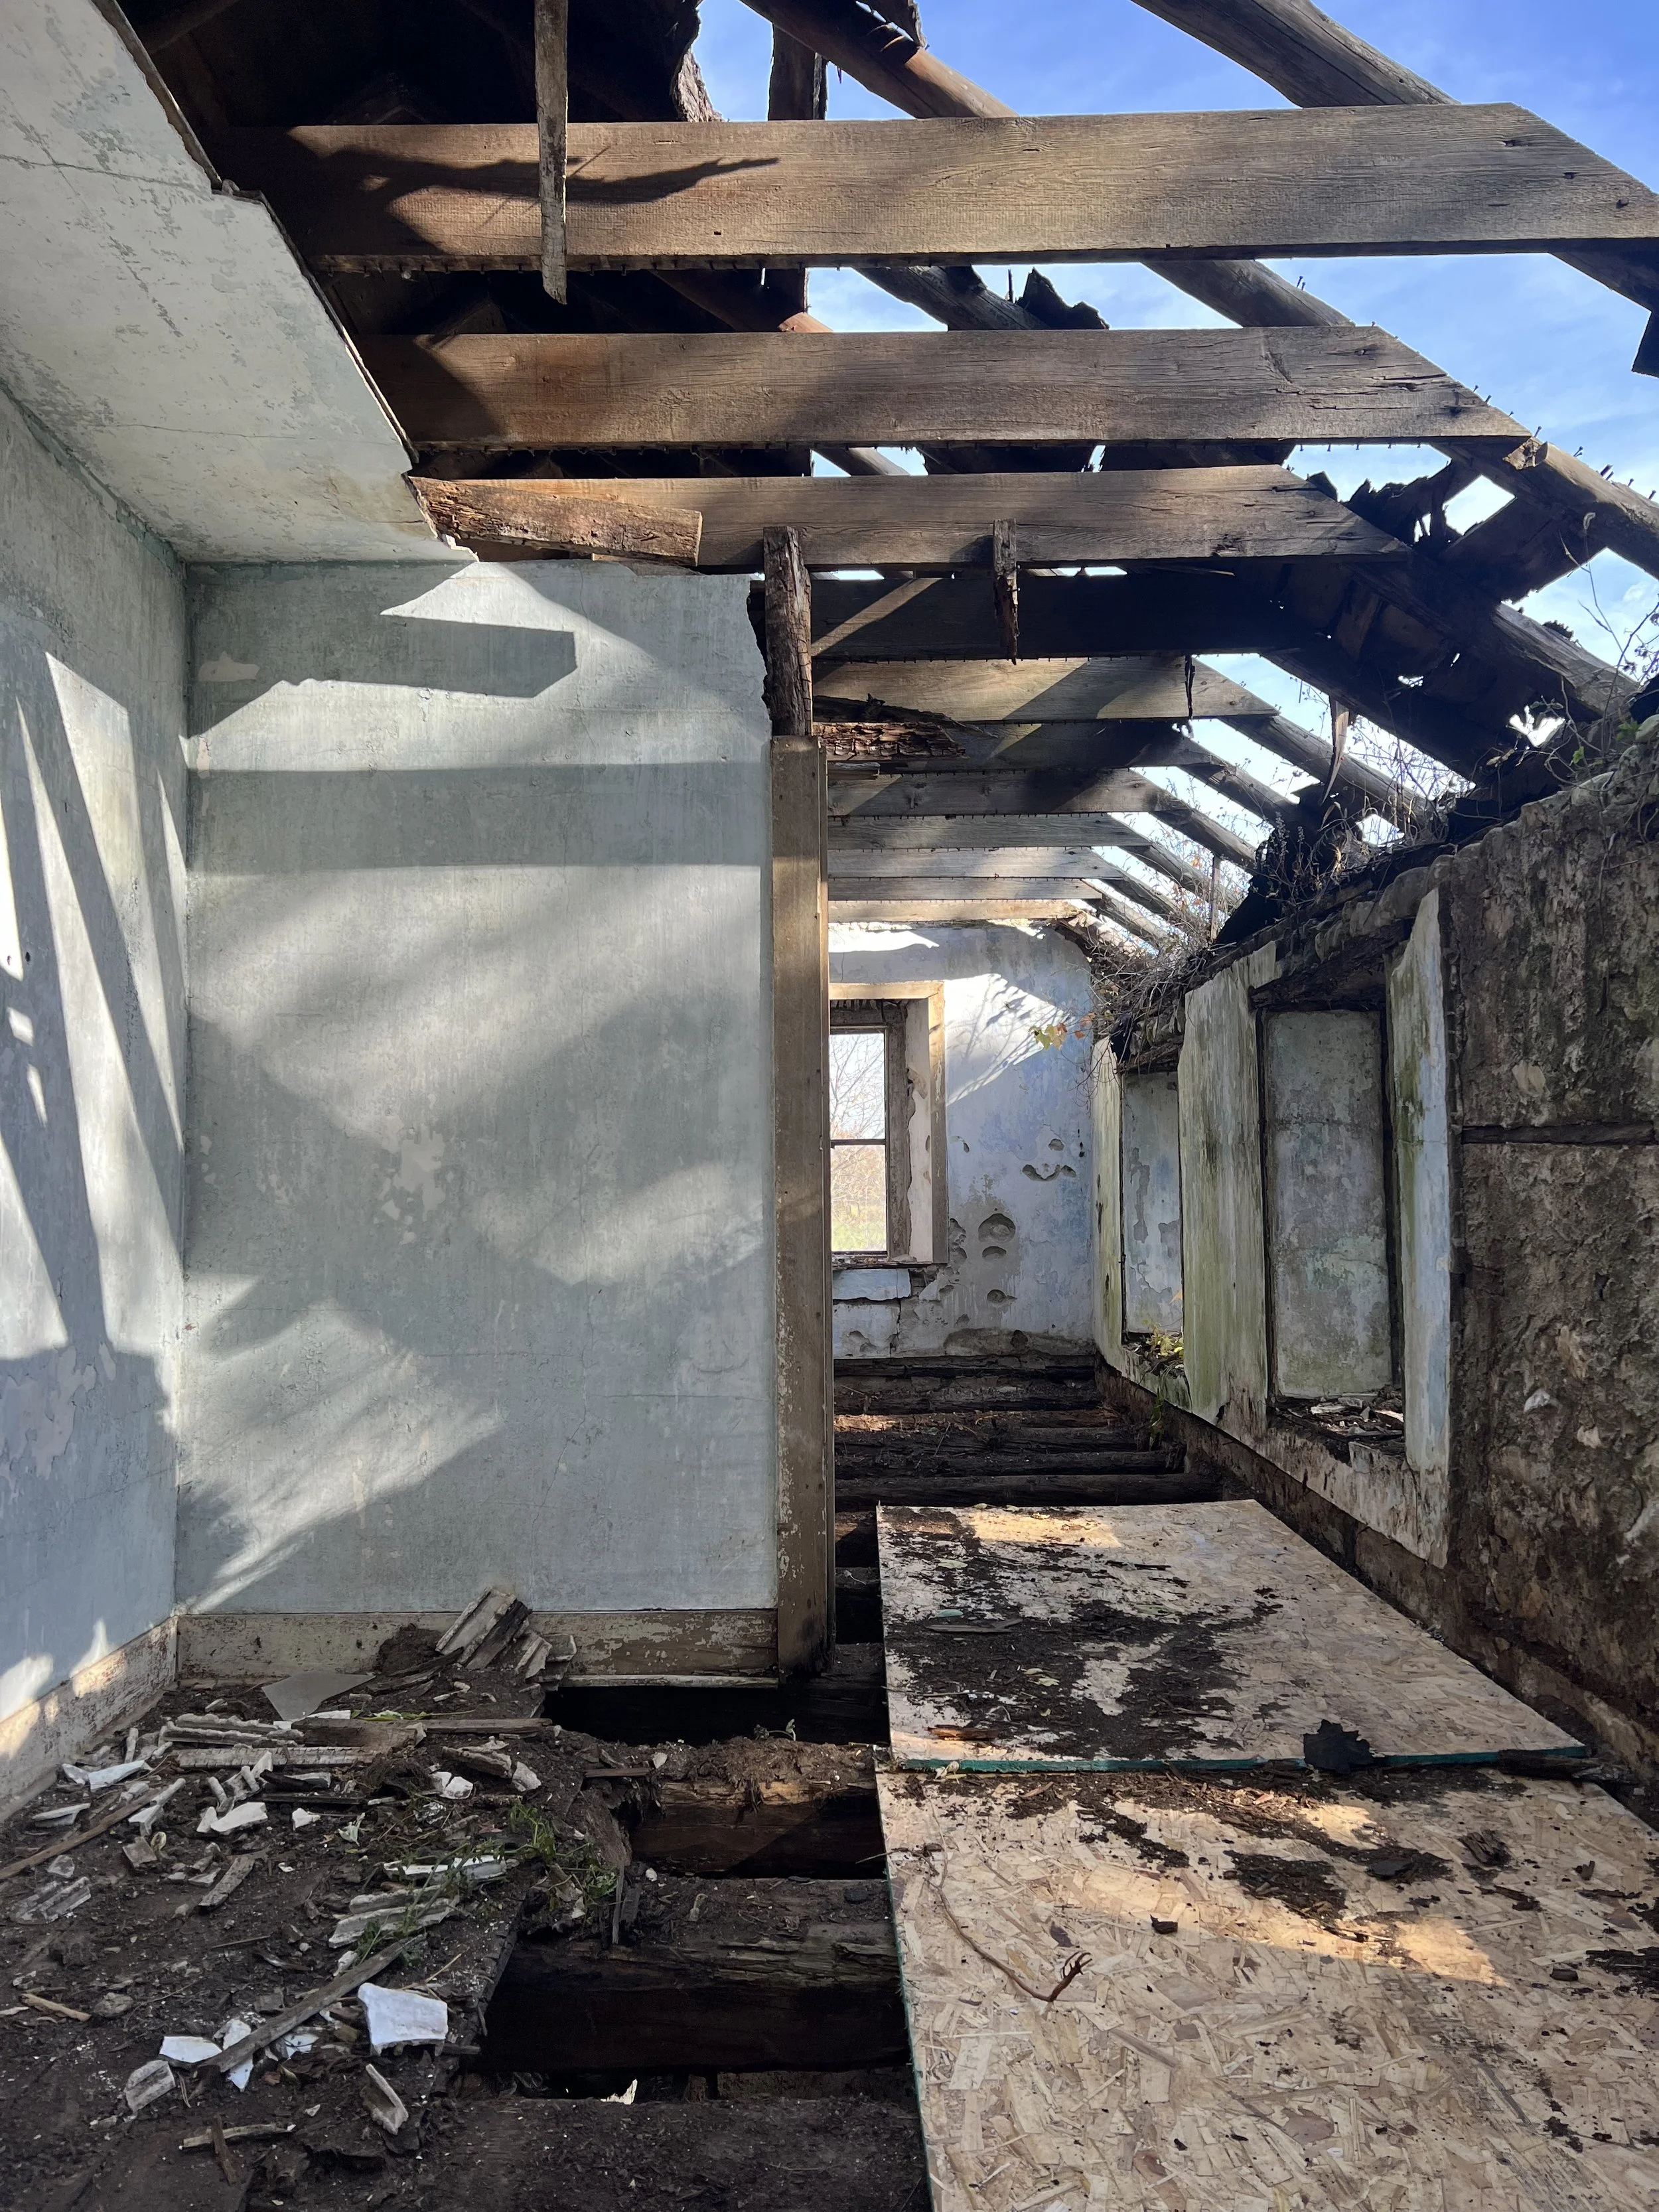
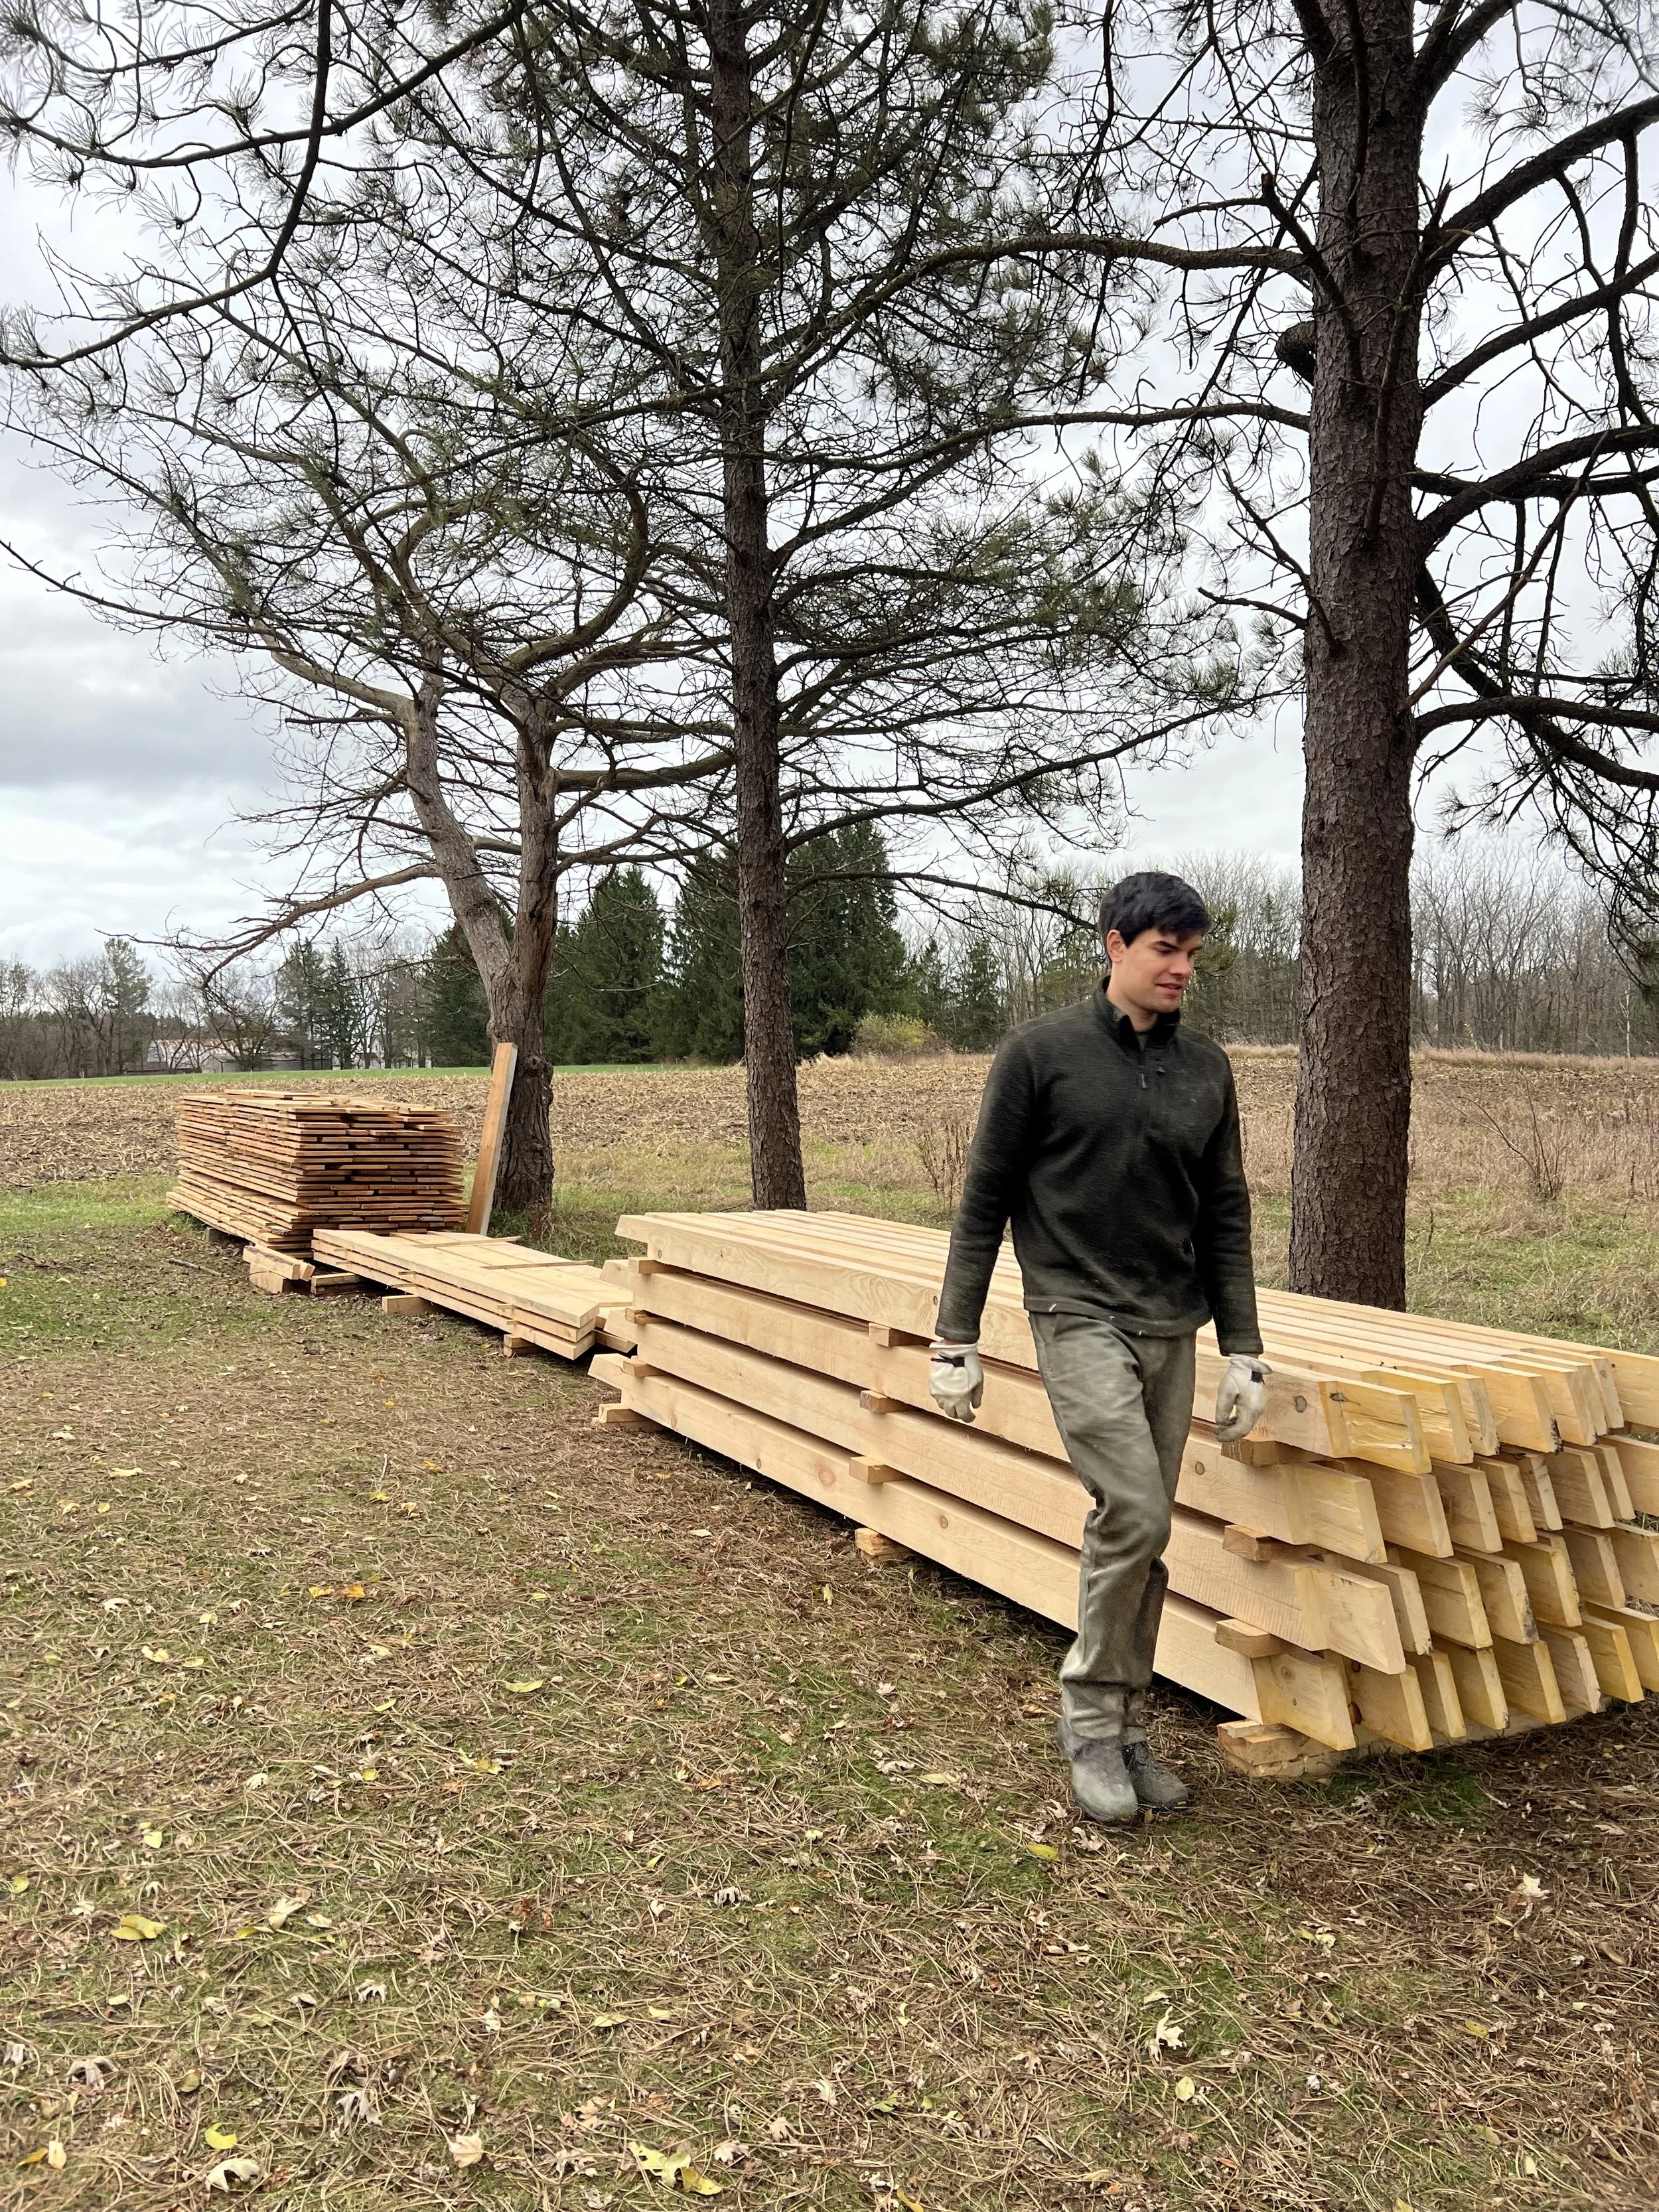
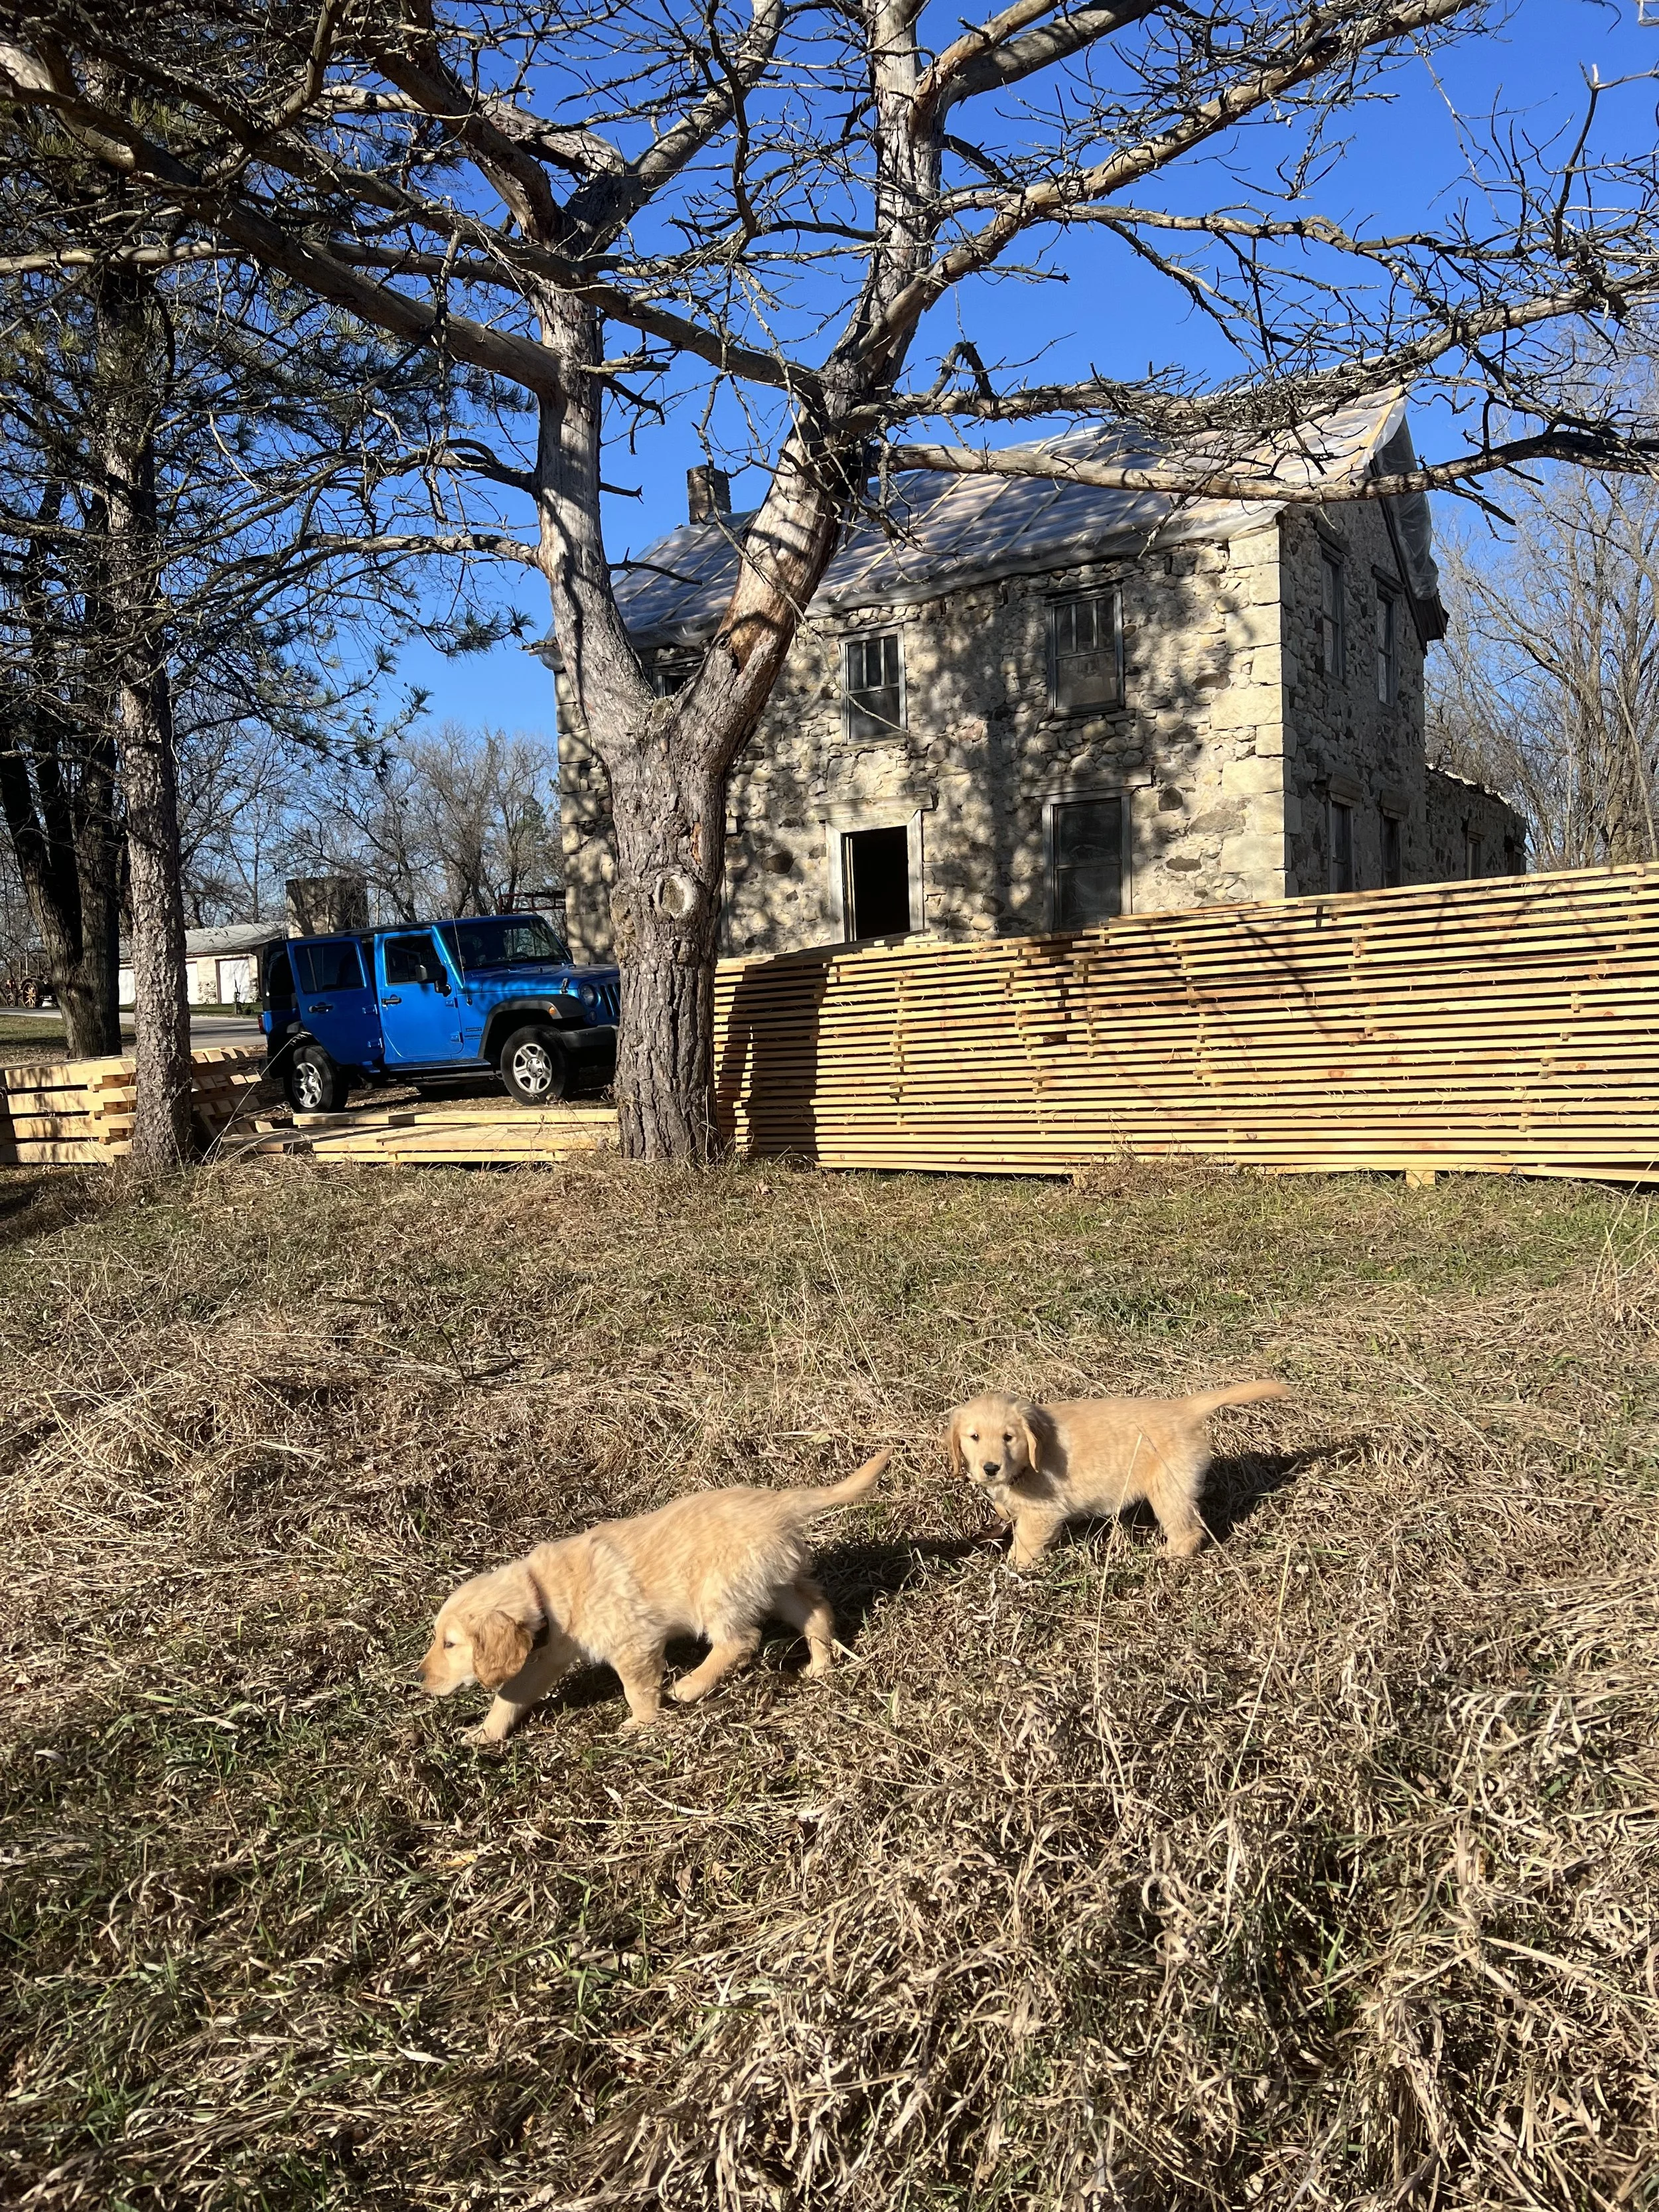
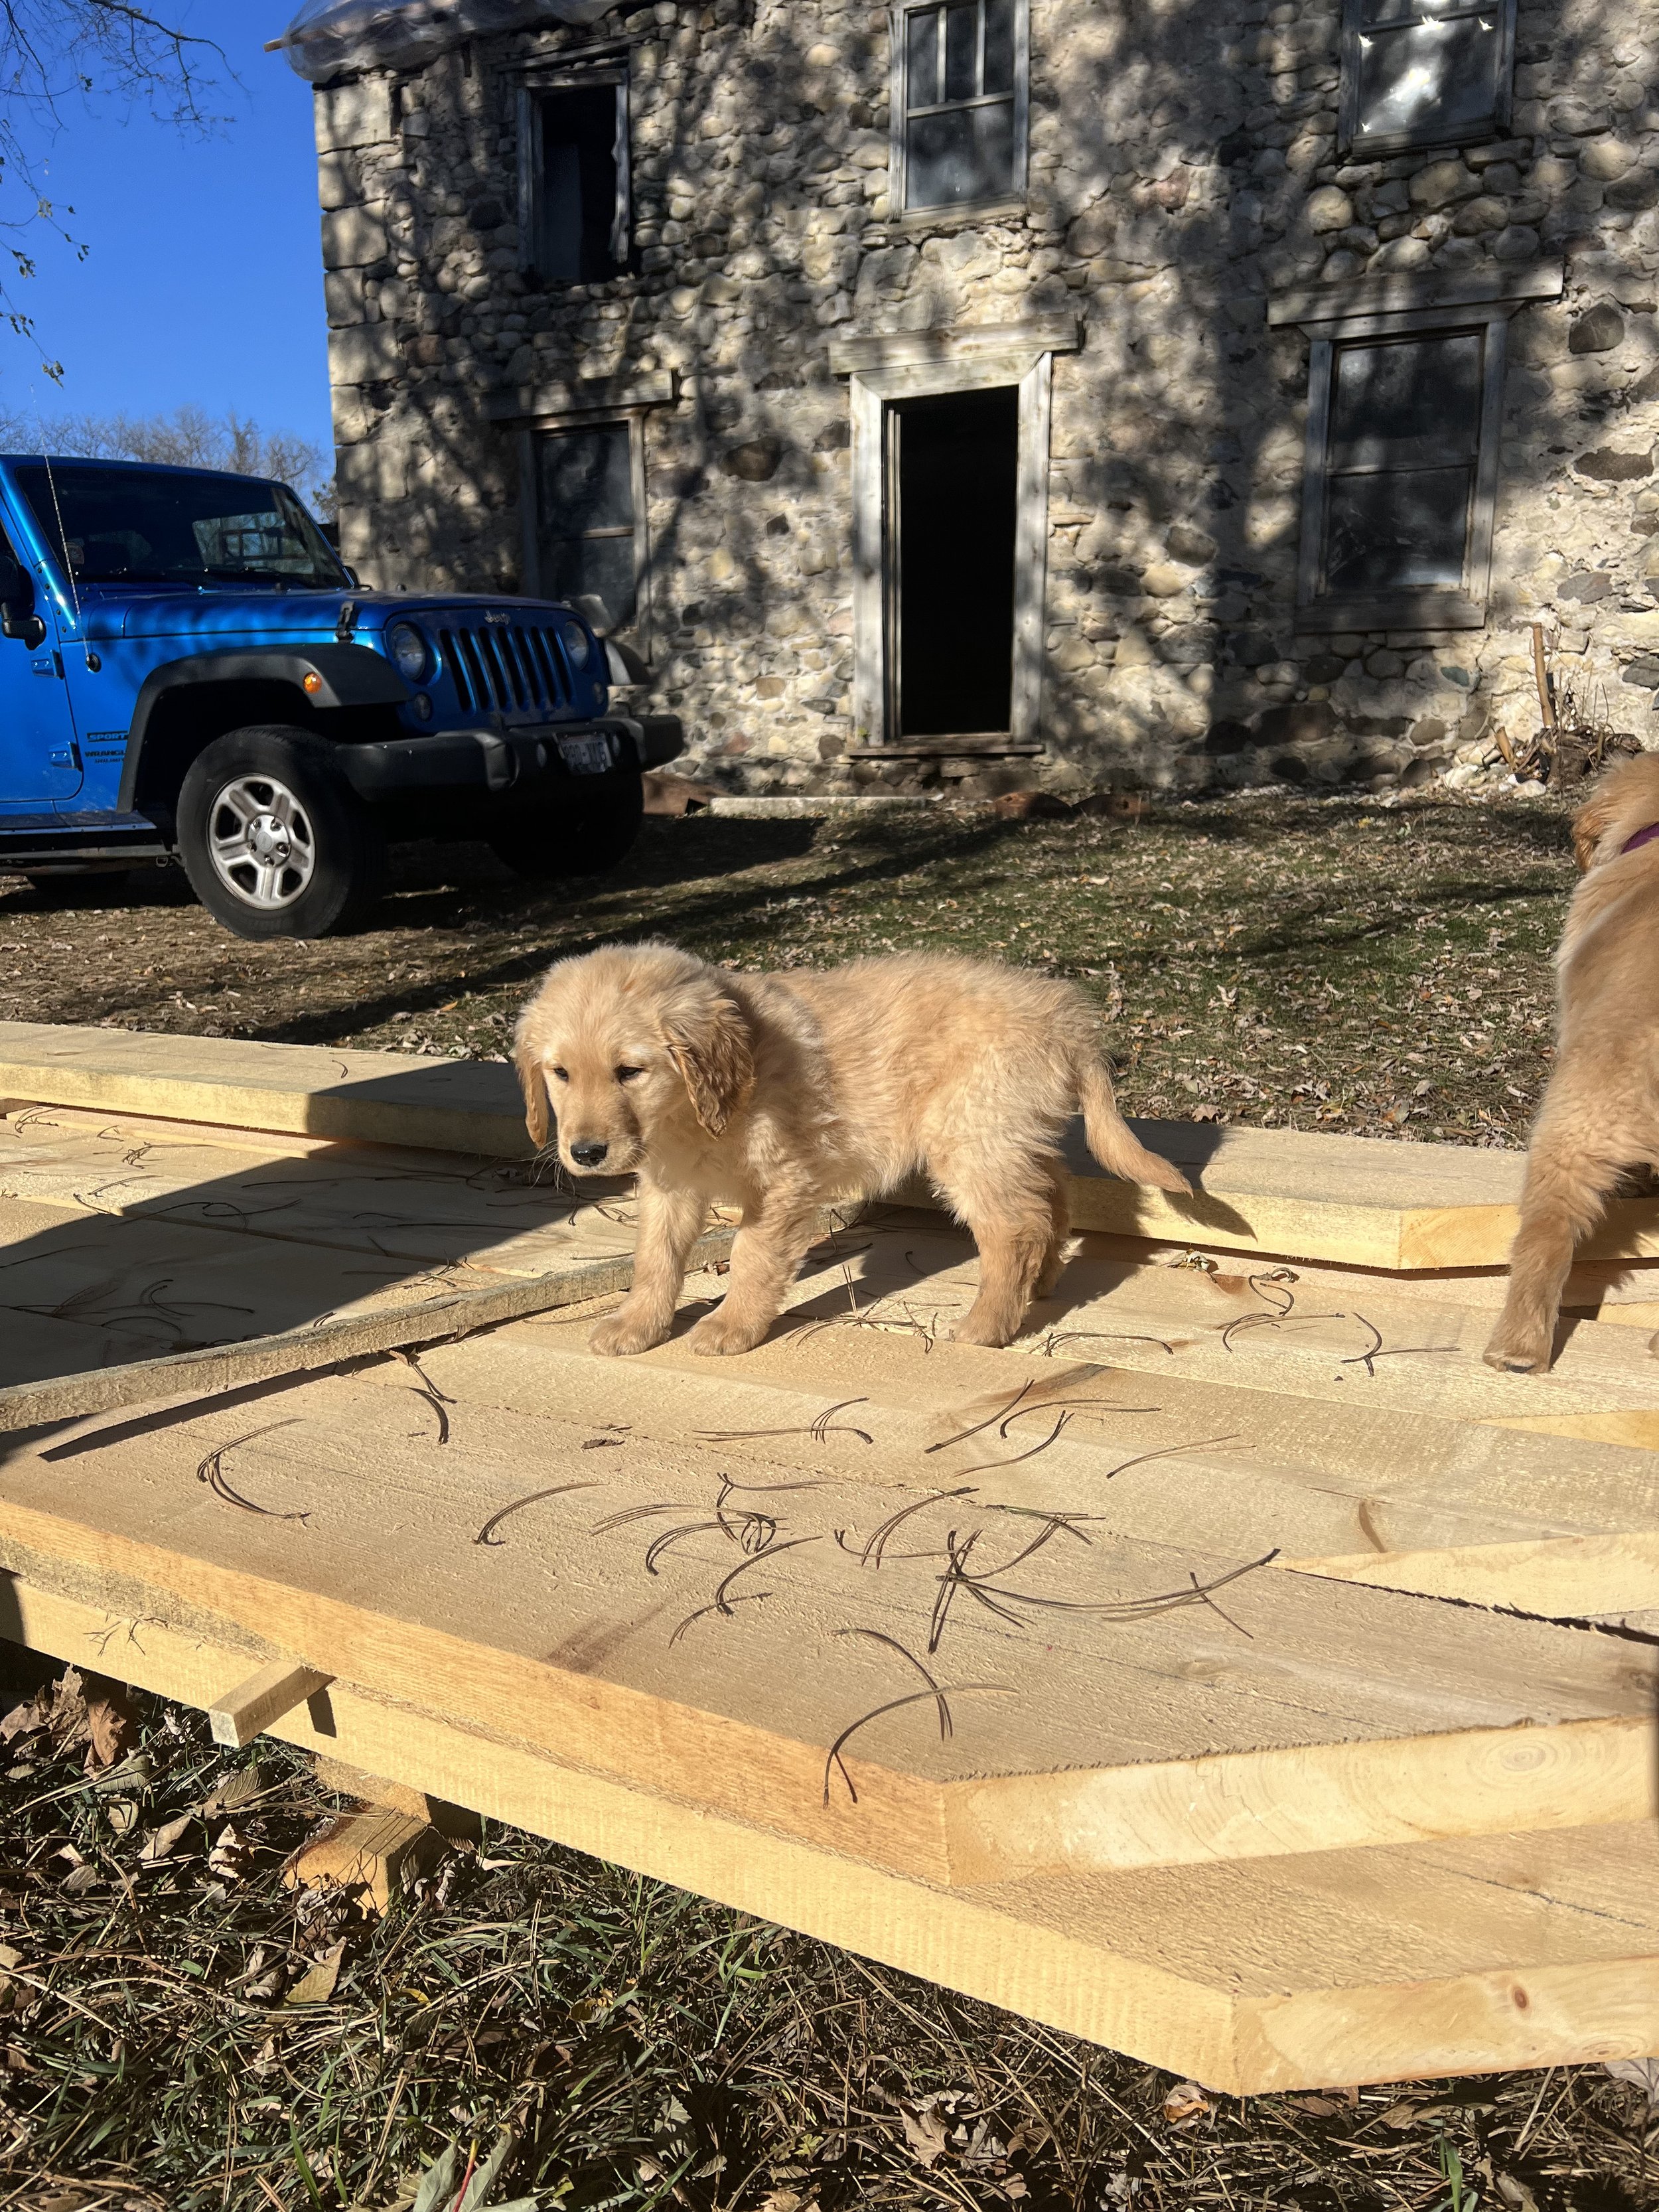
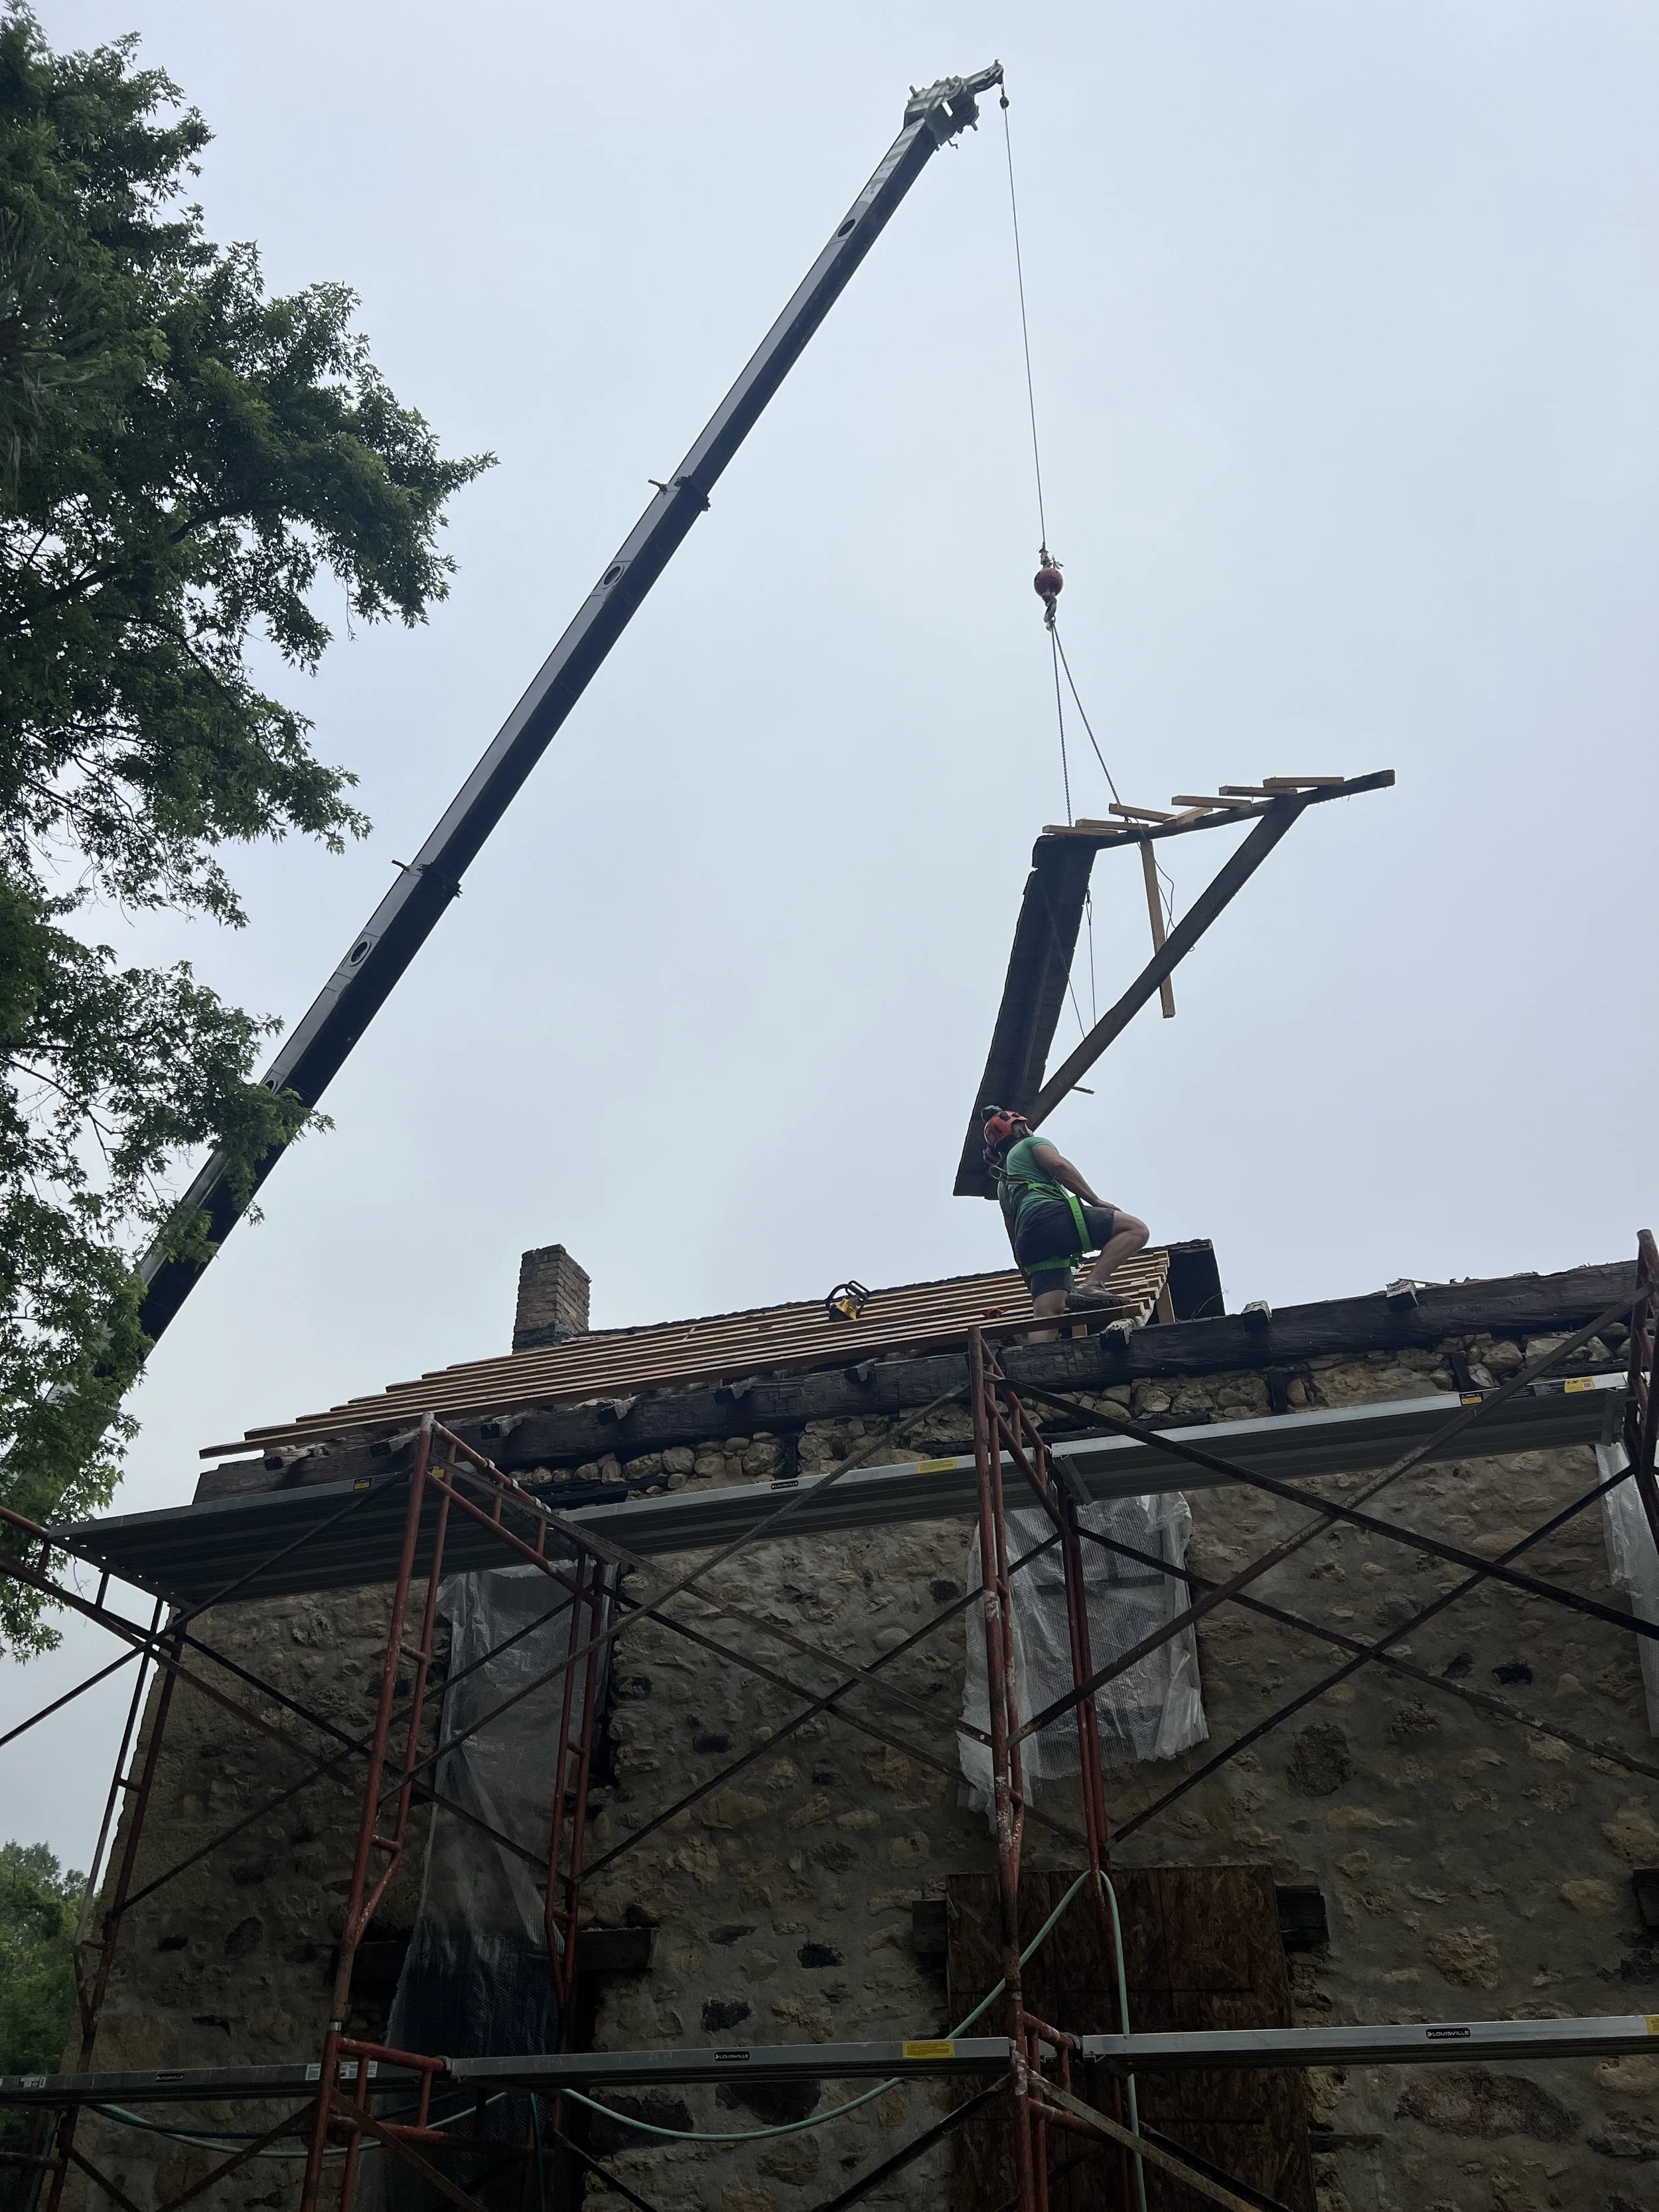
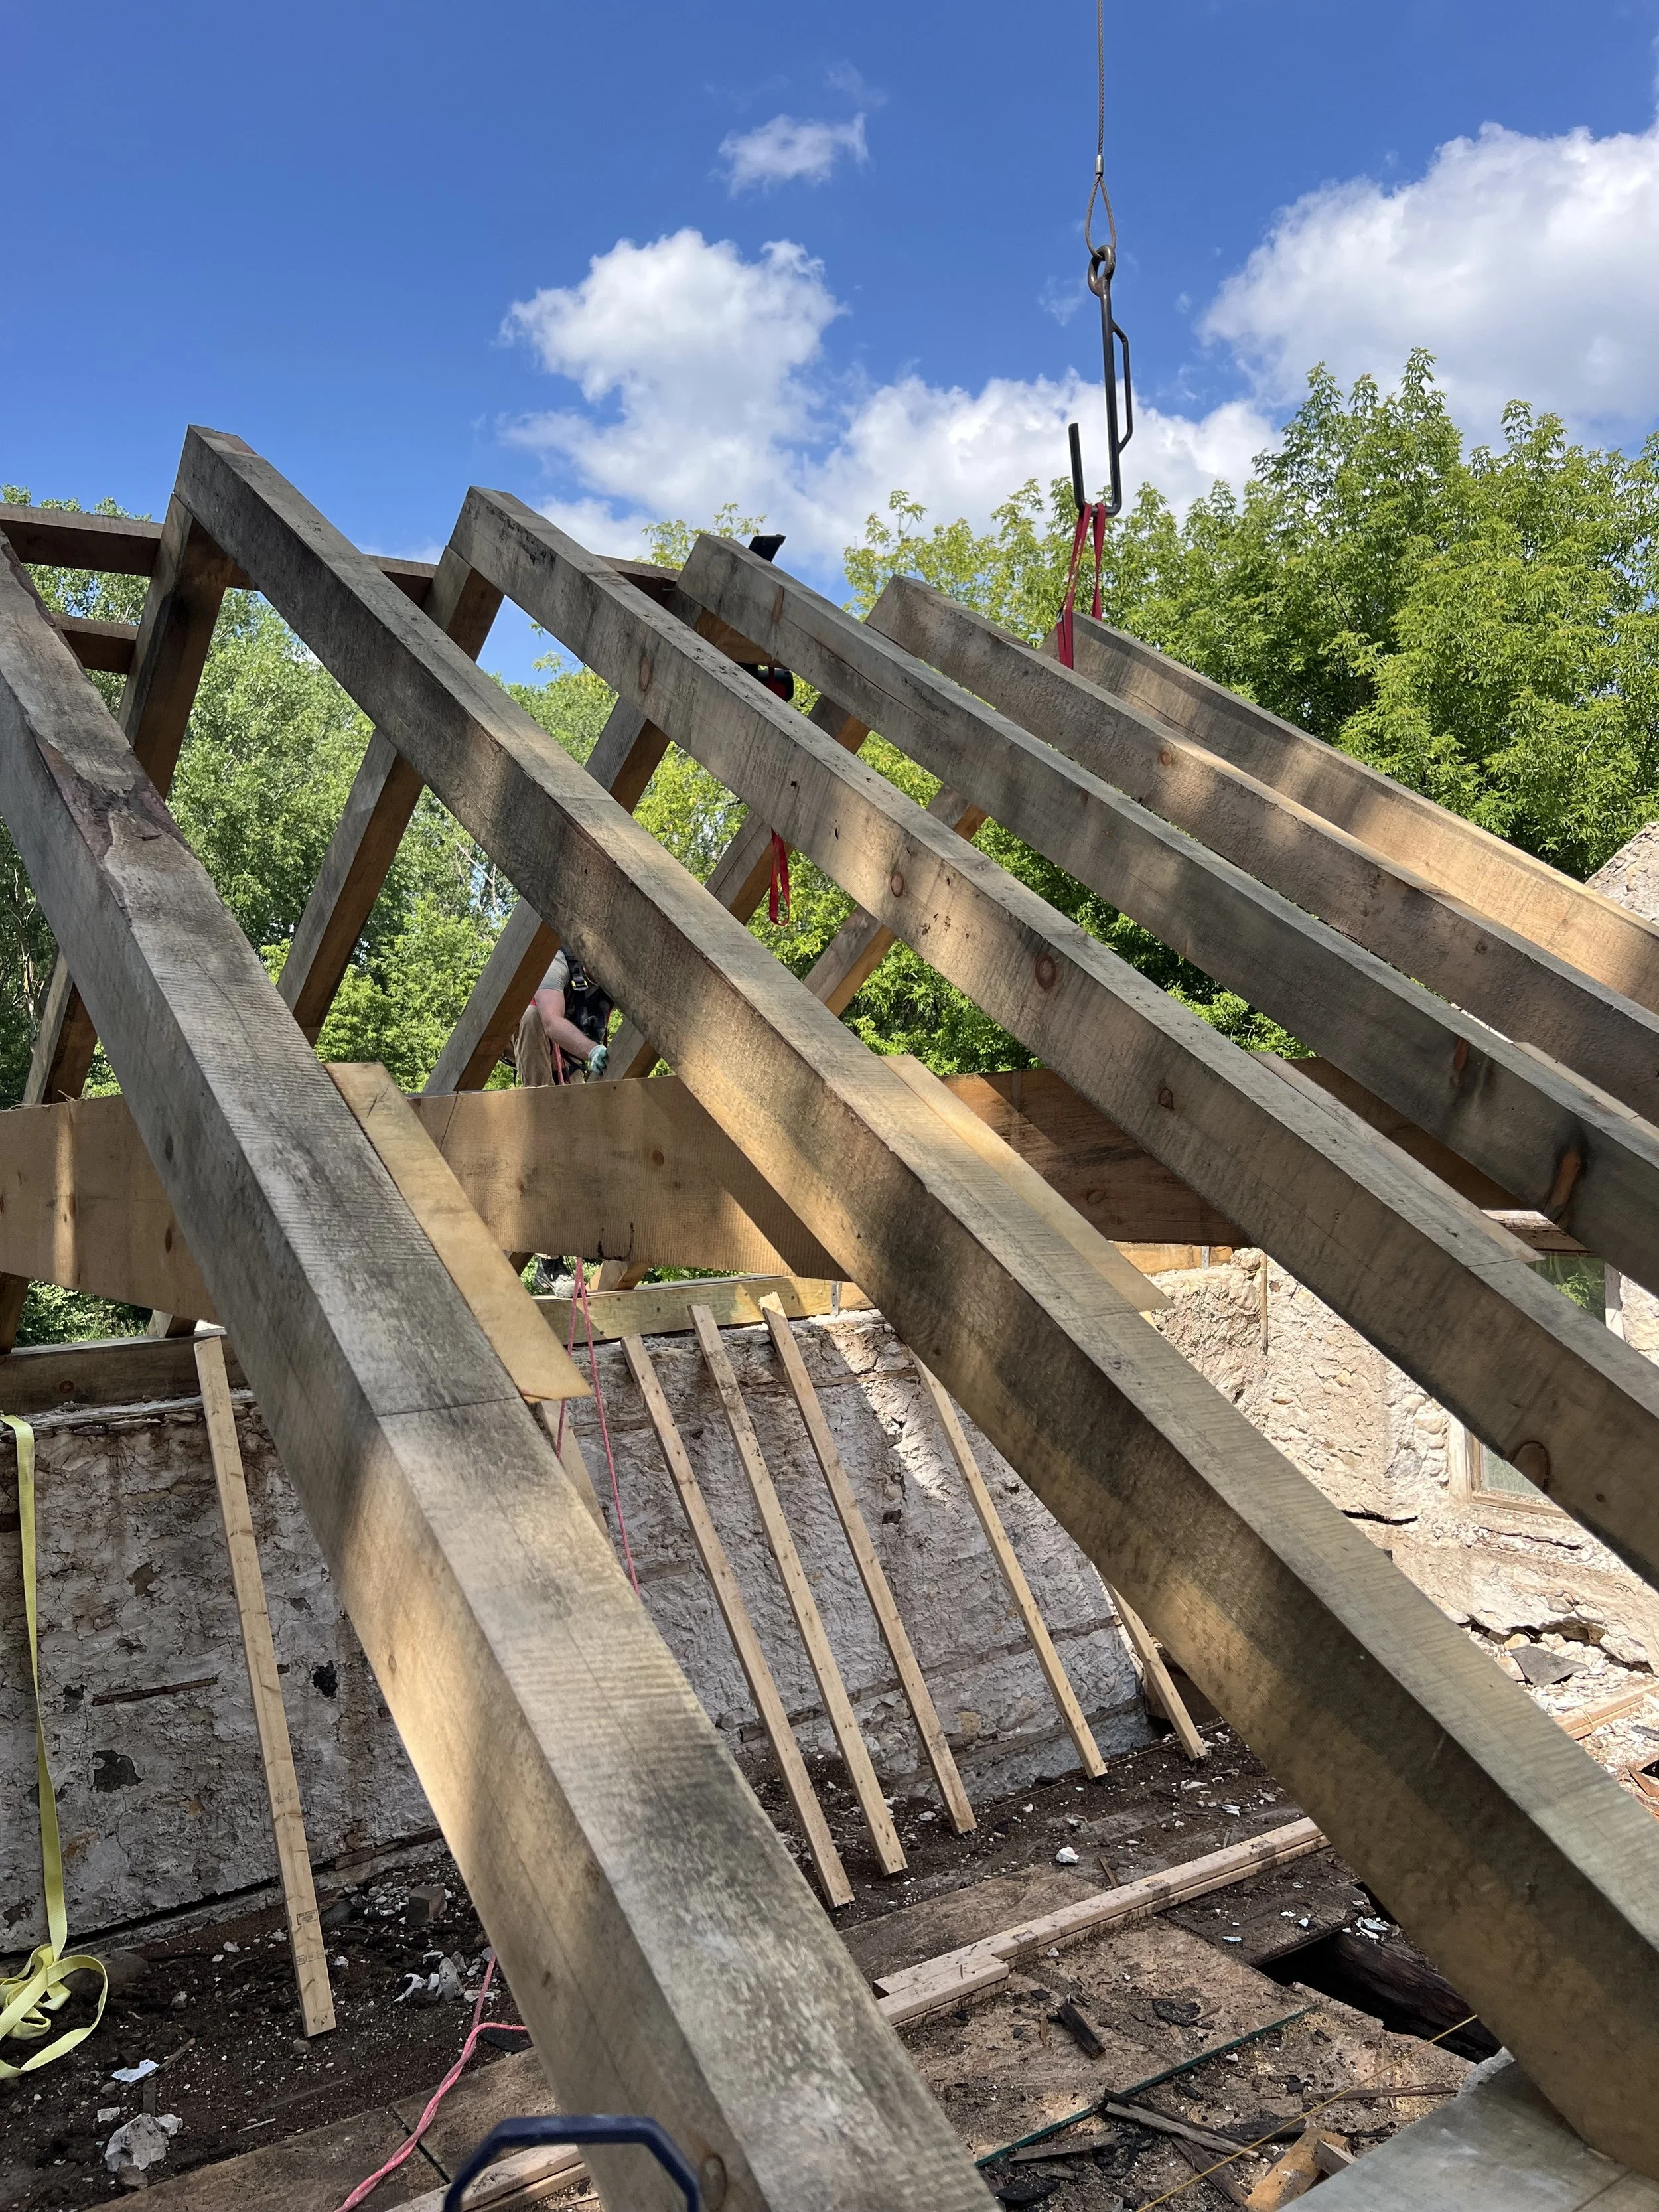
Because we were fighting the onset of winter, we ended up taking one failing chimney down before tarping the roof and made judicious notes of the stone condition and roof measurements. Our plan was to cut an exact replica of the timber framed roof to install later in the spring. We hired a crane to take the roof beams off of the back addition section since there was no way for that to be taken down safely, so all that was left to do was cross our fingers and hope for the best! (We also got our two puppies, Wally and Gus!)
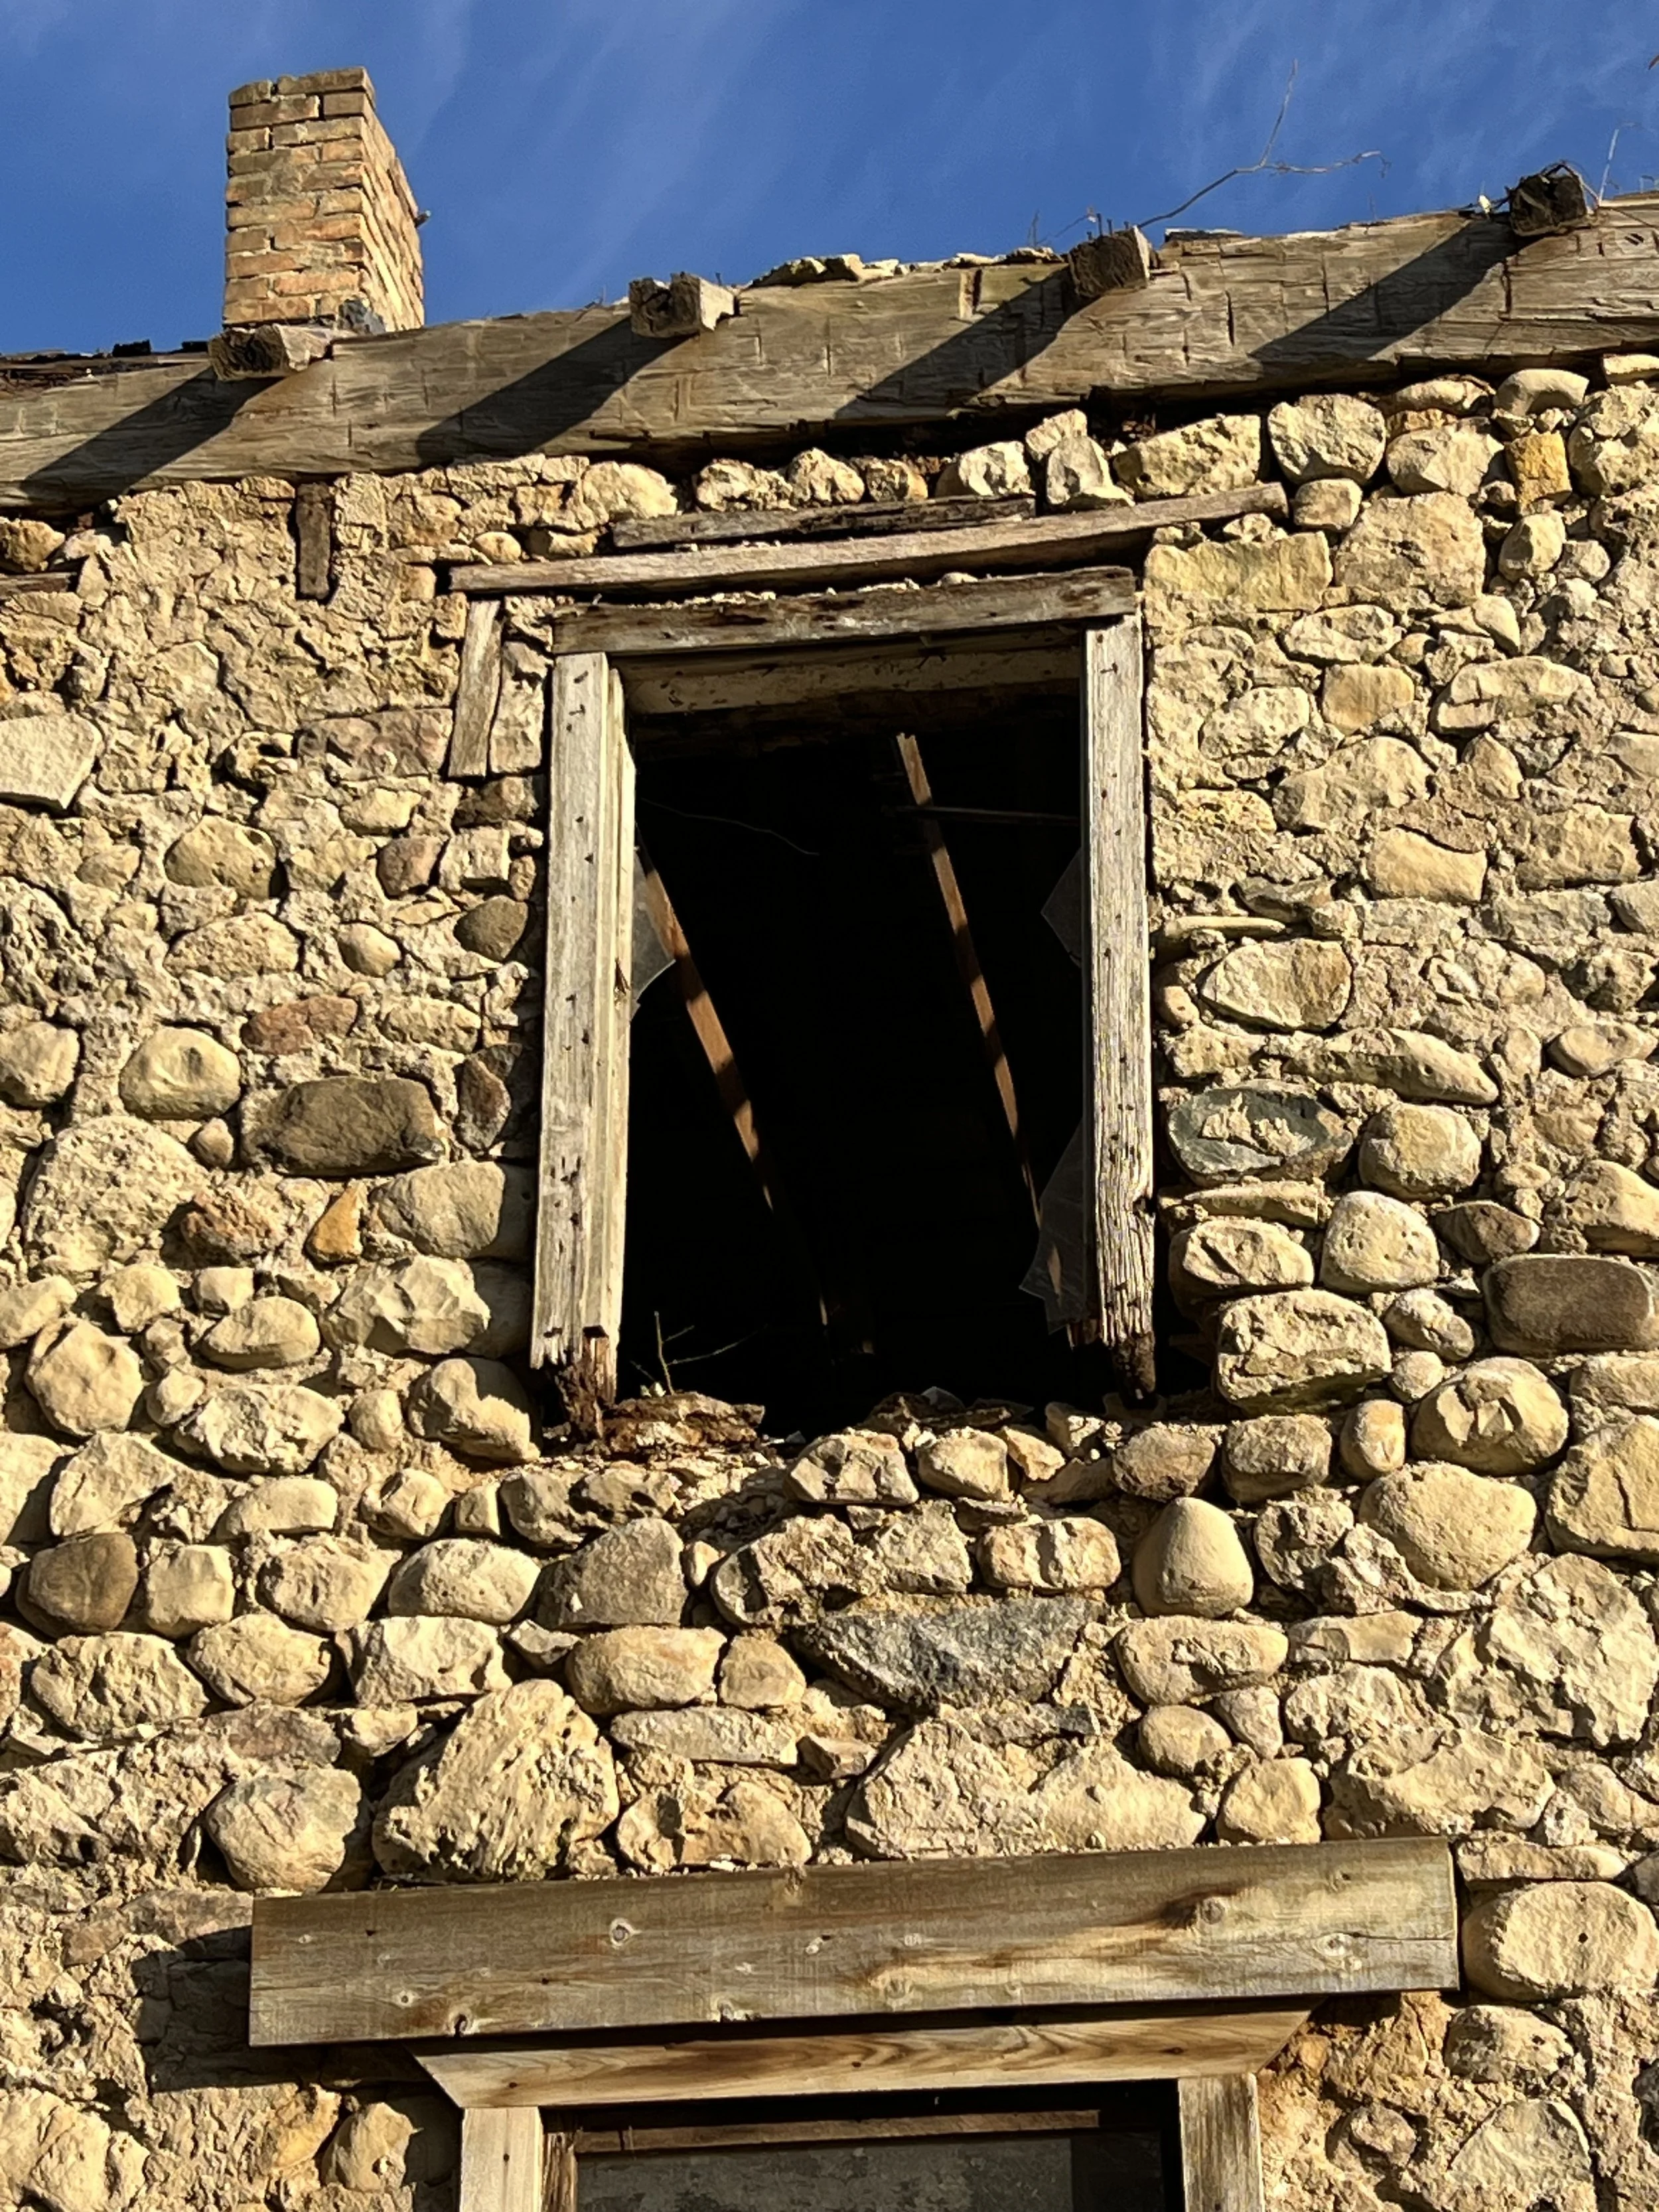
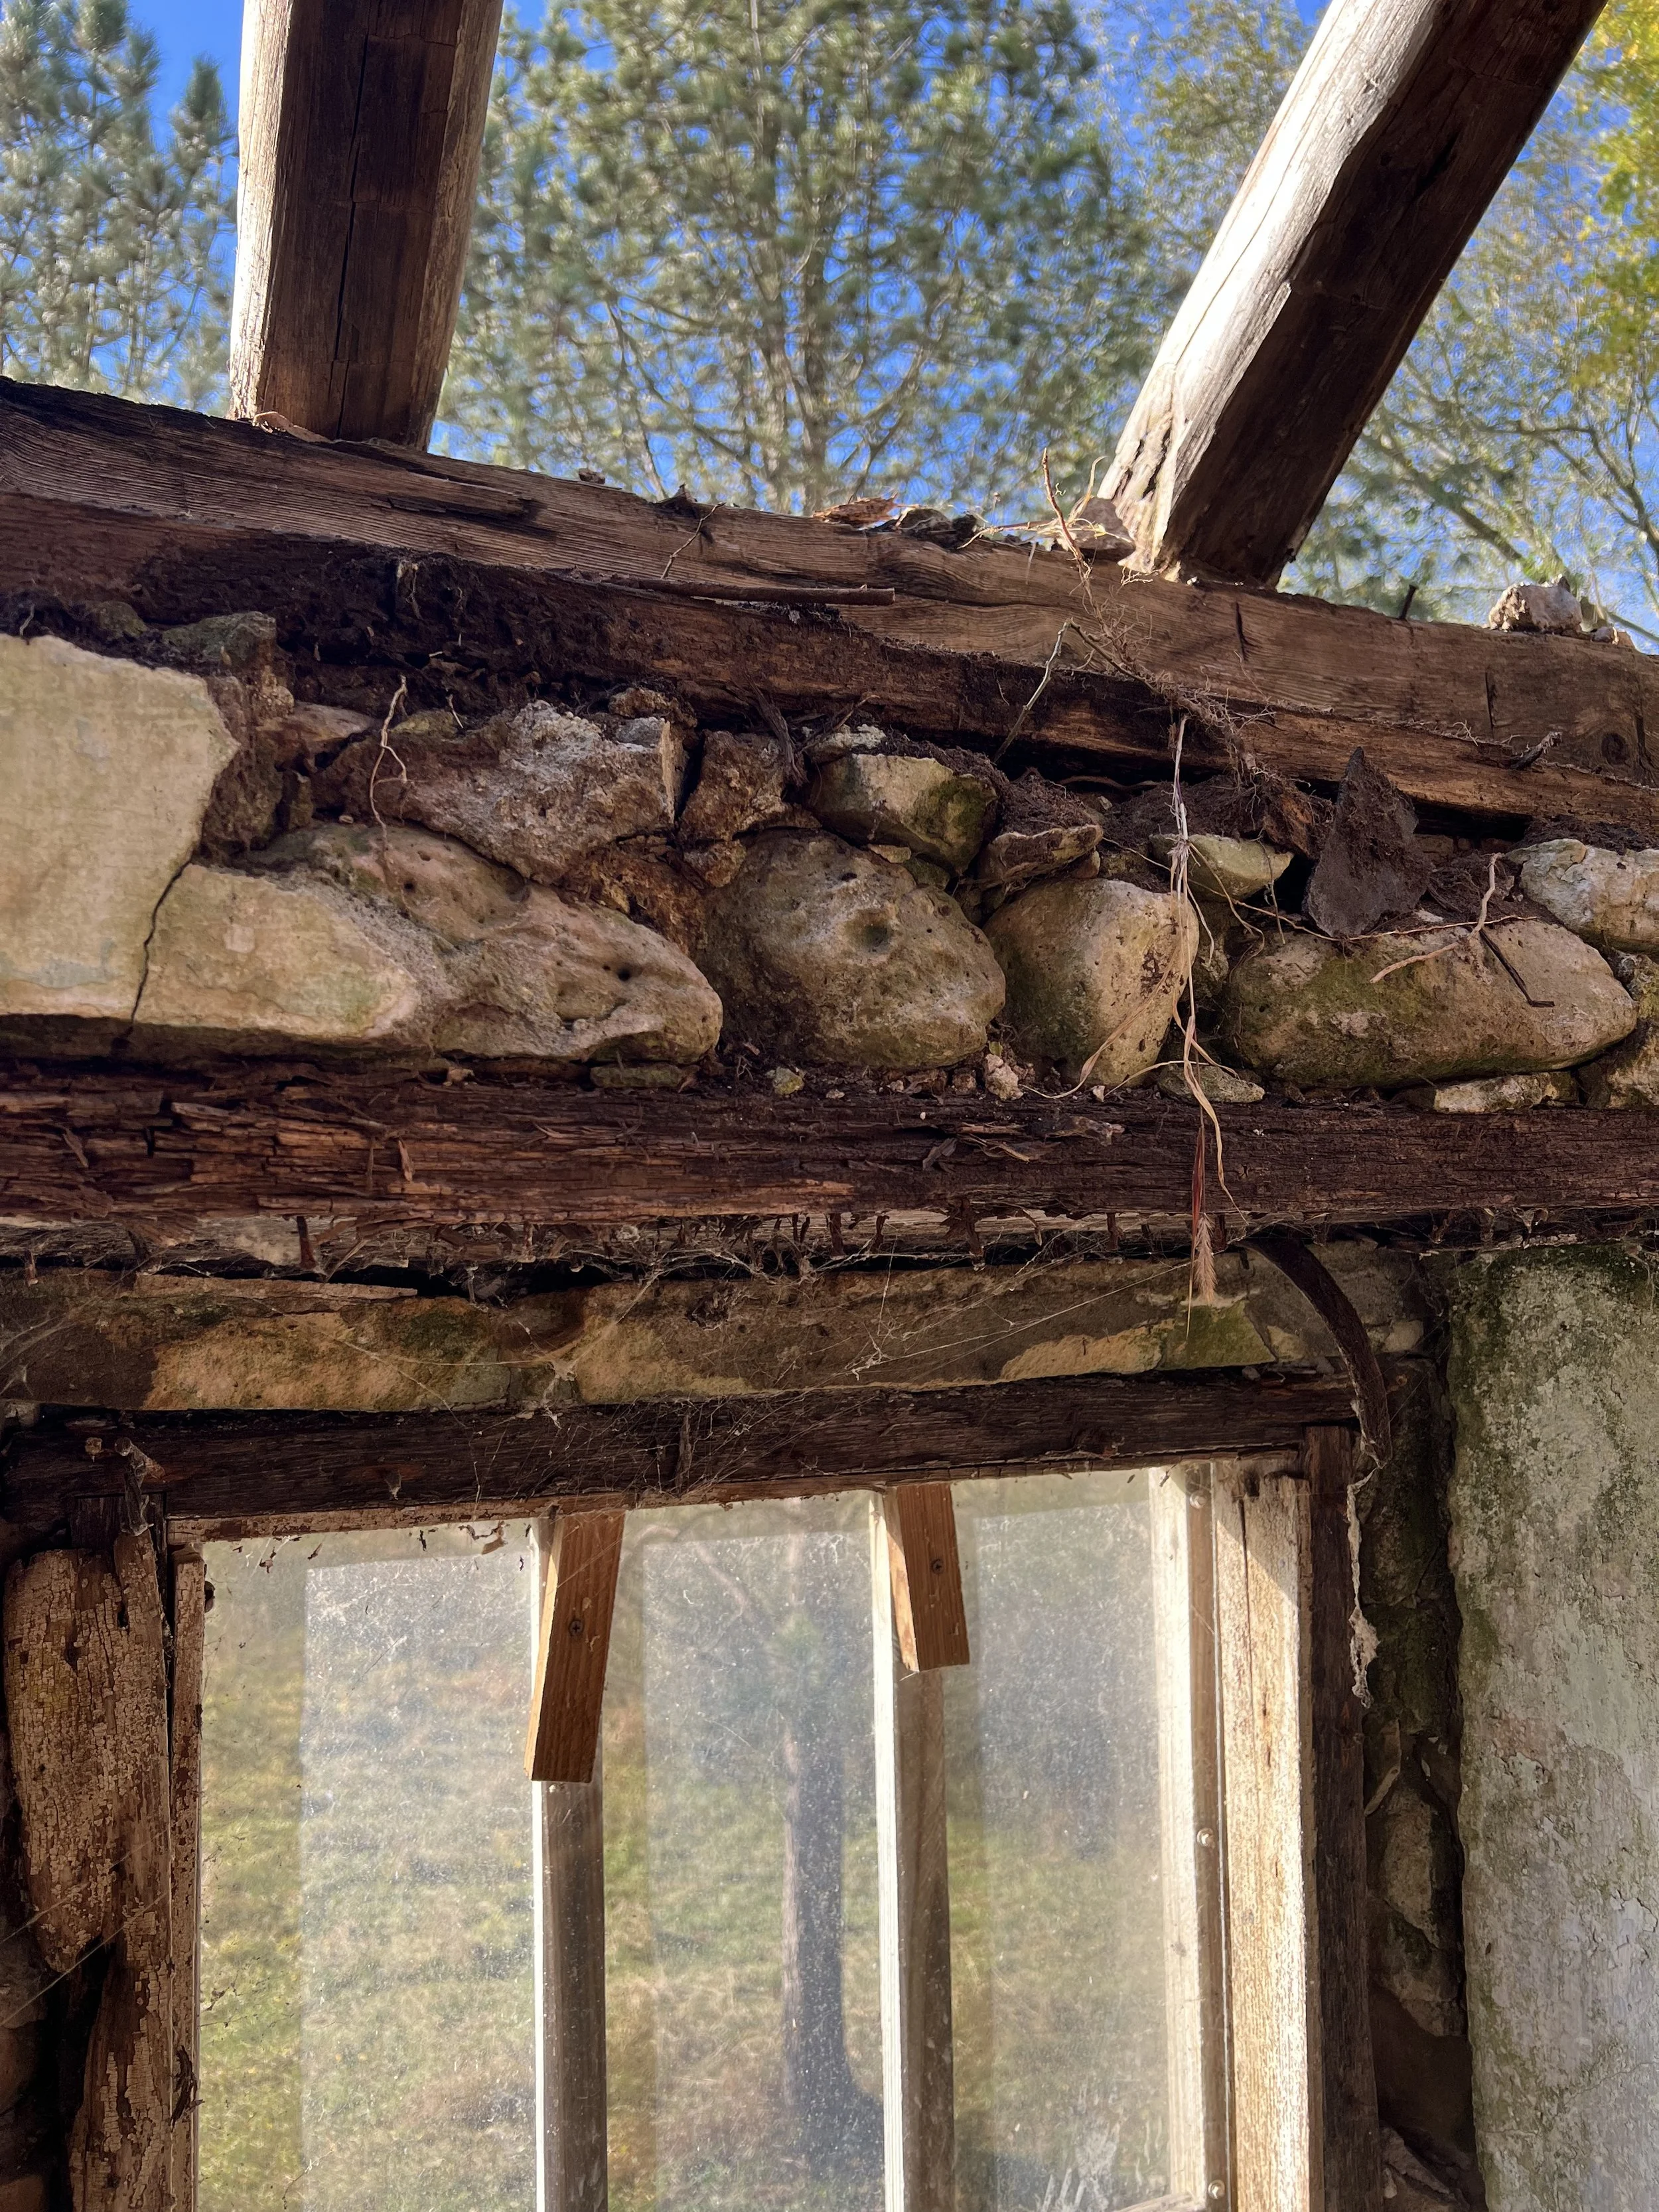
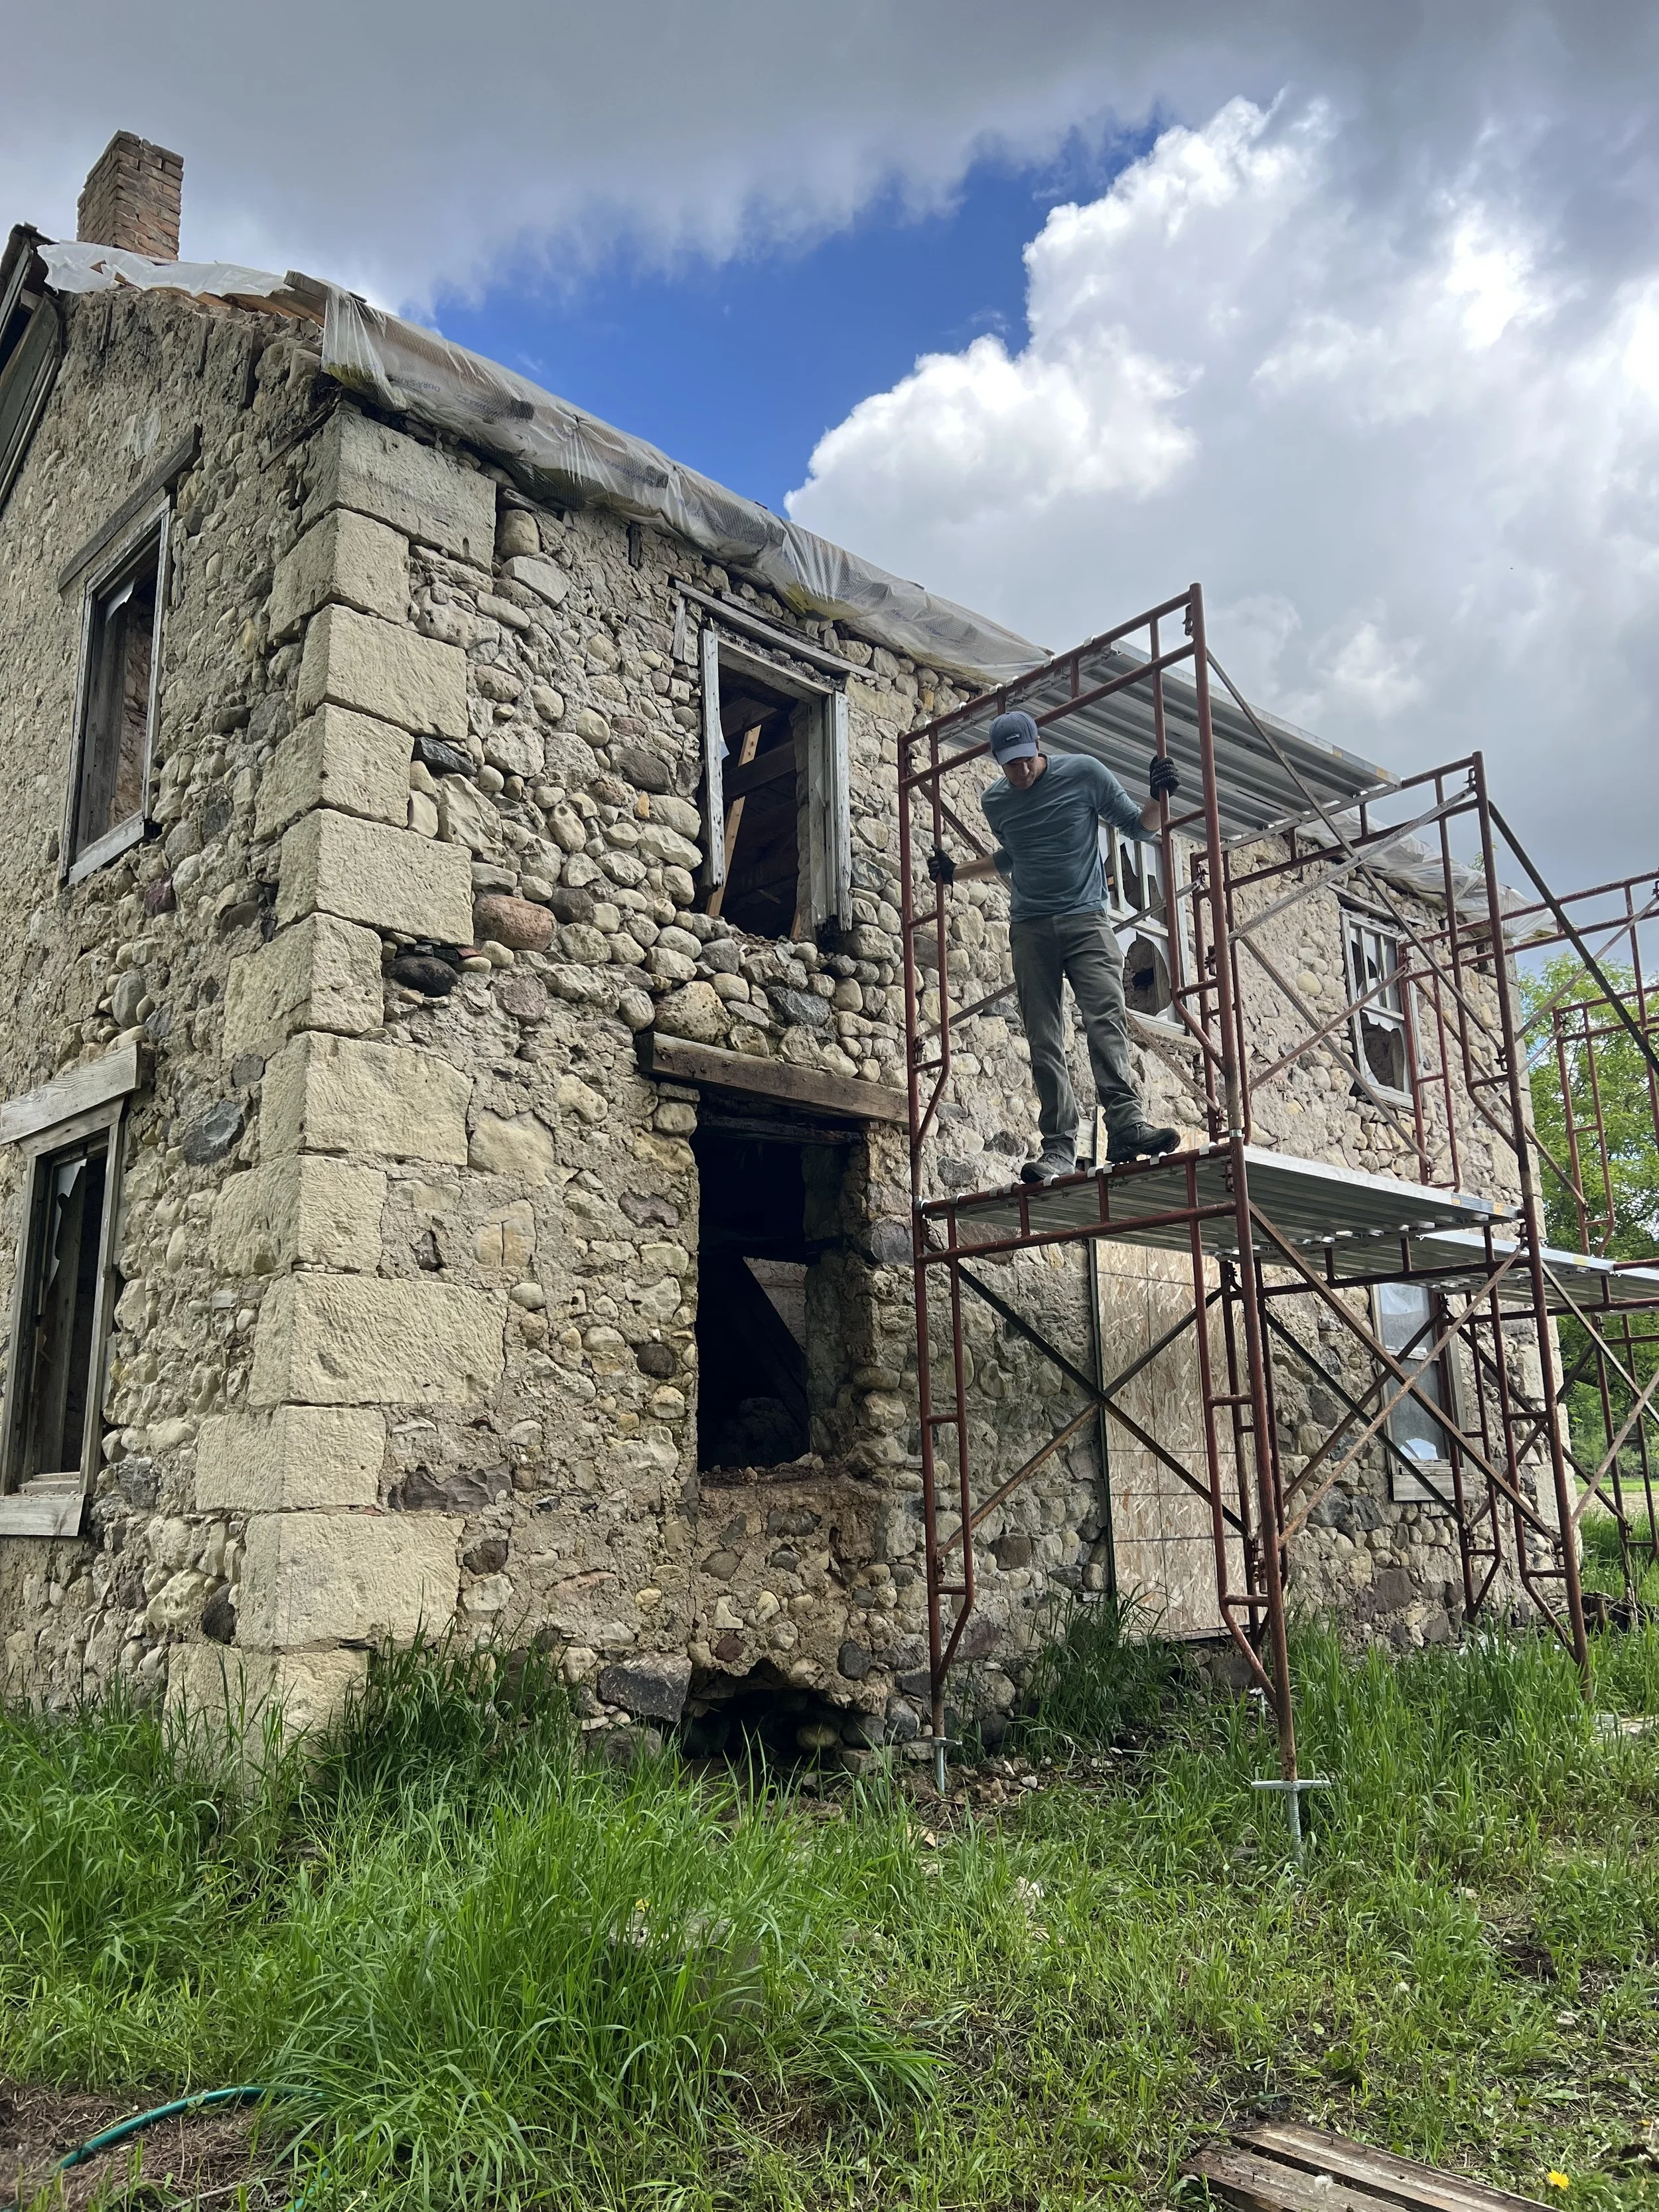
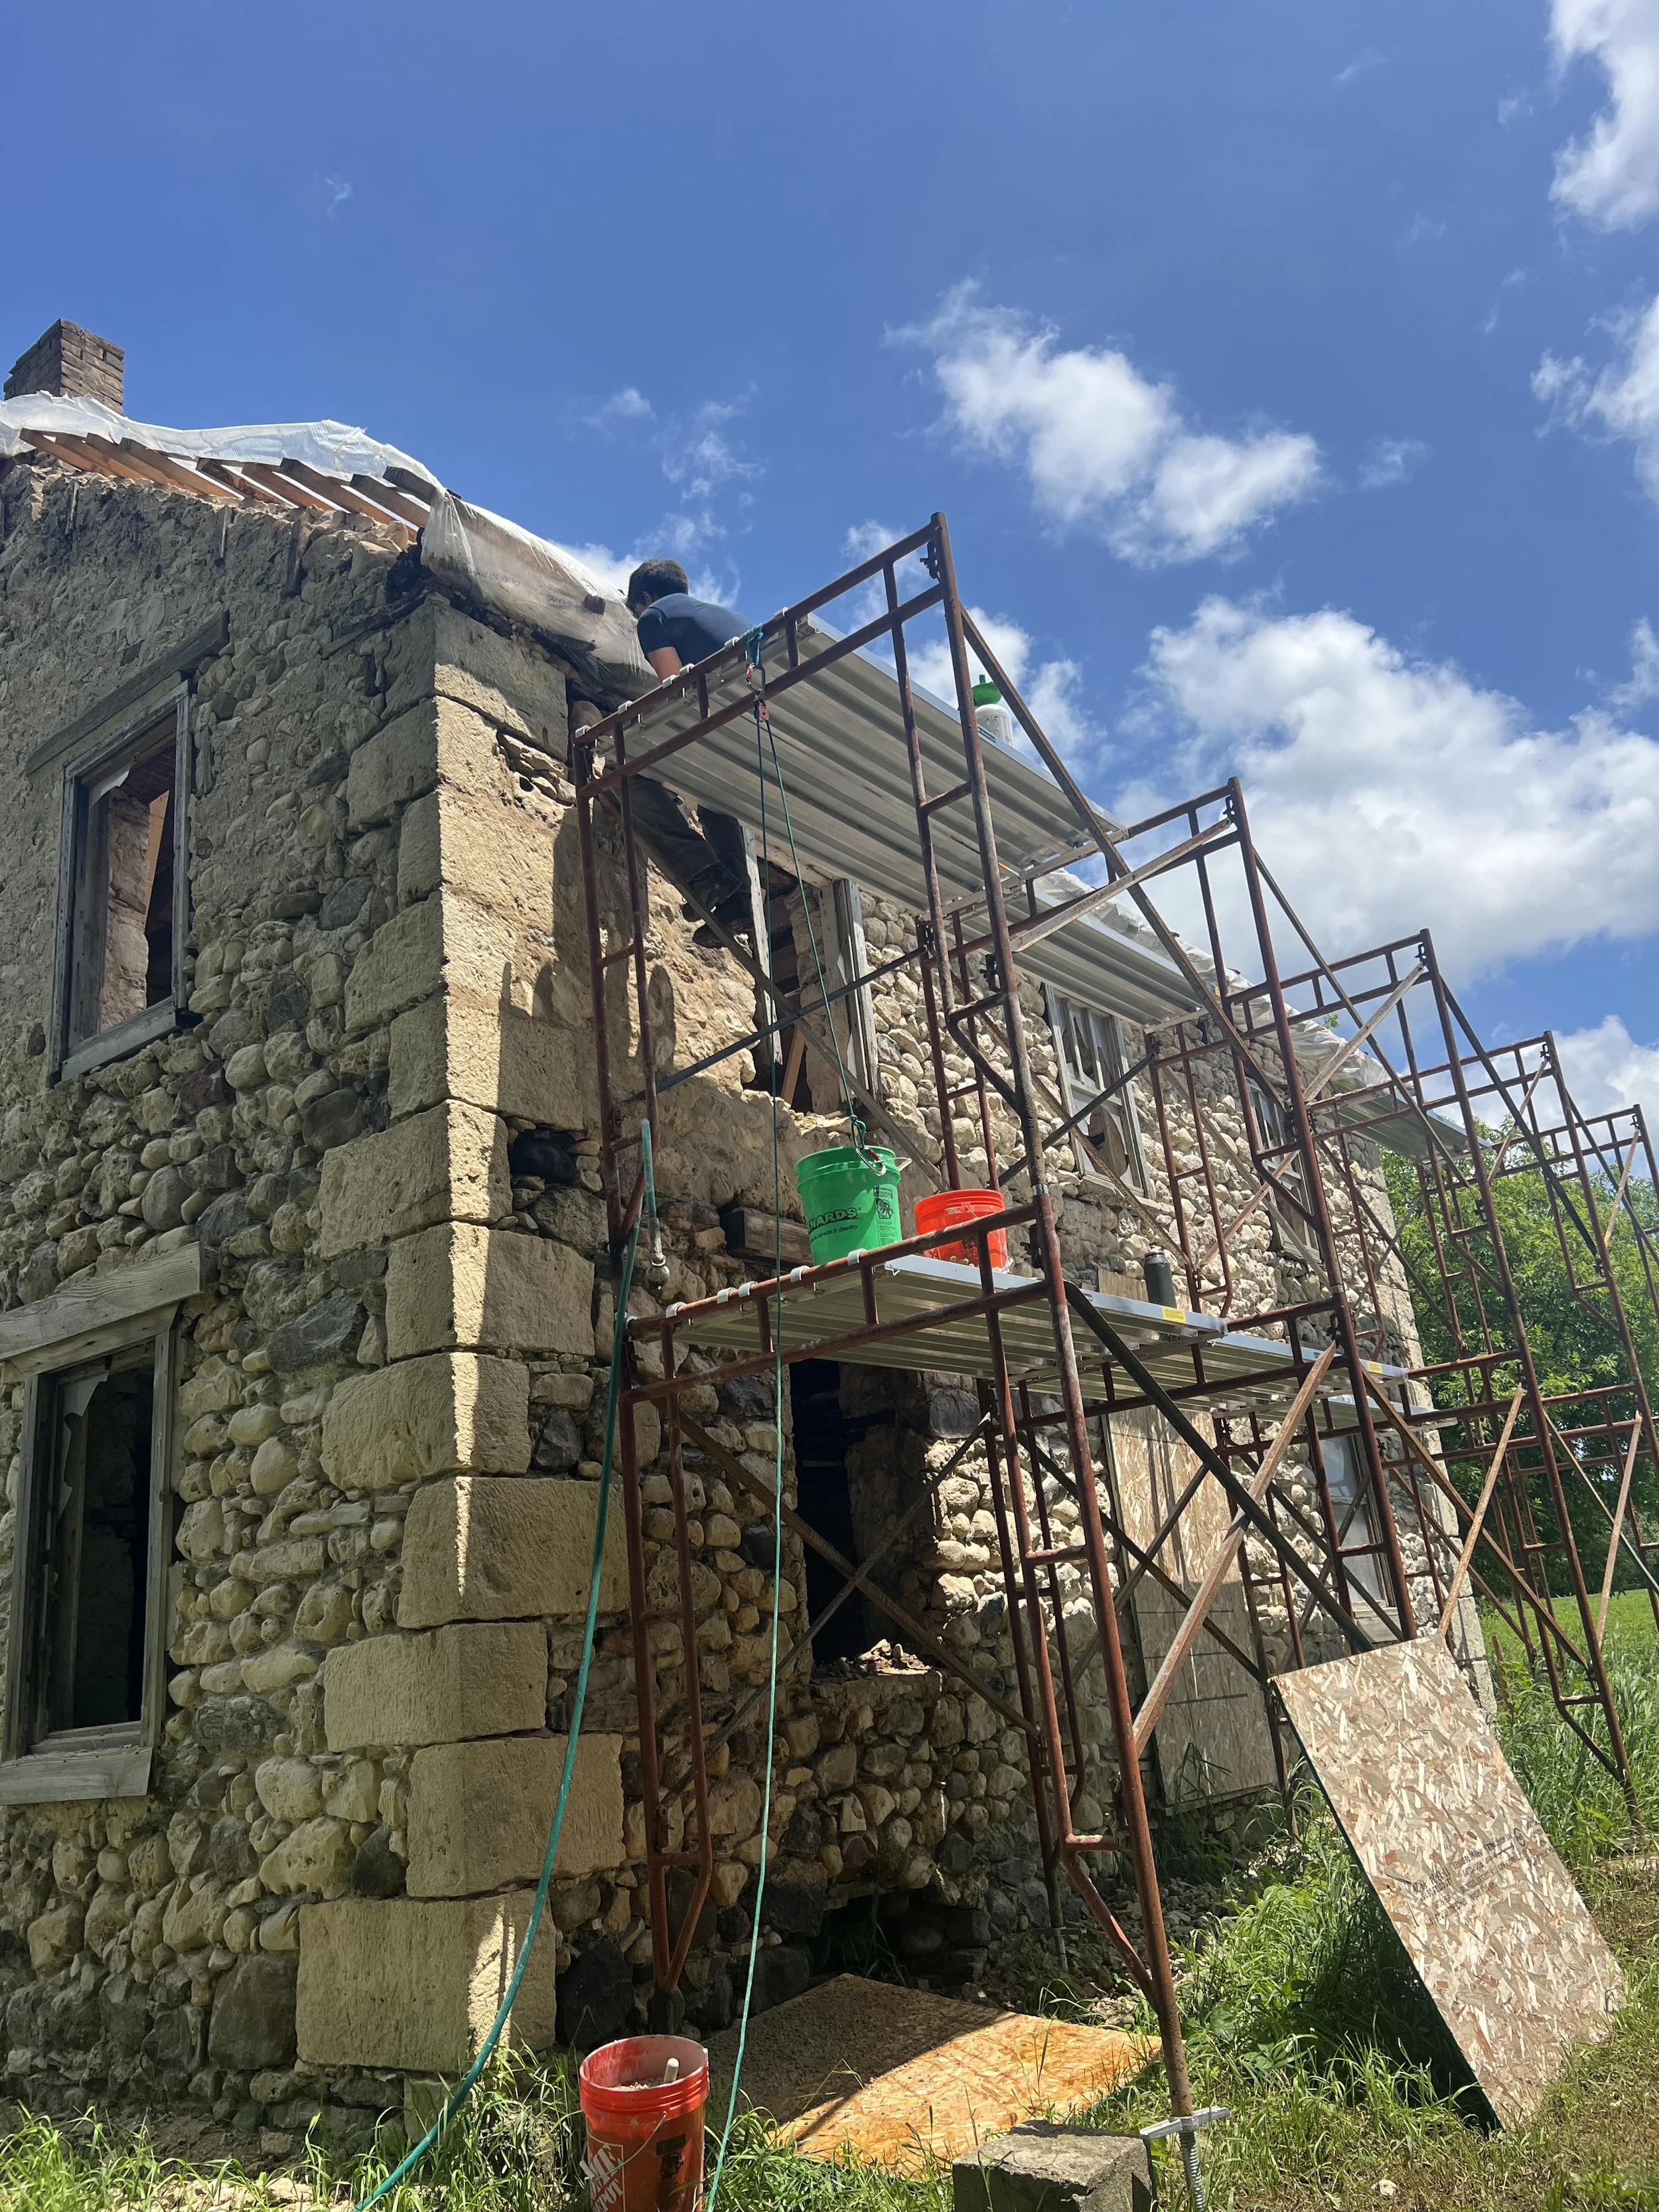
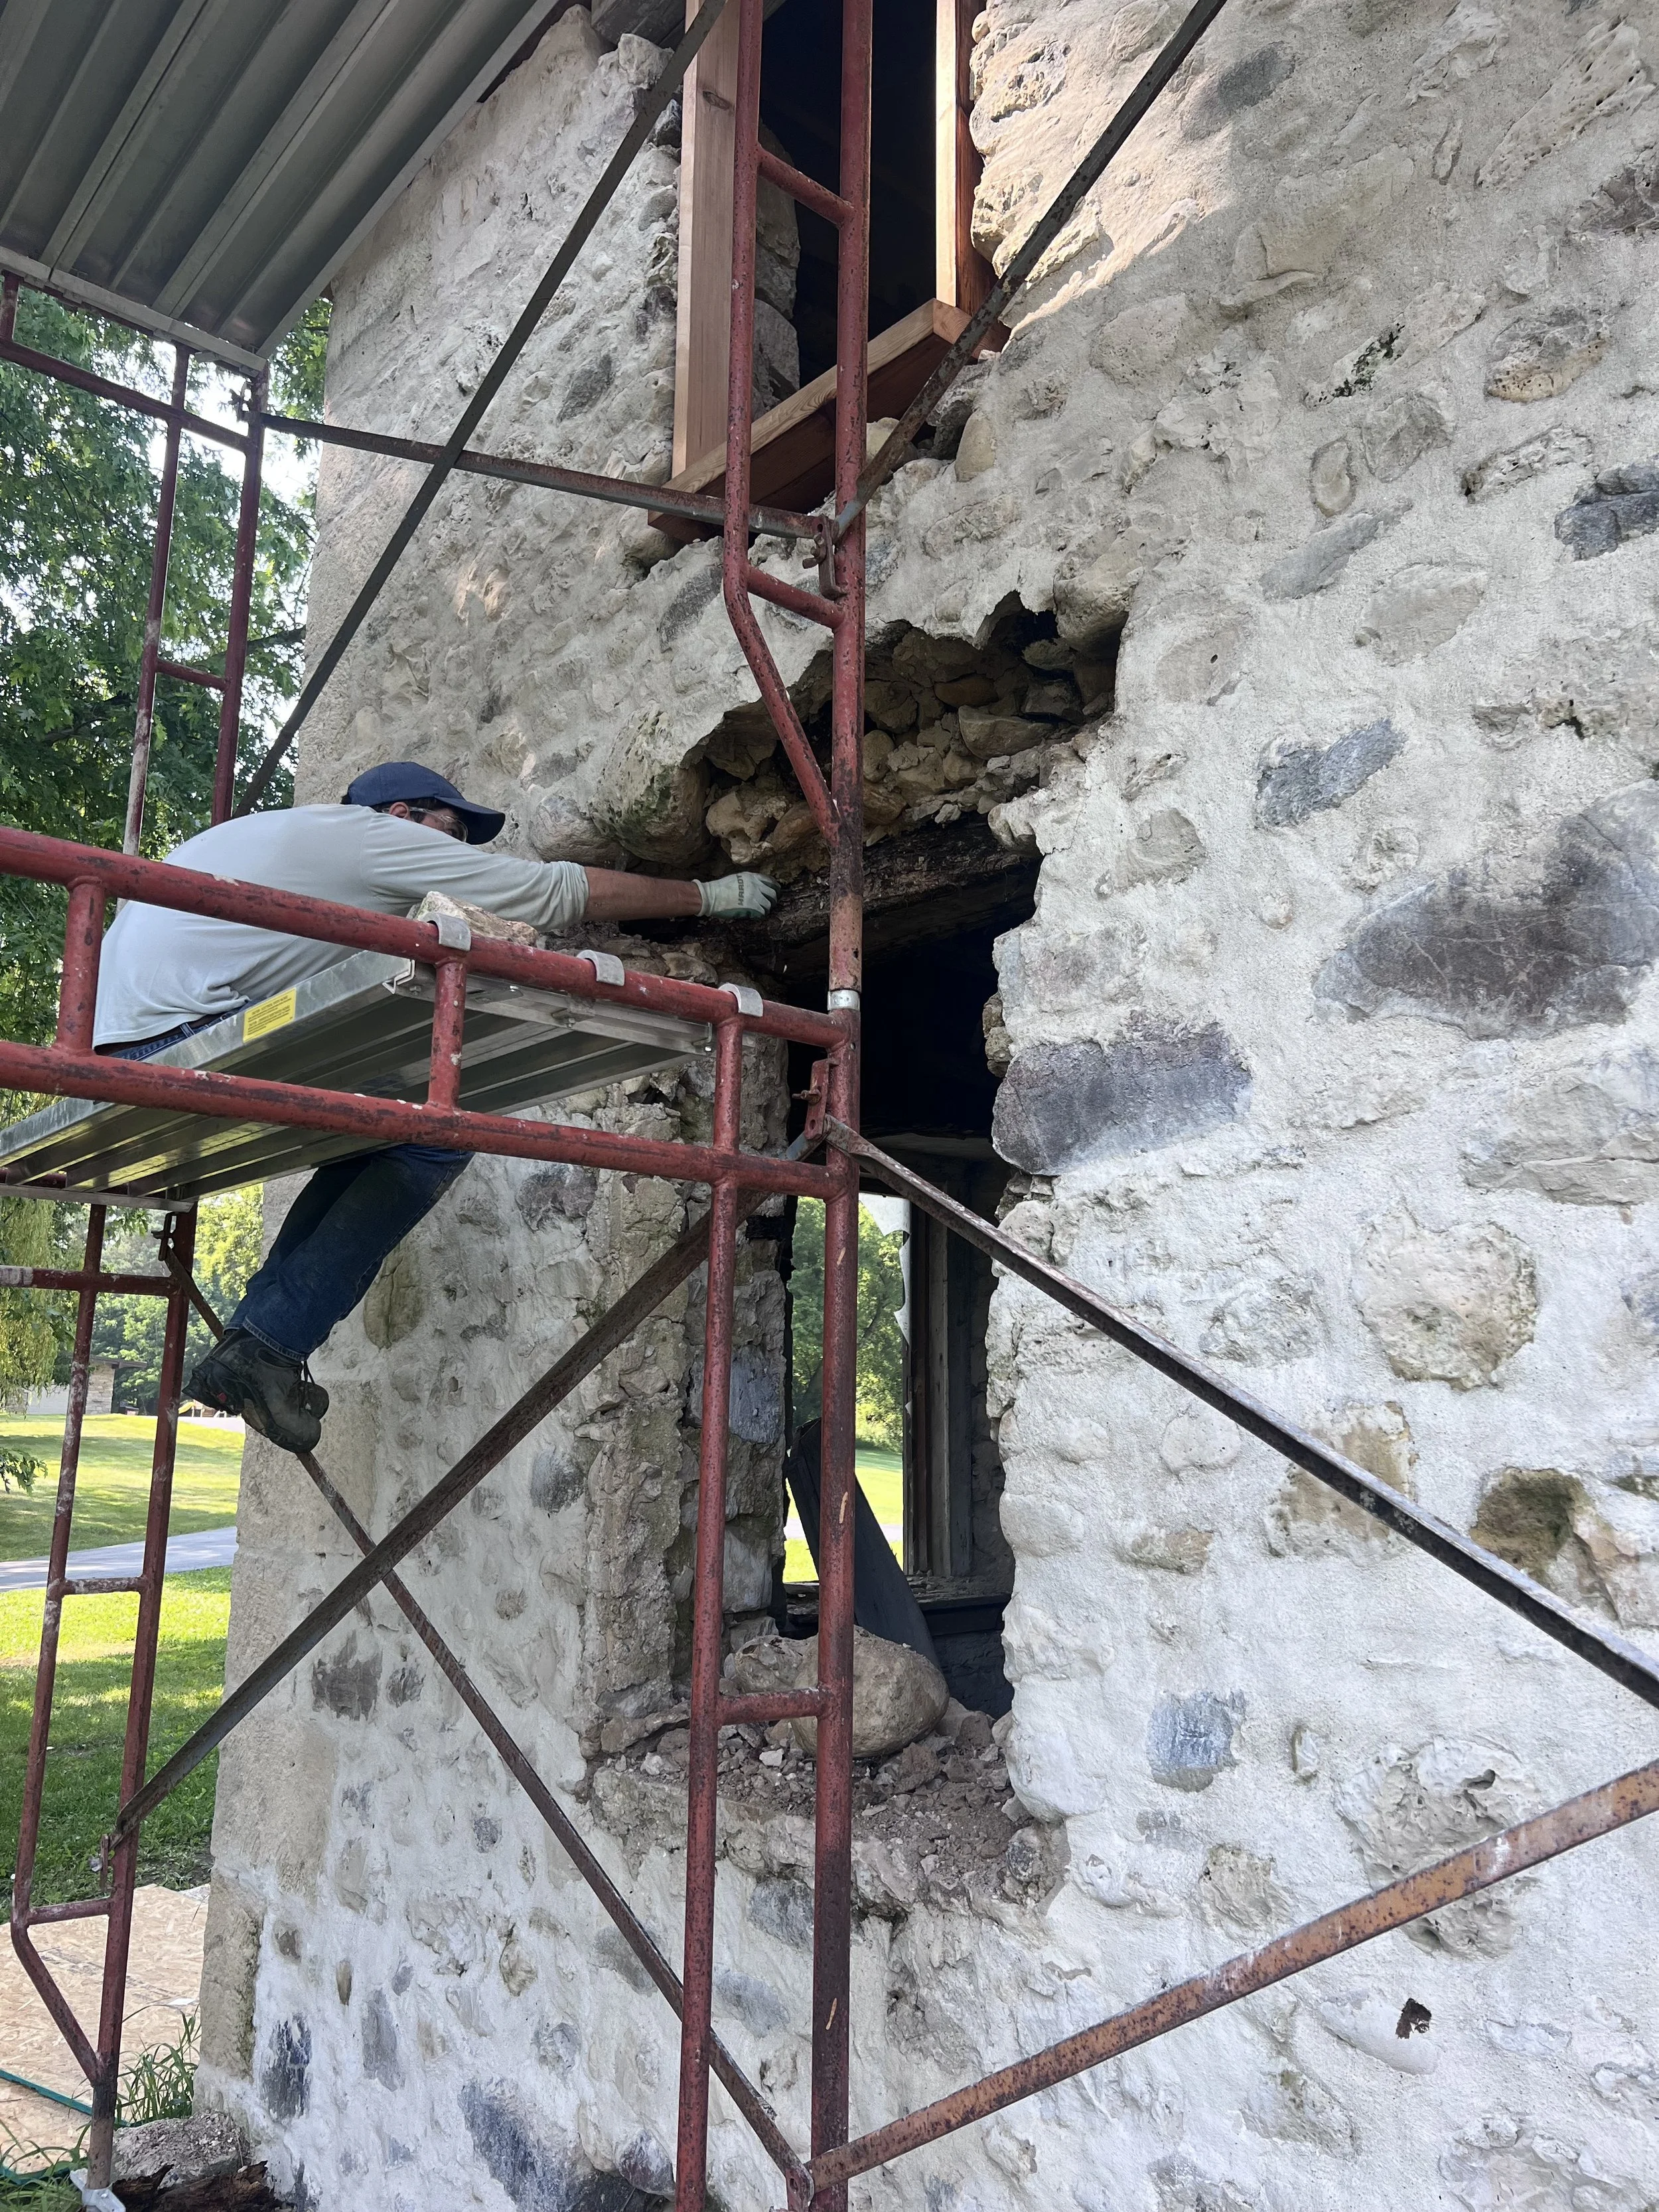
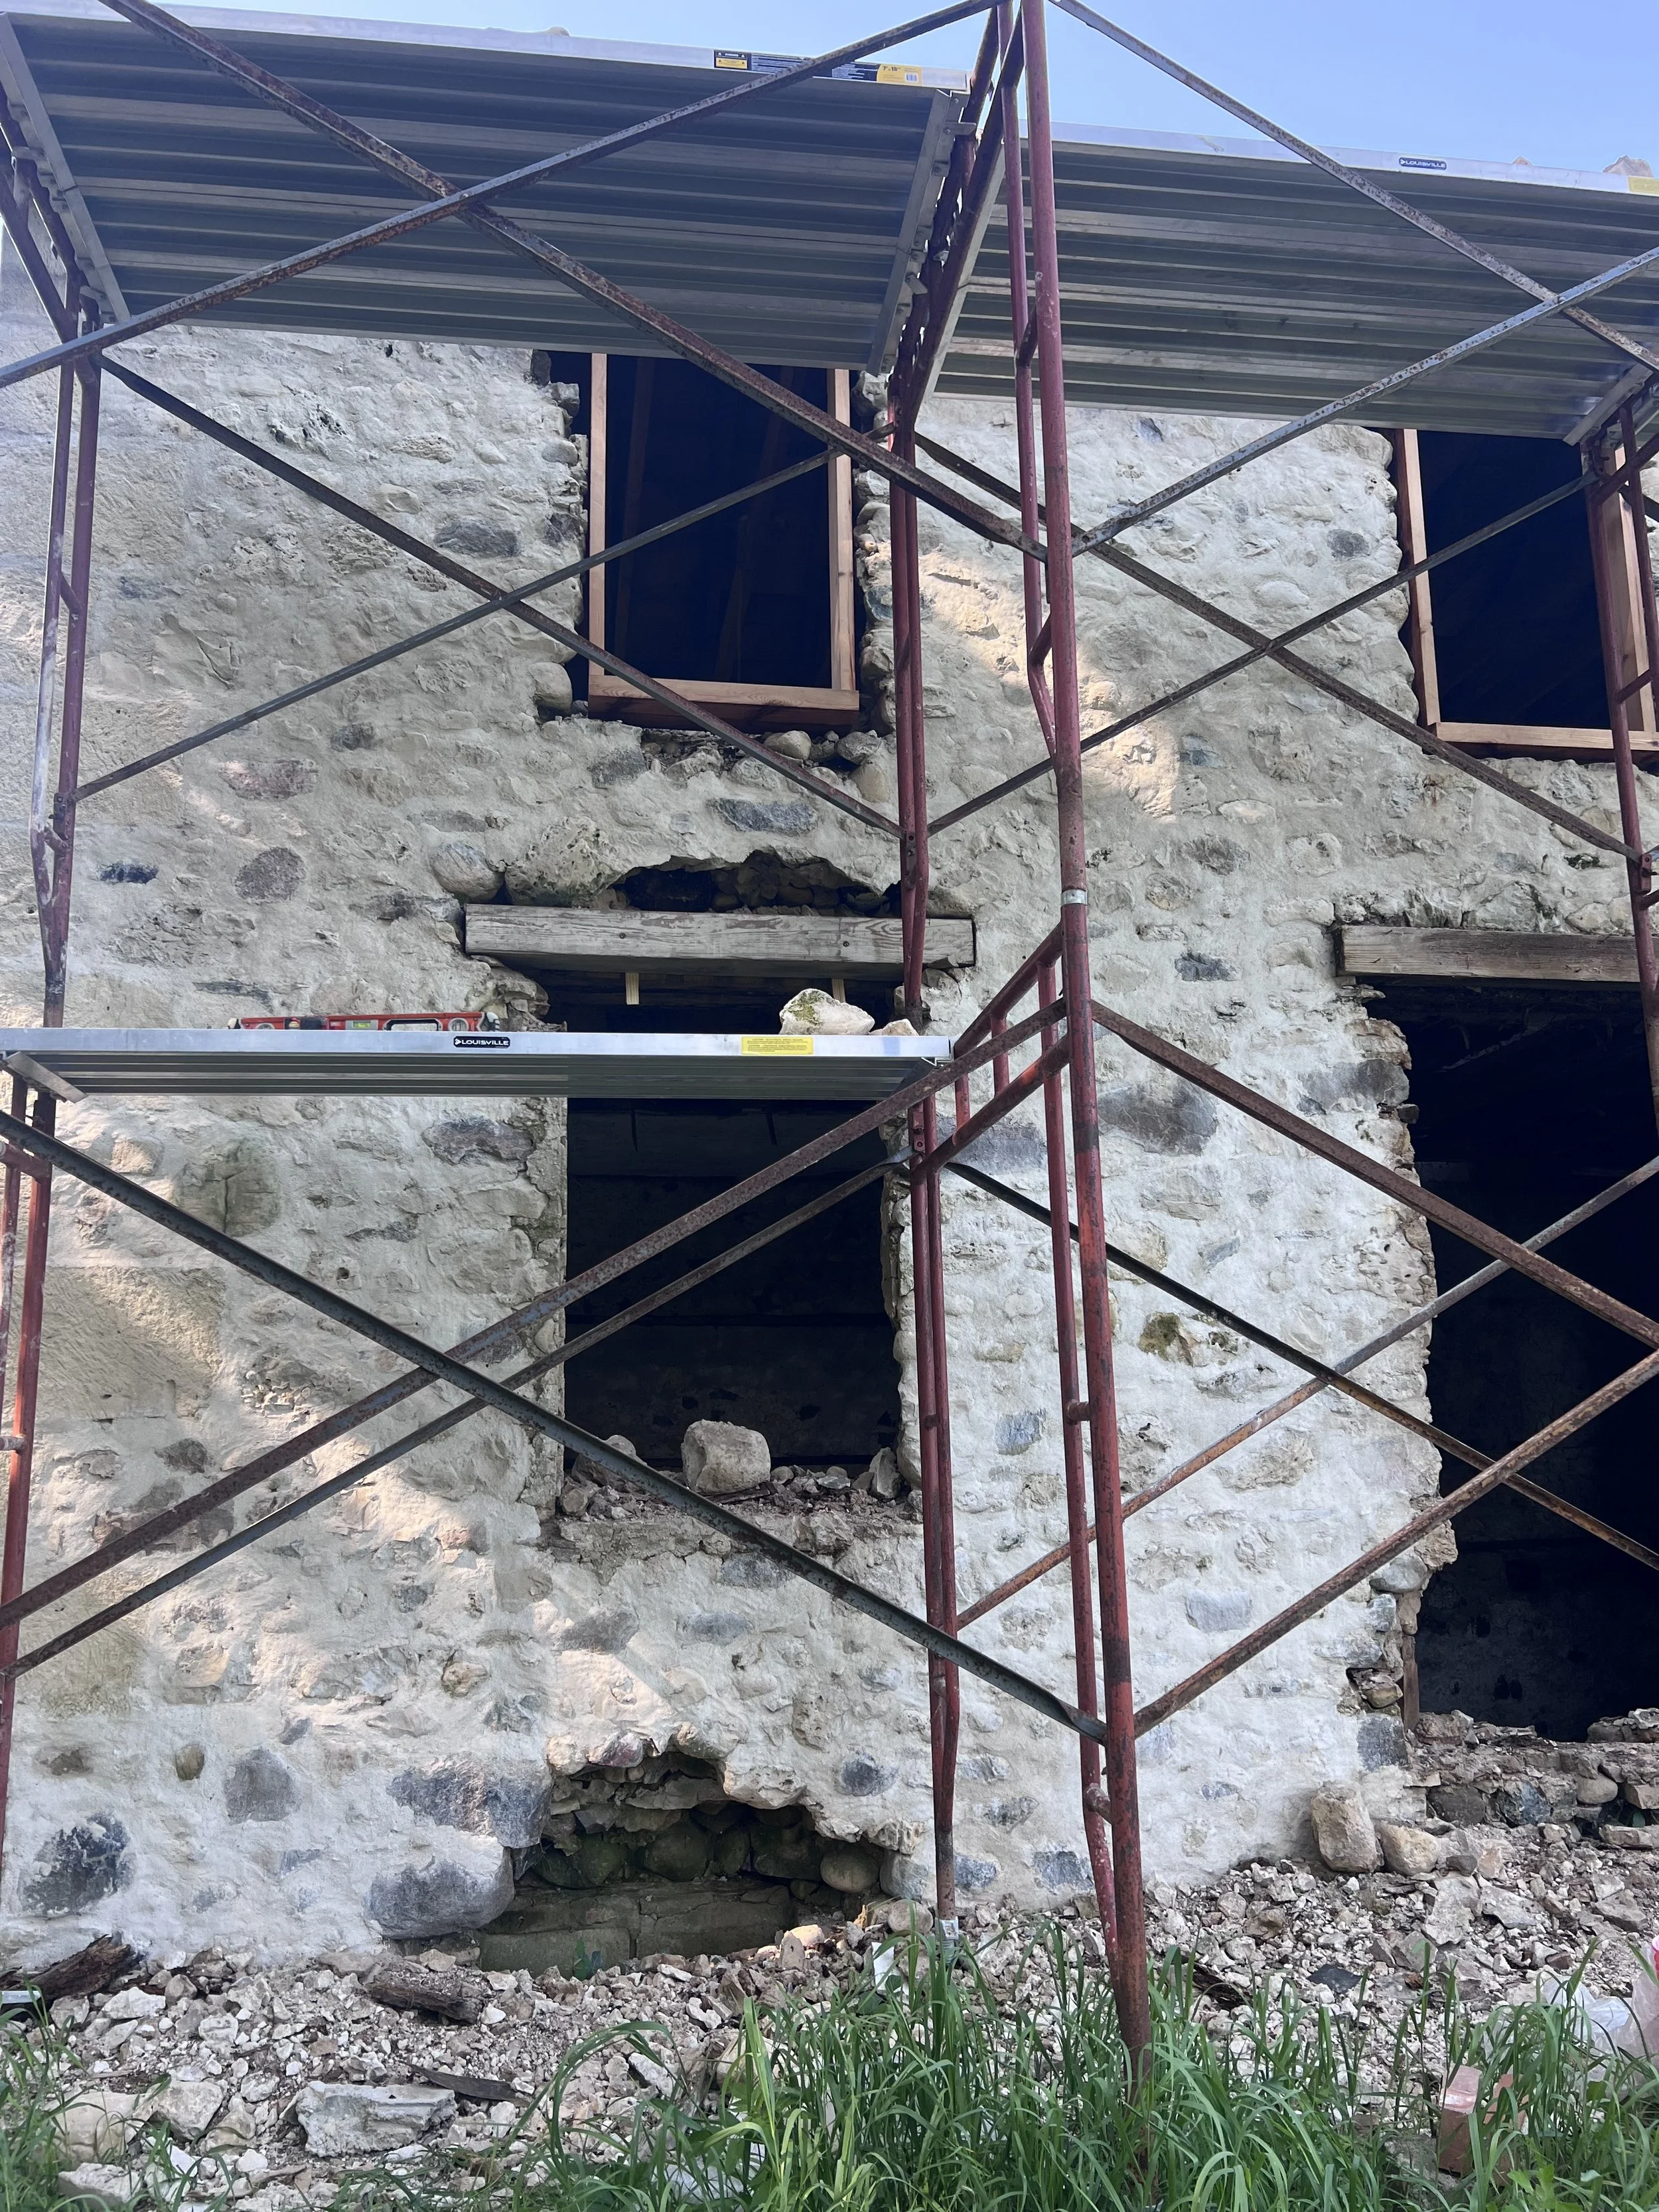
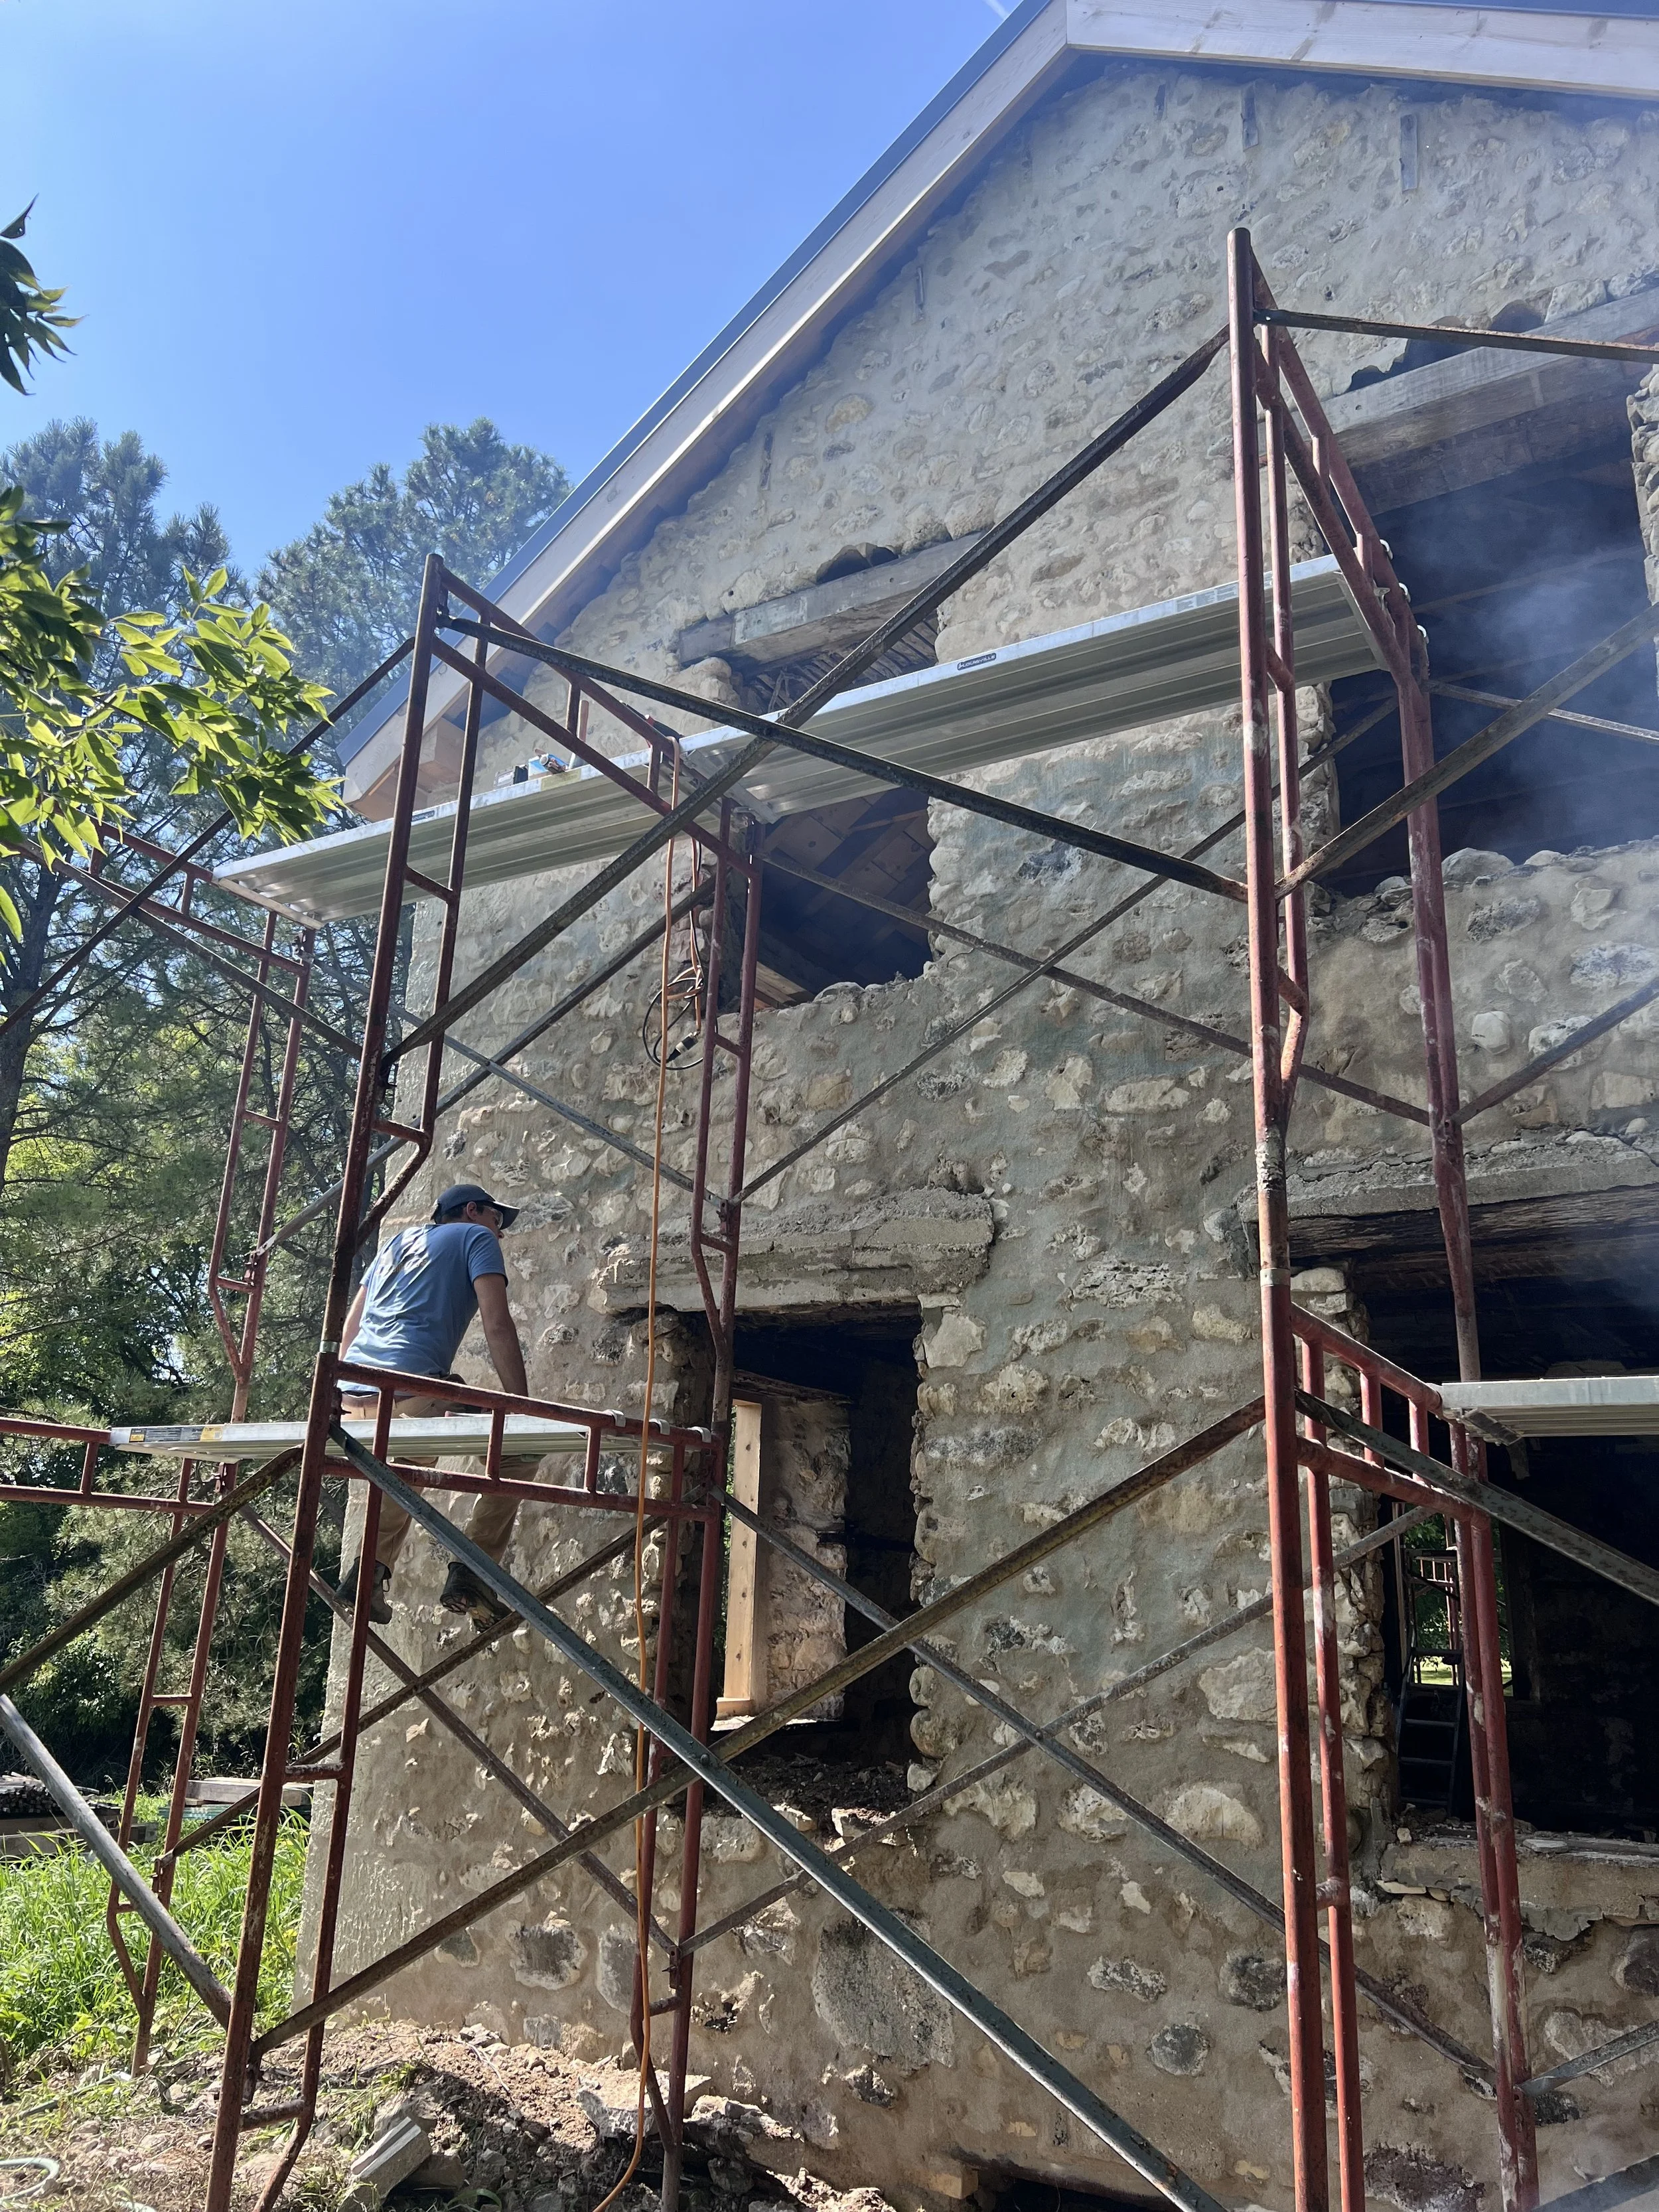
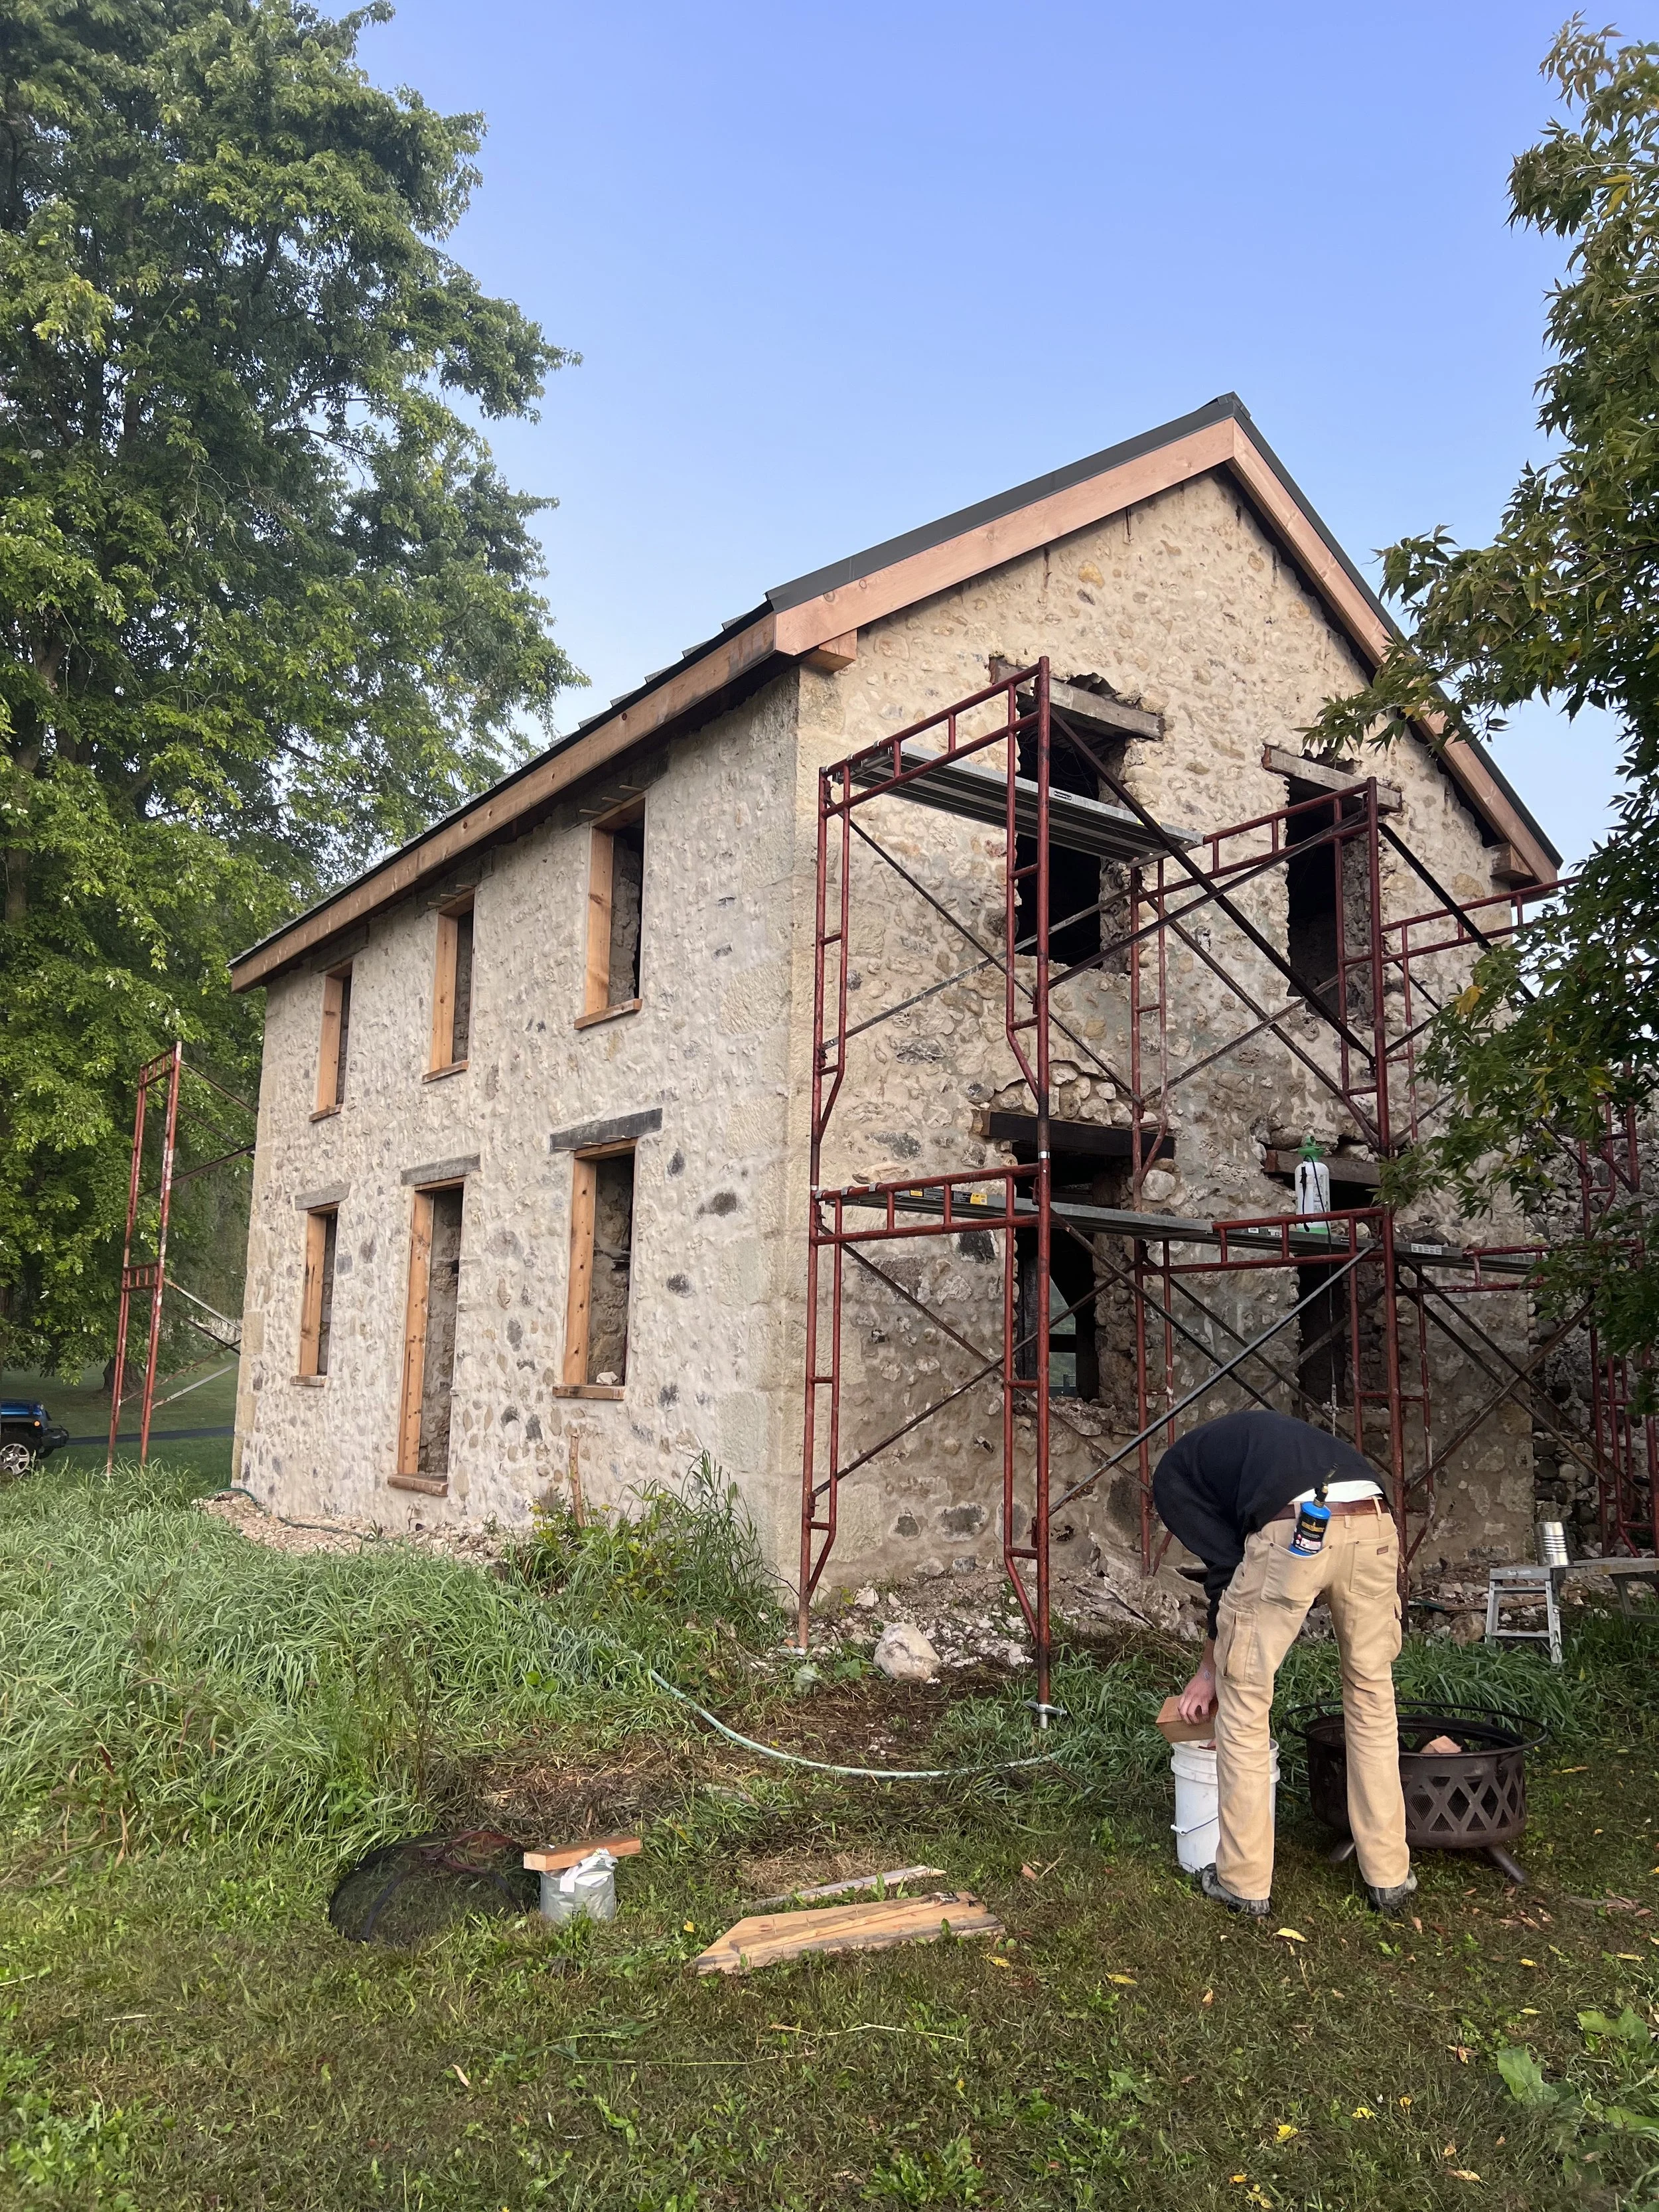
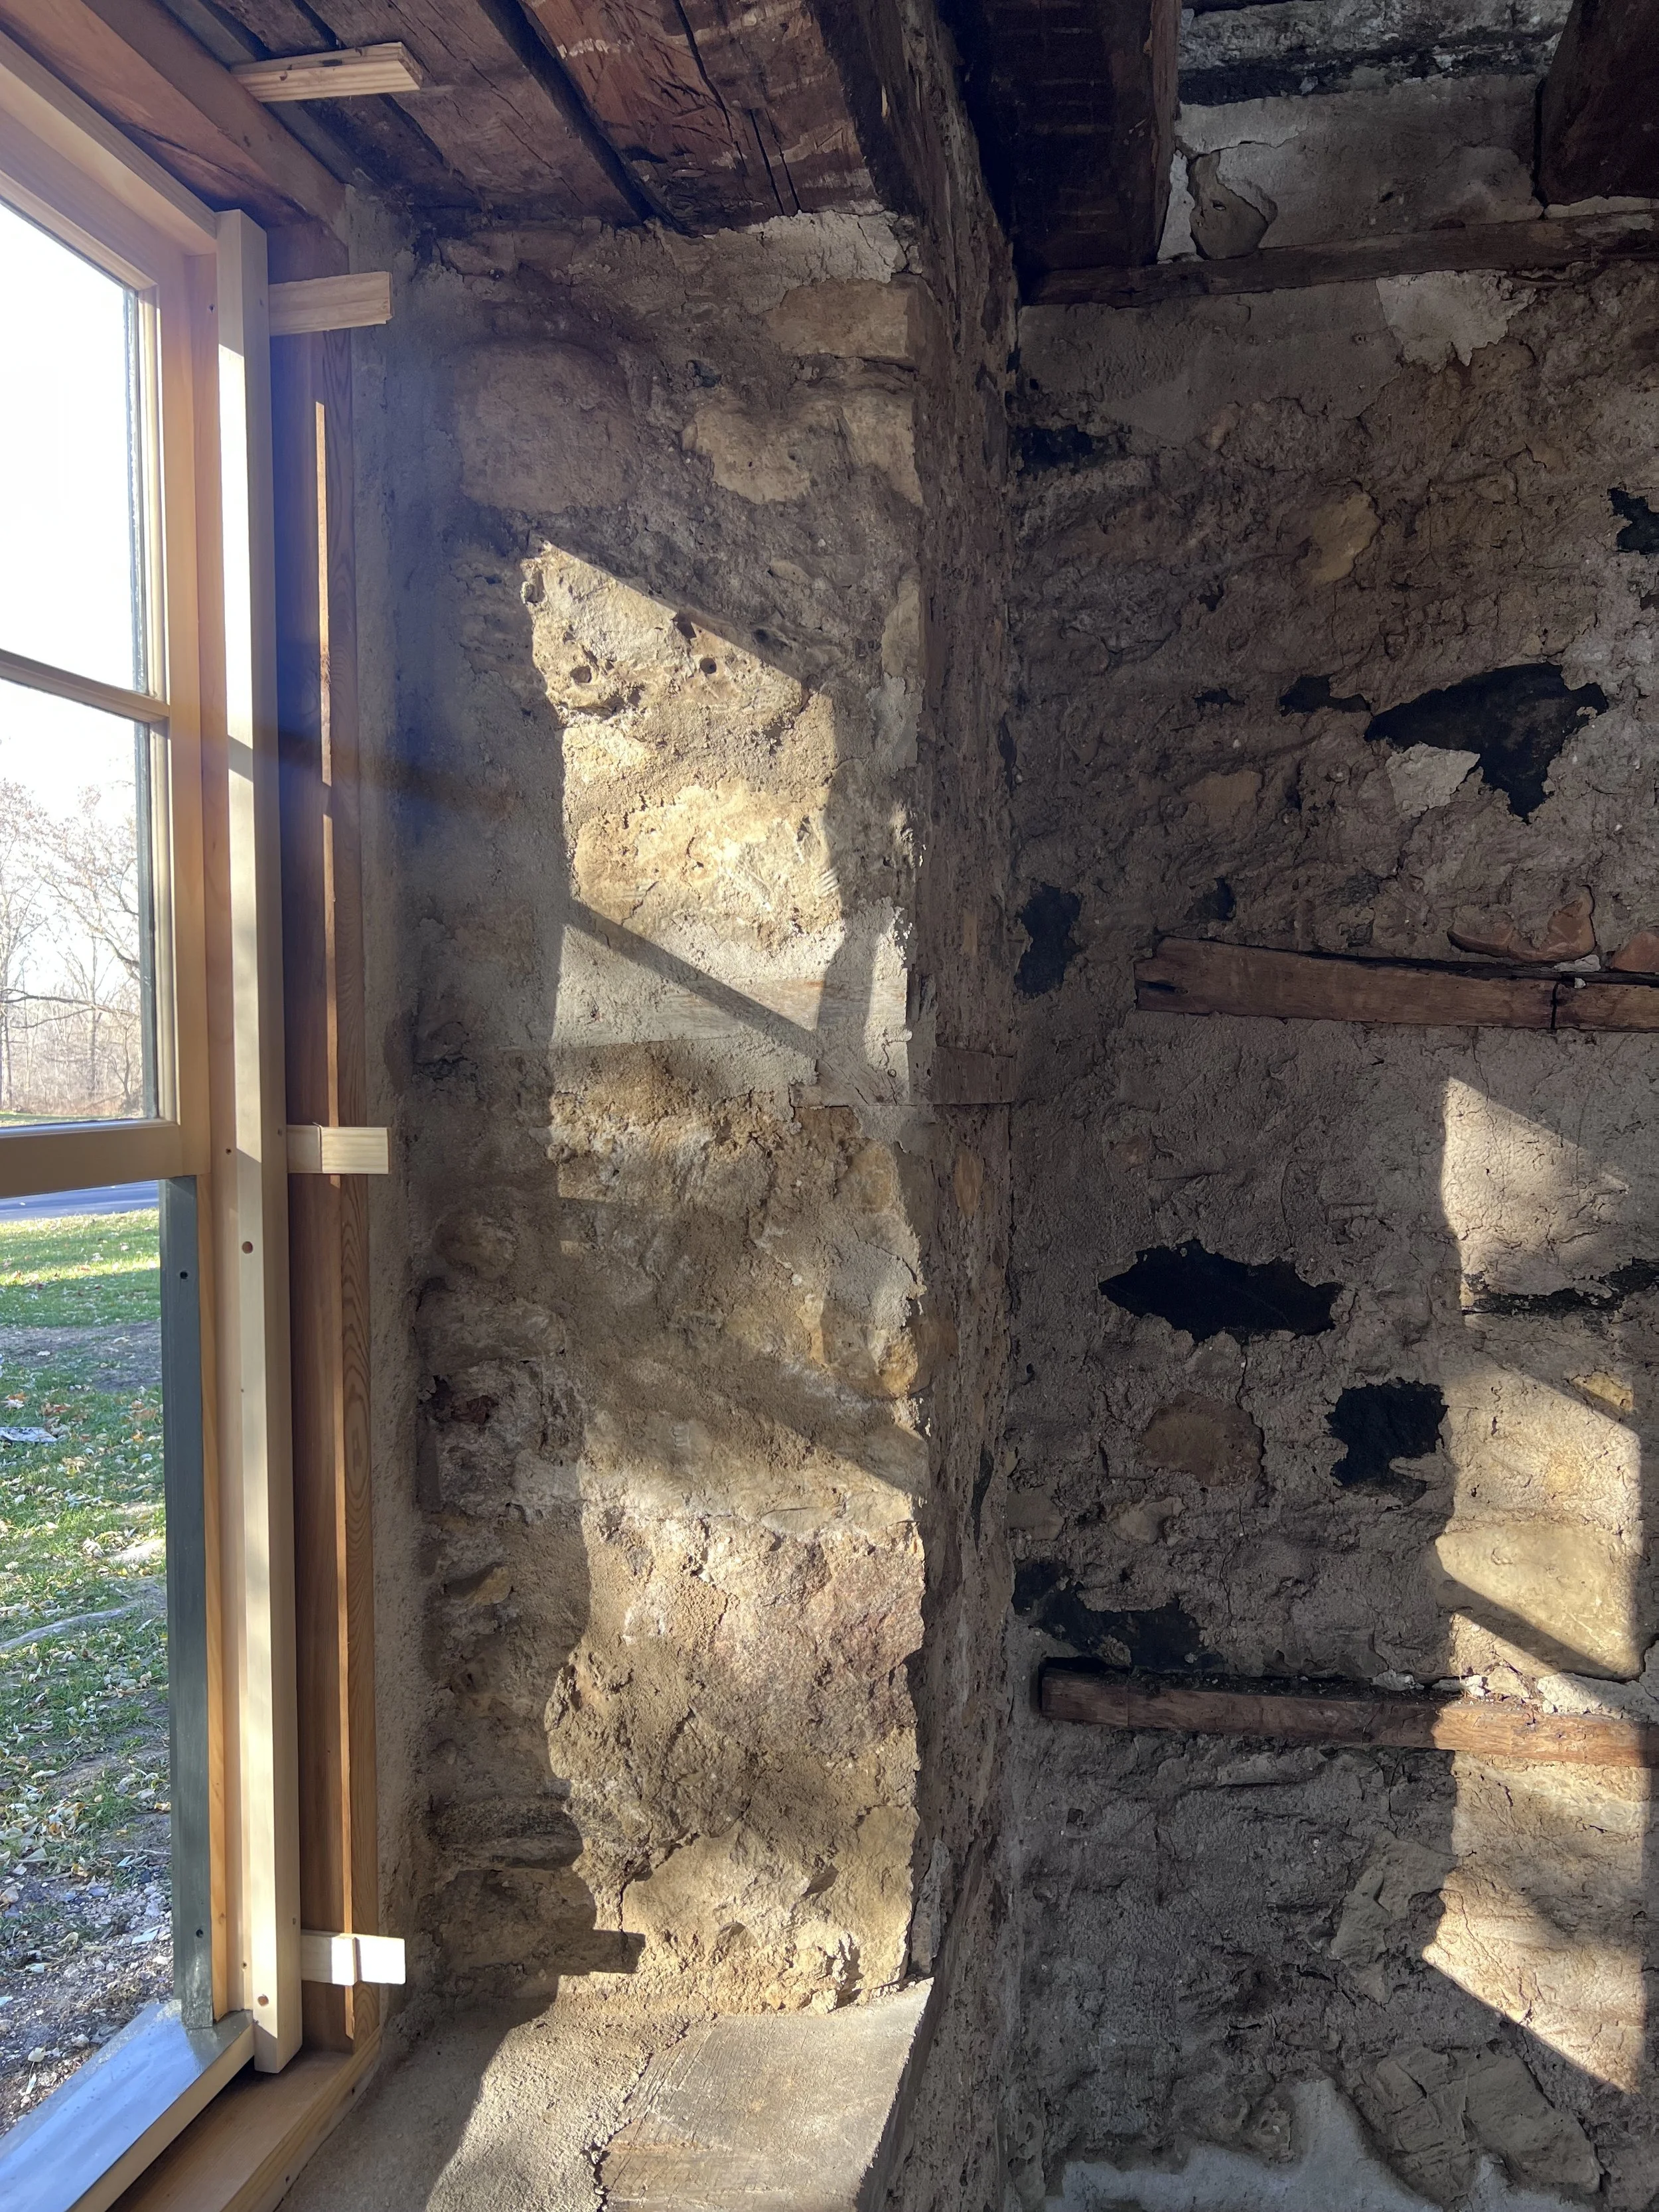
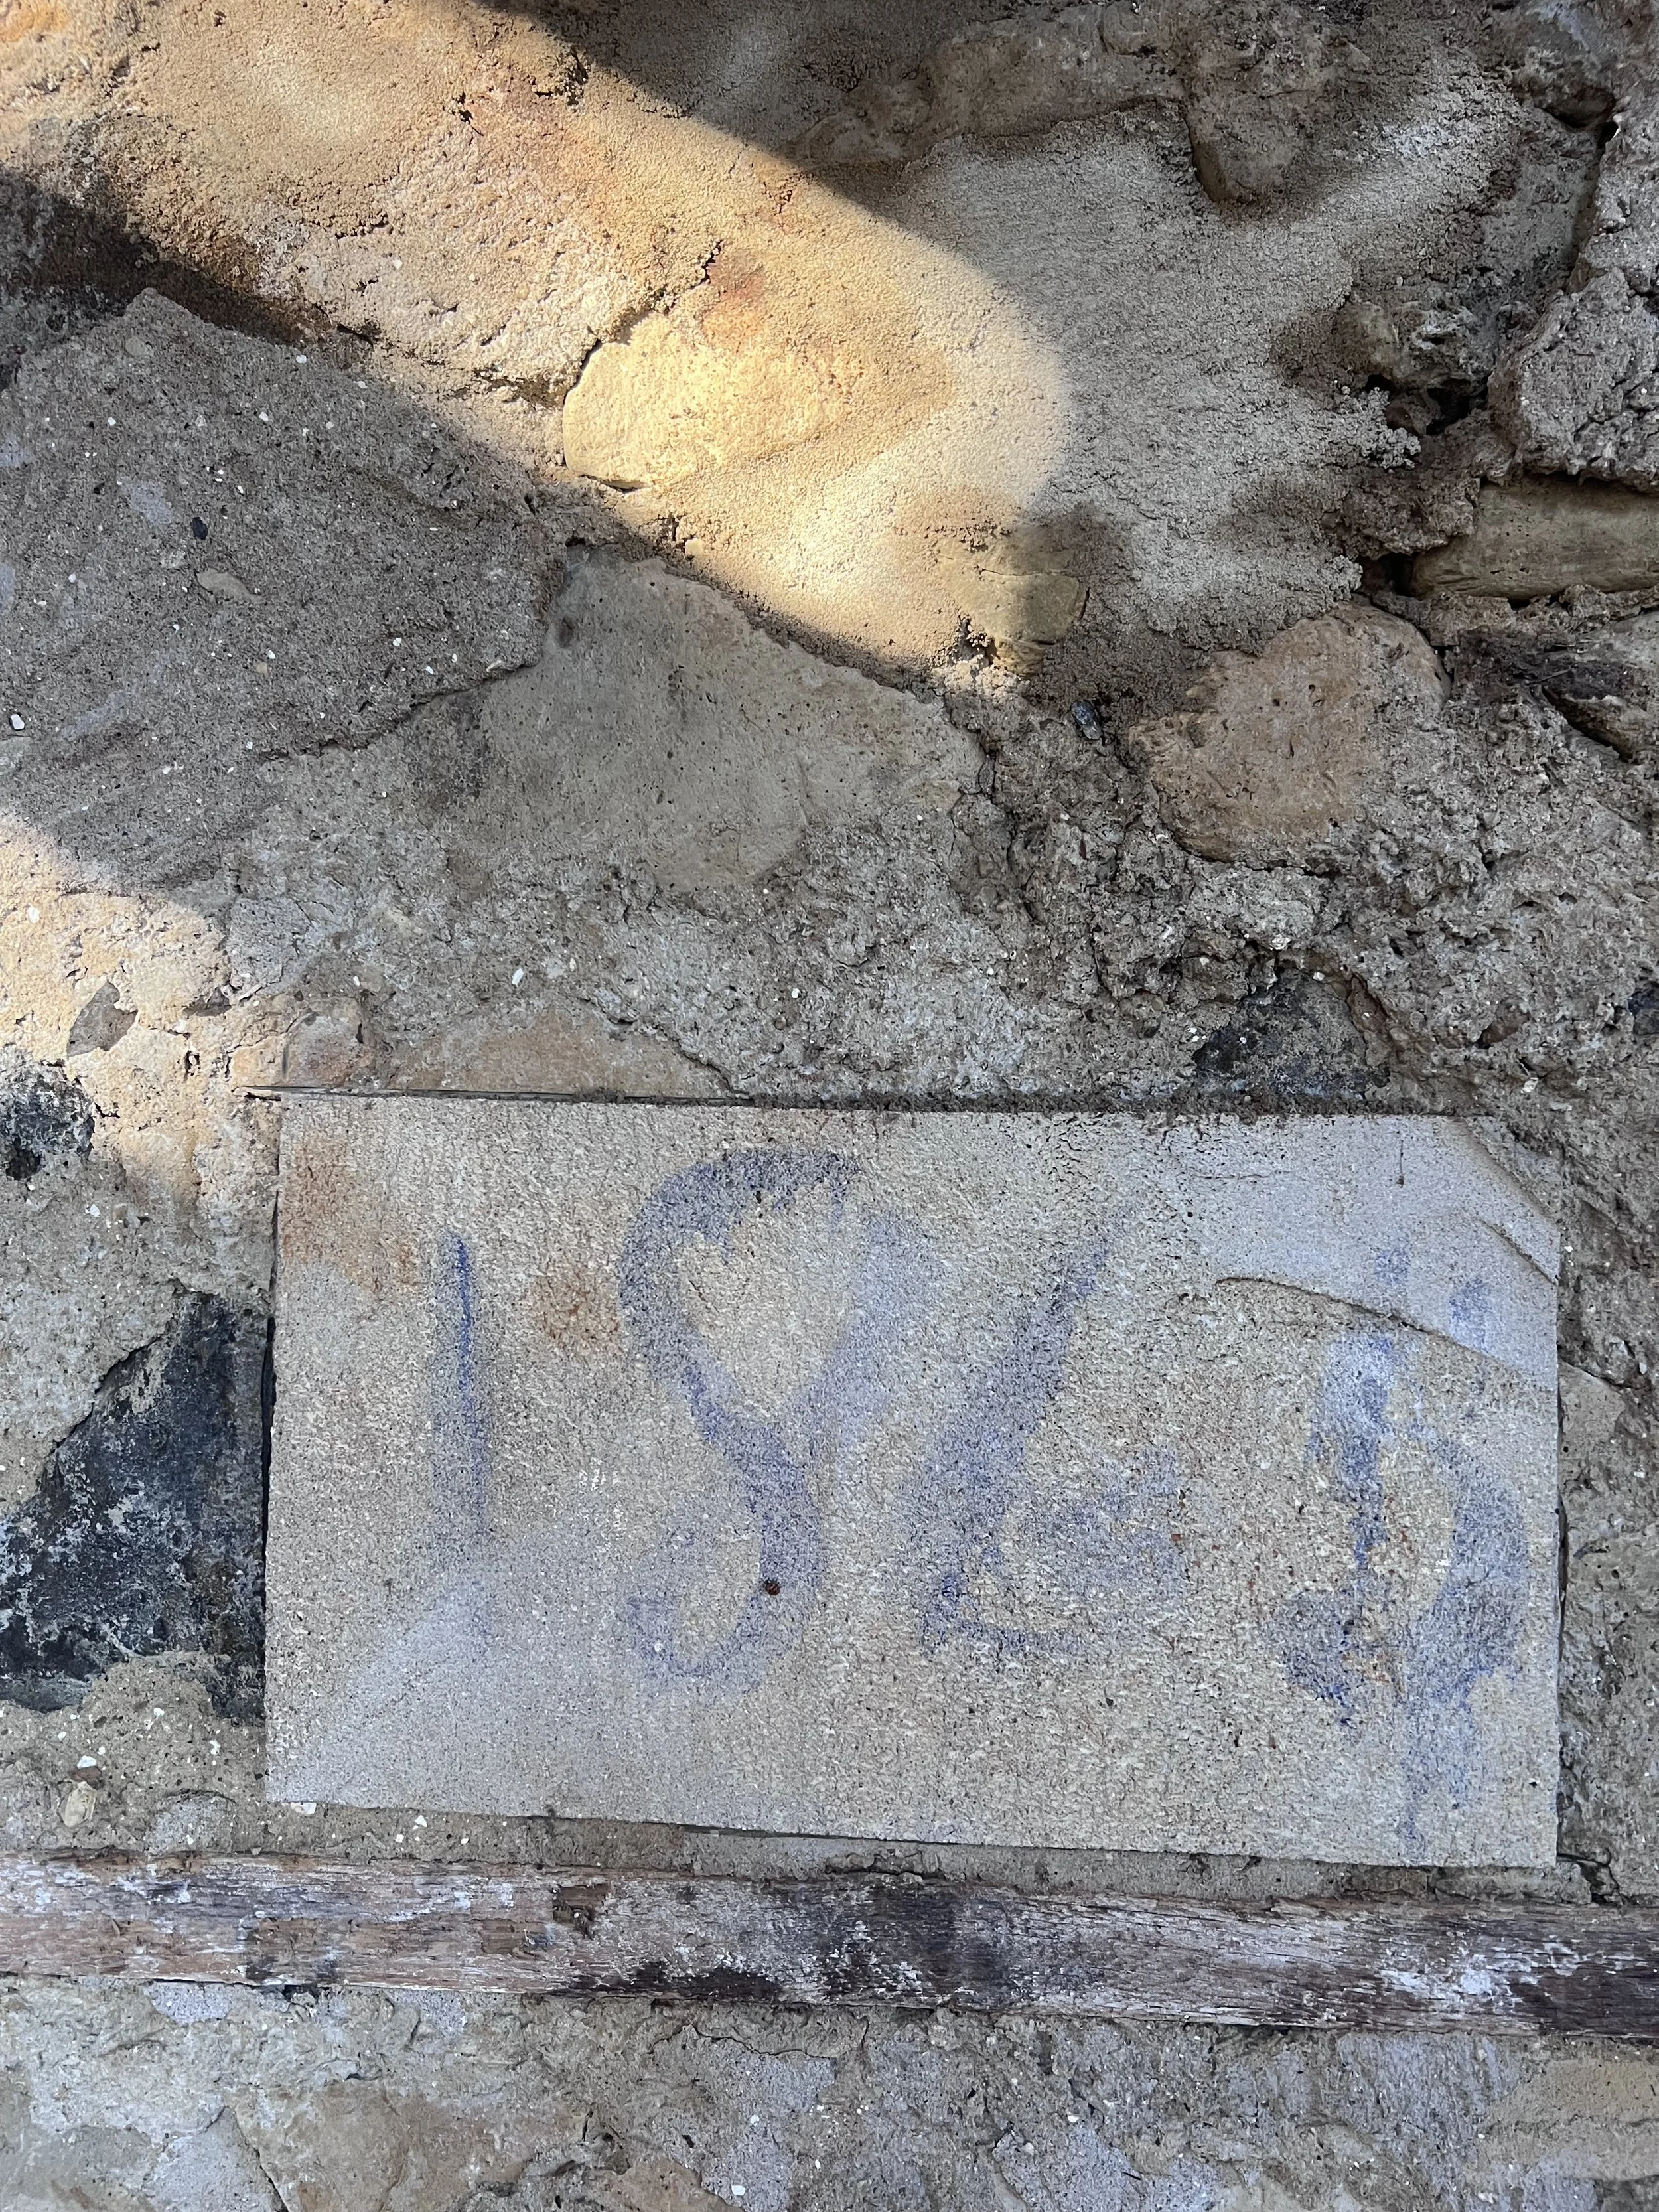
Come spring, we were off to the races! As almost all of the original lime mortar was shot from being exposed to so much water and deterioration with the freeze/thaw cycle, we knew all the remaining mortar was going to have to be chipped out and the repointed. So we took some original samples to get tested by Henry Frerk & Sons for an exact mortar match. They ended up modifying the composition of the mortar to be stronger than the original mix (but still lime!) and a perfect color match. Before taking the roof off we decided that it would be best to repoint the entire south side as the window headers were in such a fragile state that we didn’t want to risk any collapse when removing the original 8x10x30’ white oak rafter plates.
The “fun” thing about fieldstone houses like this is that the mortar is basically acting as the glue that holds stones together, whereas with dry stacked stone, the stones are friction fit and structural unto themselves and so the mortar doesn’t serve any purpose other than wind proofing and keeping bugs and mice out. Because this was a situation where the mortar was the glue, we knew that it was imperative that we “glued” as many of the stones back together to re-solidify and strengthen the wall before addressing any of the parts that needed rebuilding.
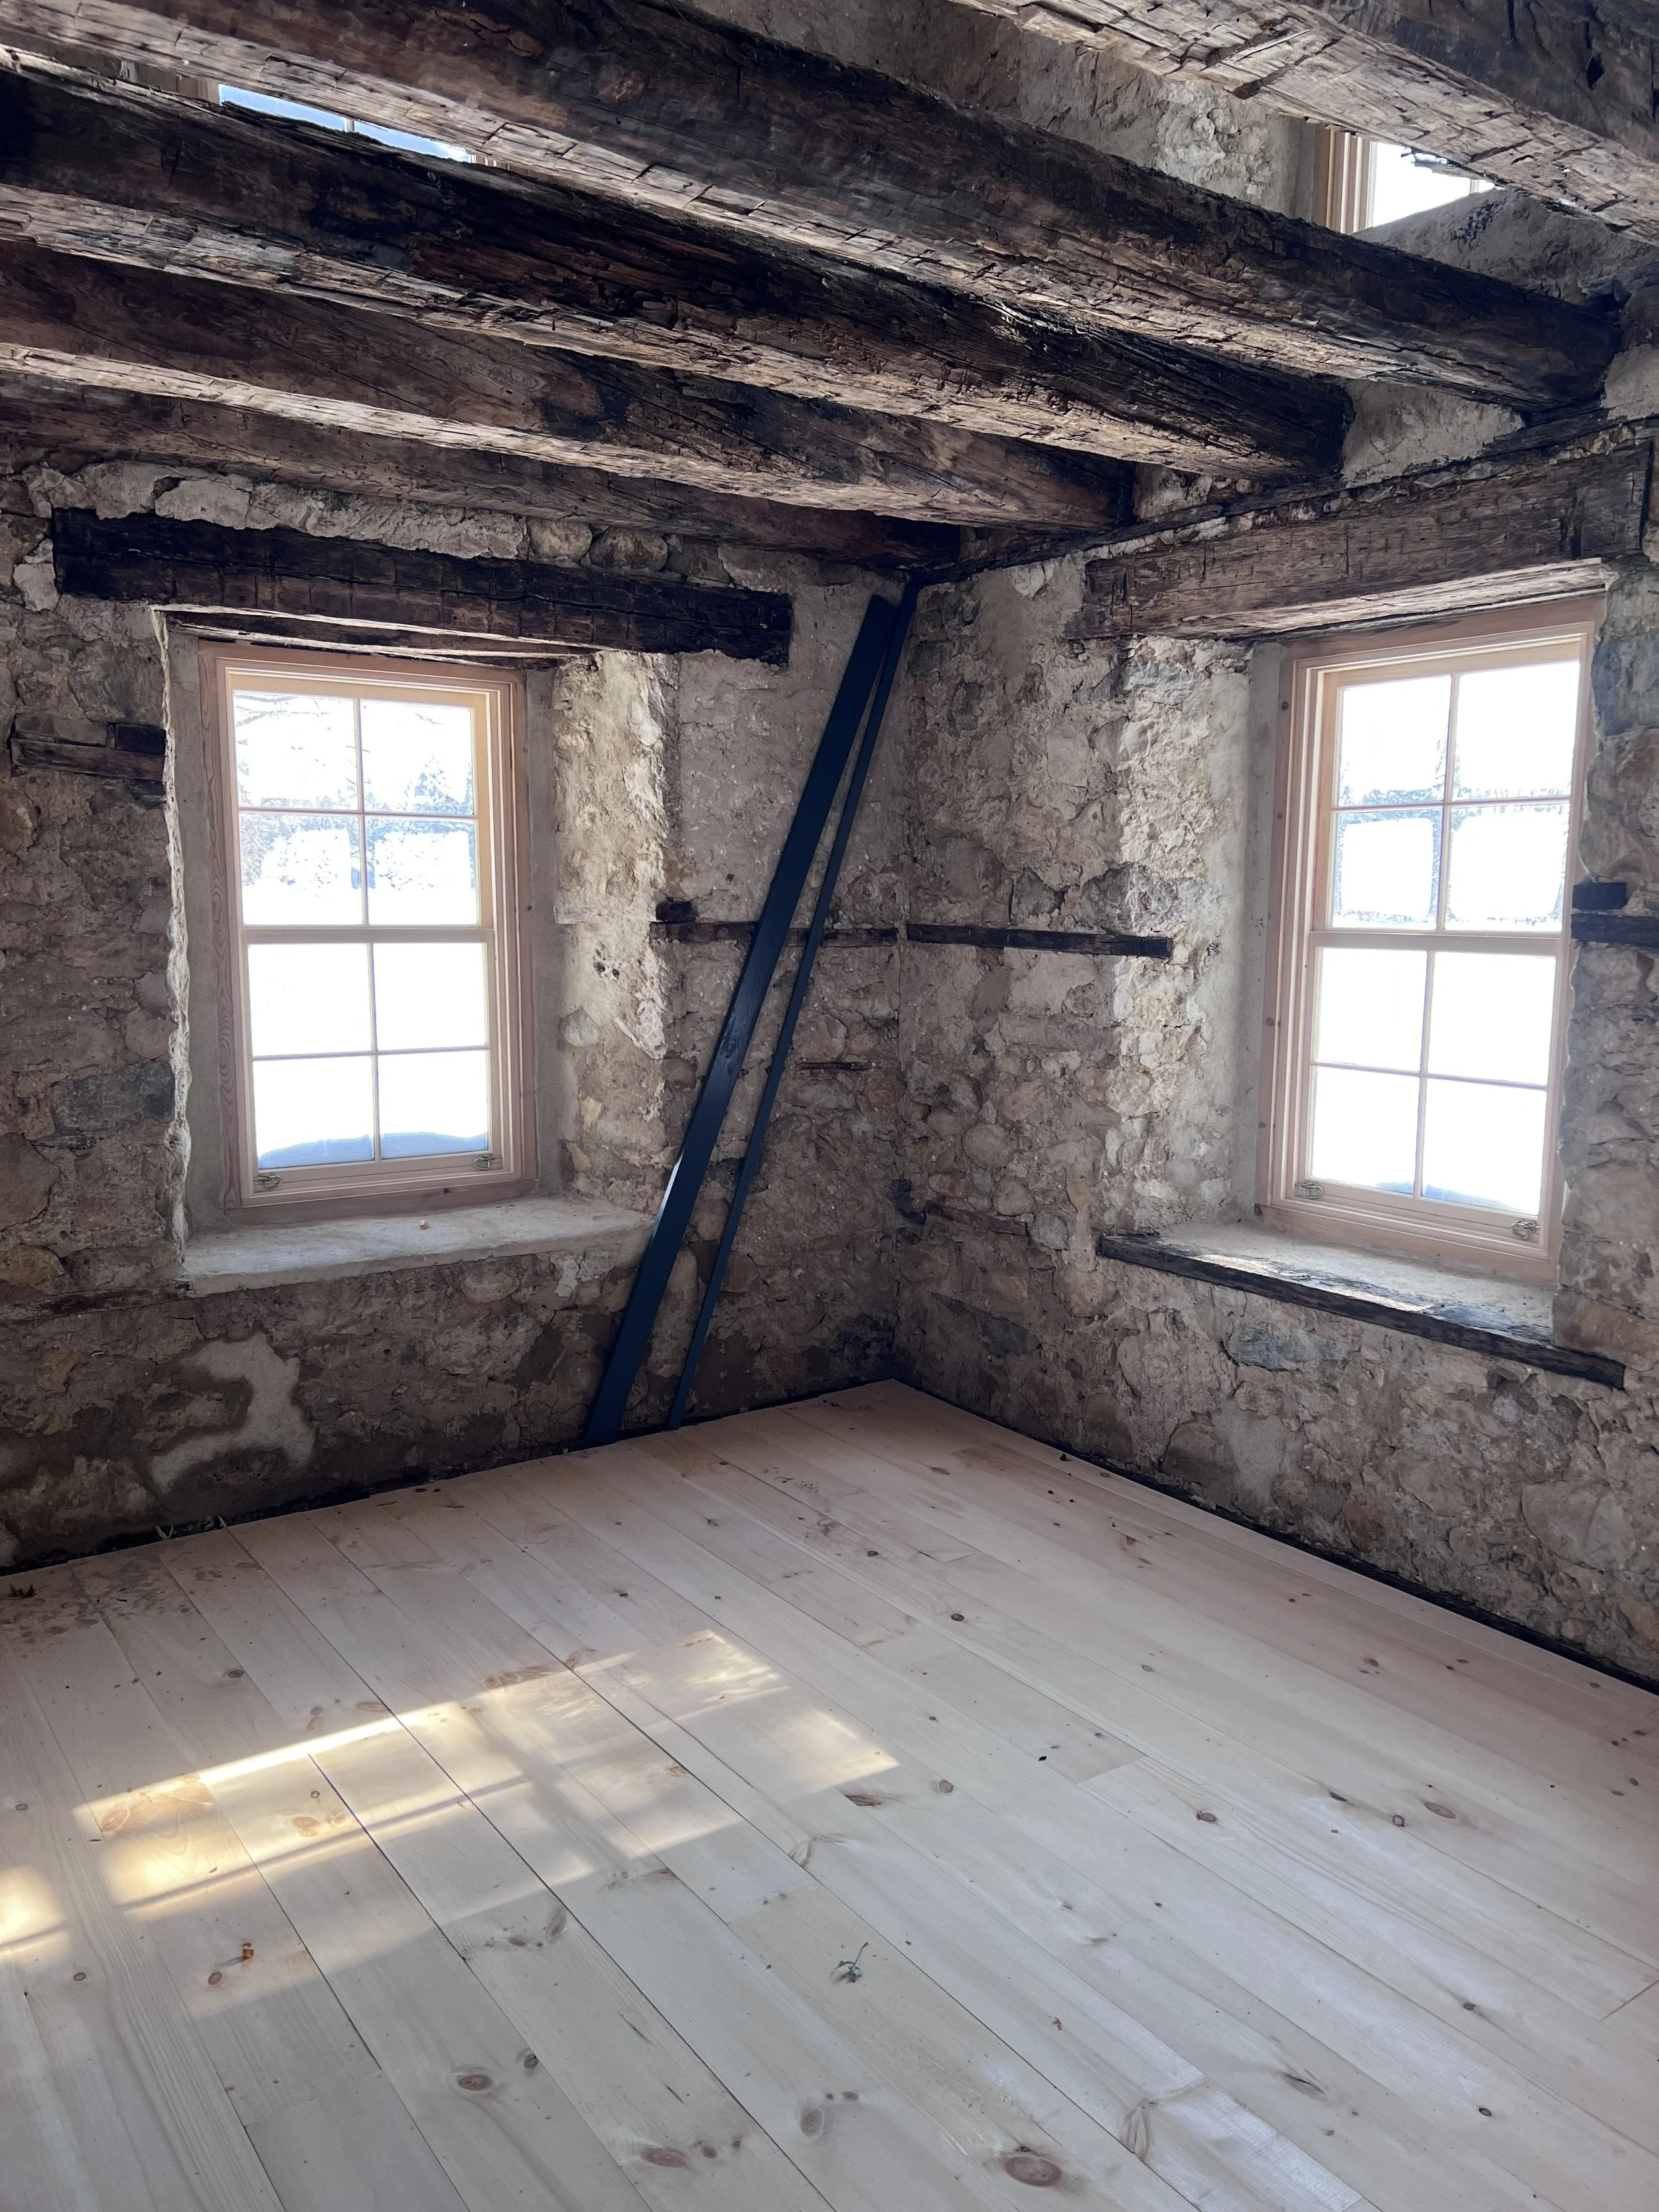
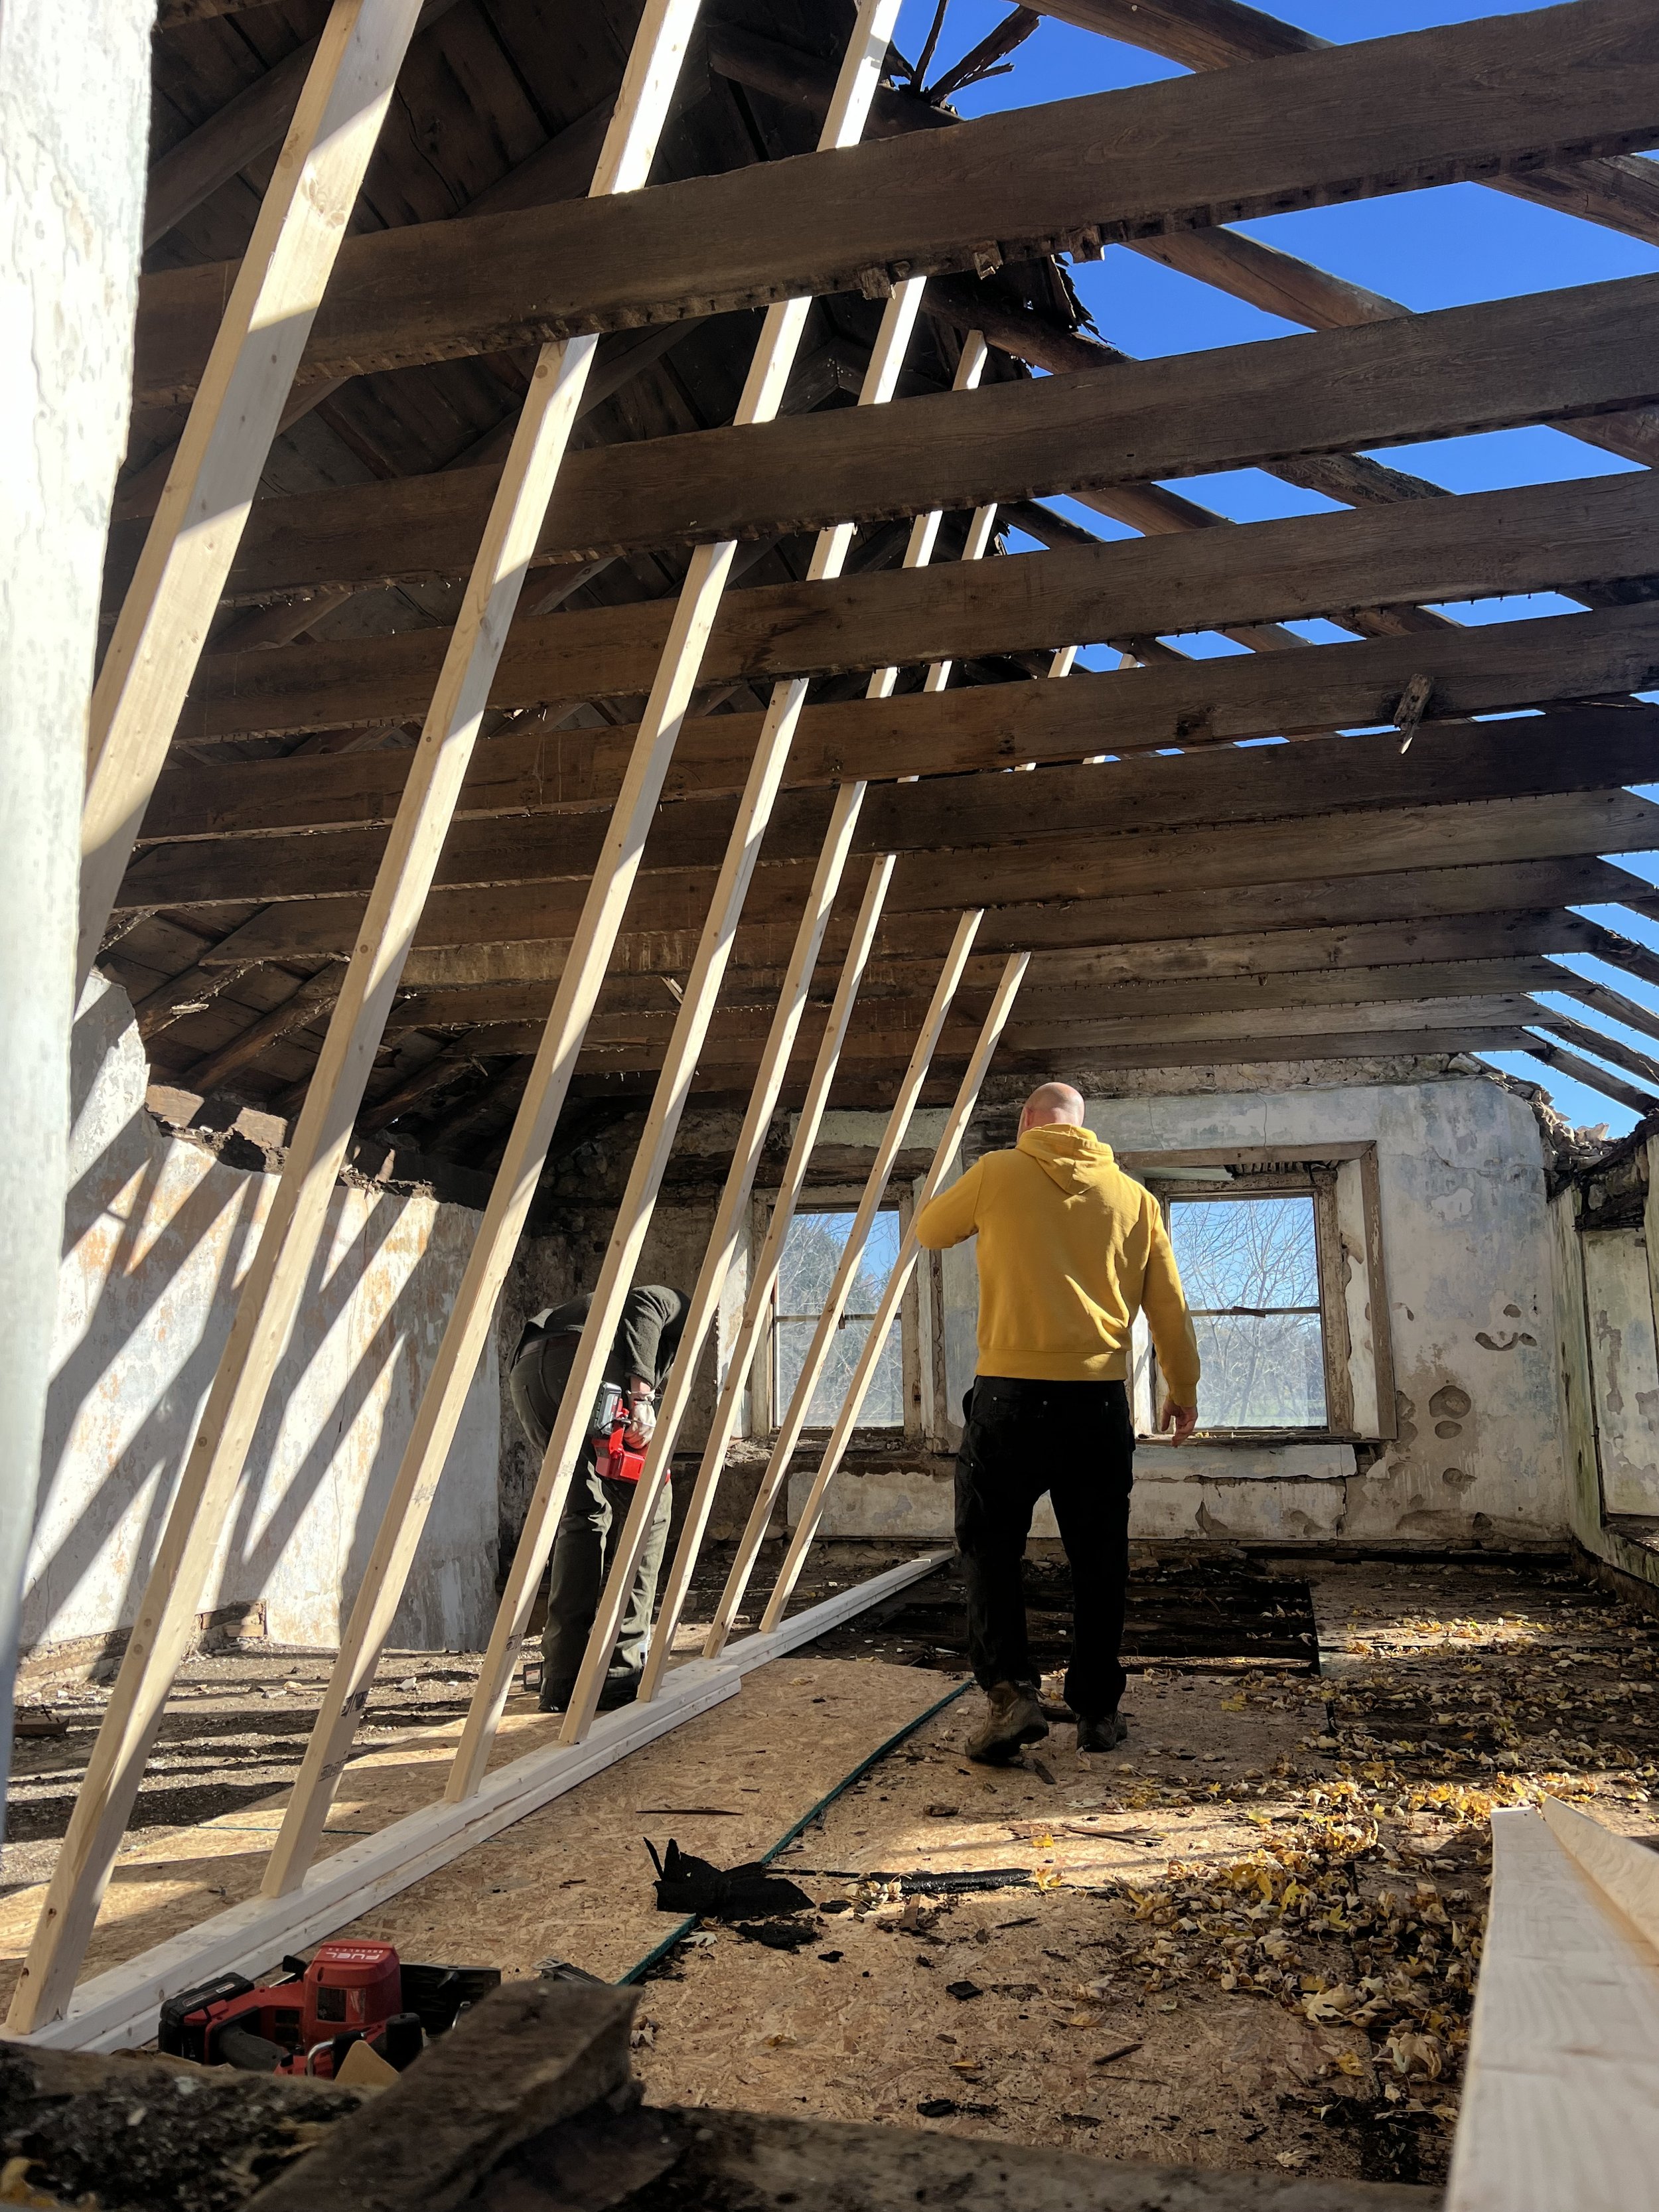
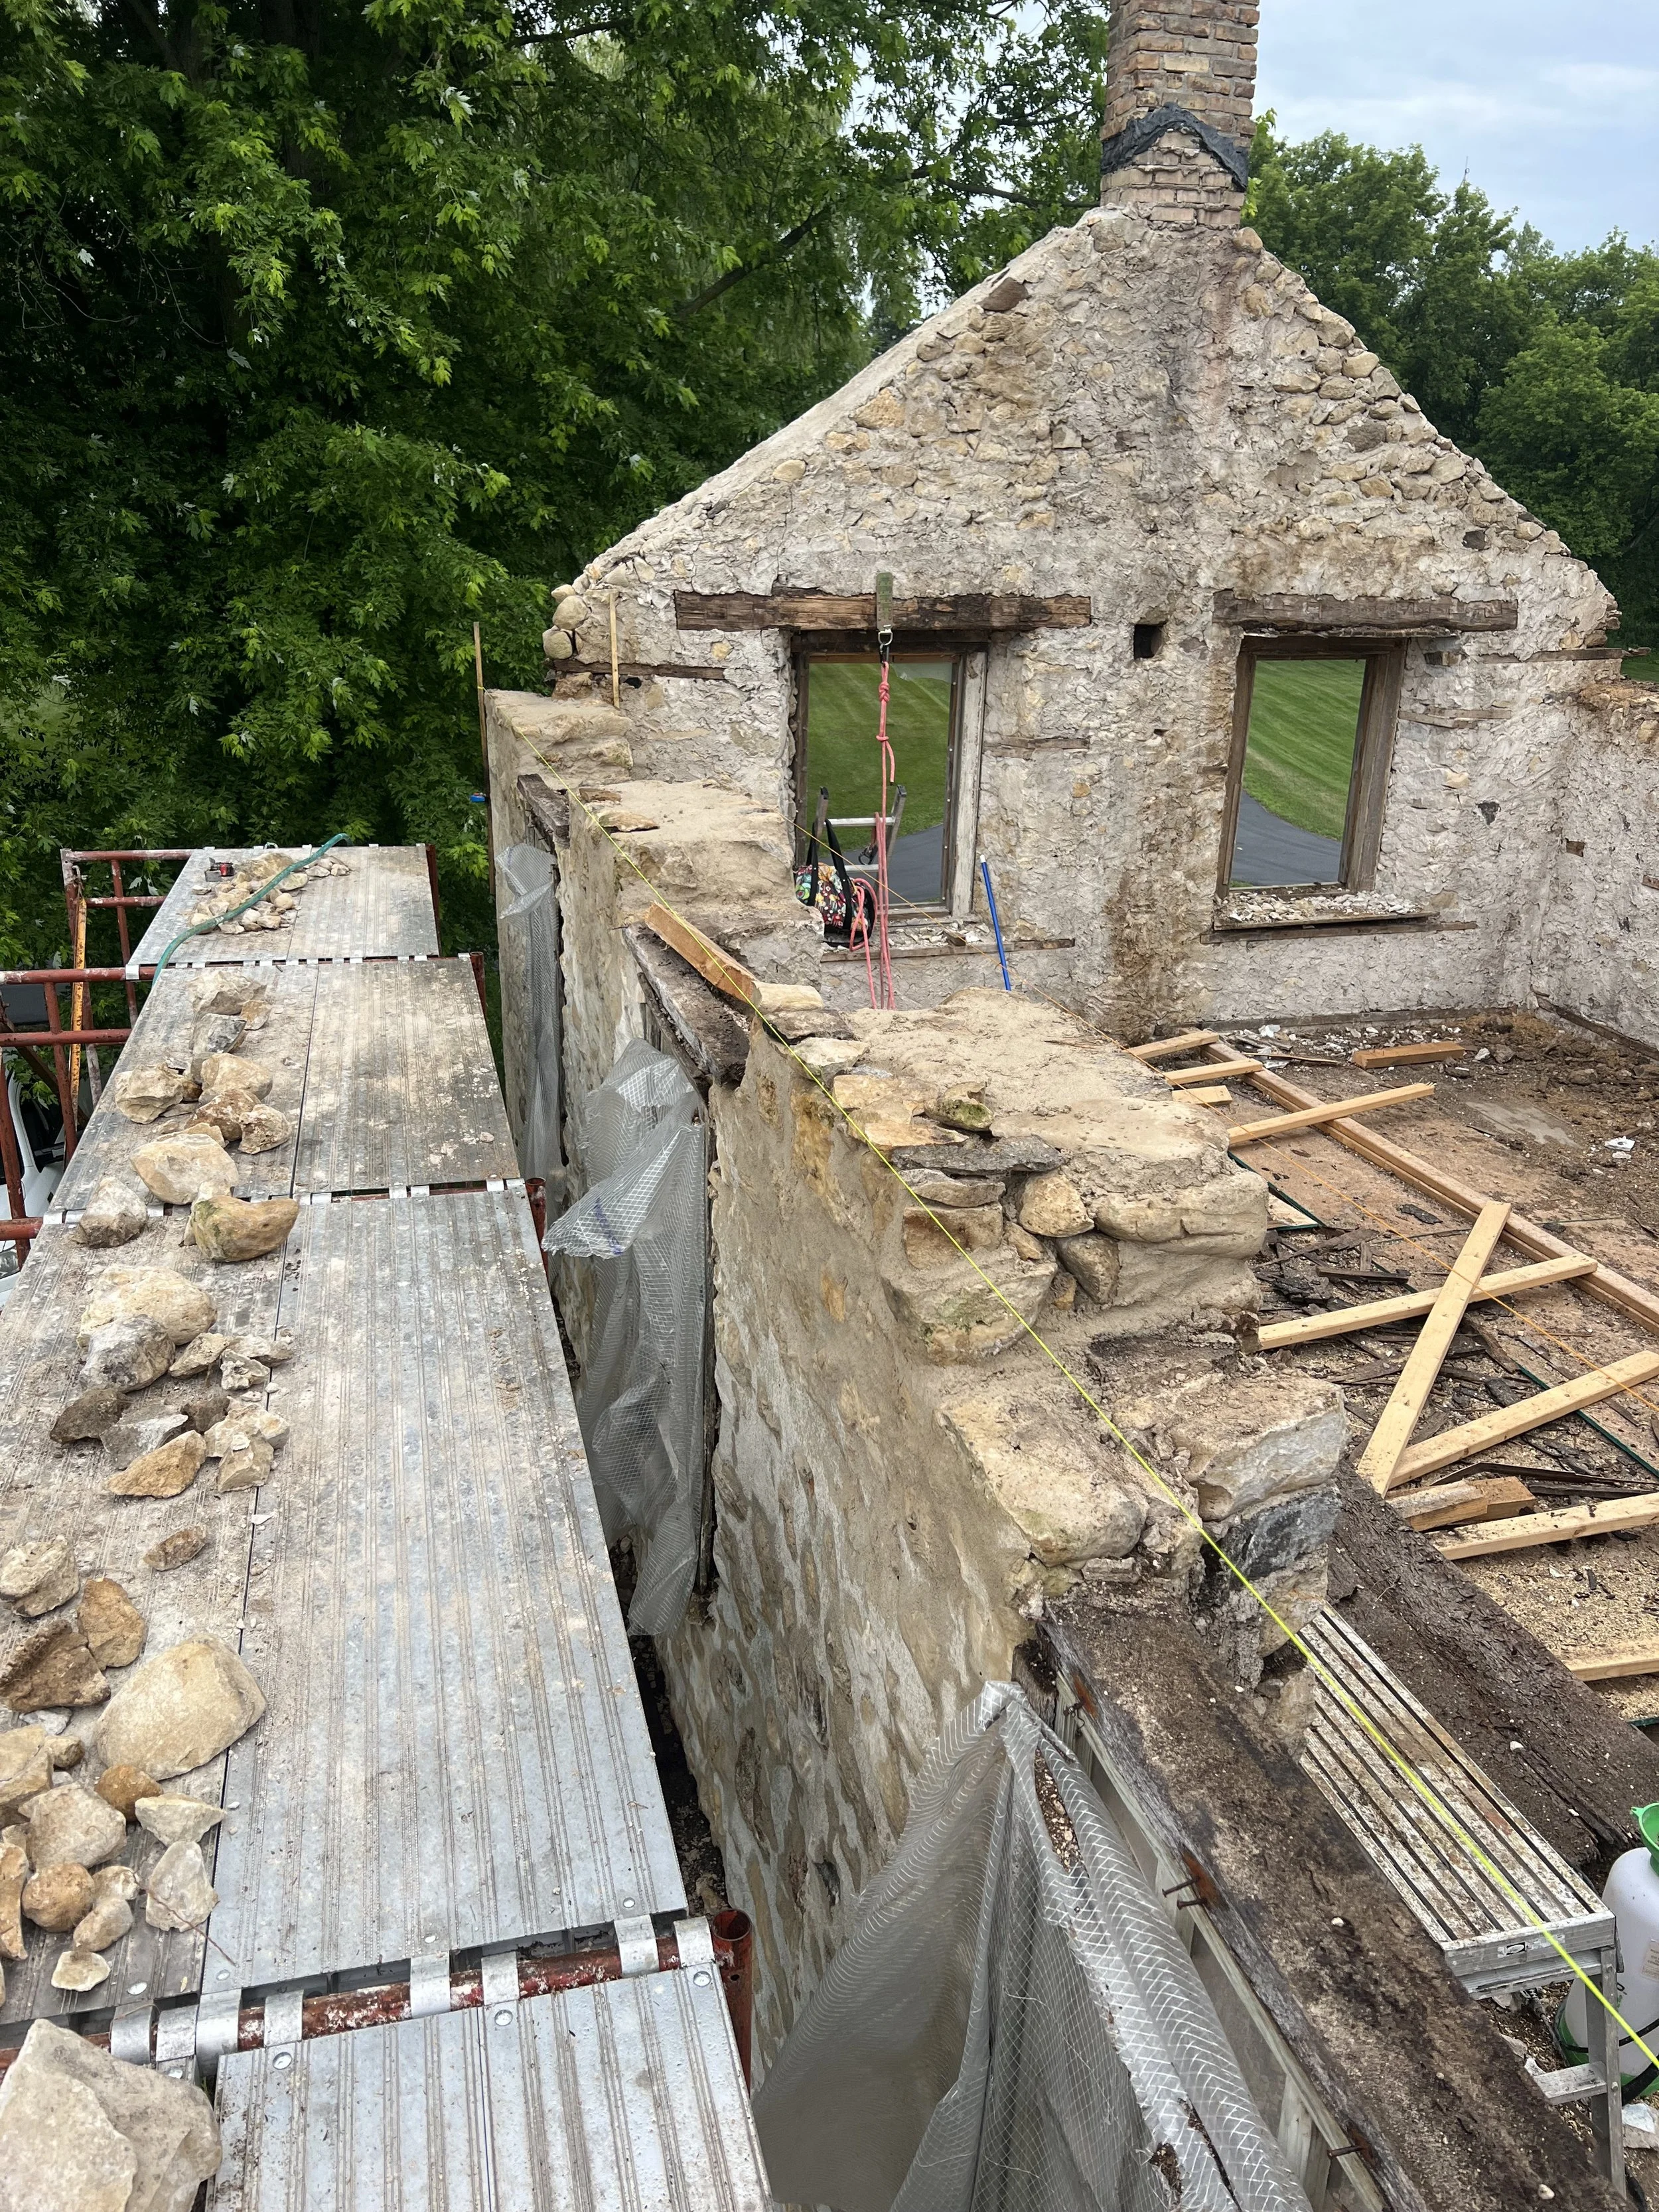
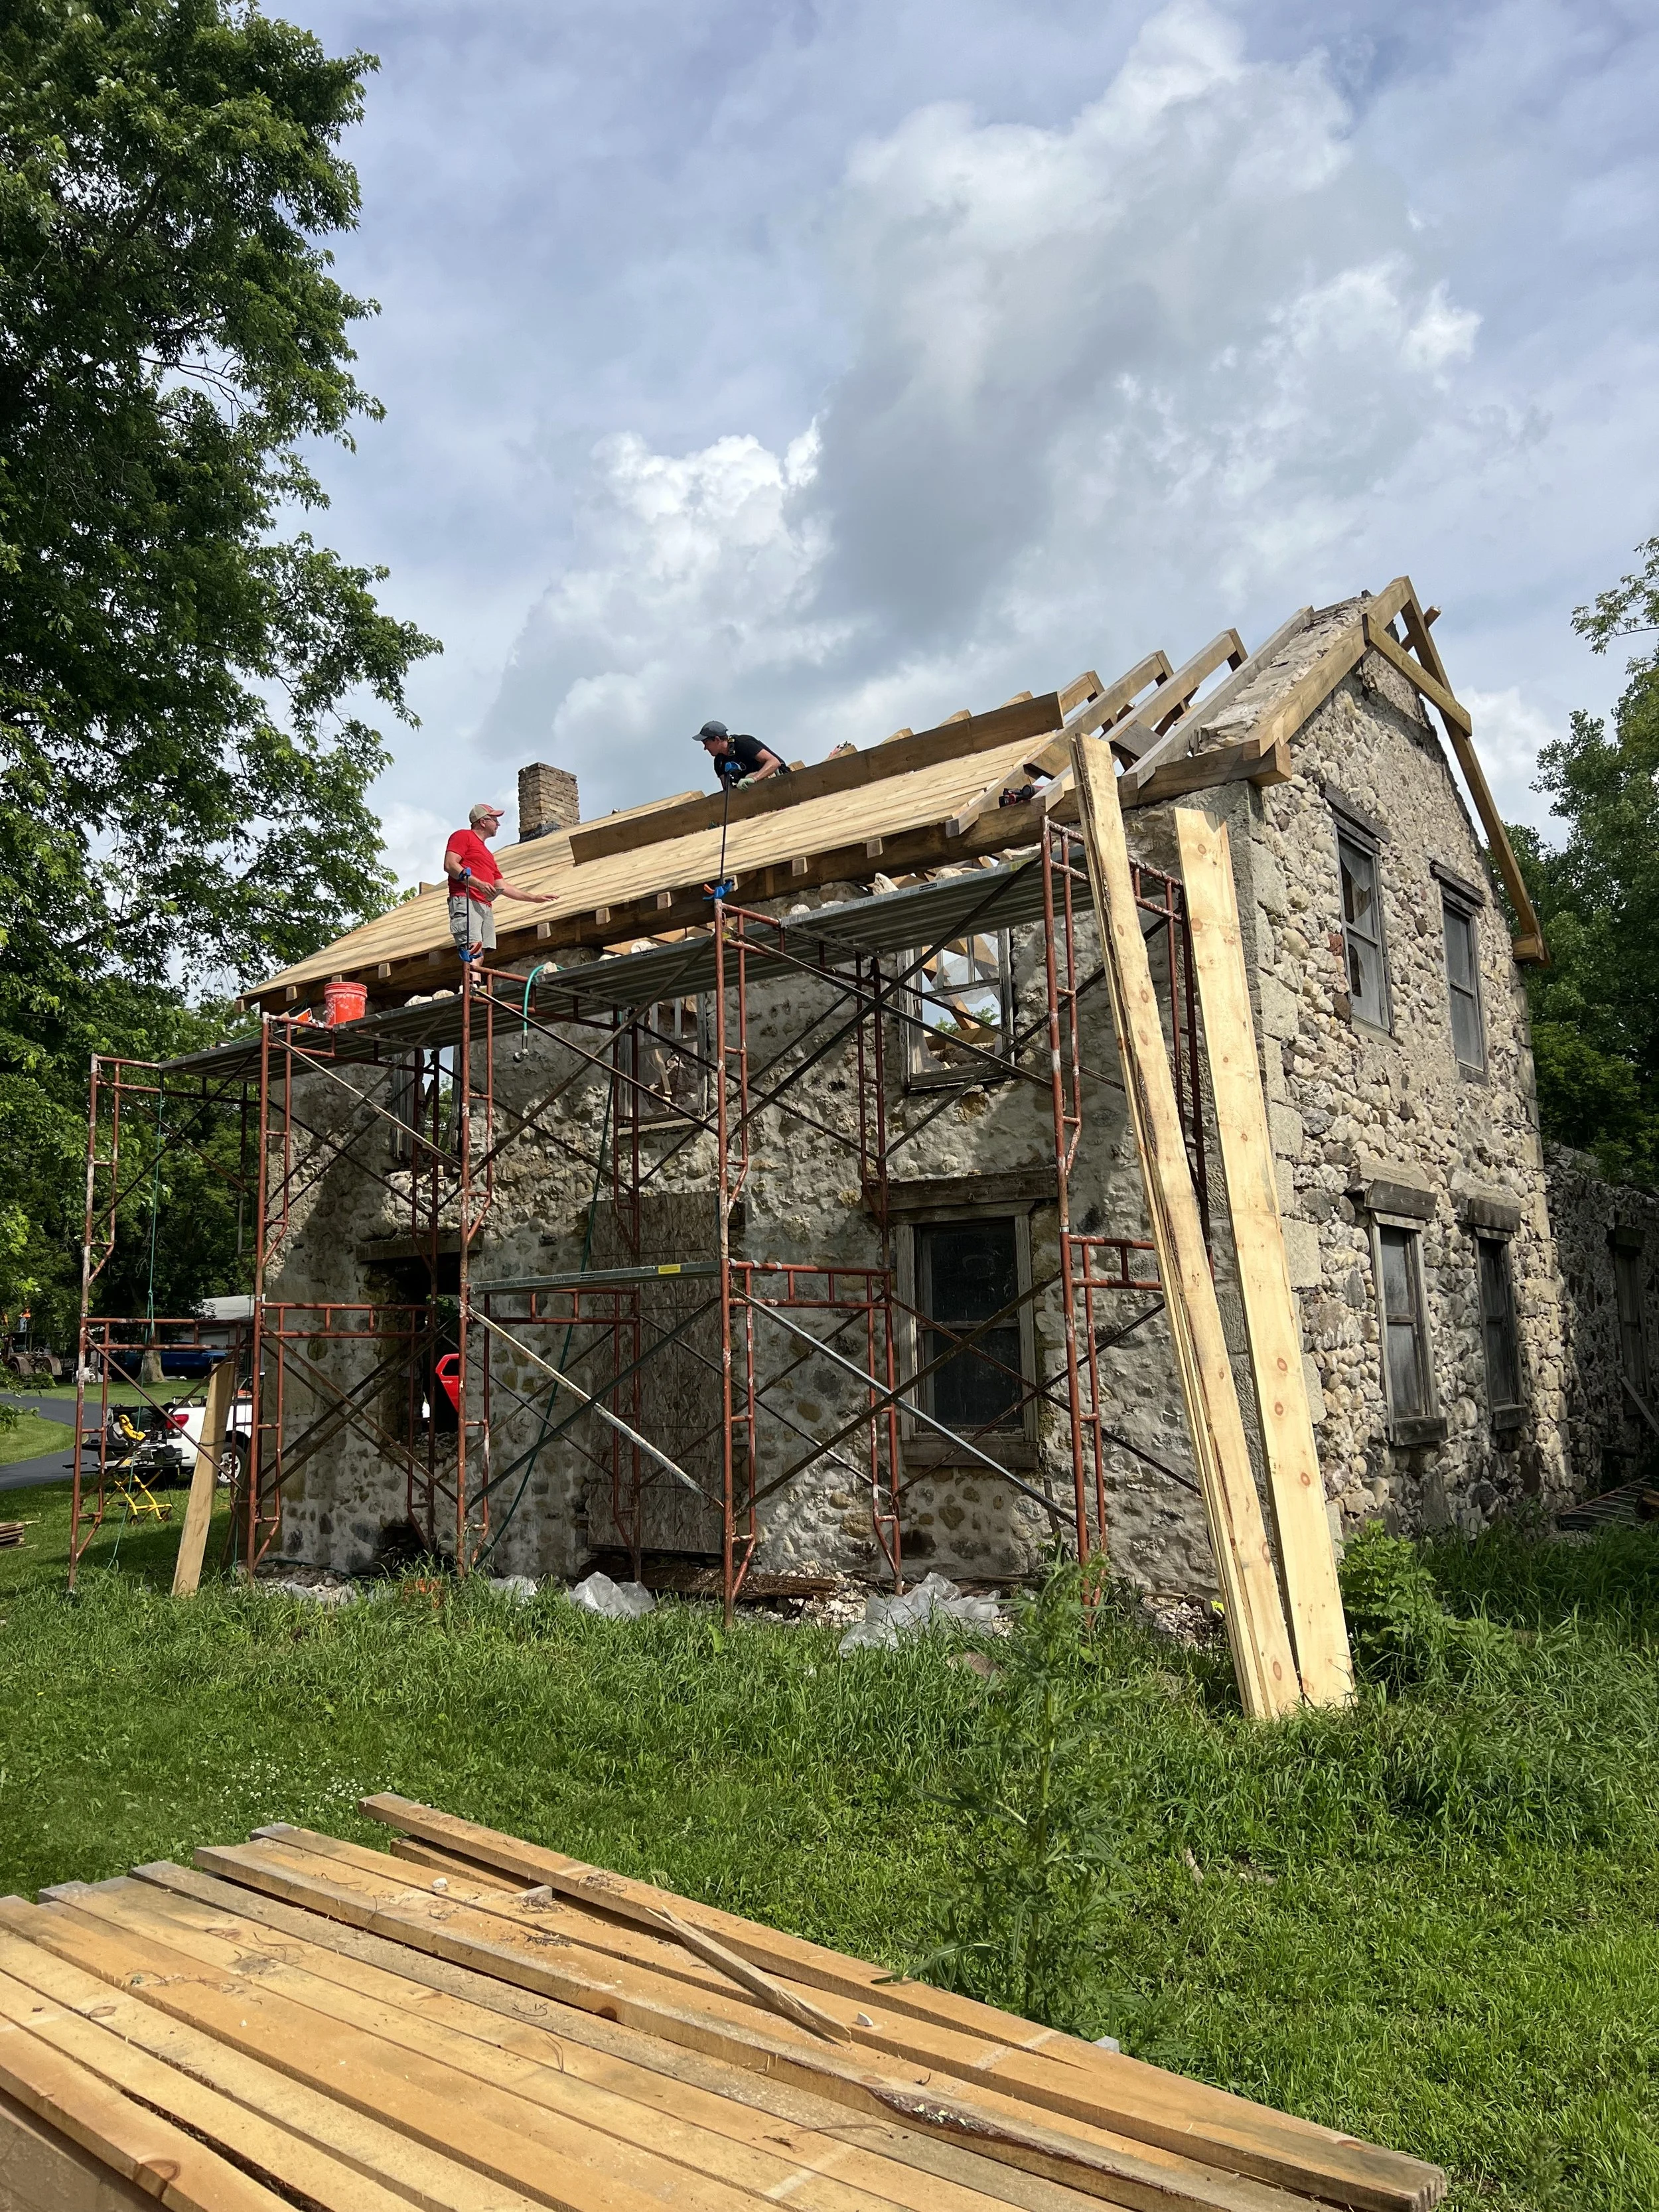
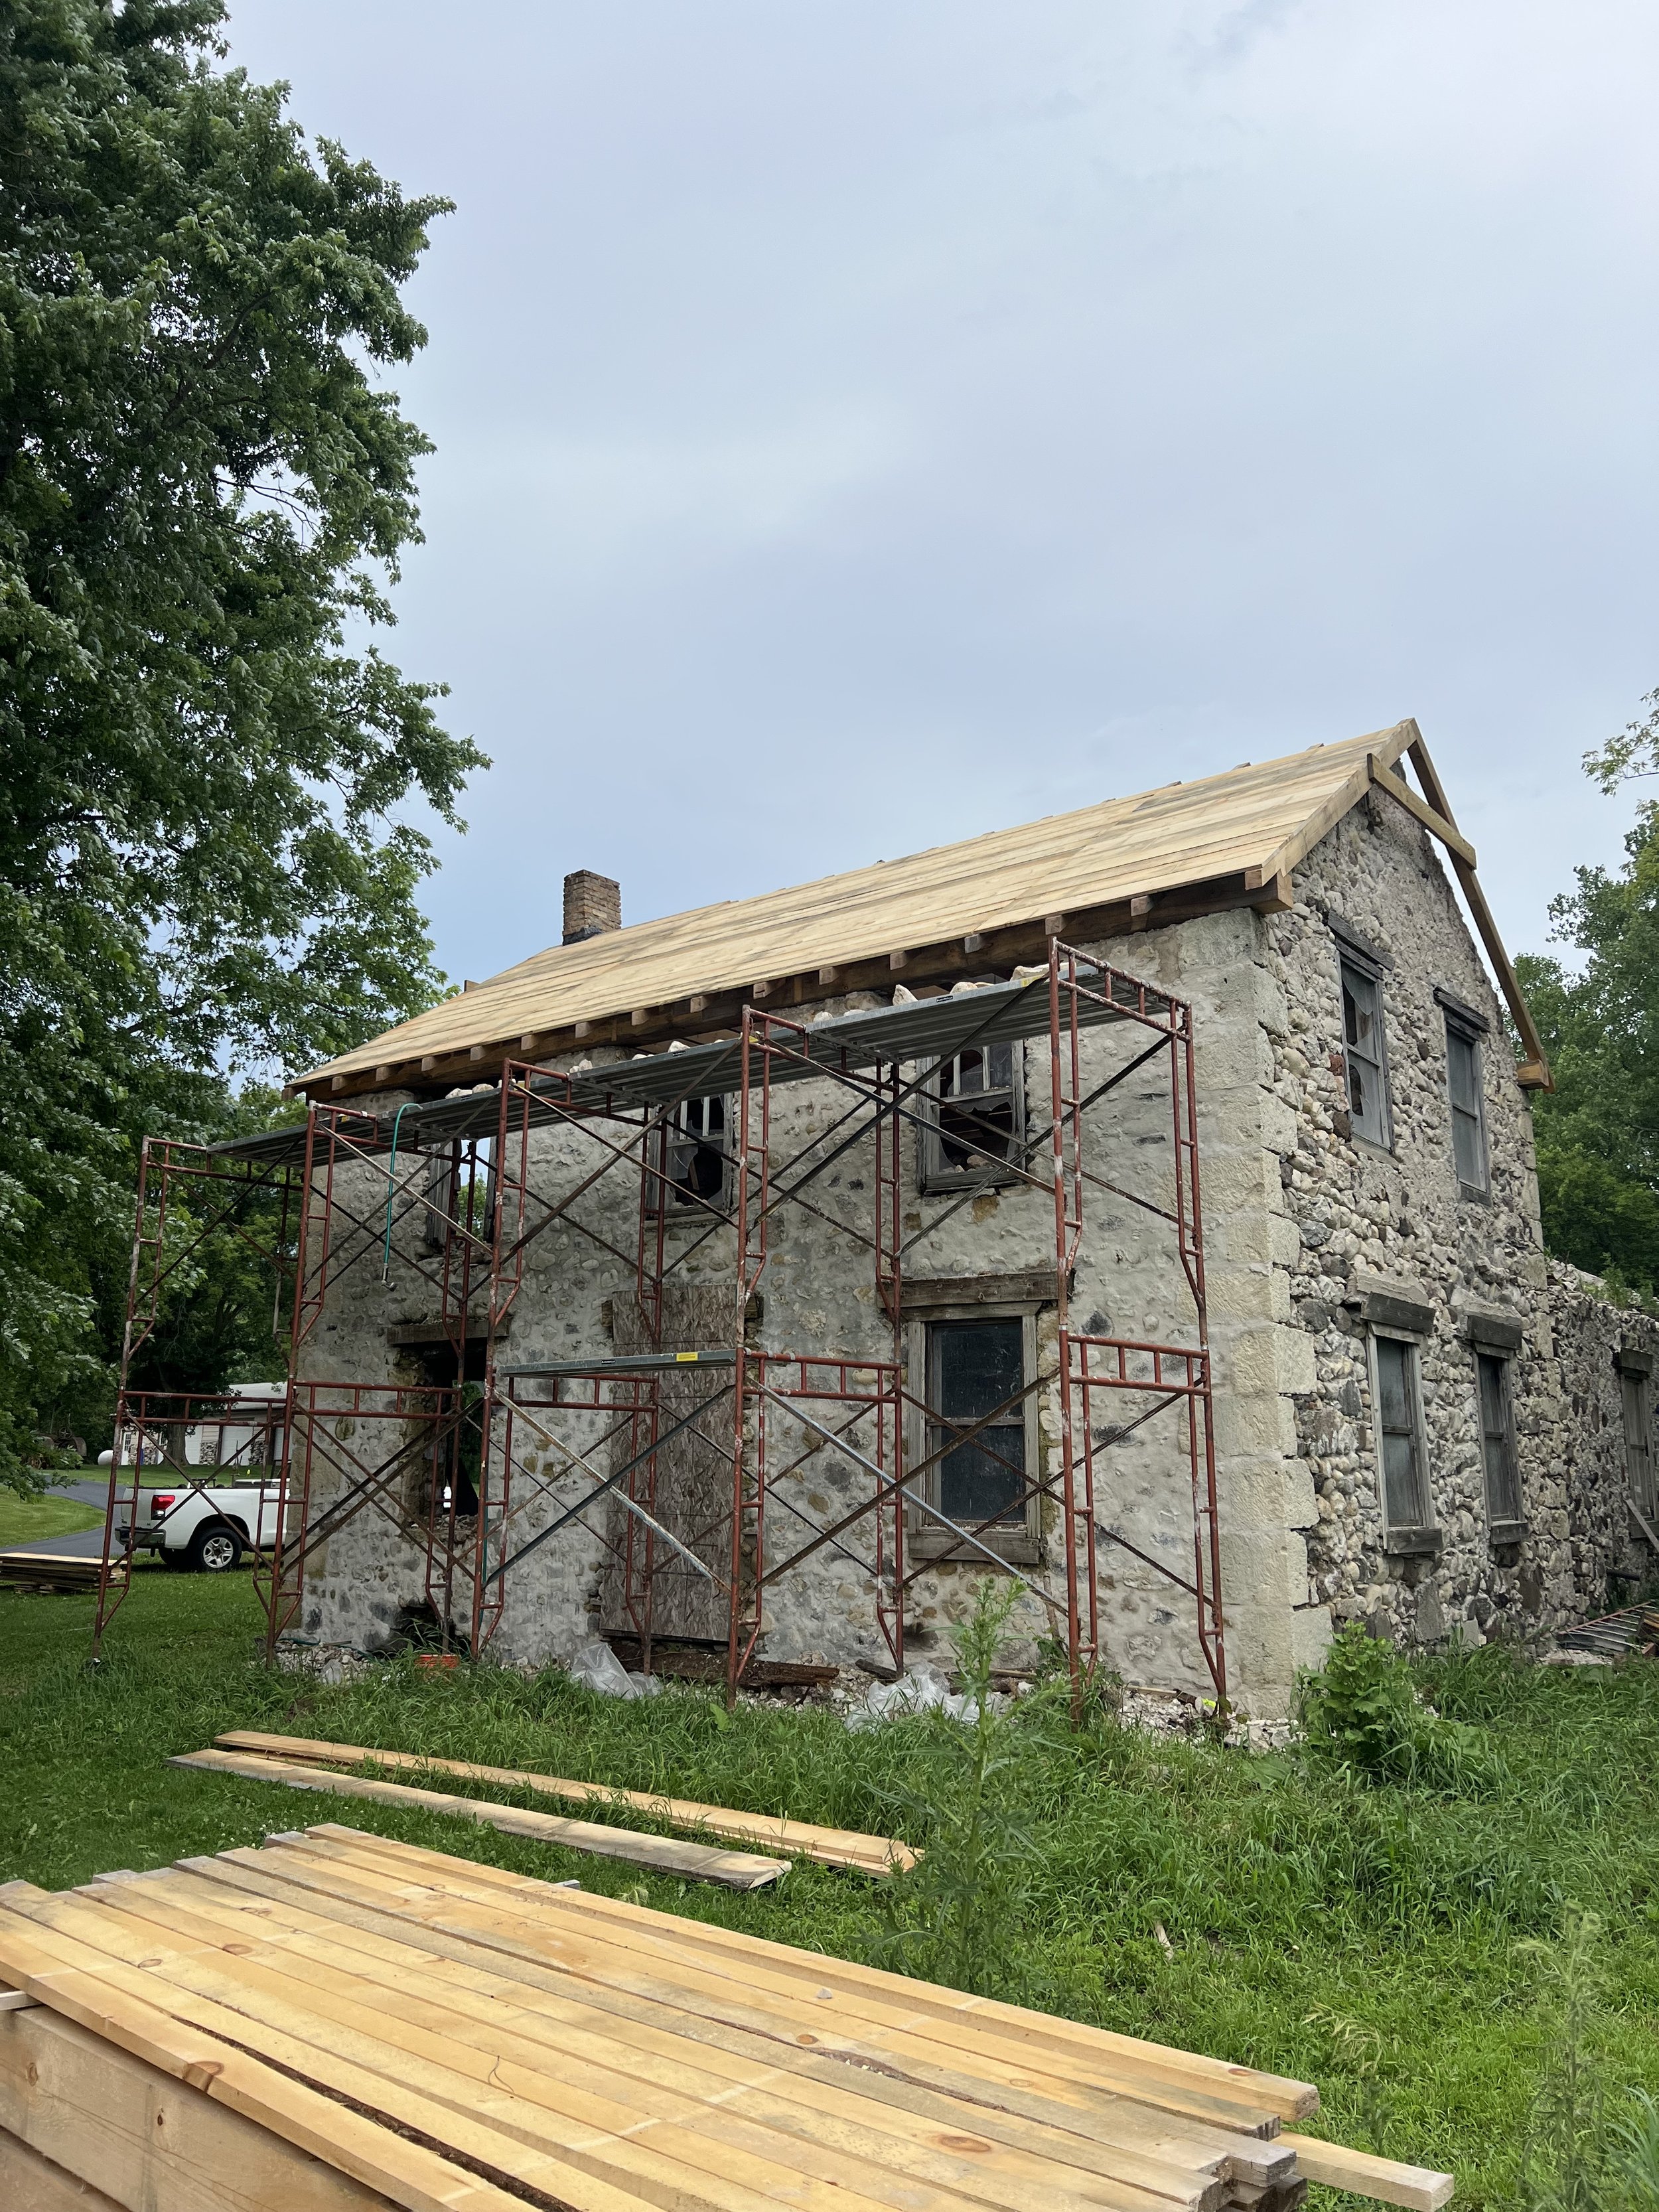
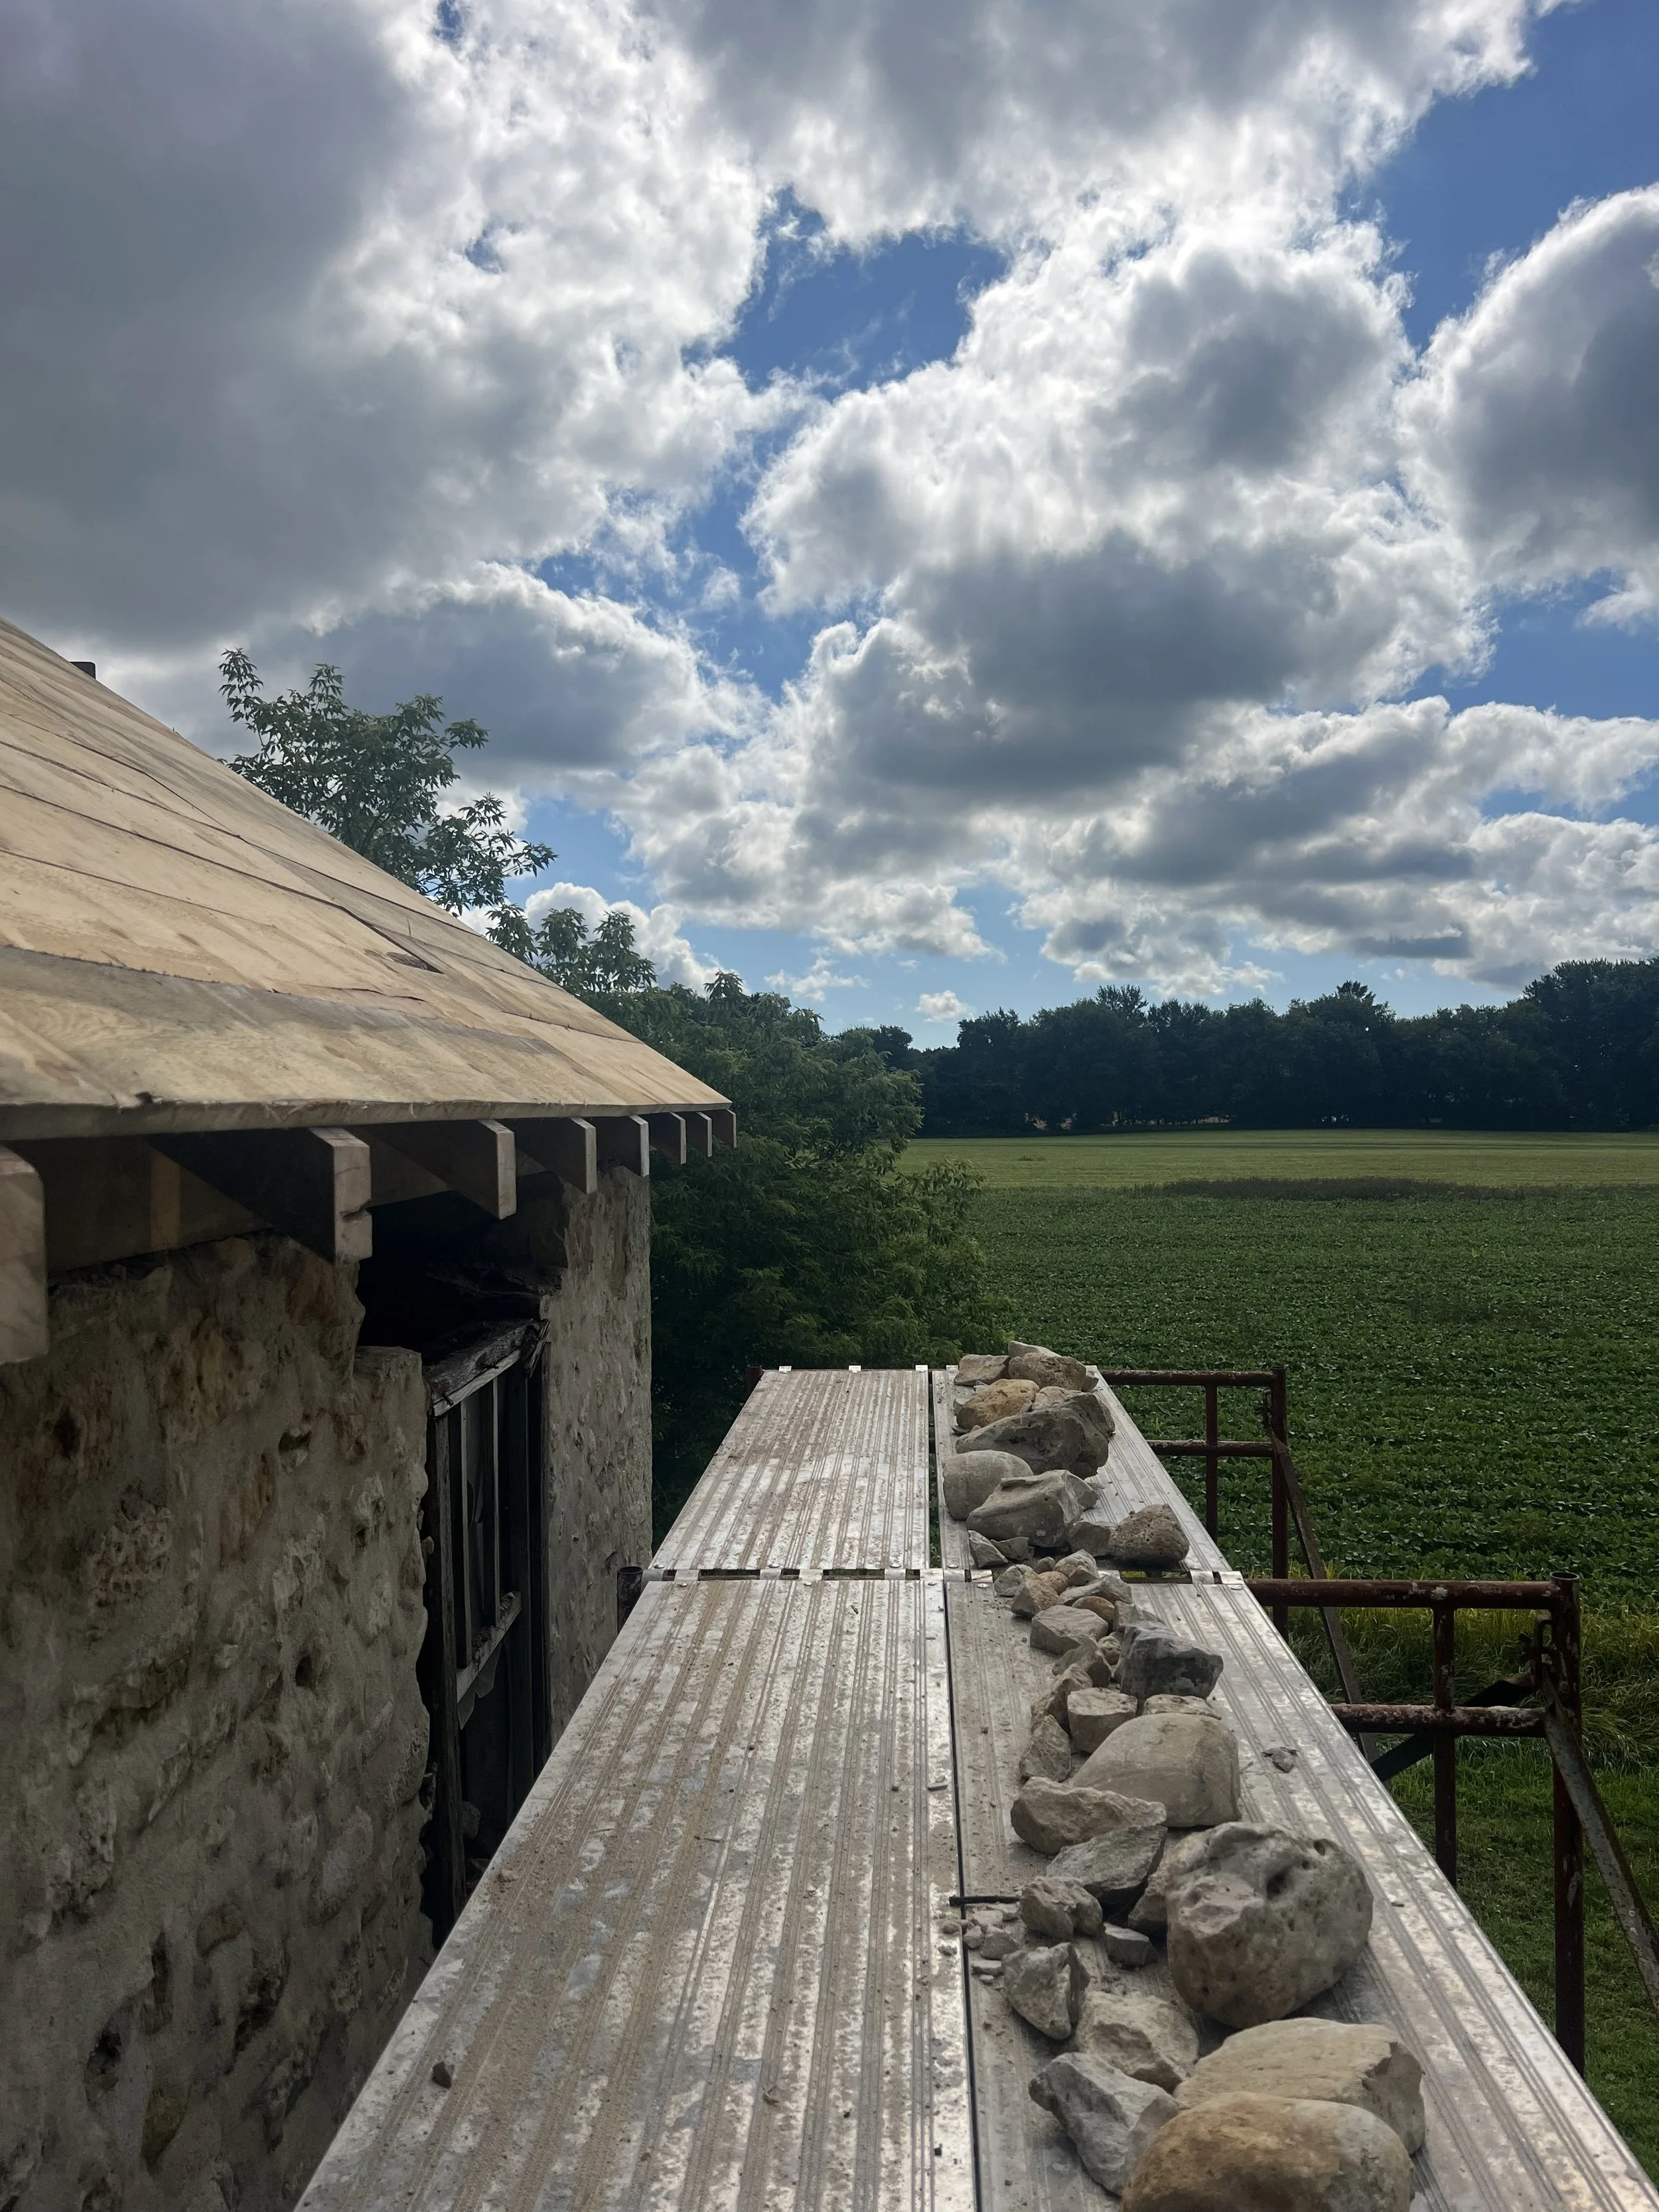
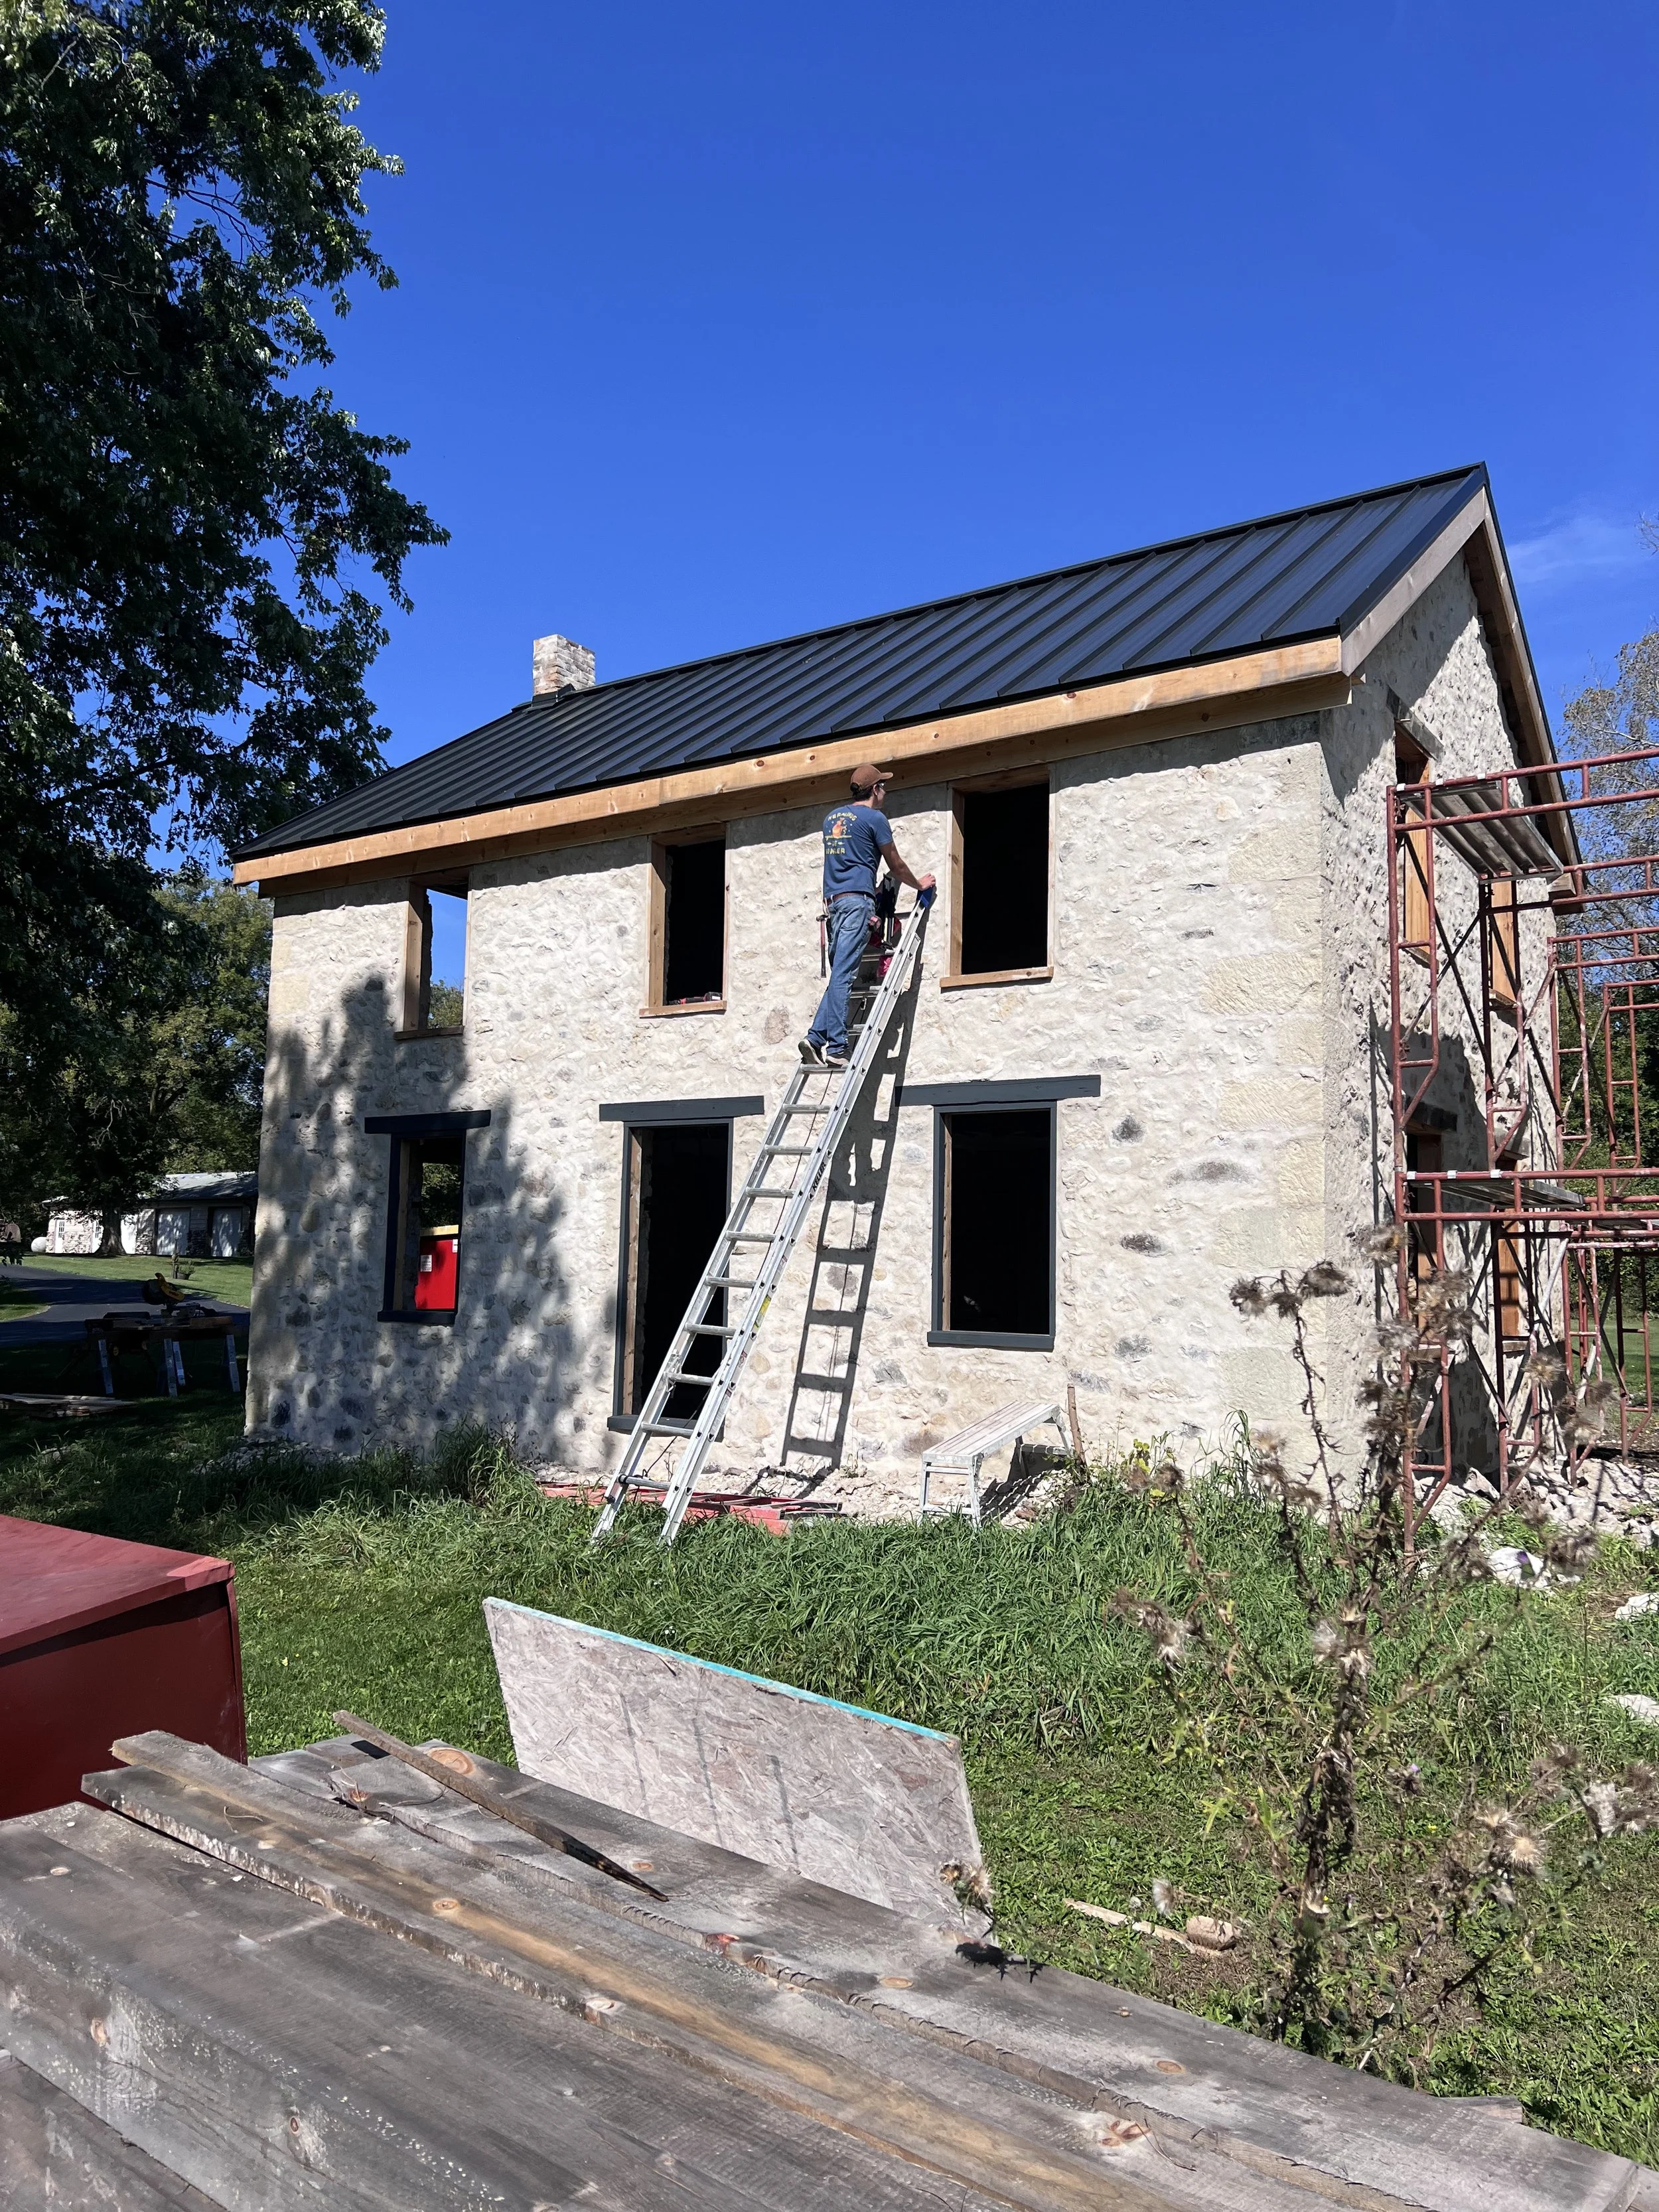
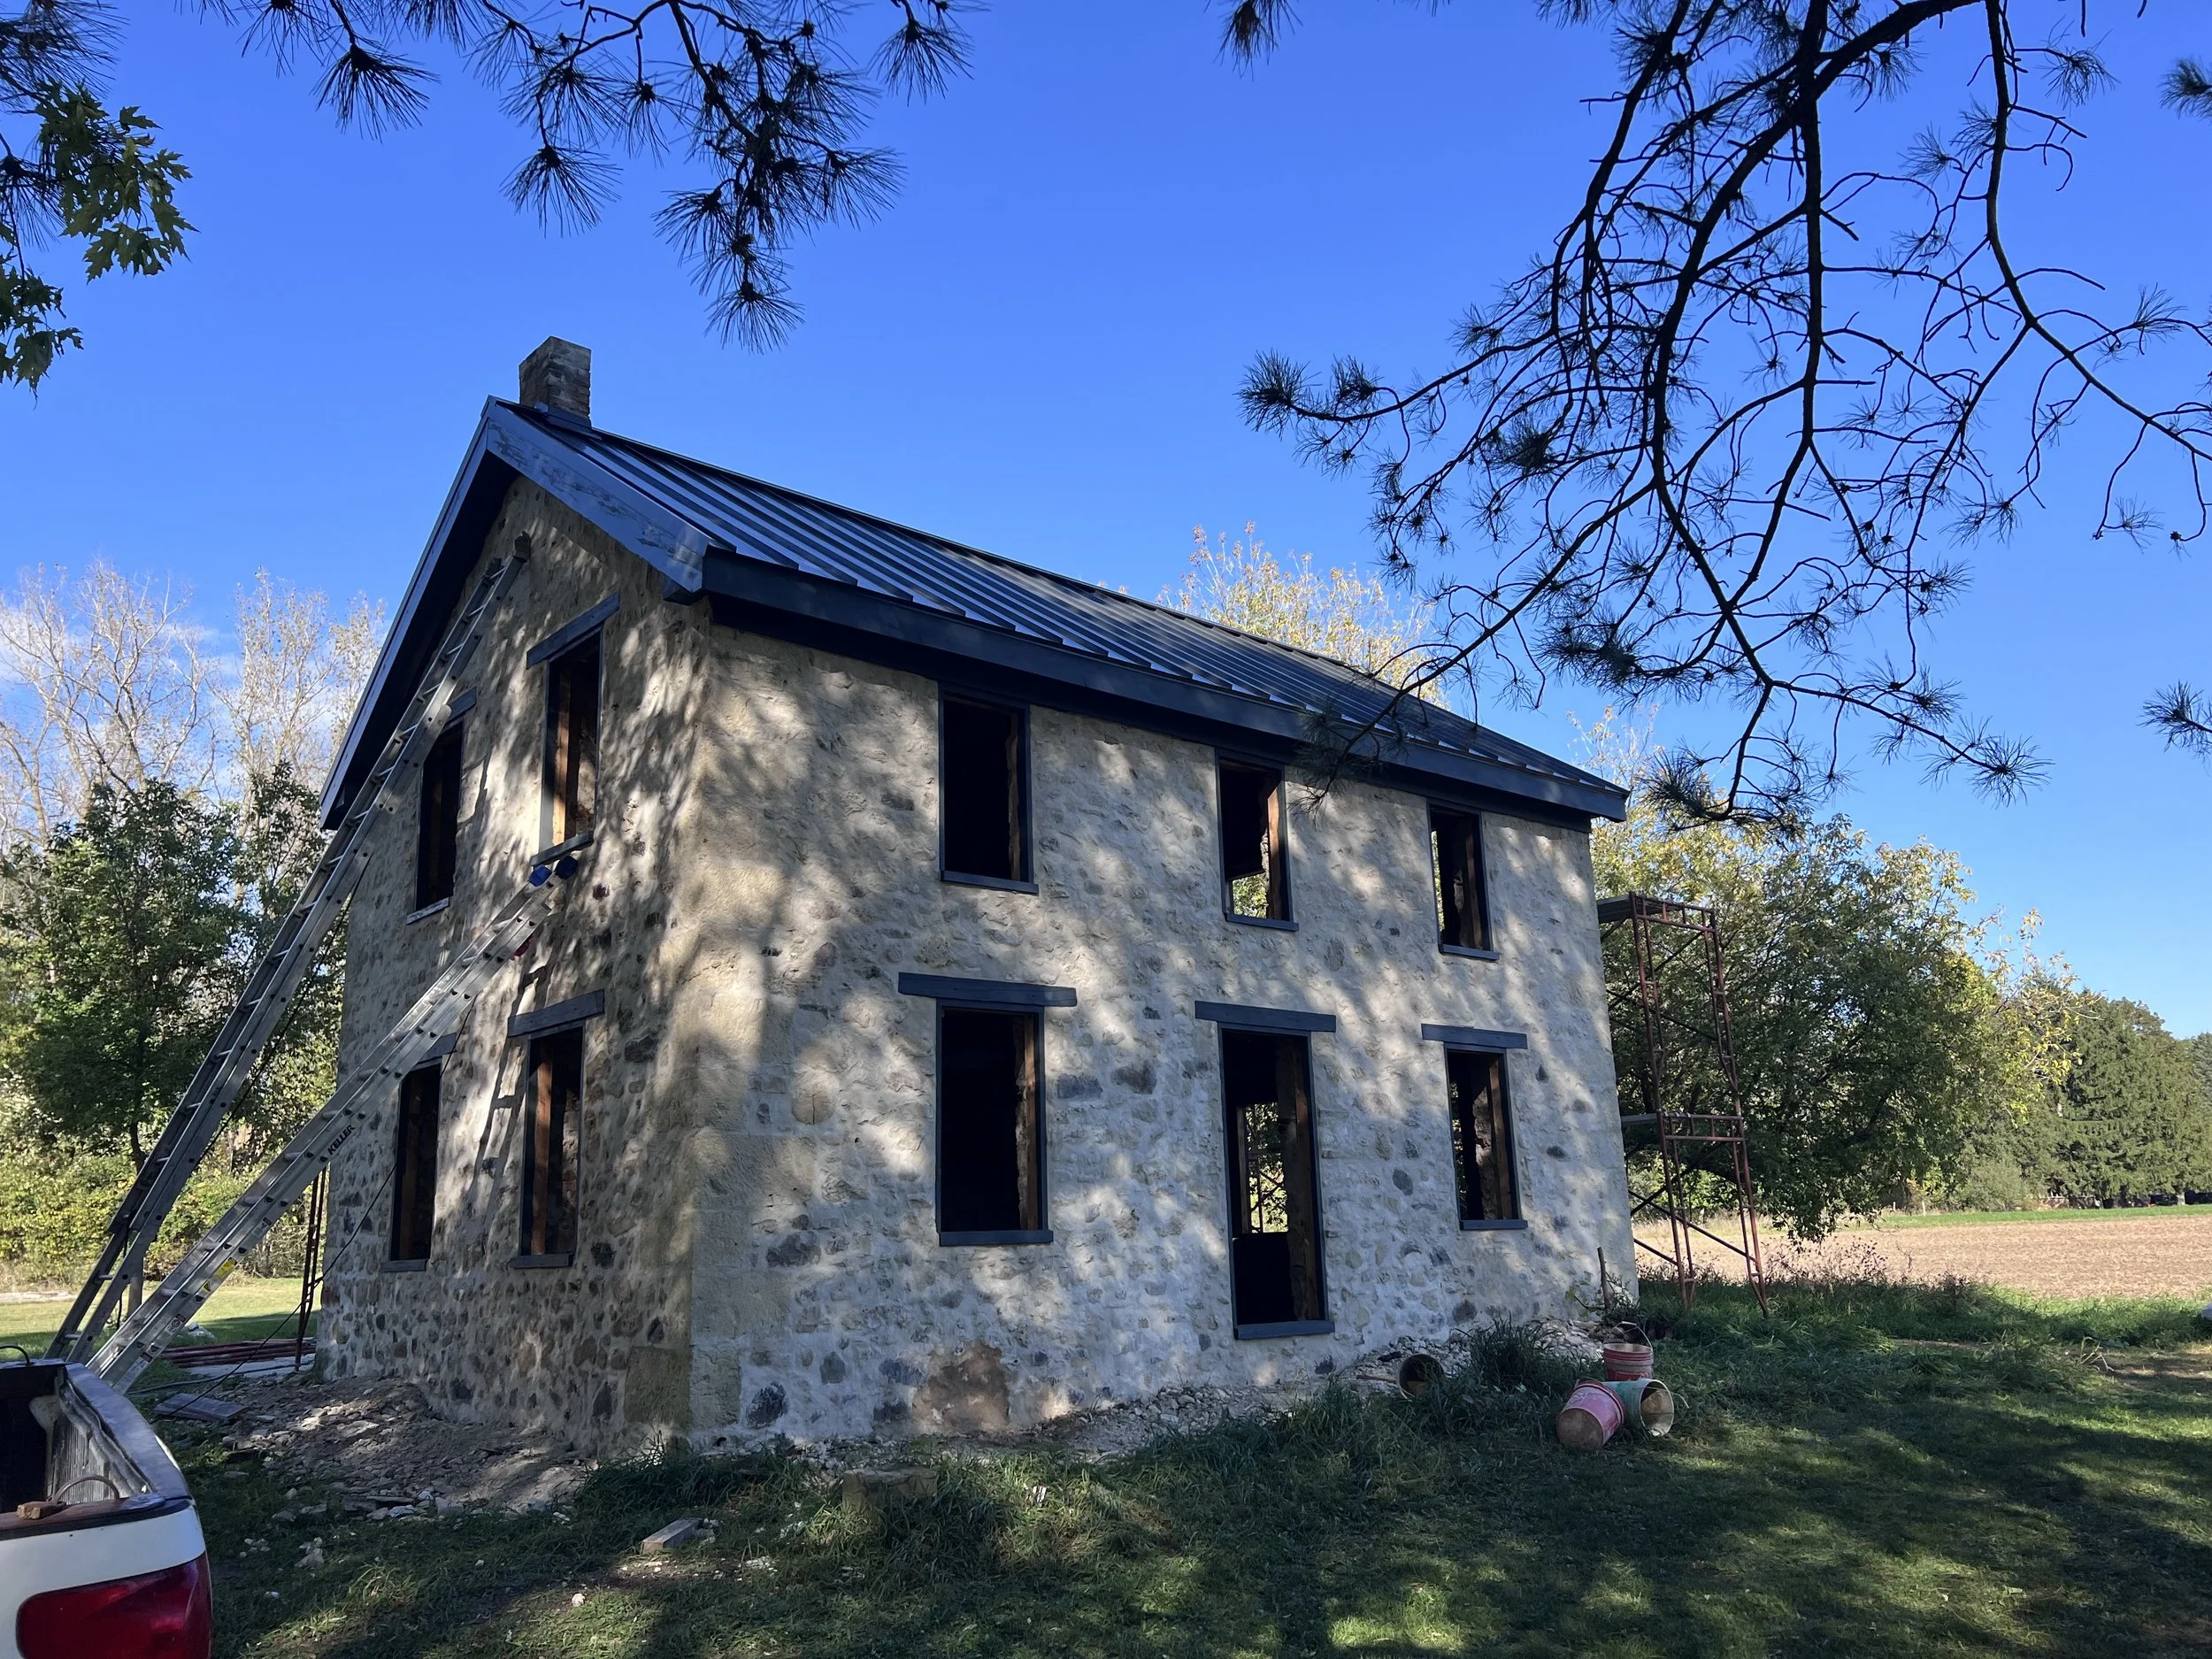
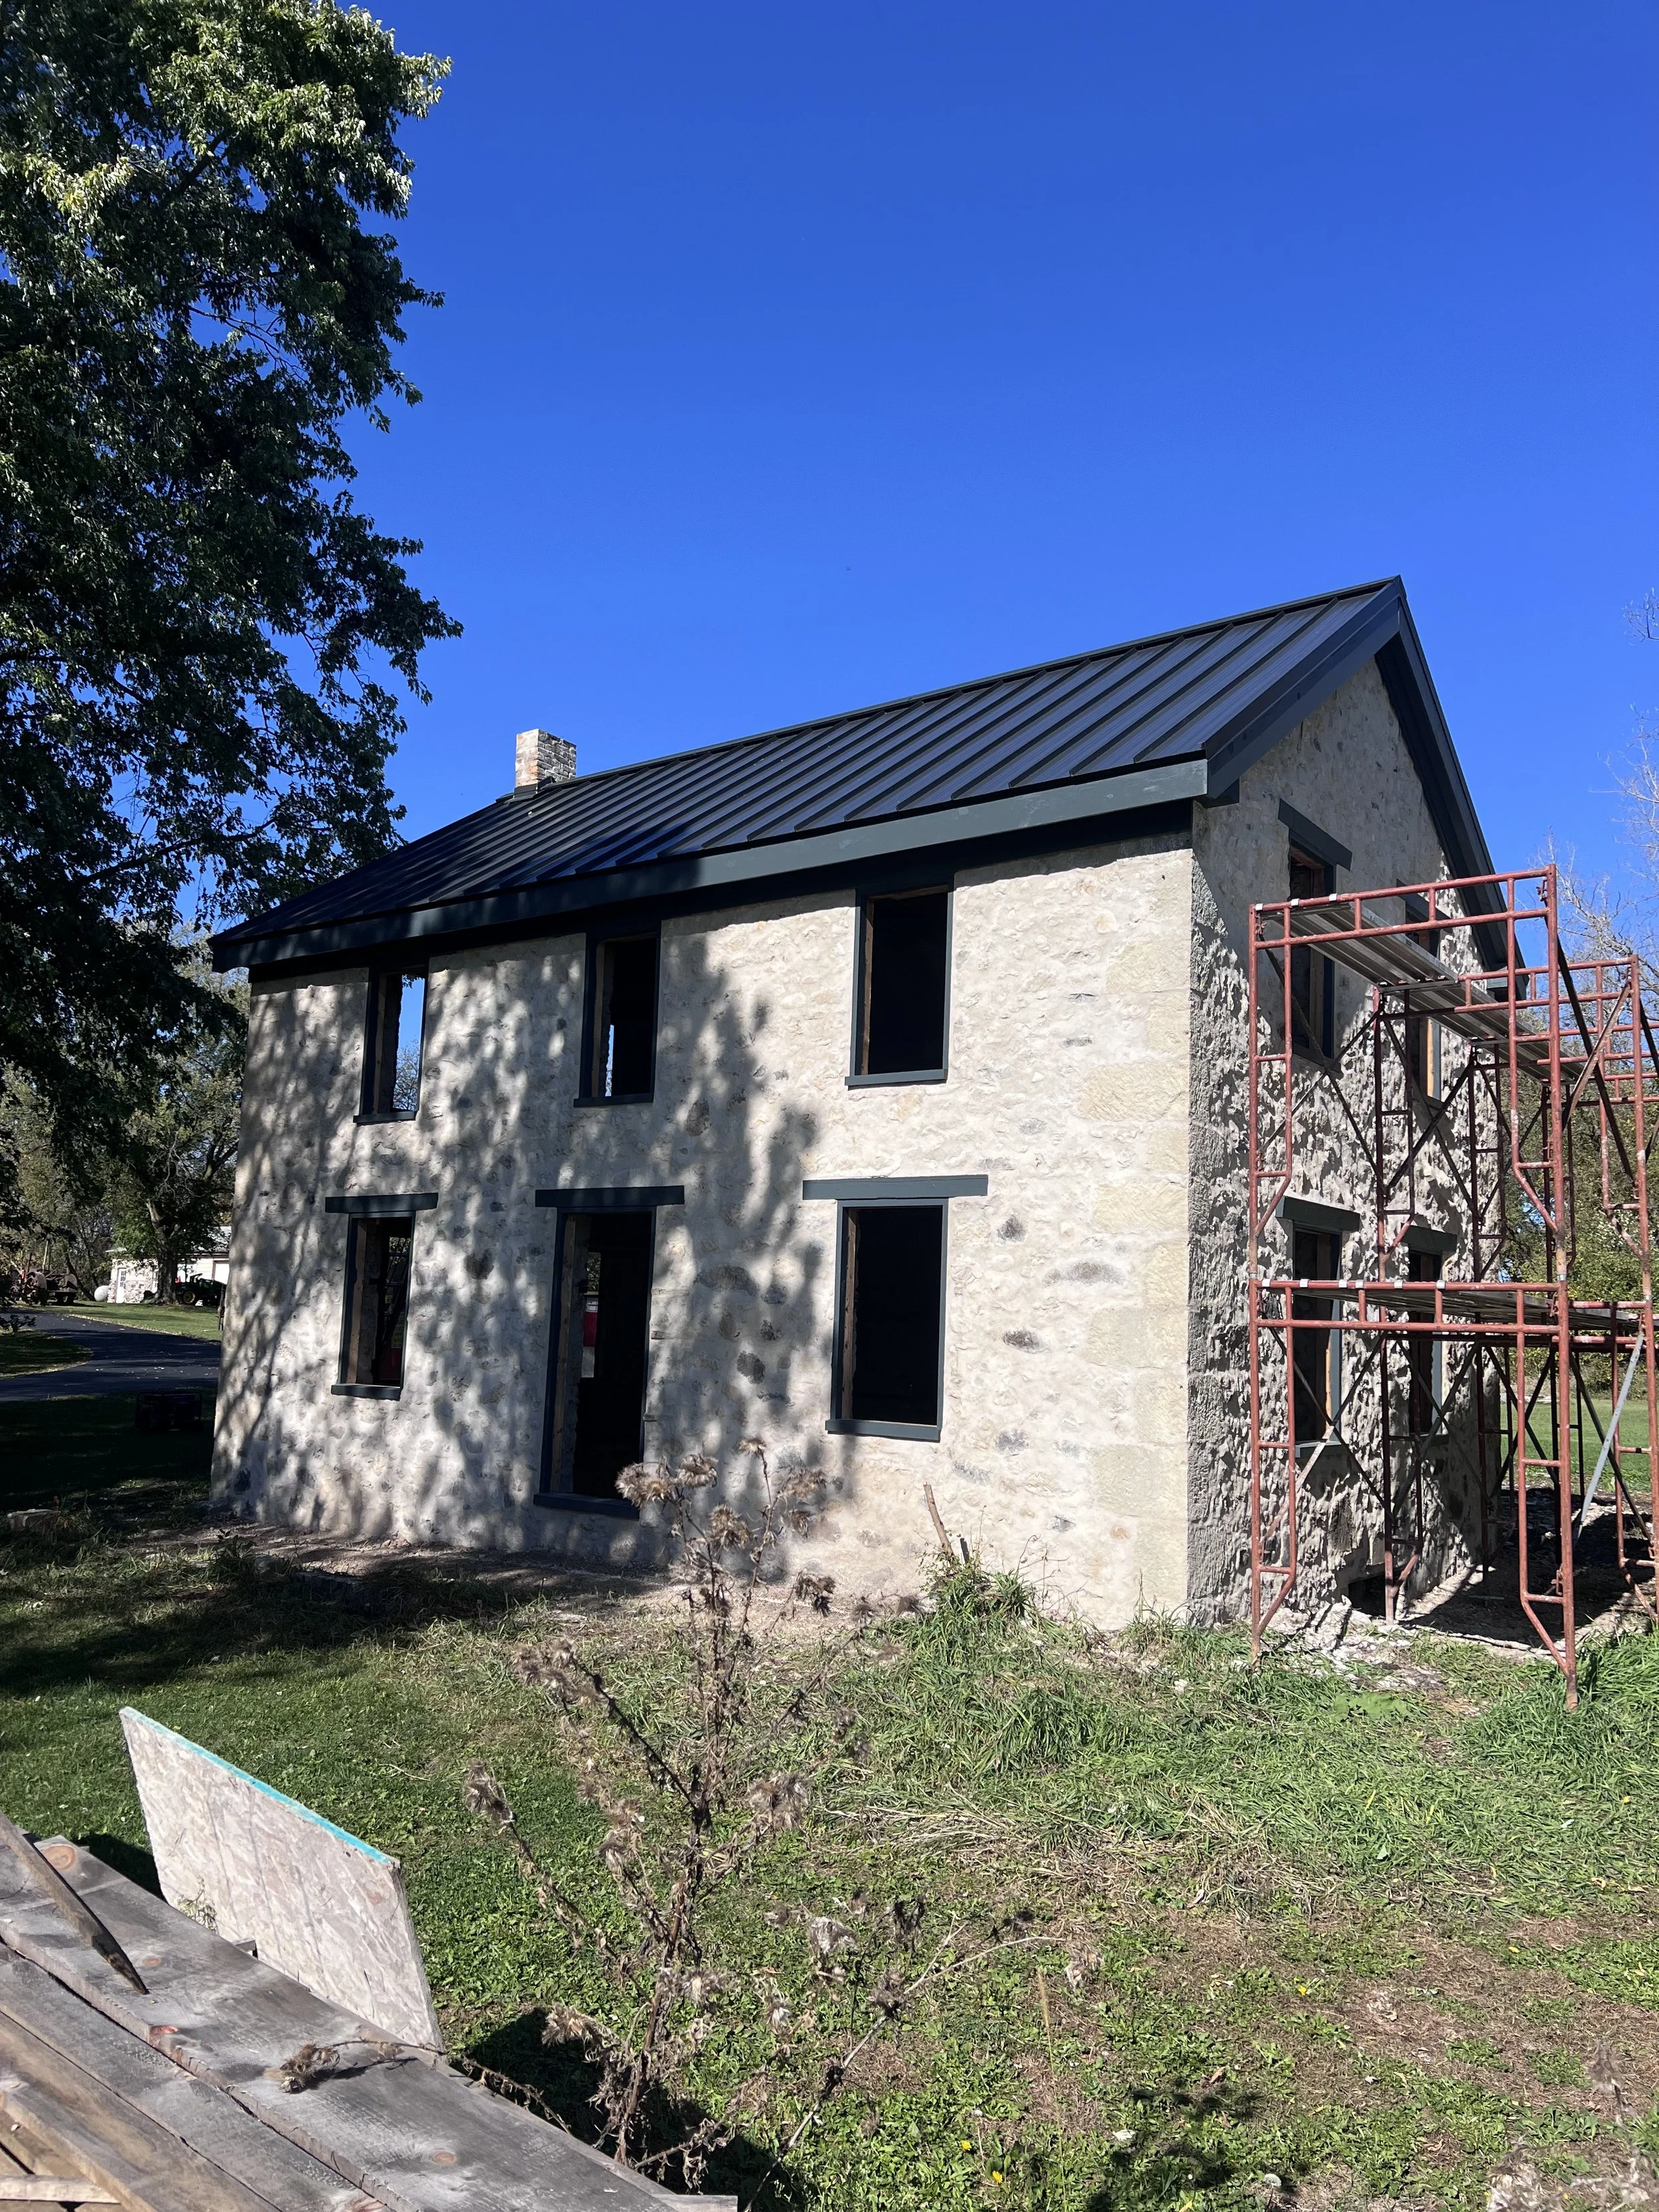
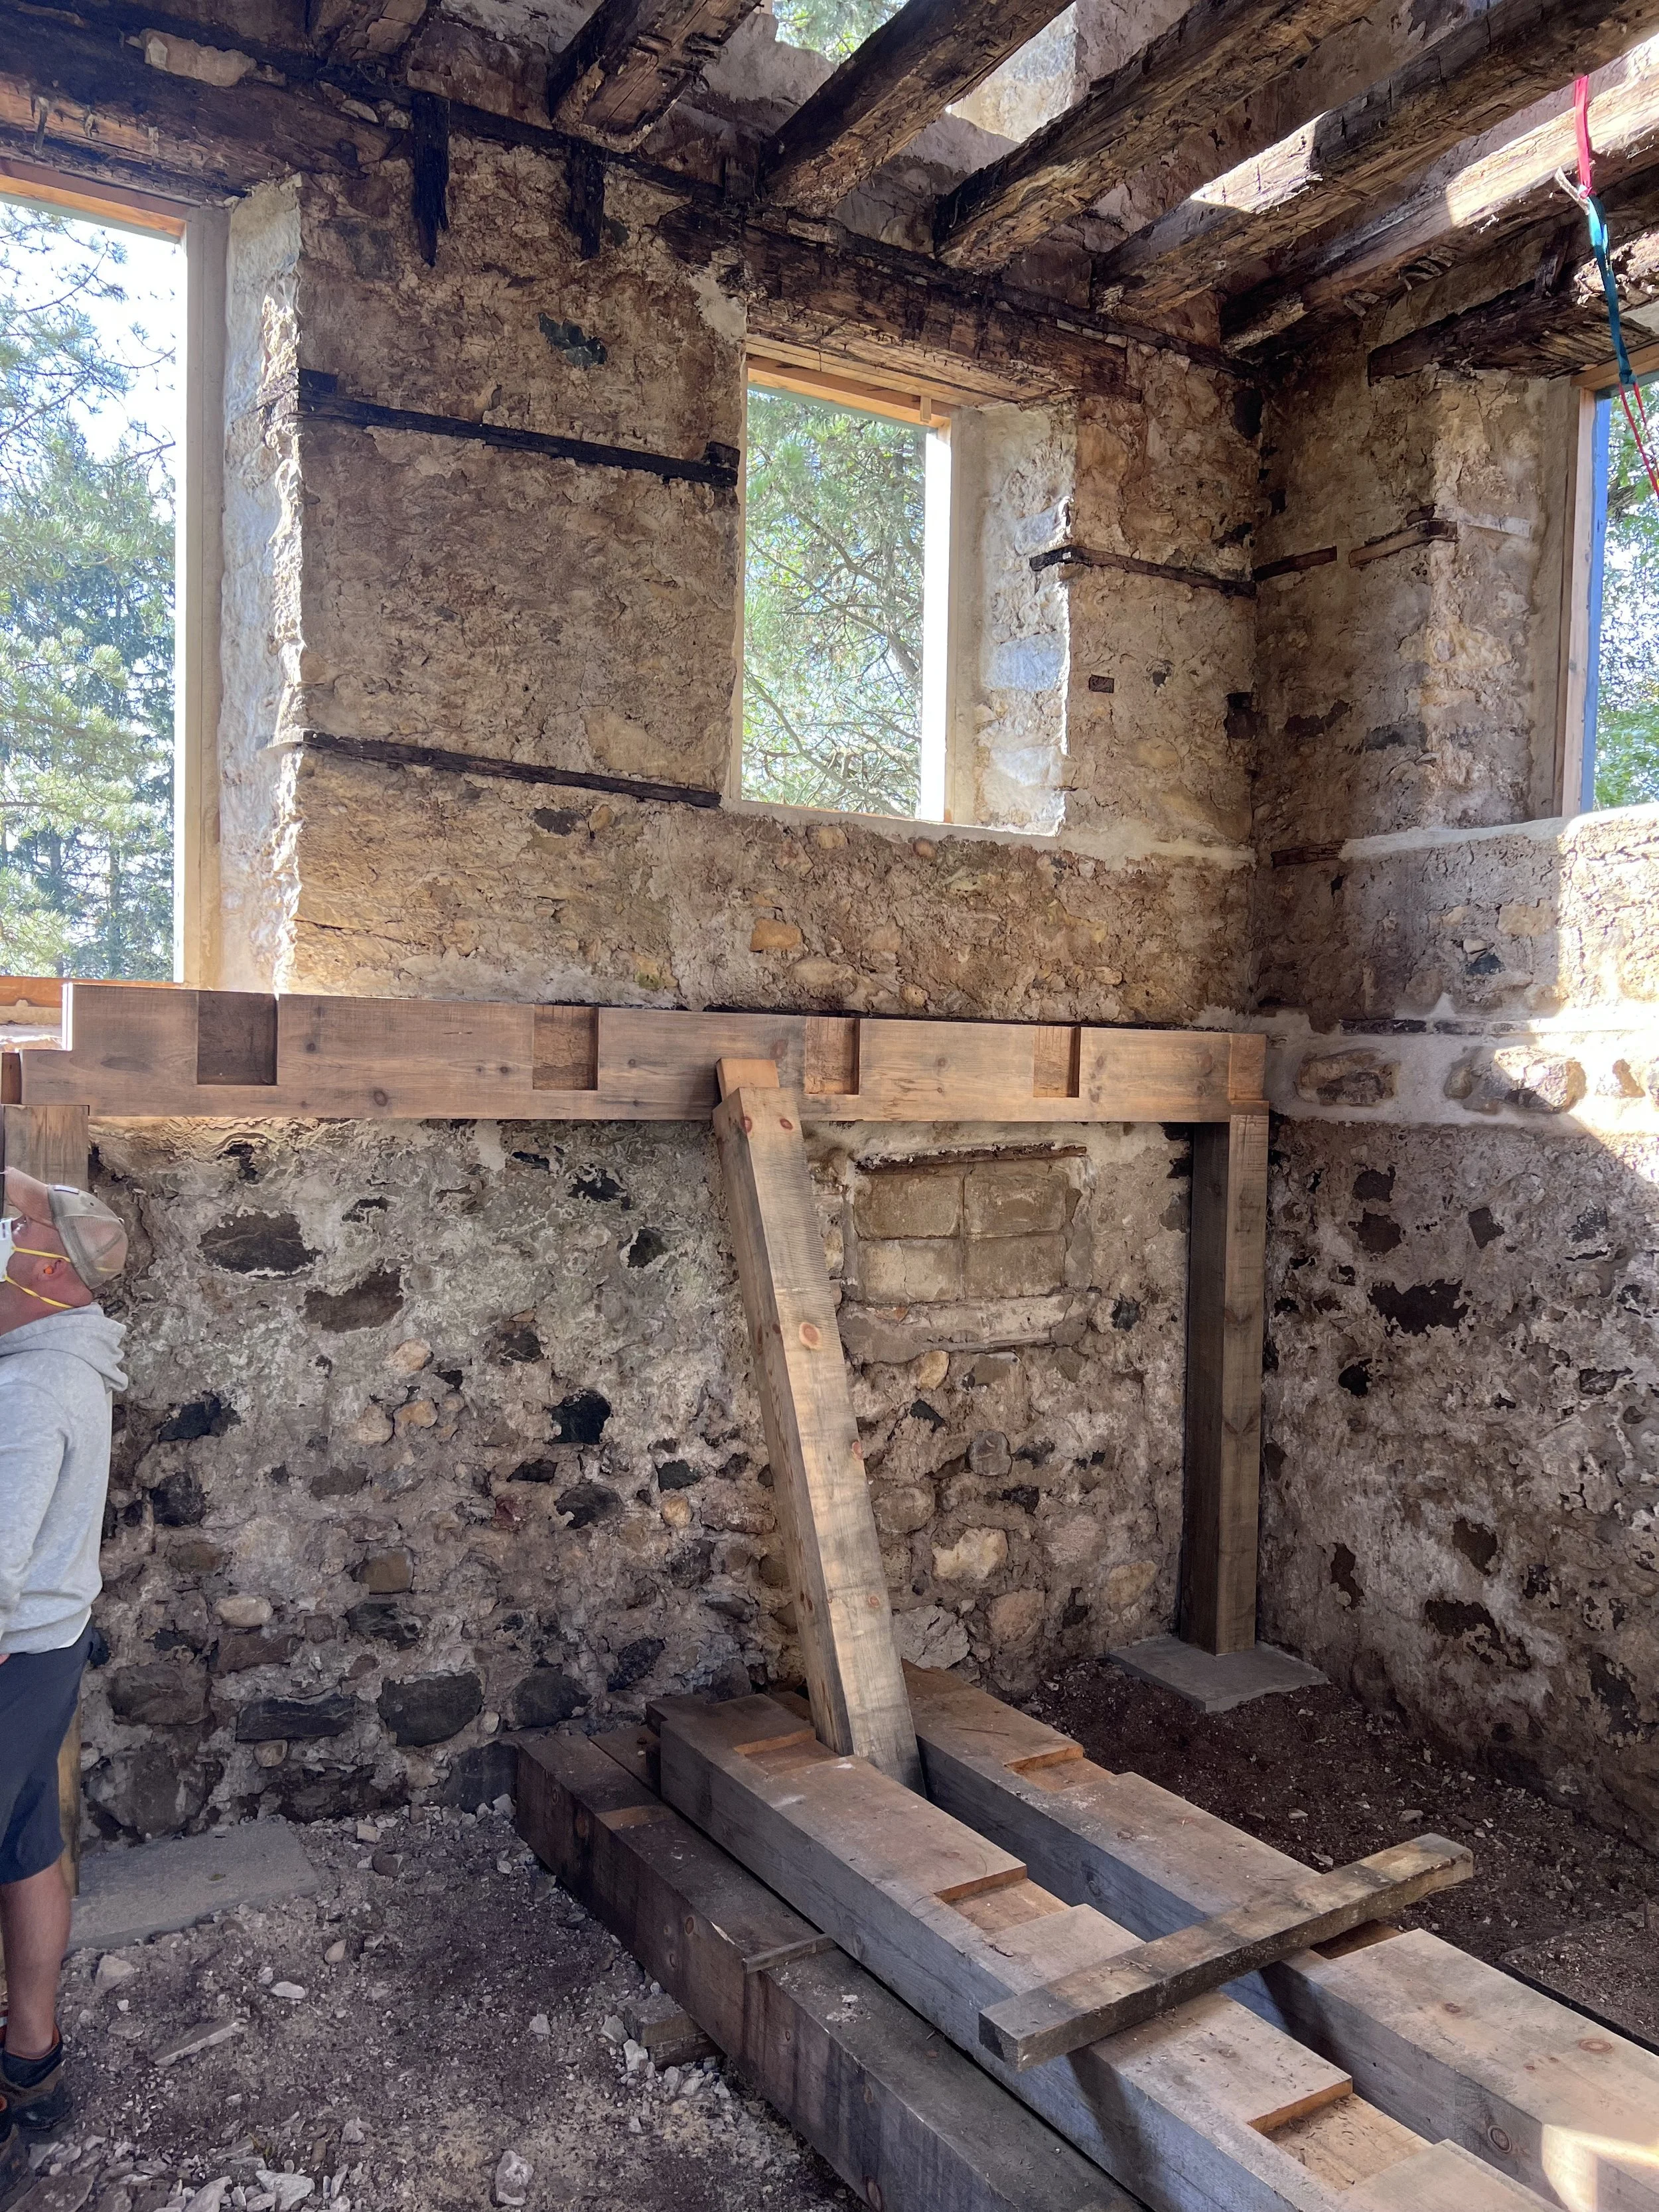
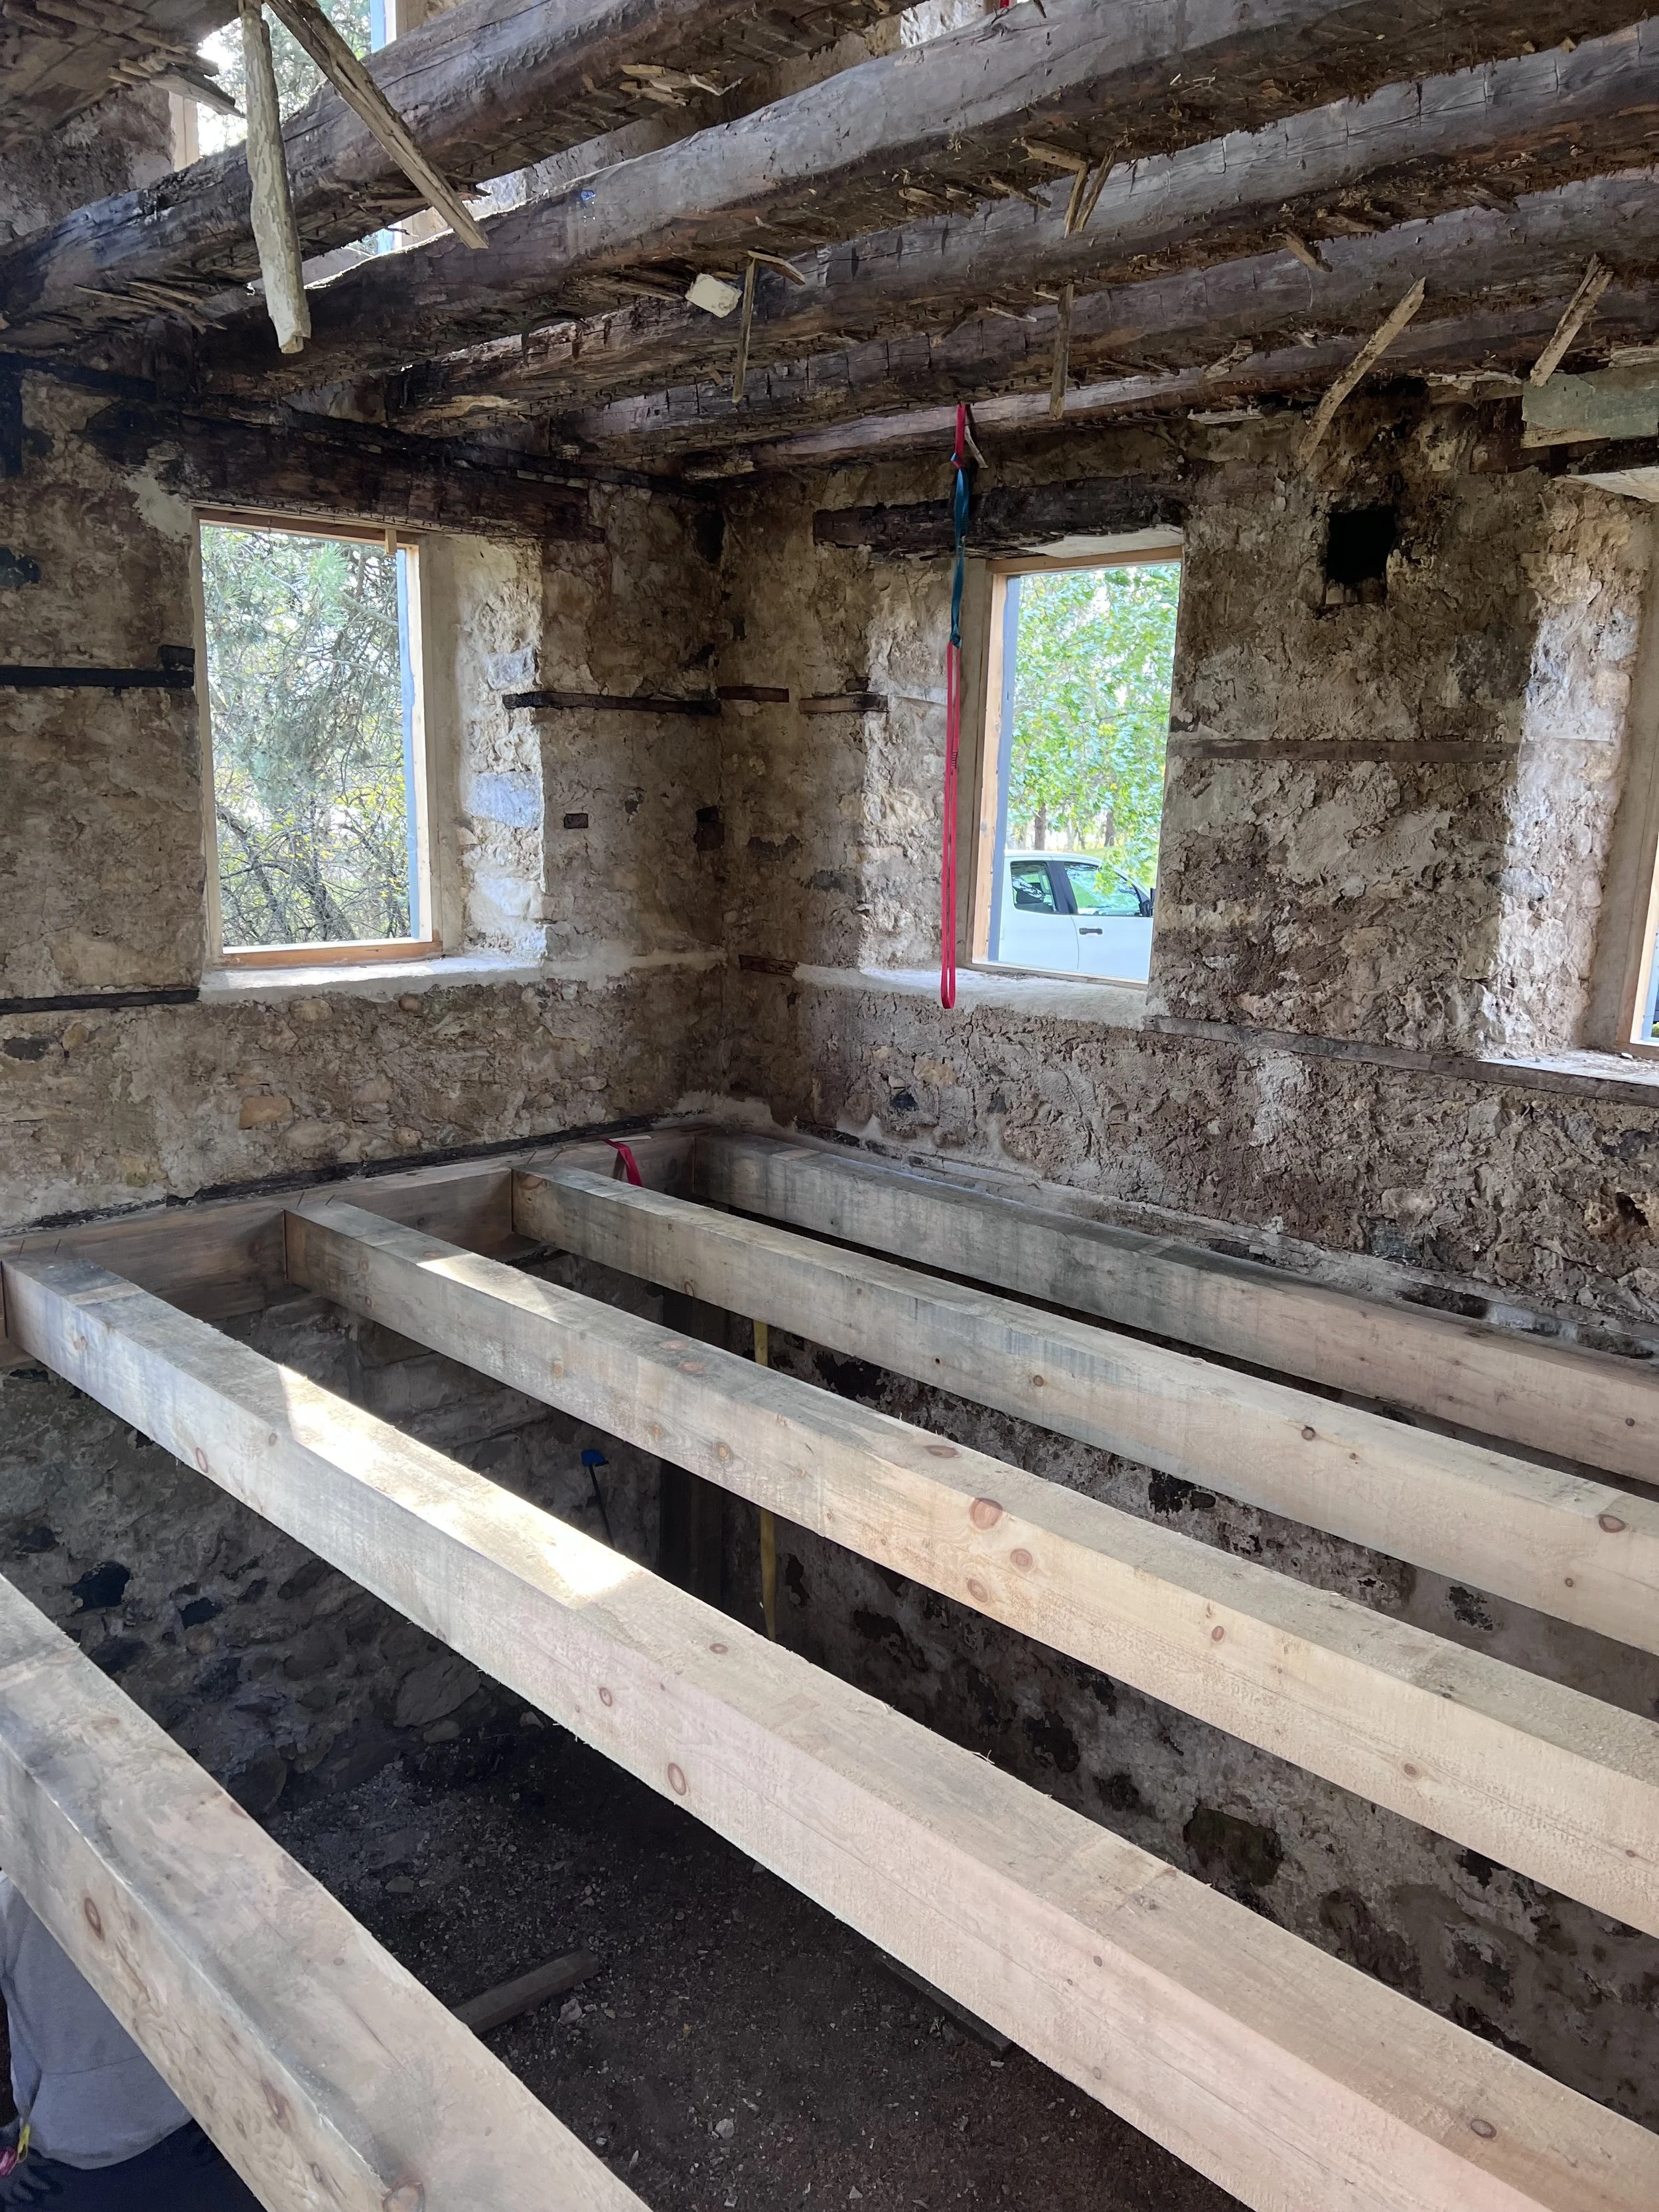
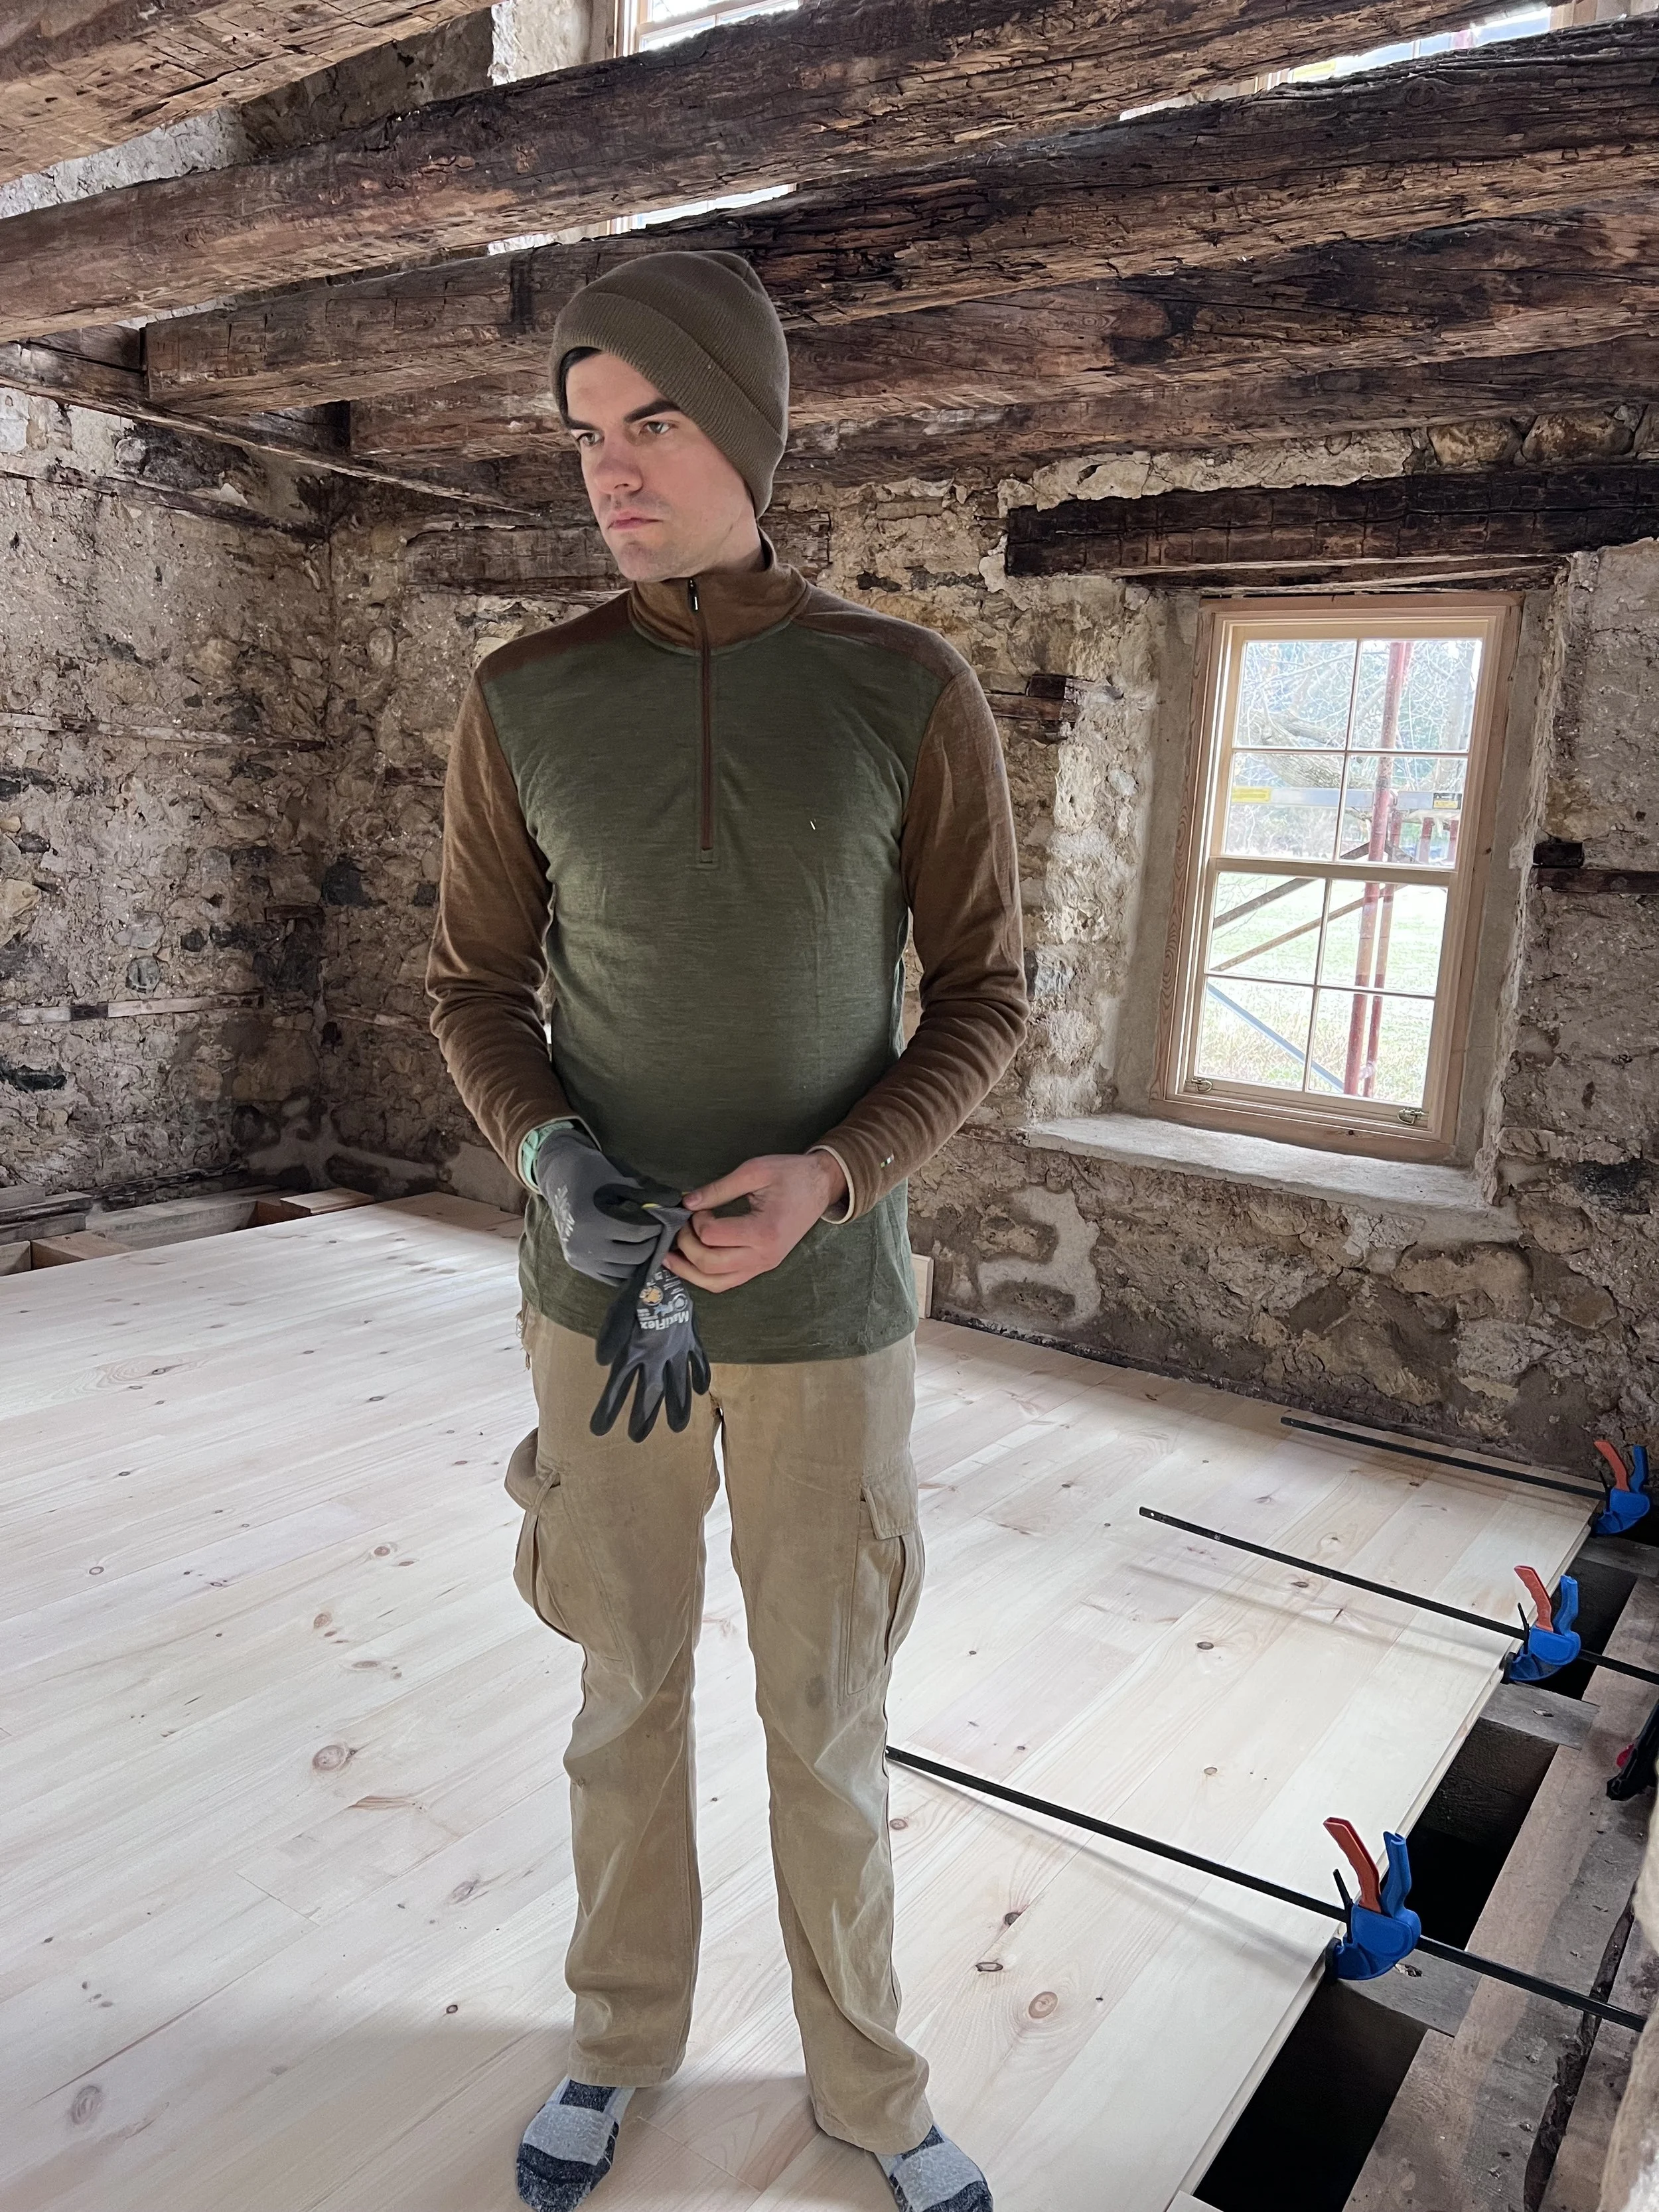
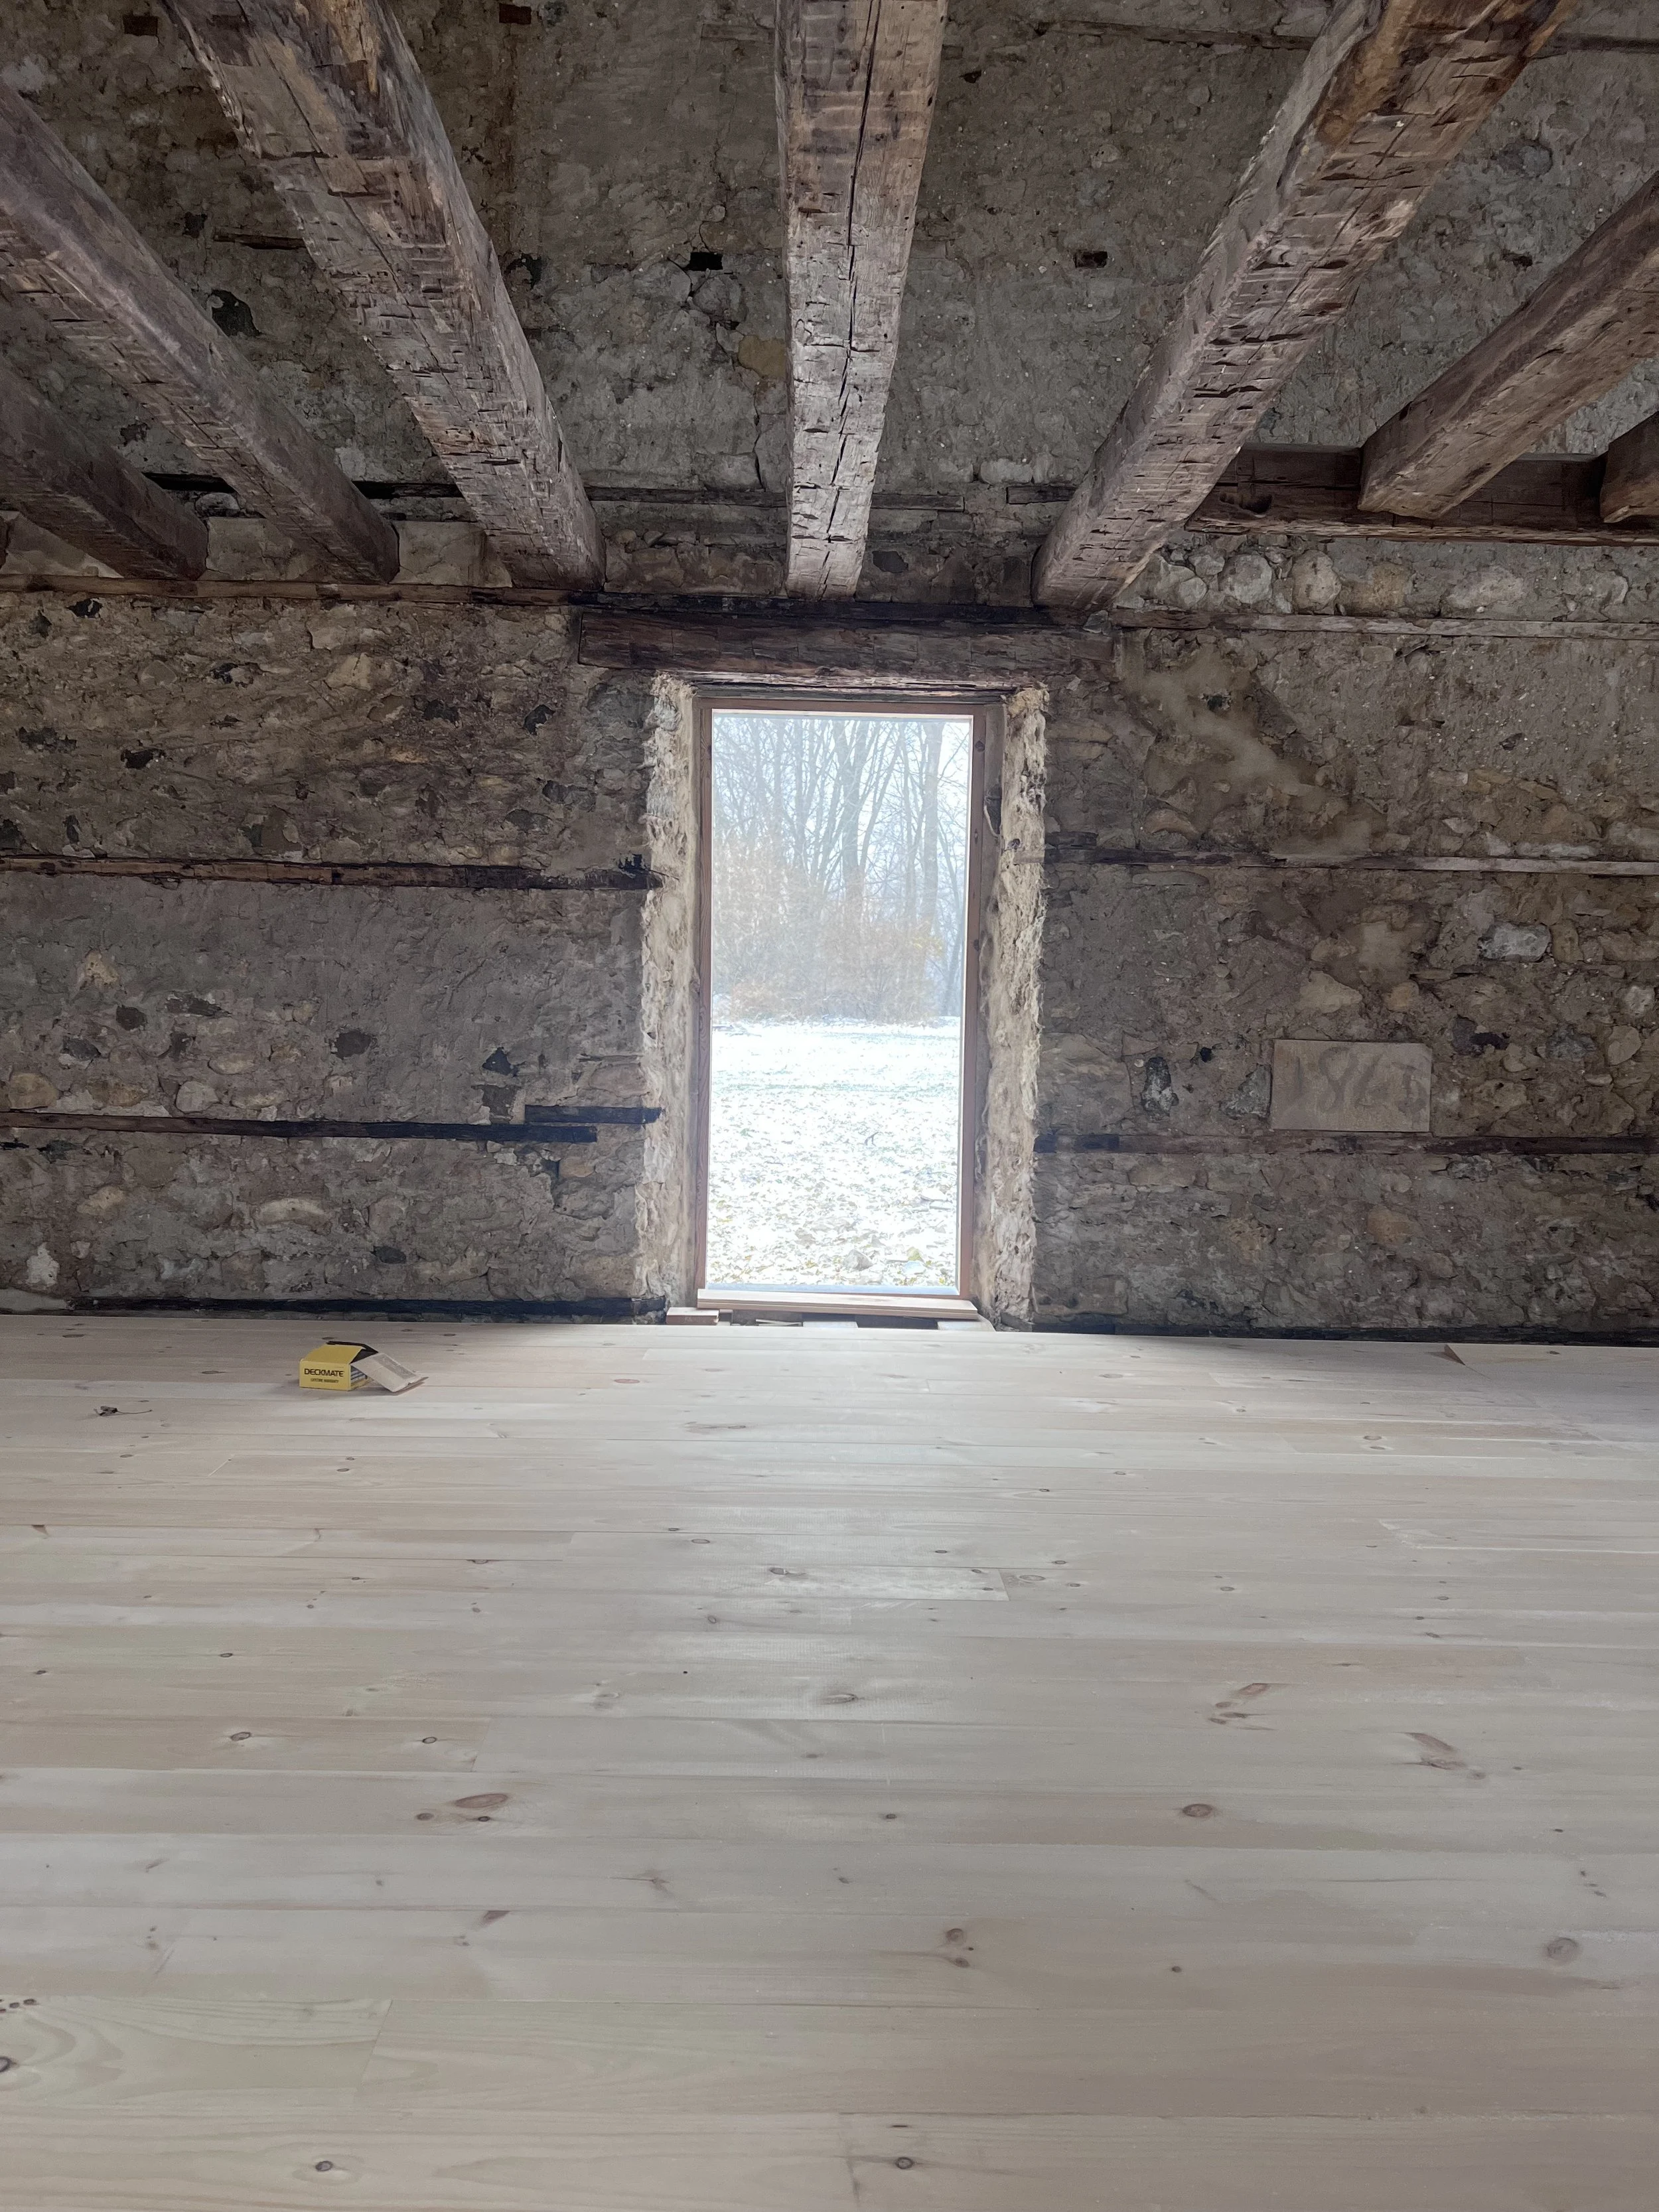
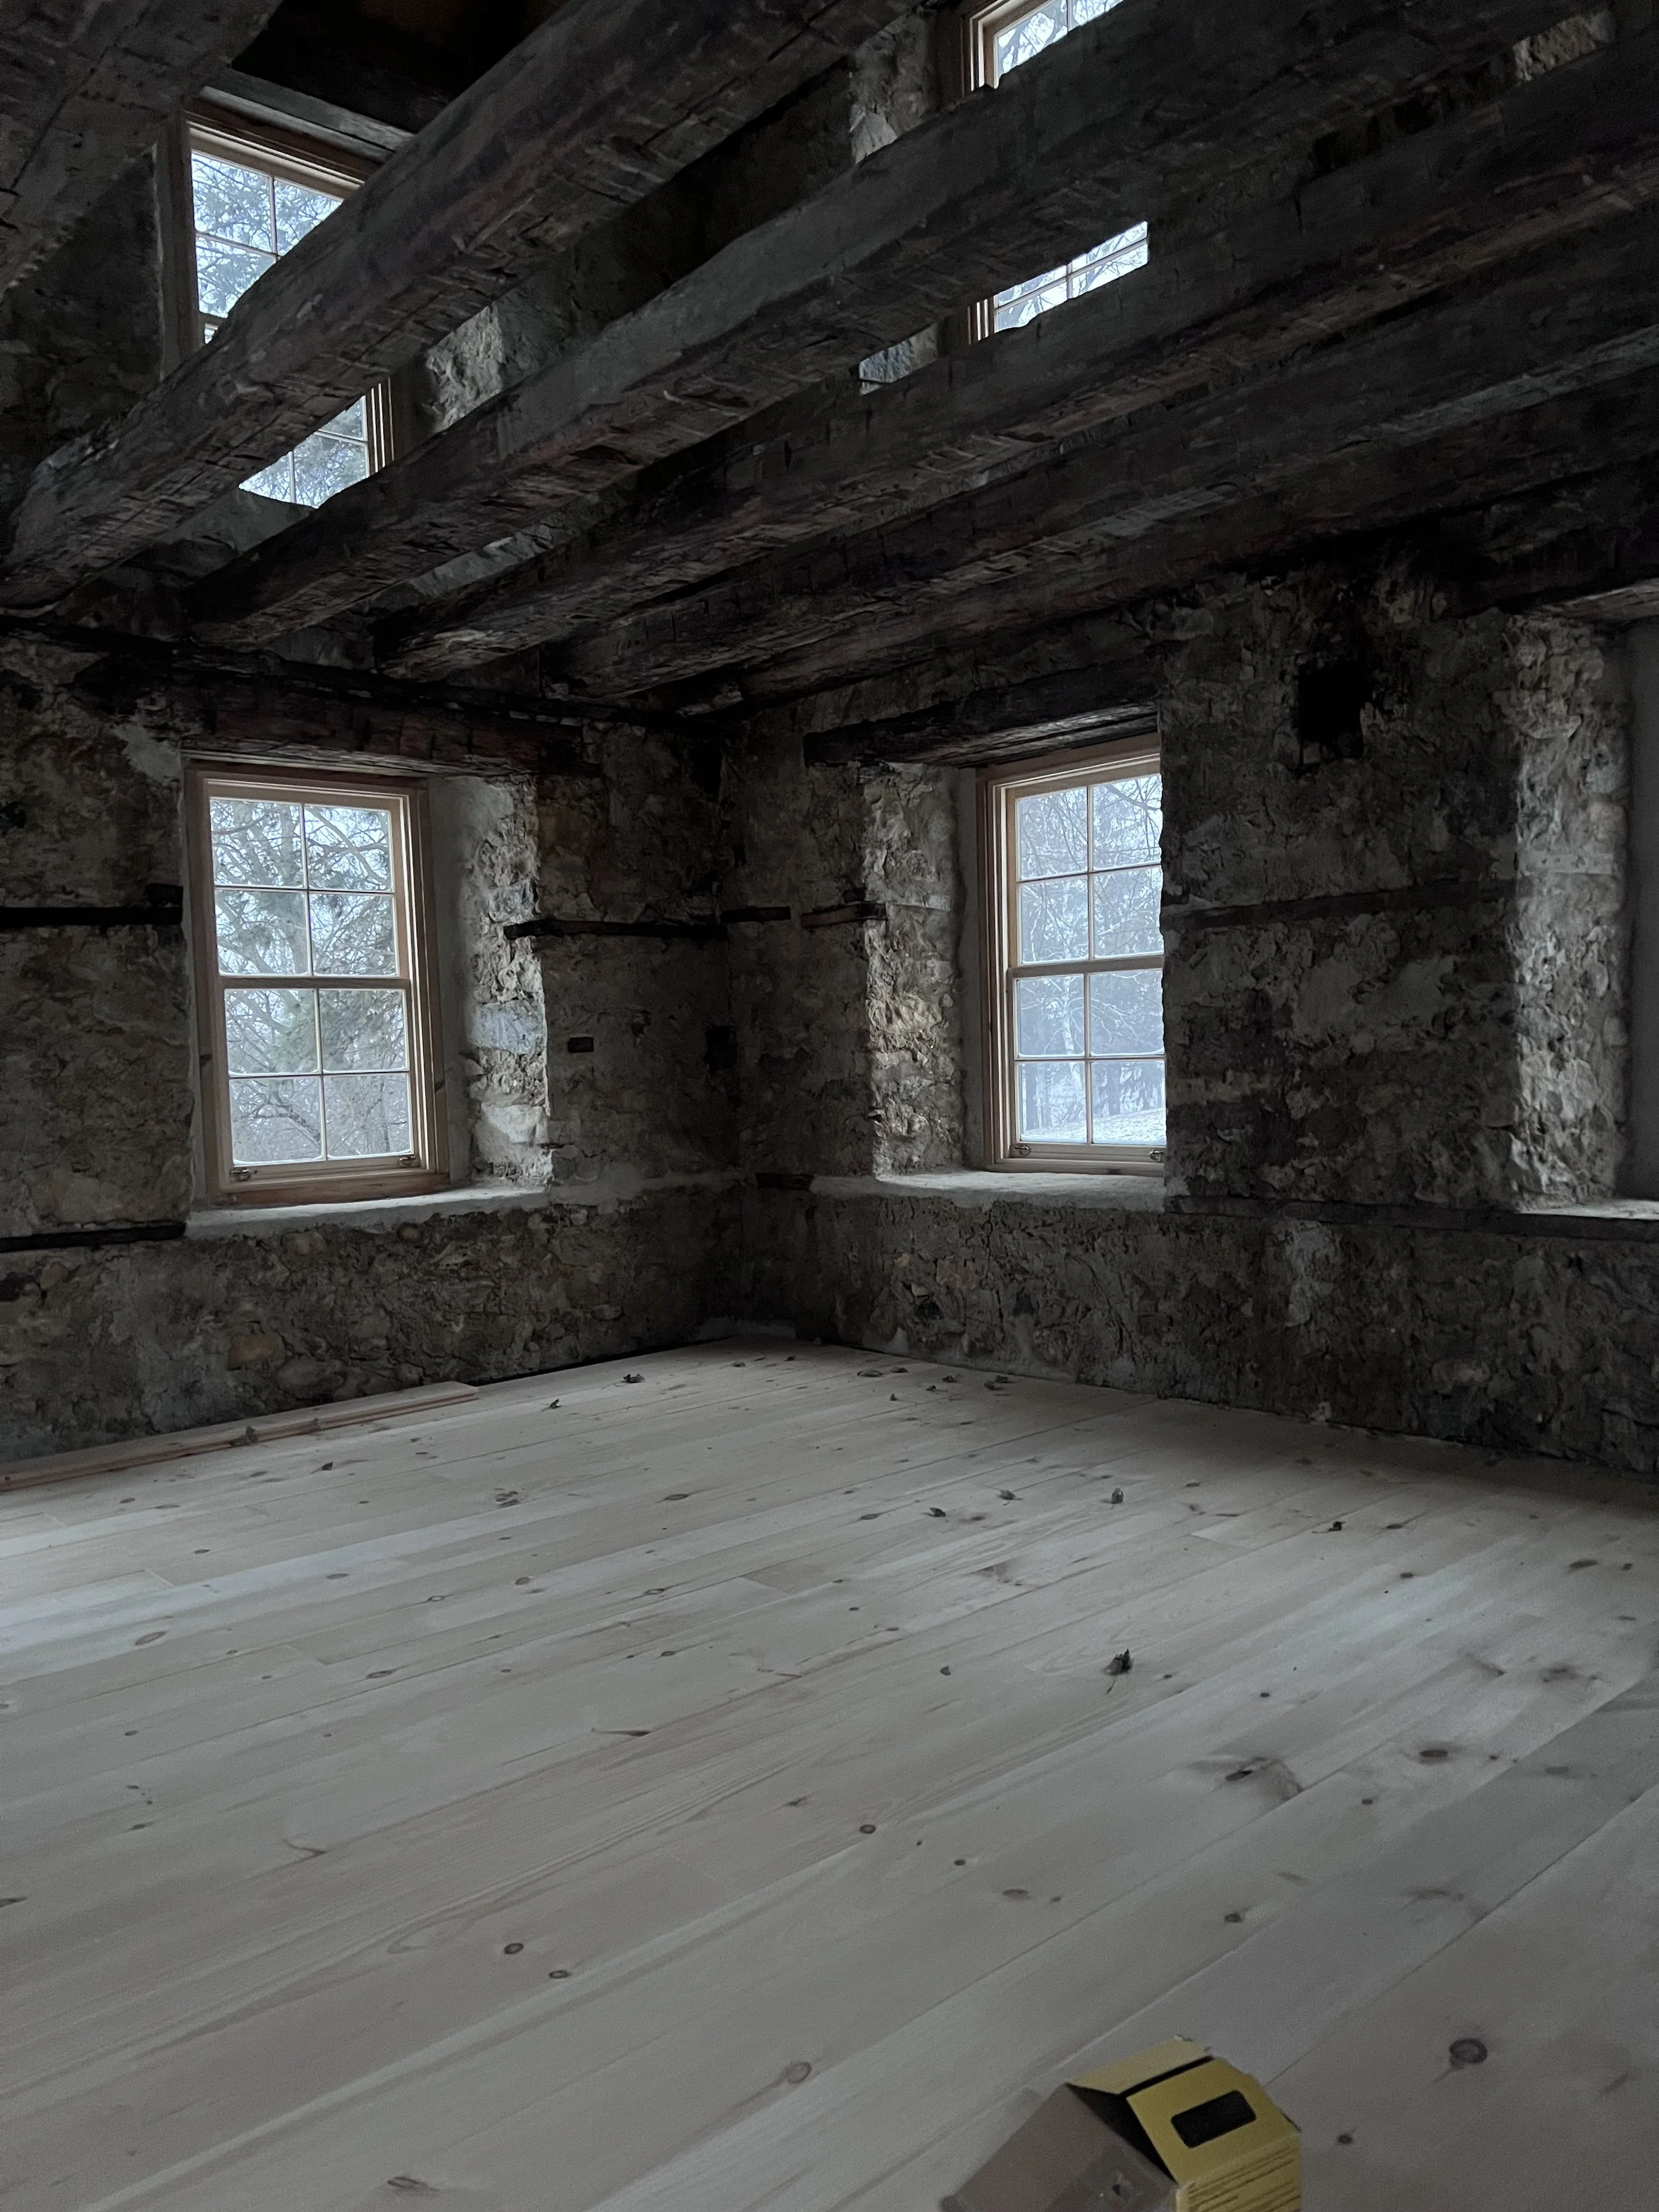
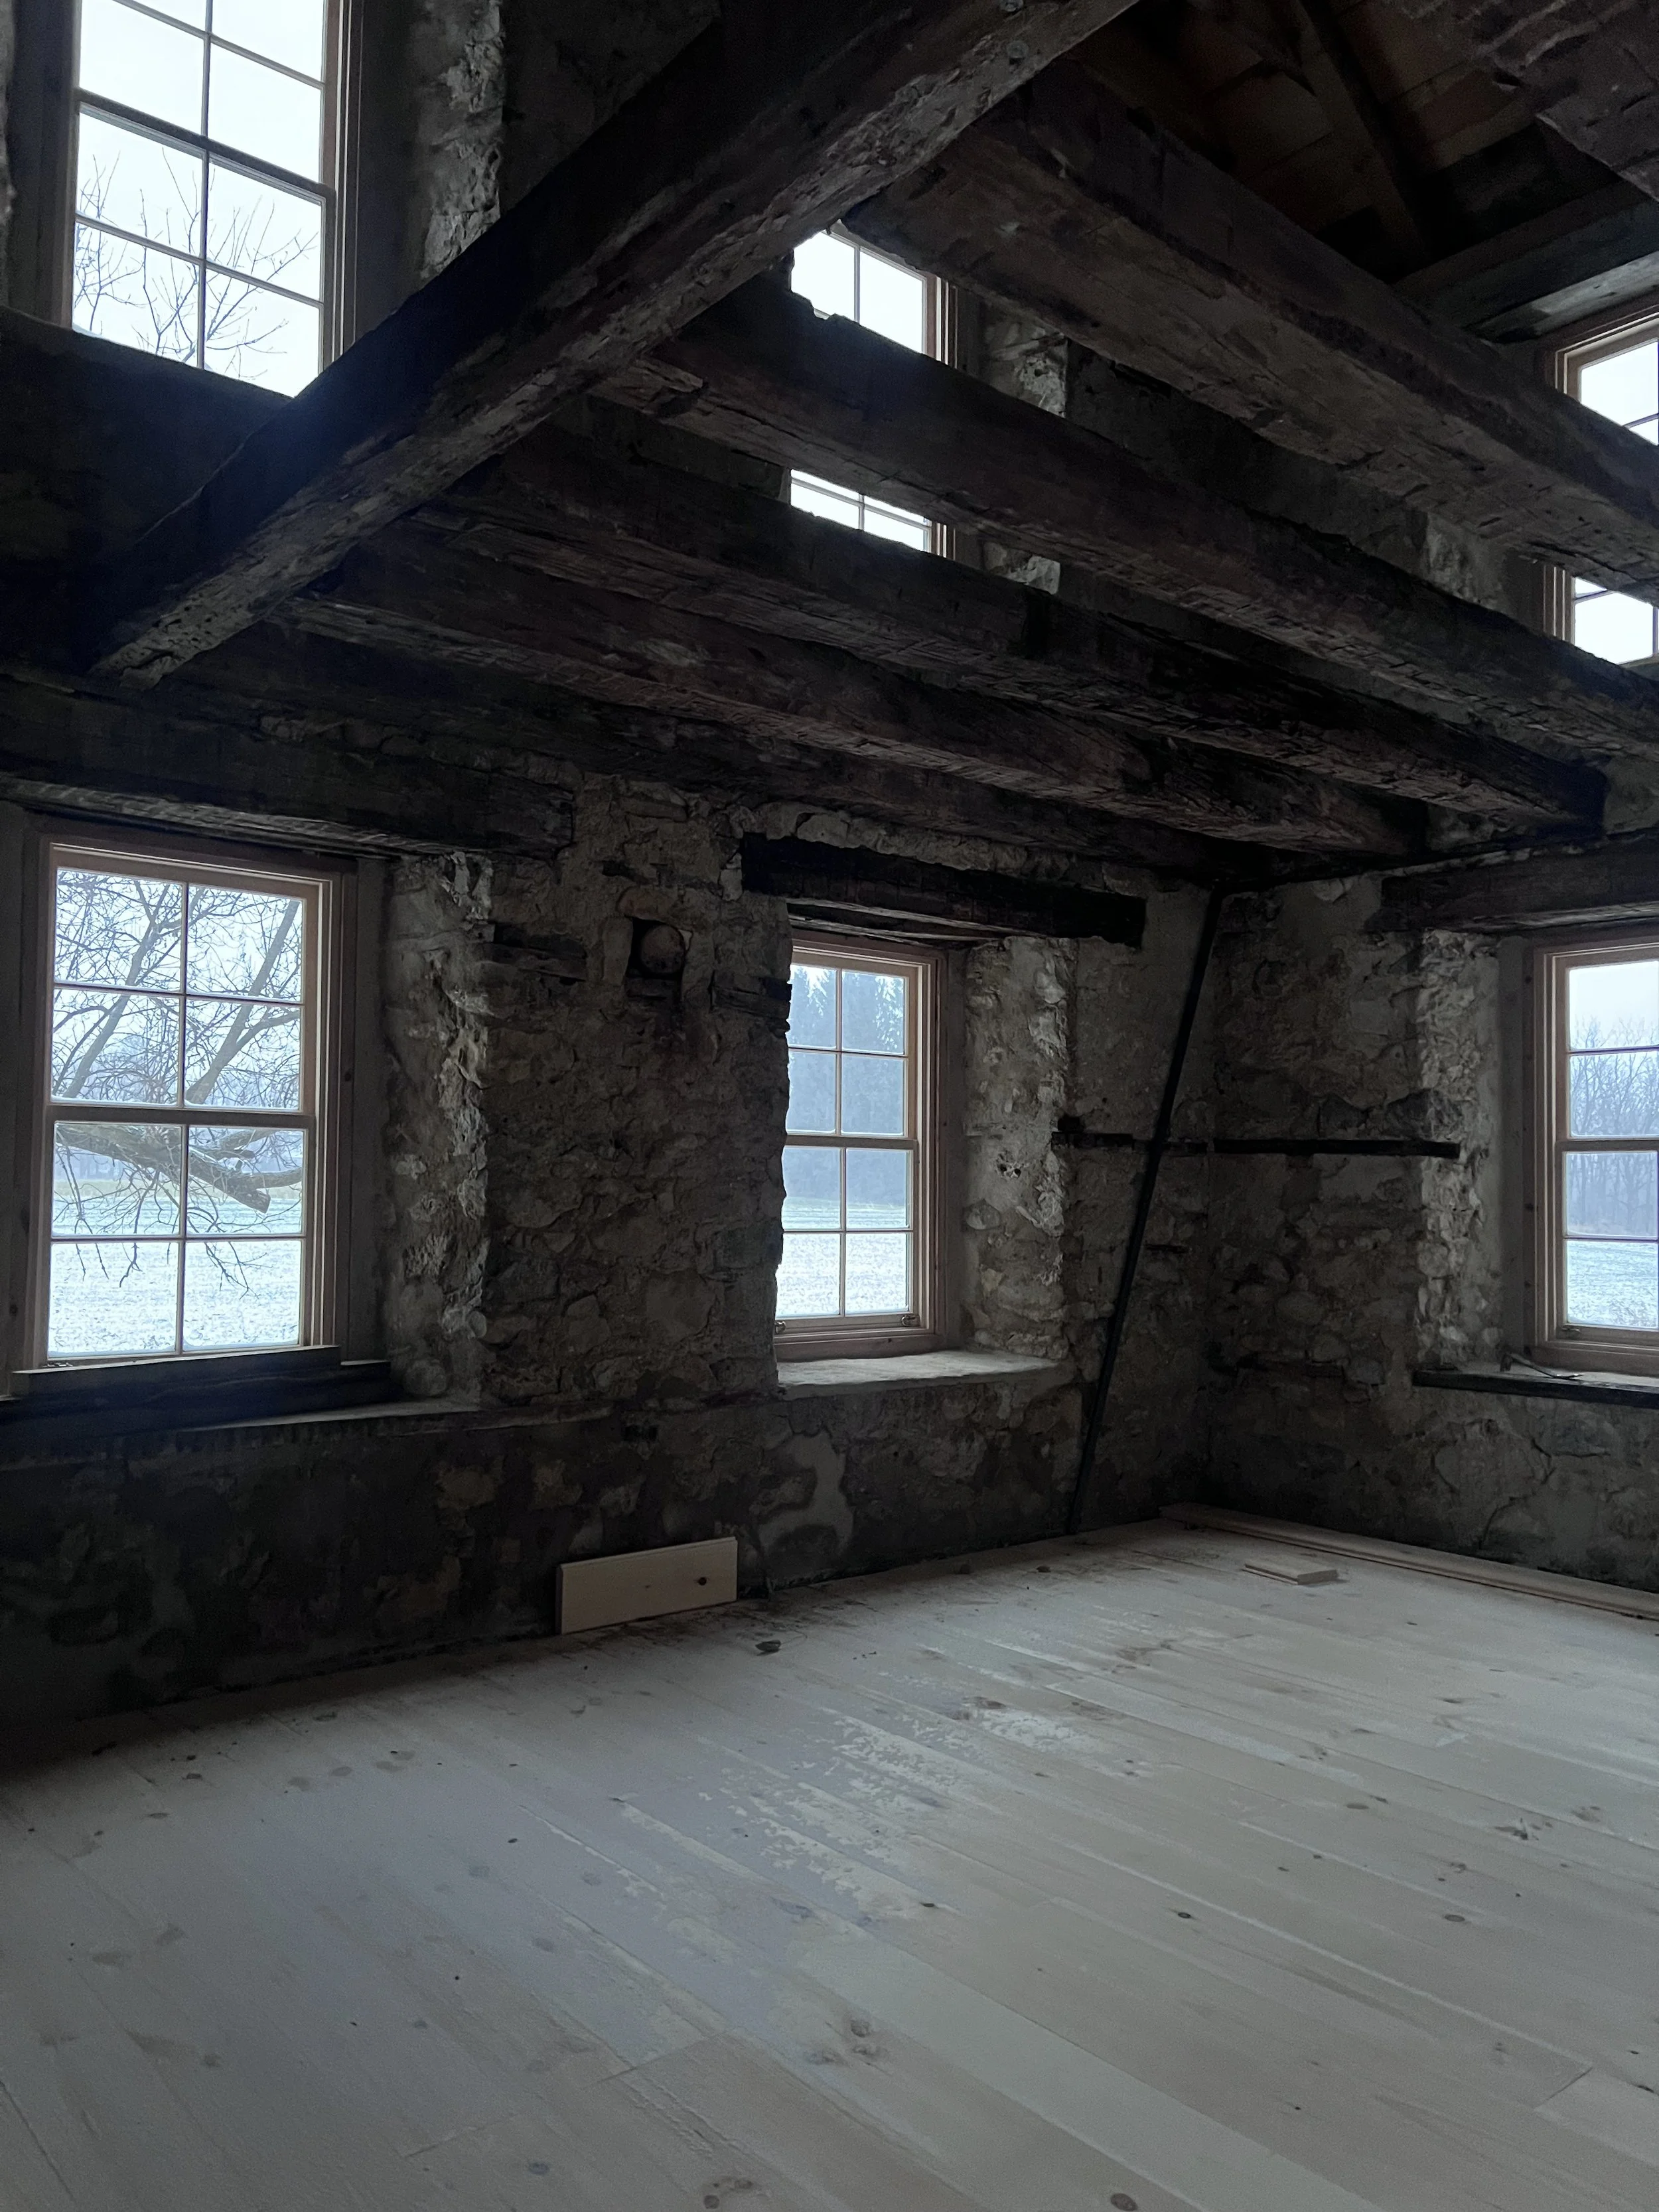
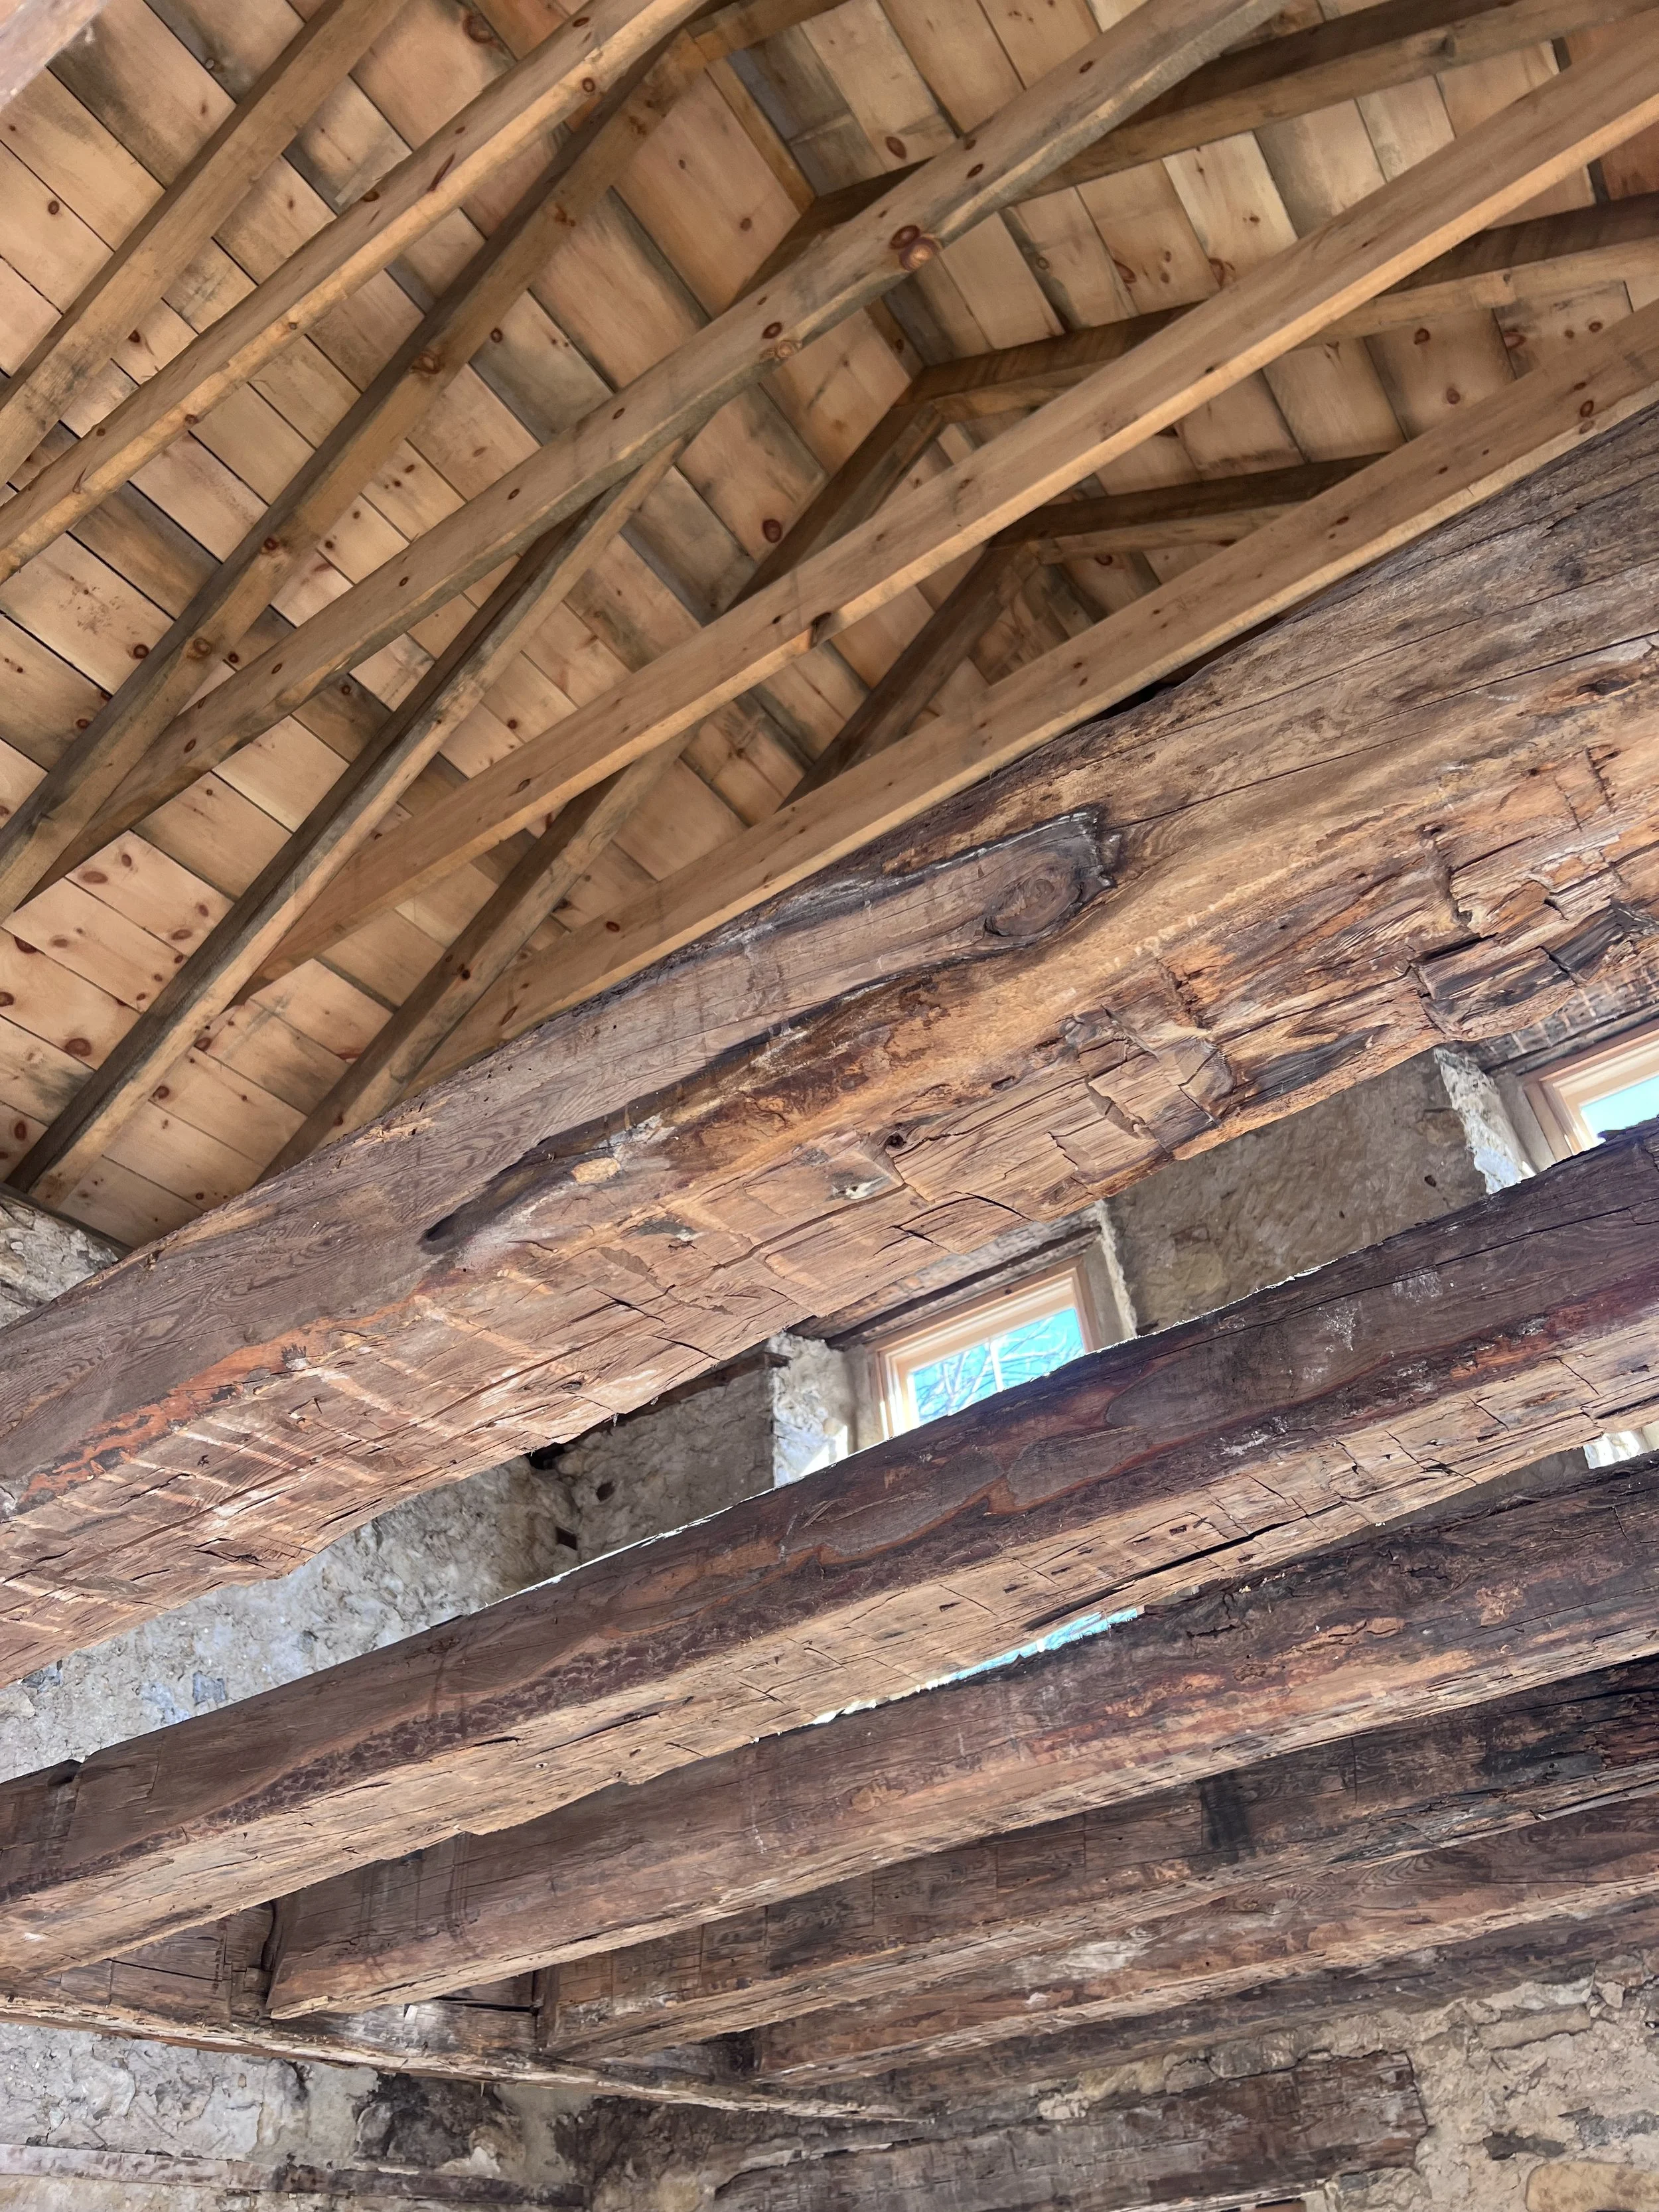
Once we had the south side repointed, we had the crane back to remove the main roof! It came off without a hitch and let us get a true understanding of the condition of the top of the south wall. We ended up rebuilding a good 2-ish feet on the top and letting that cure for about a week before we had the crane back, yet again, to put the new timber framed roof back on! We clad the roof with 1” pine boards of varying widths so that you would get a beautiful view from the inside instead of looking at plywood.


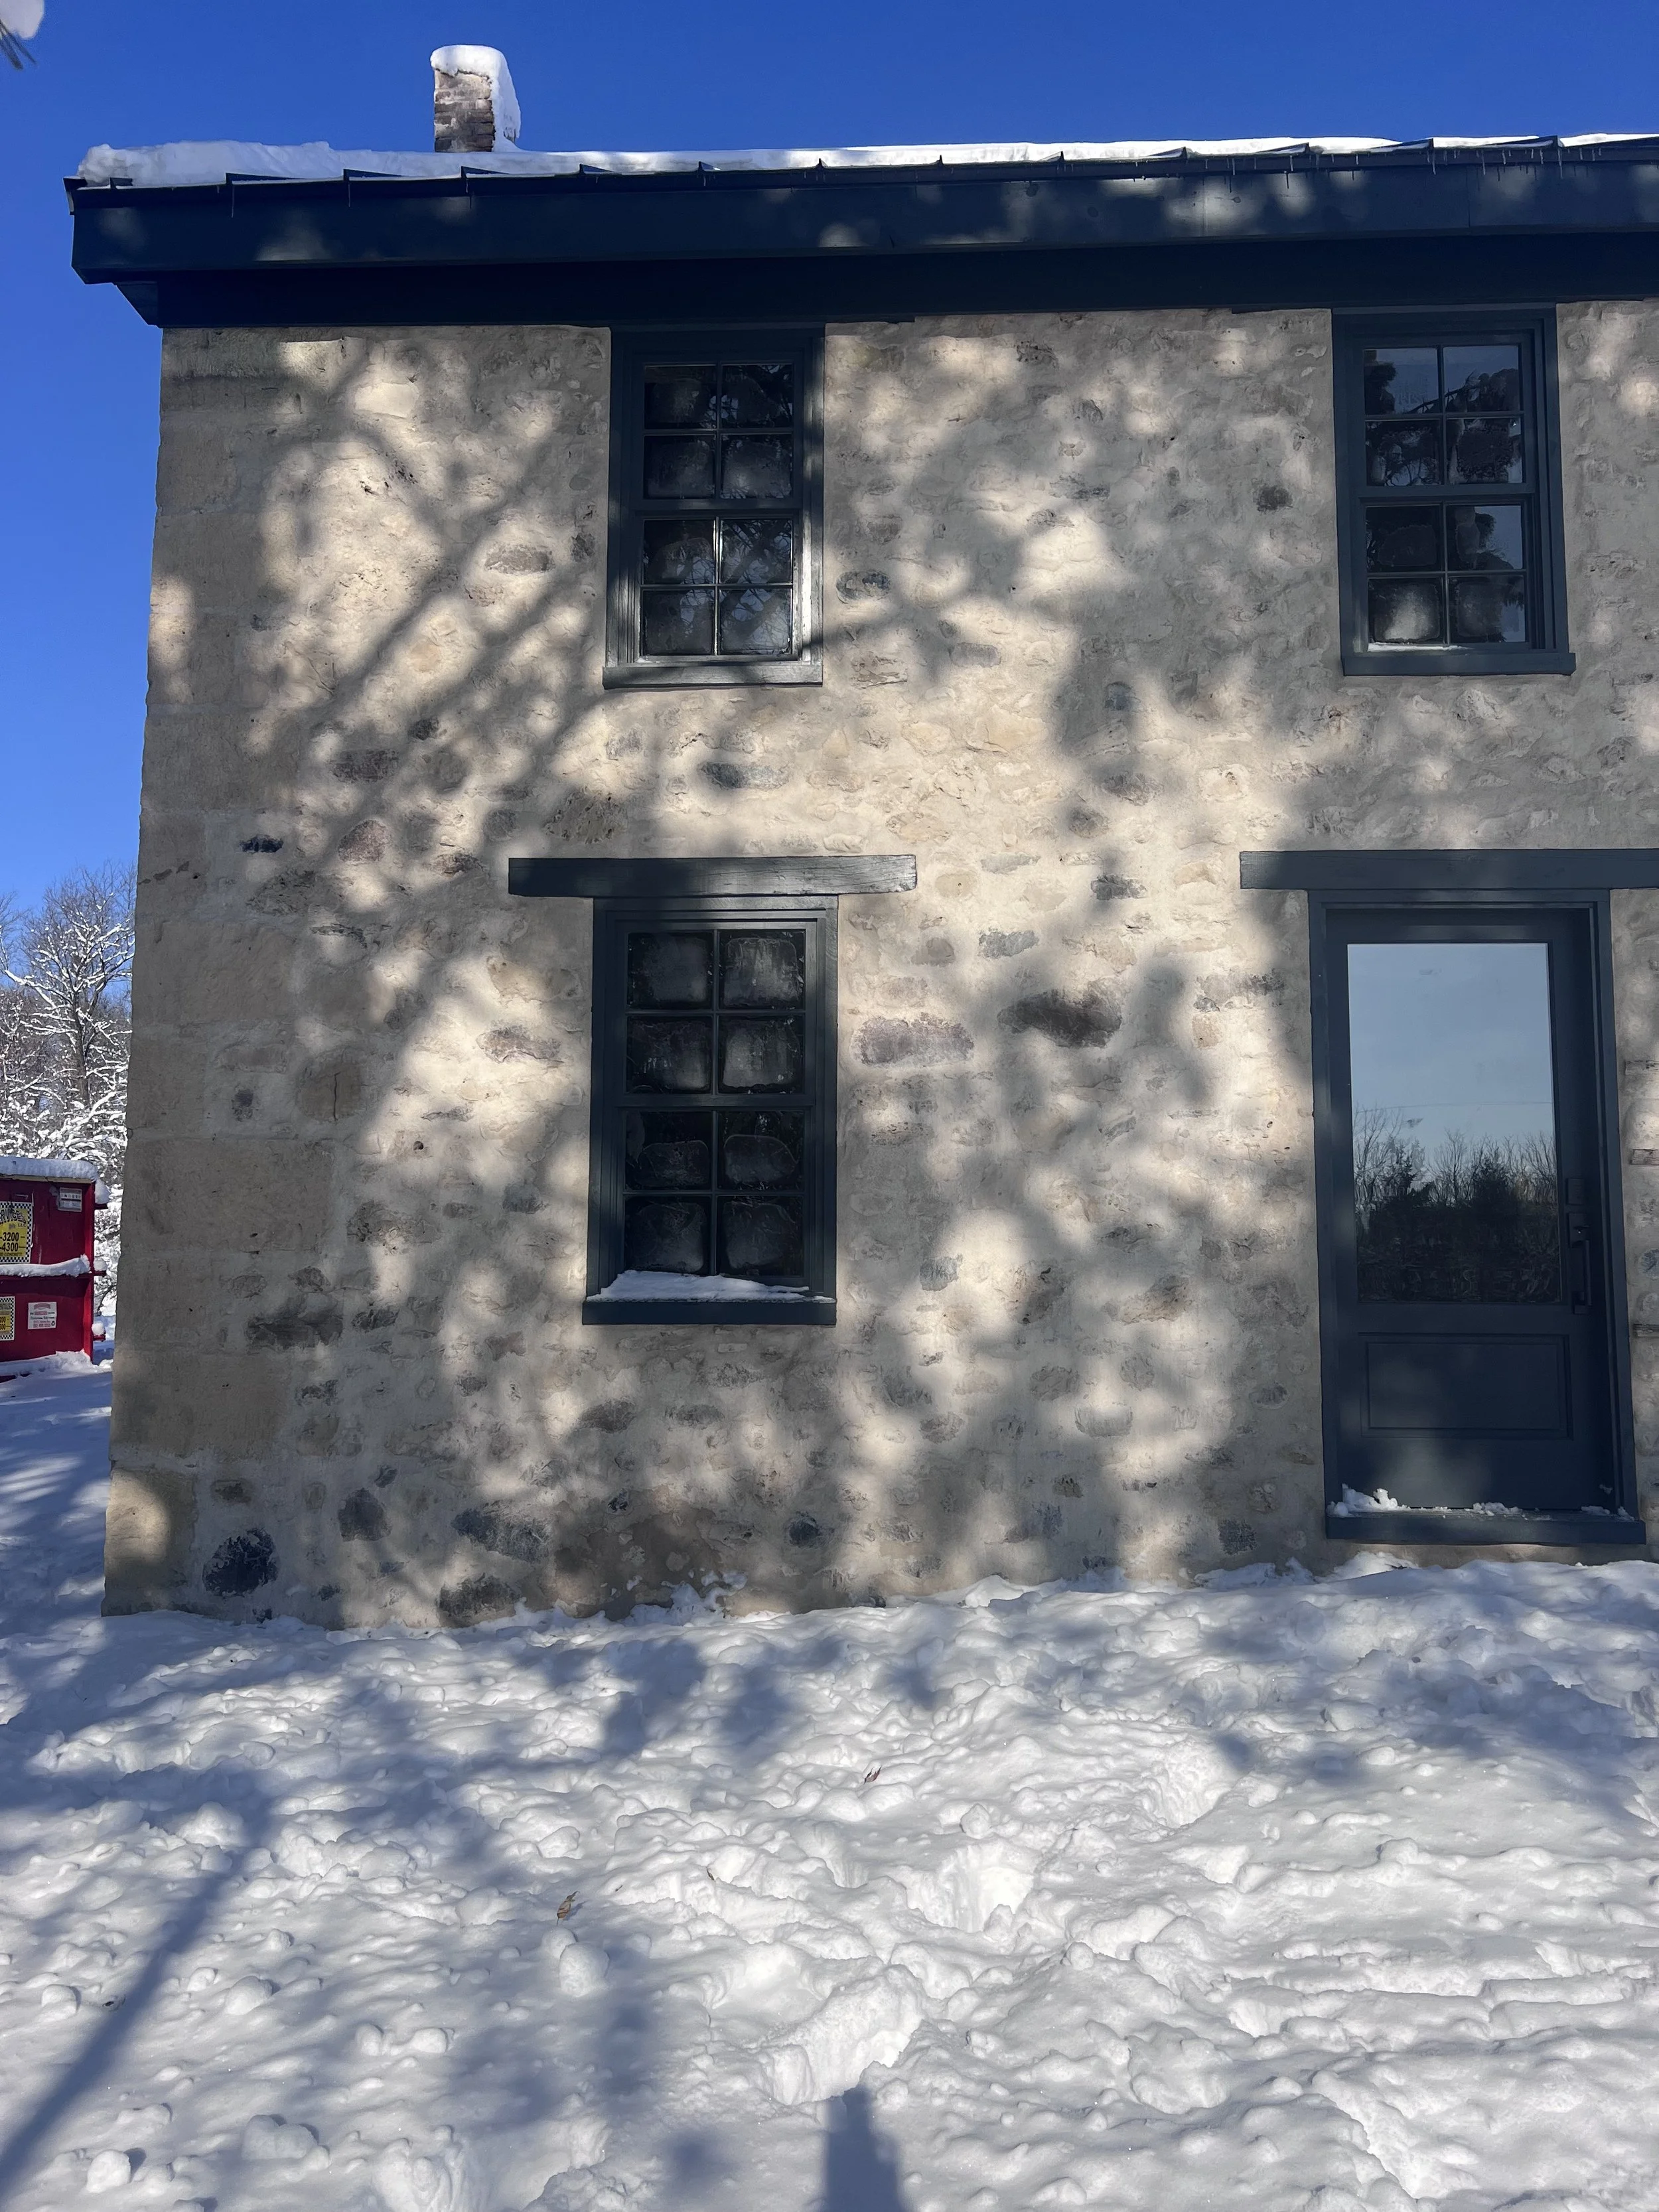
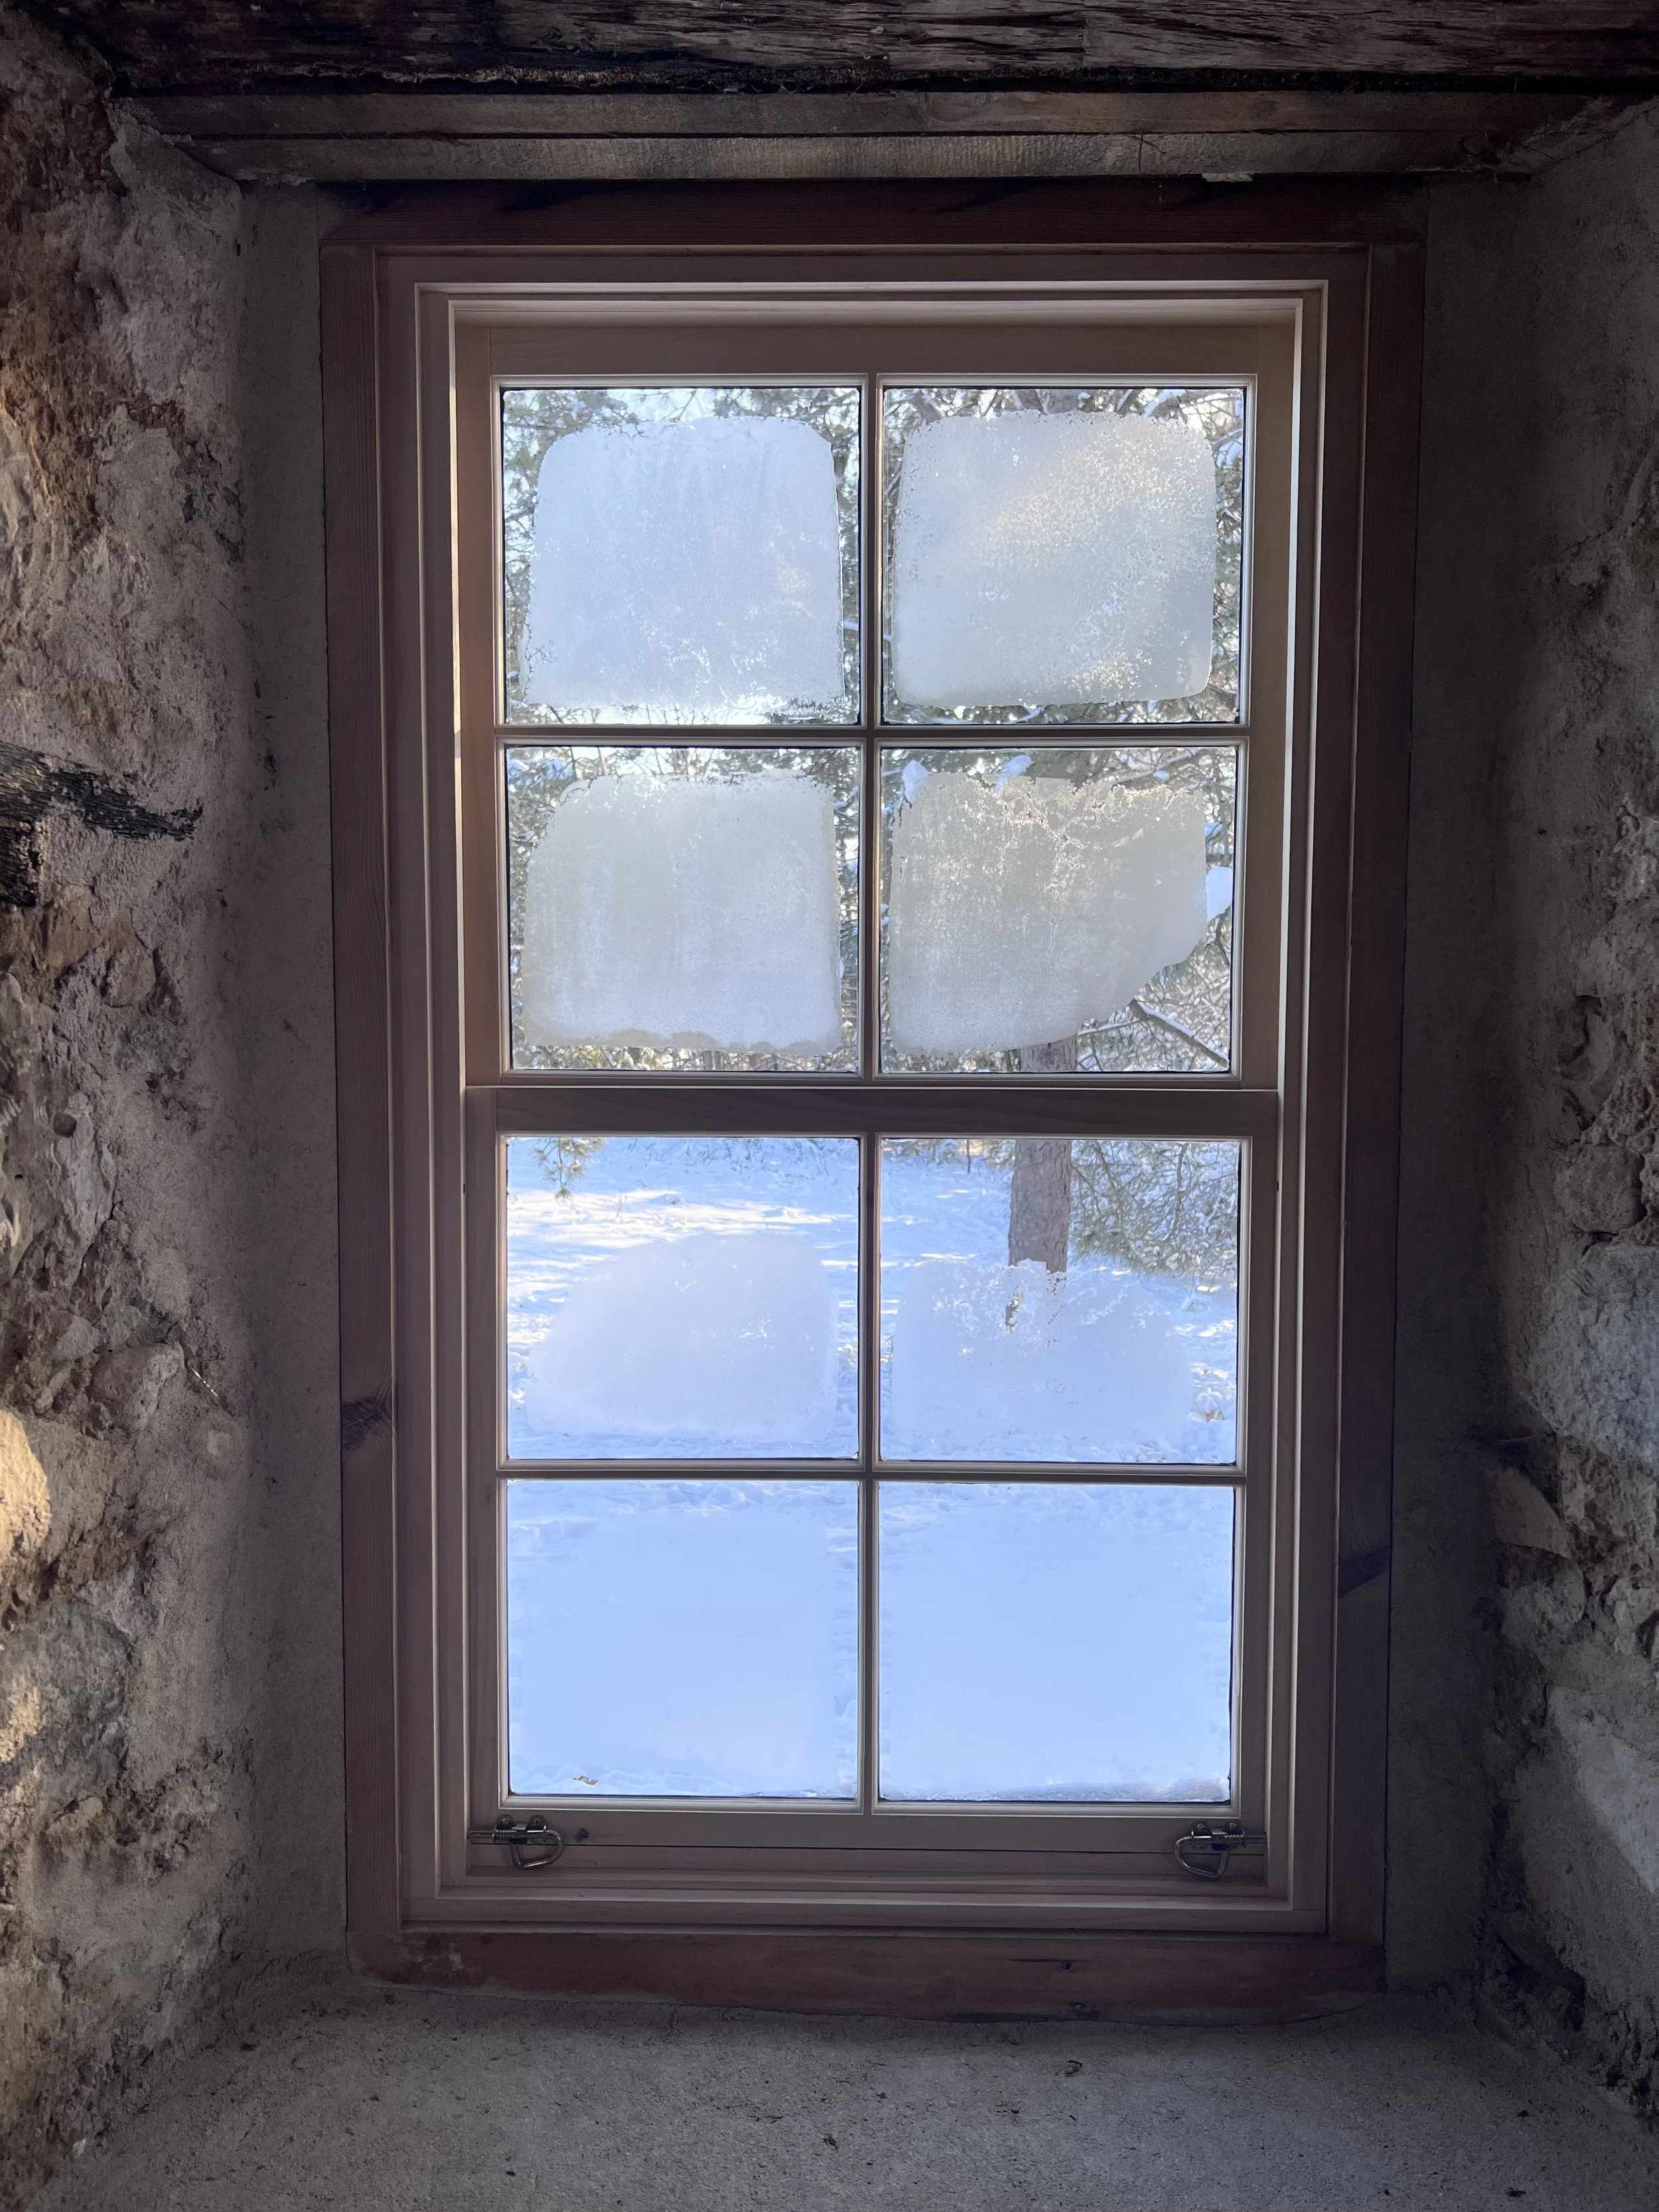
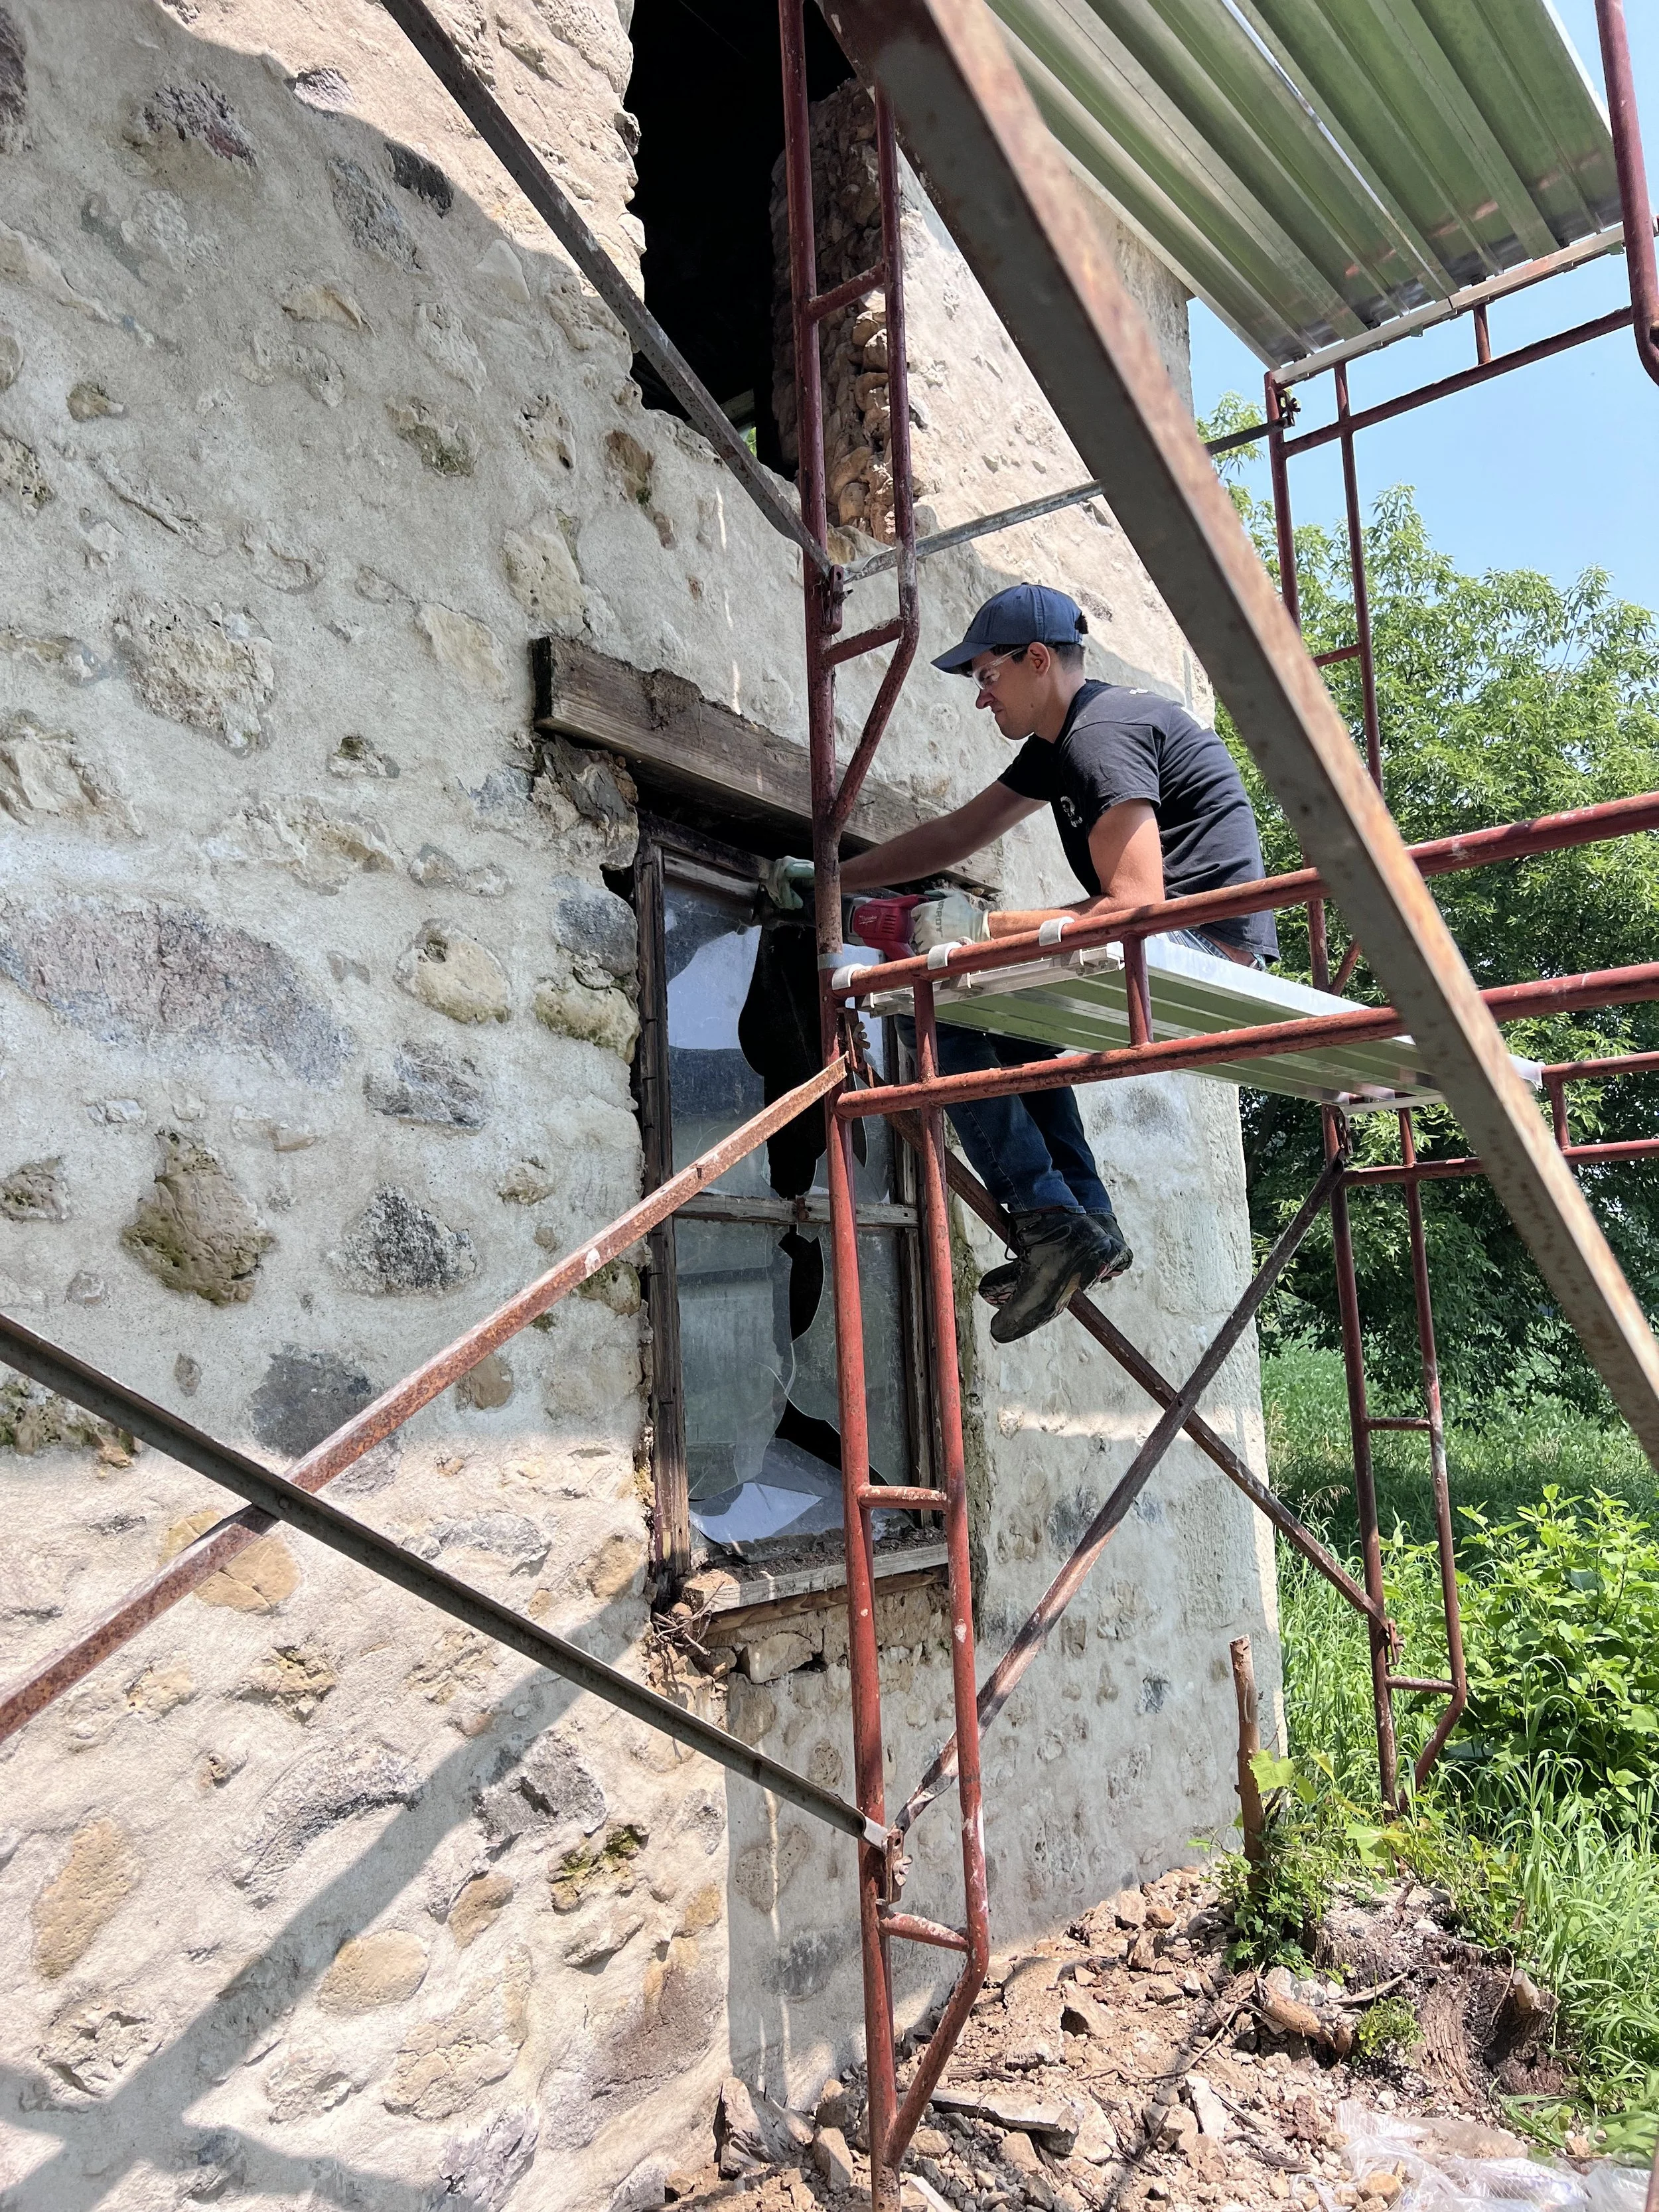
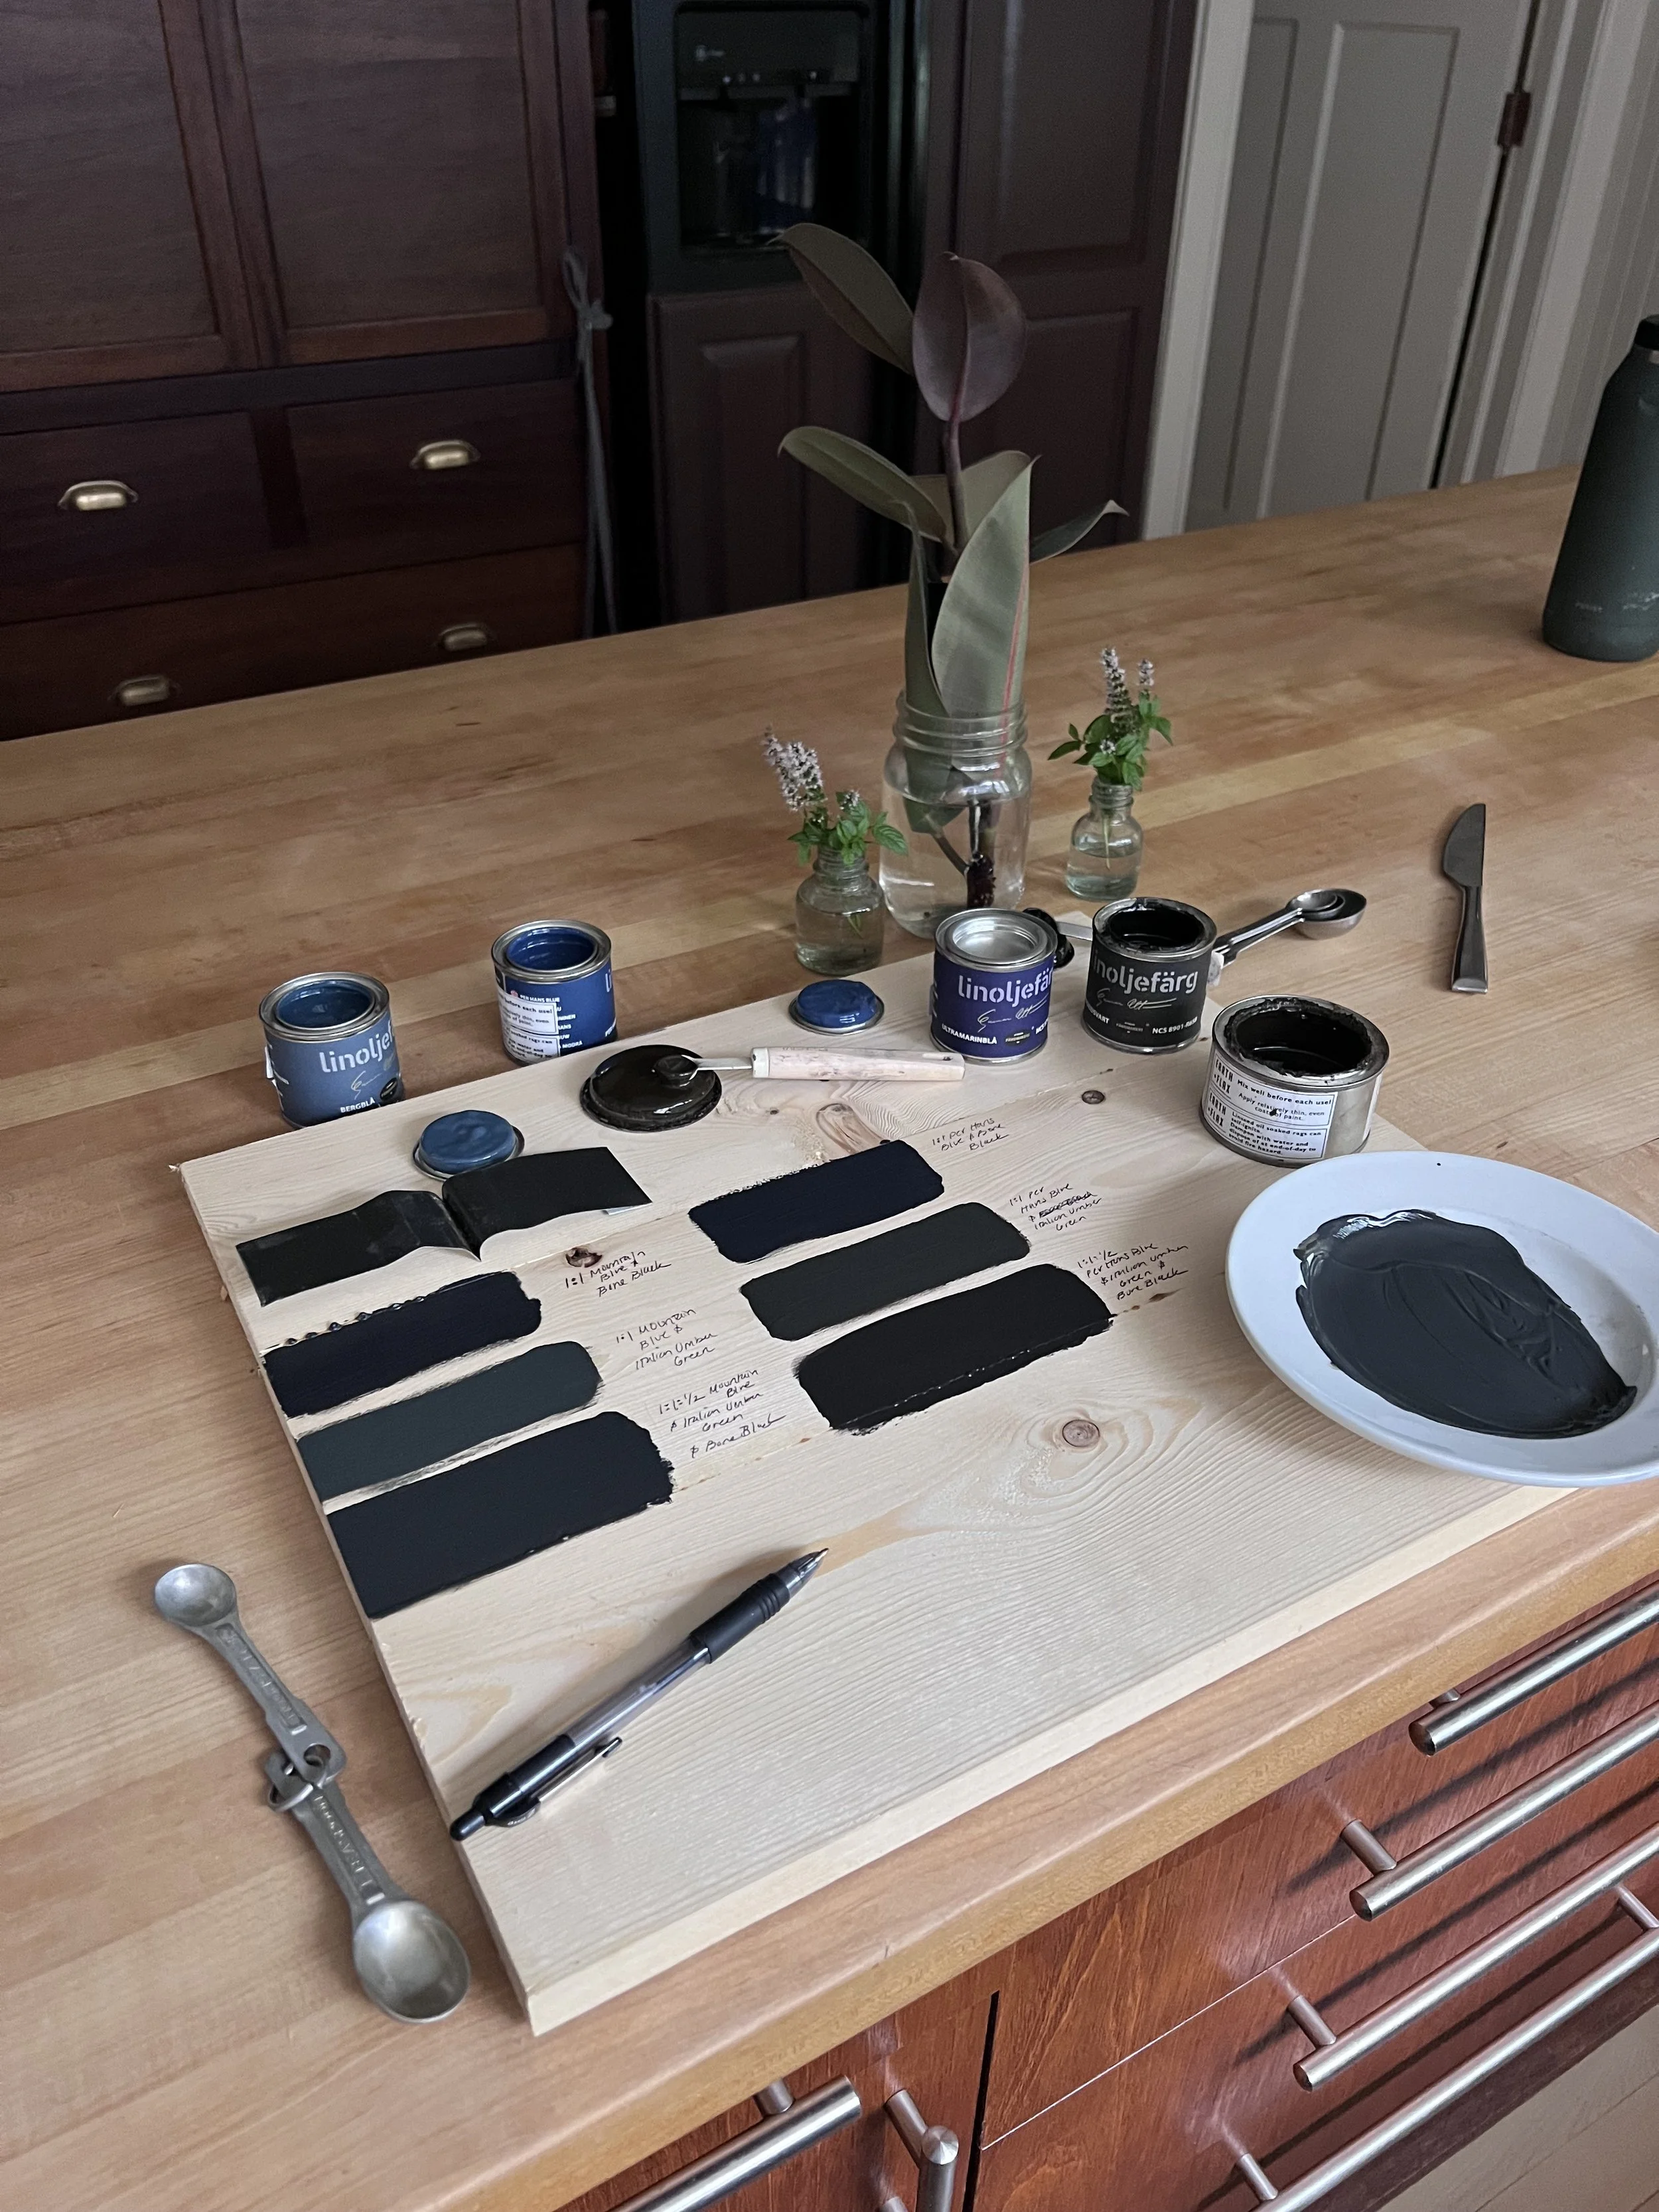
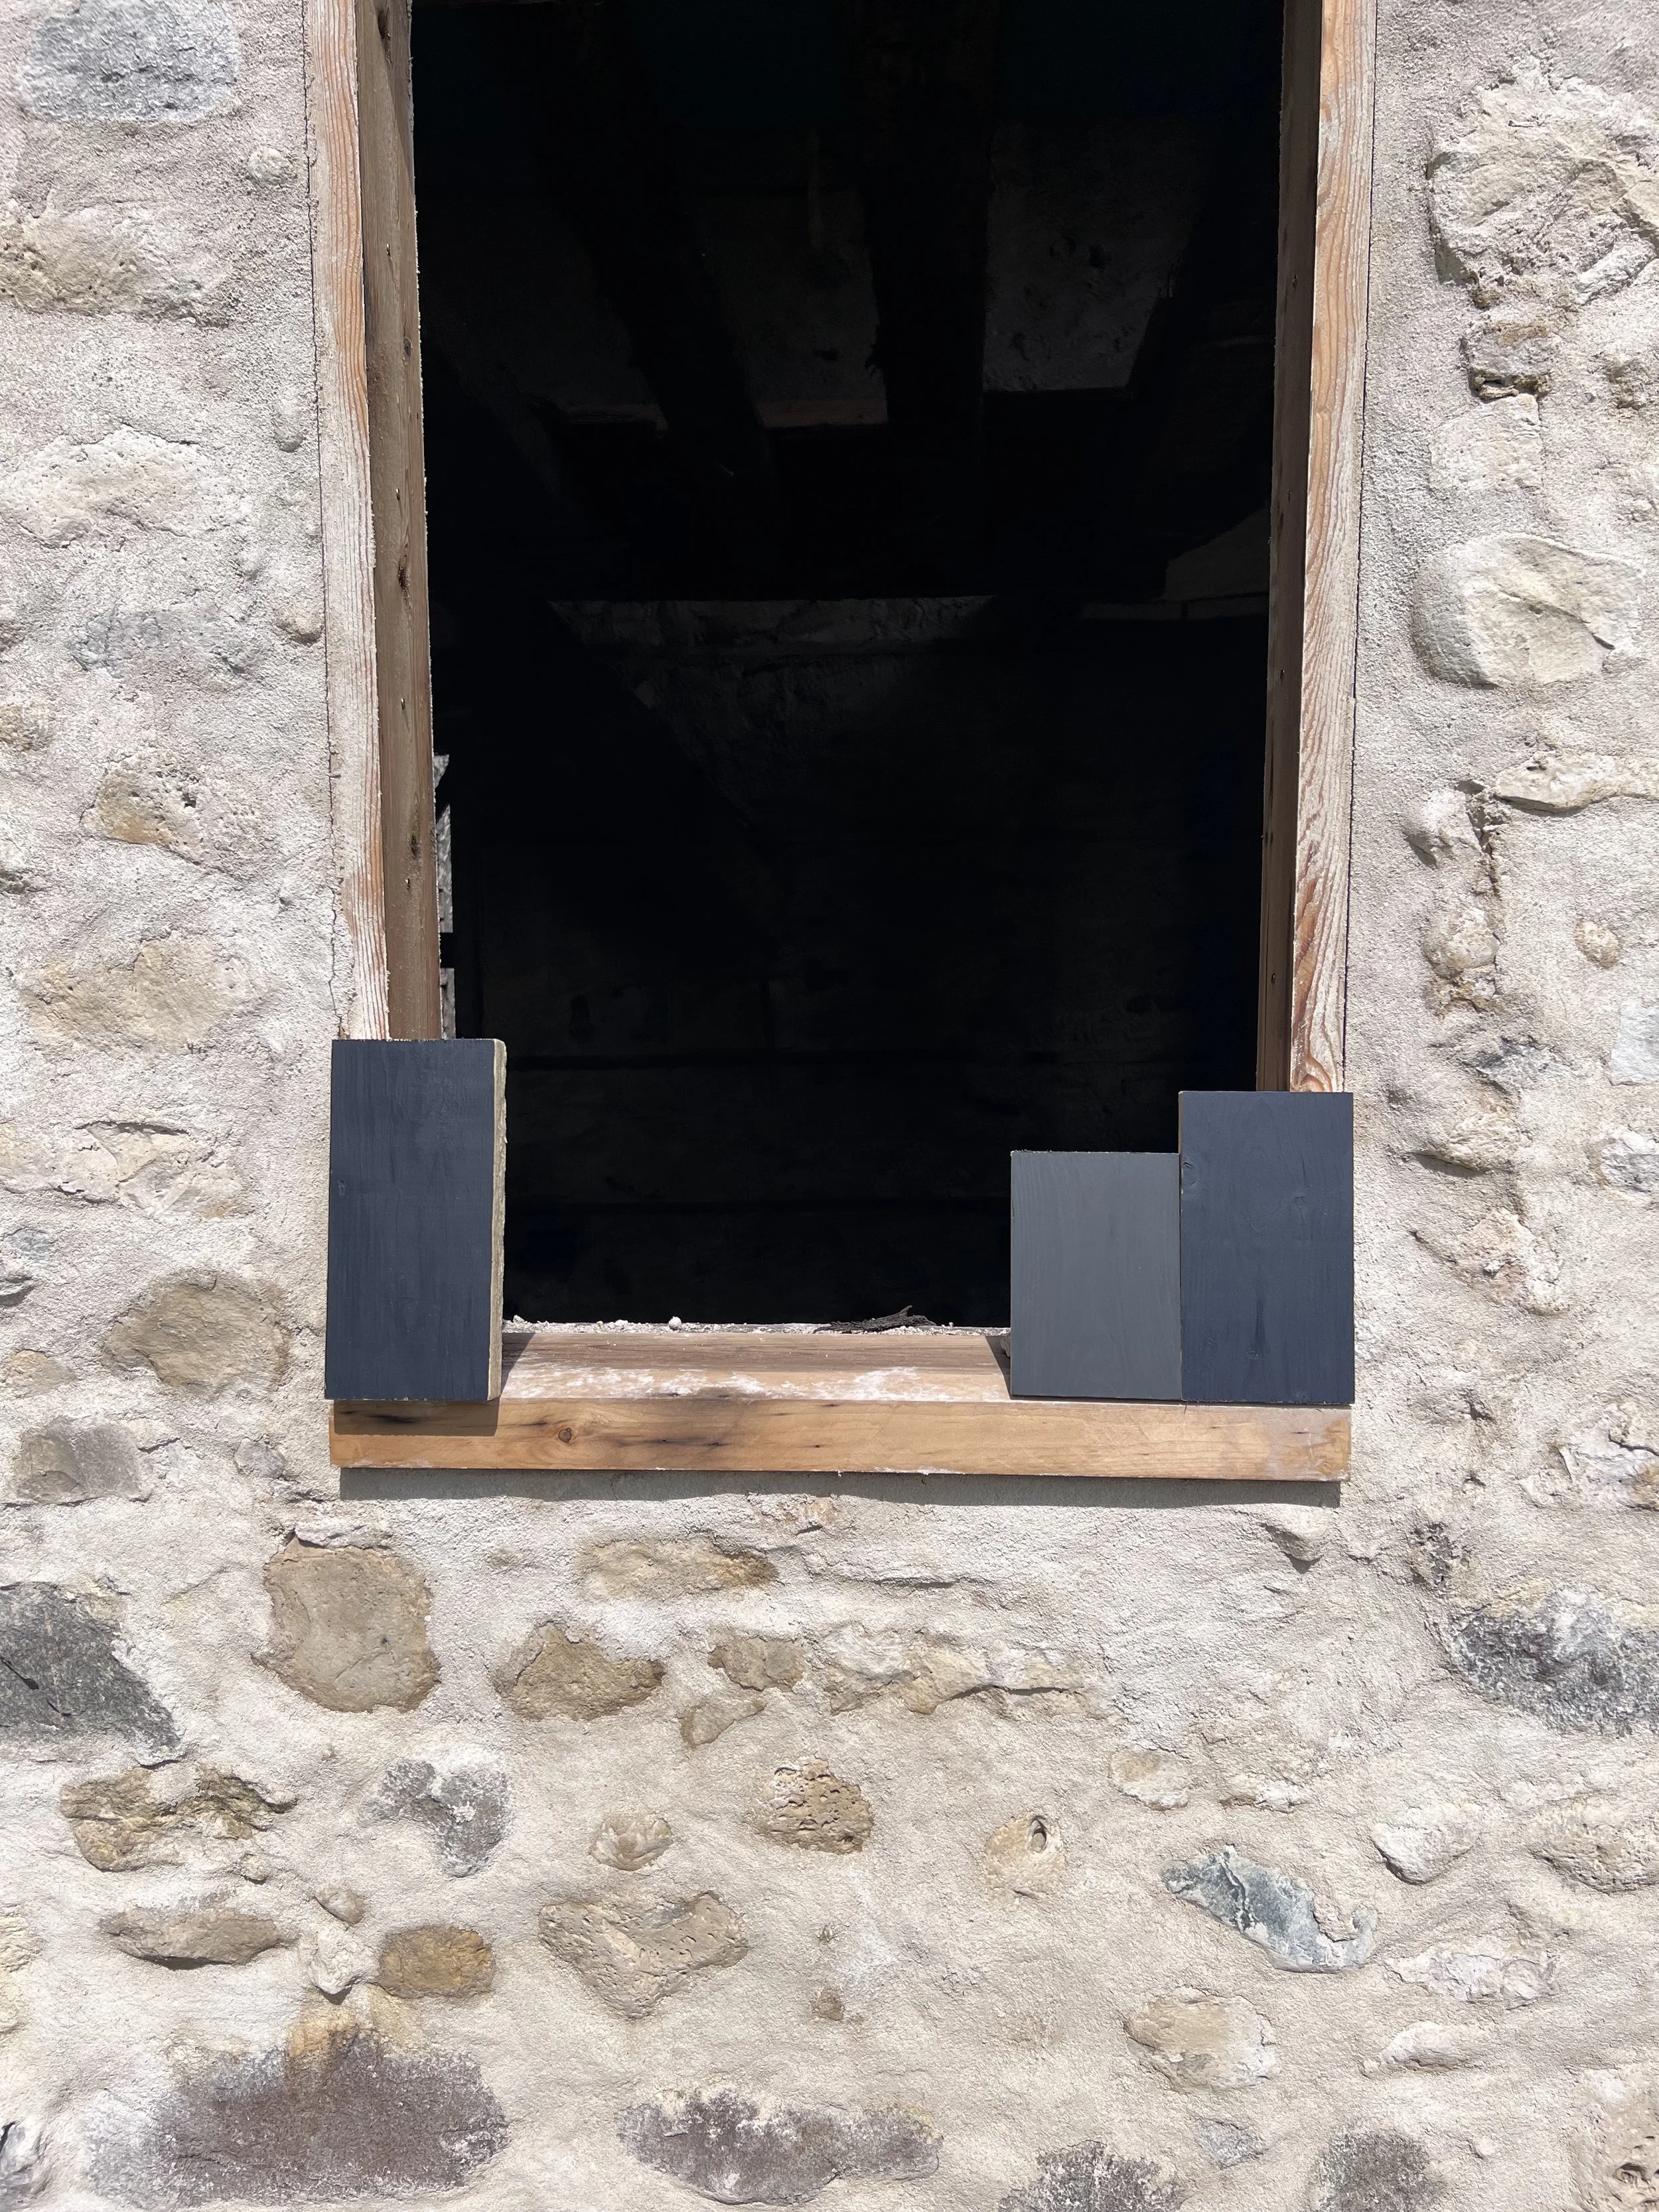
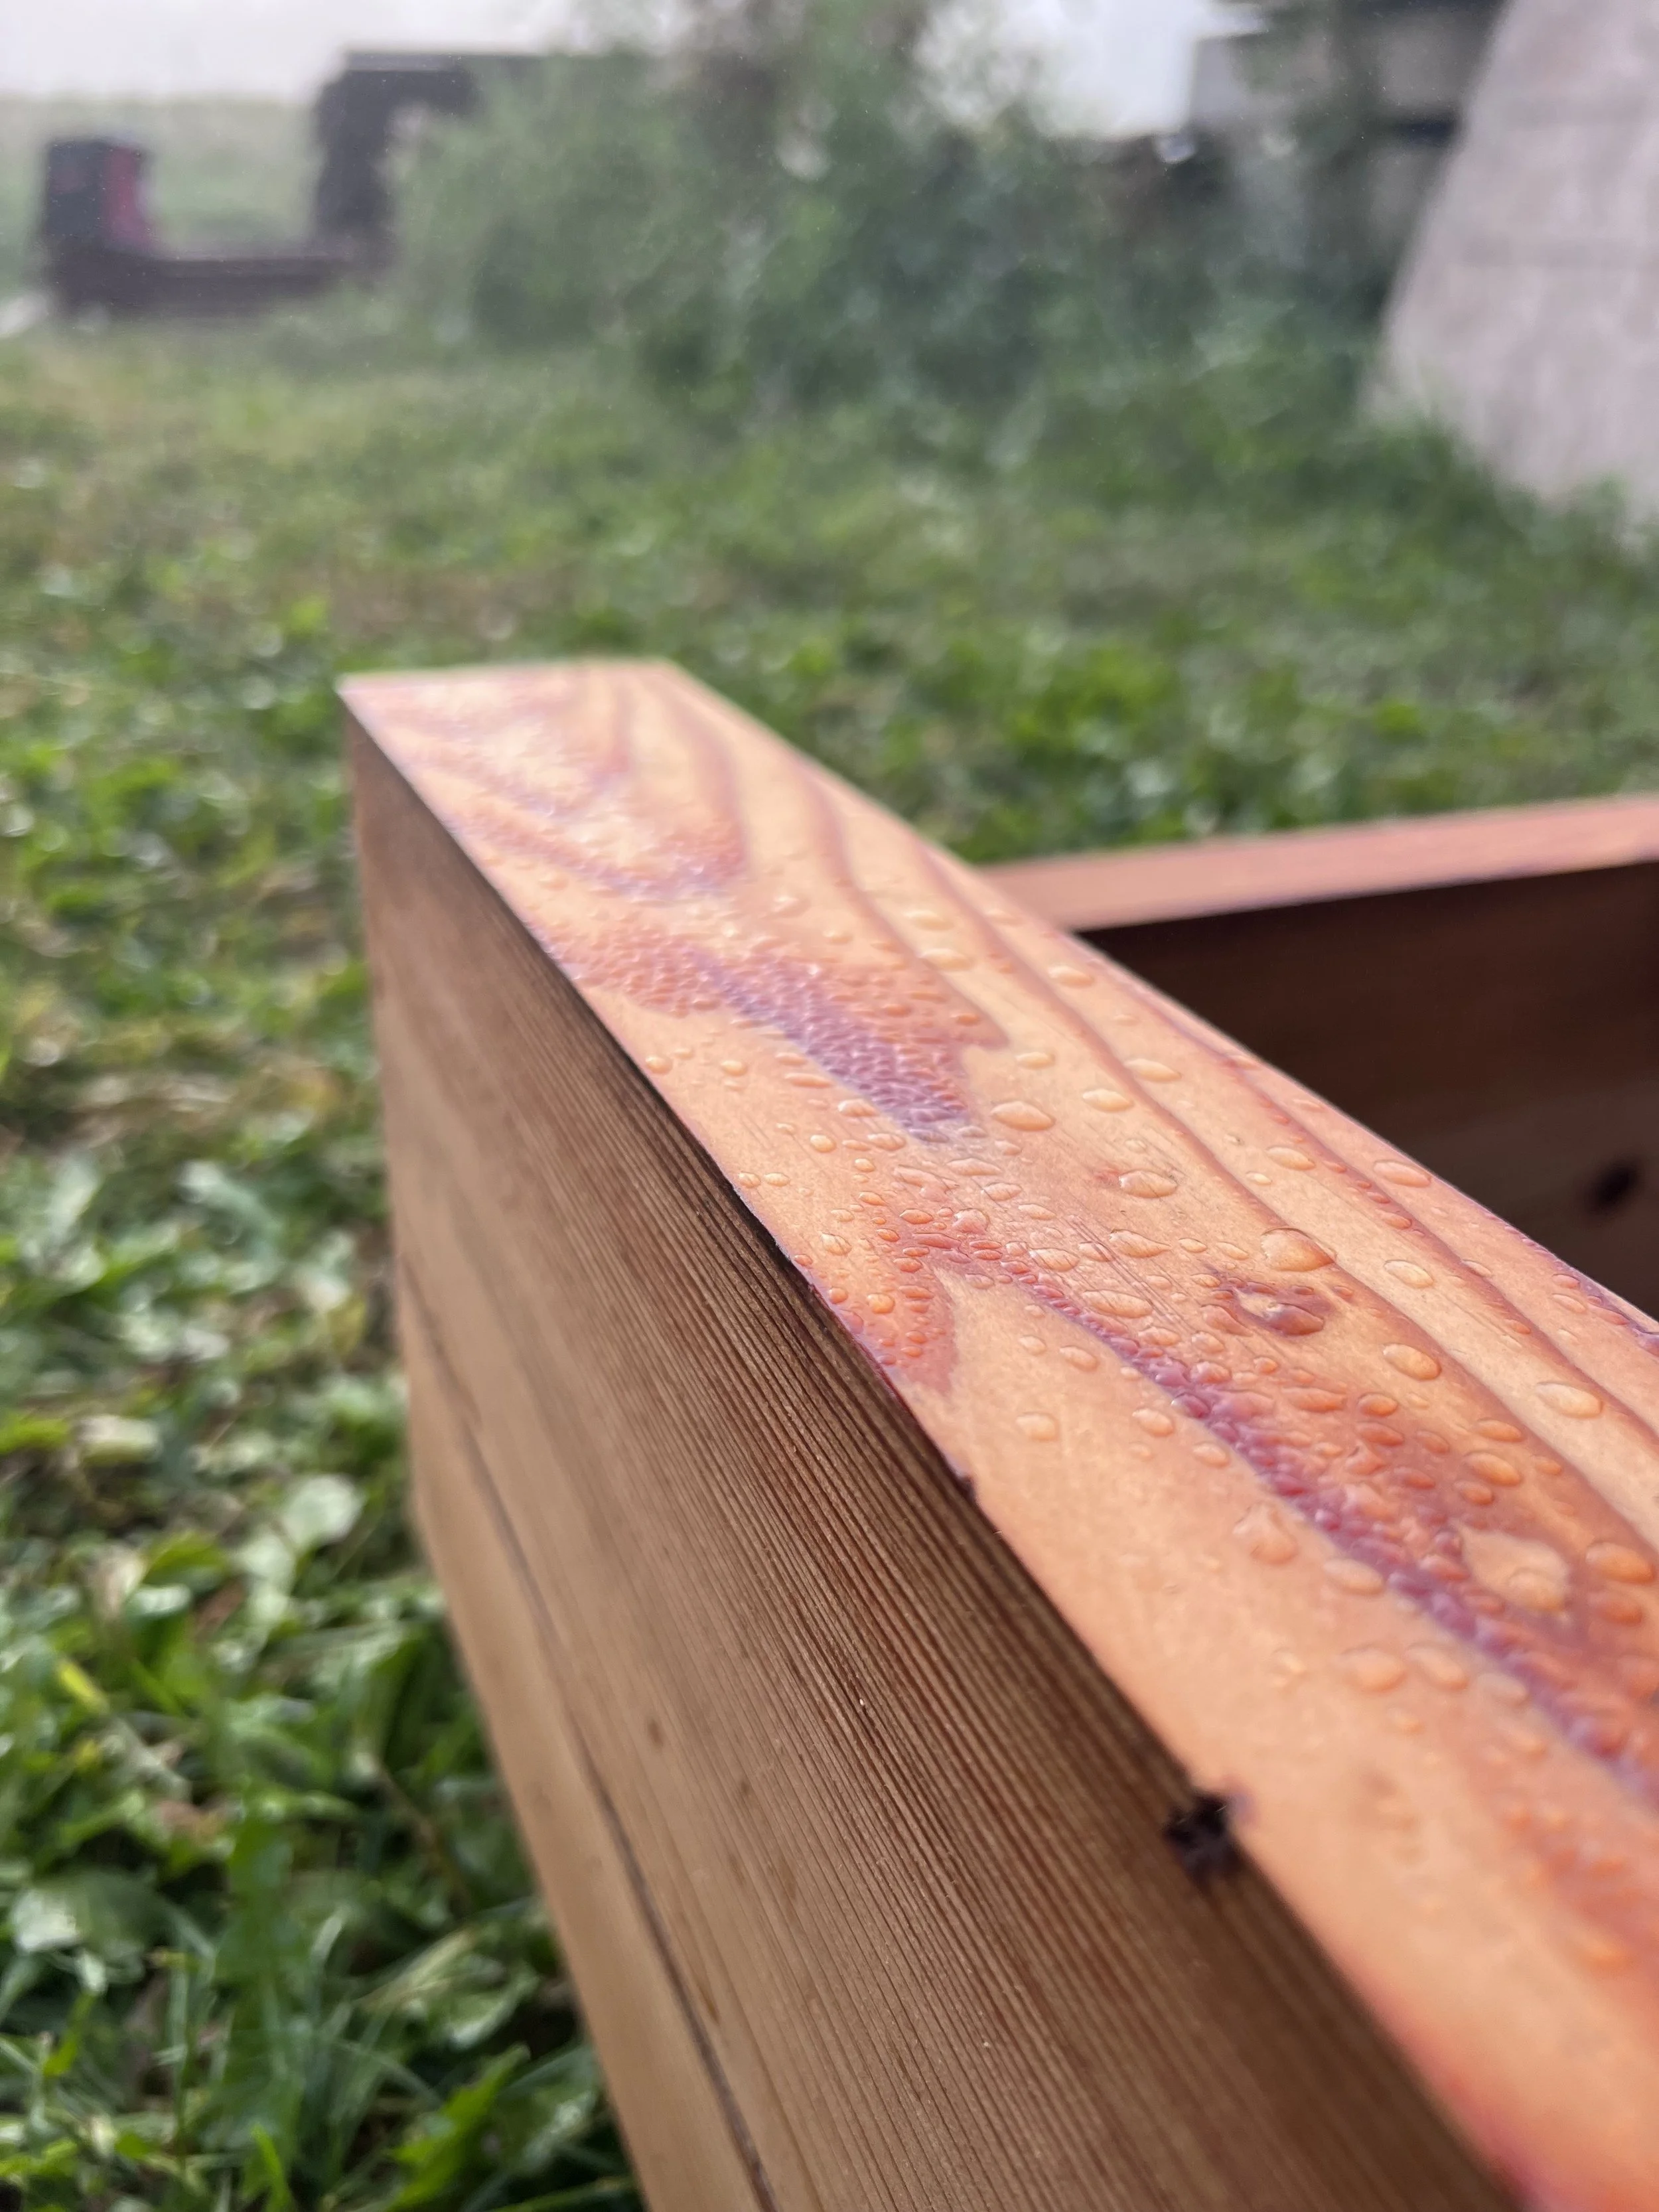
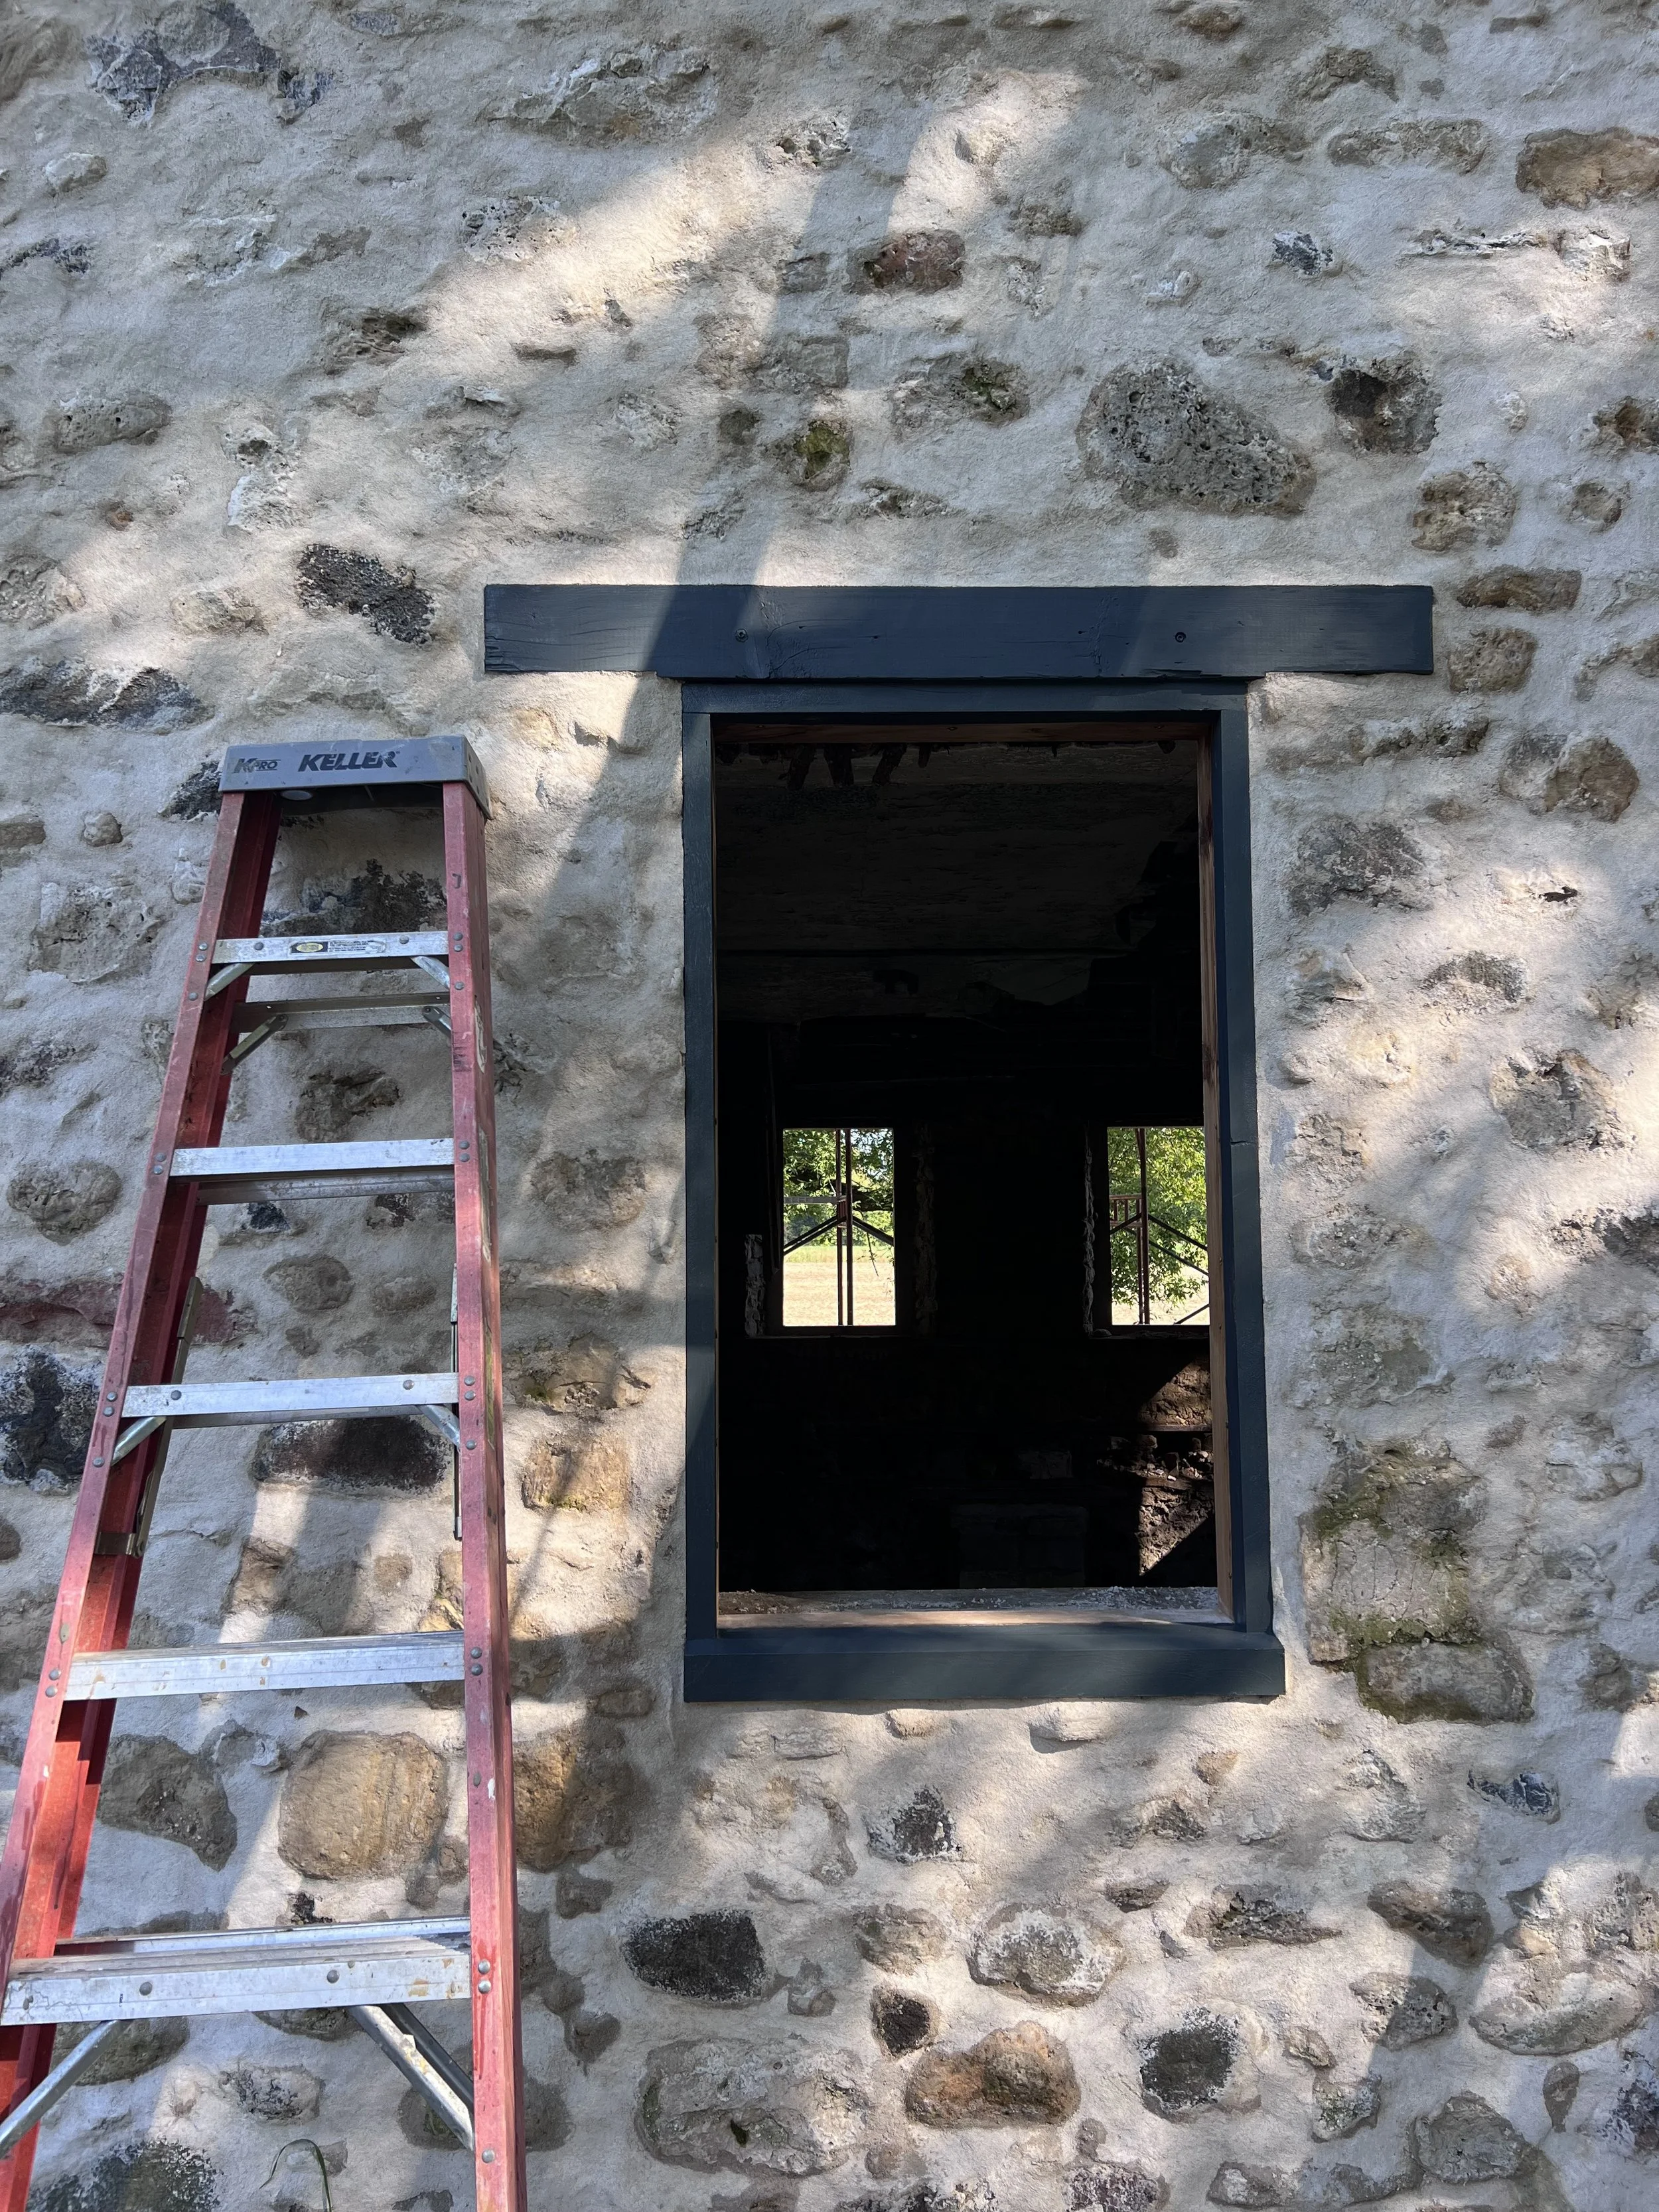
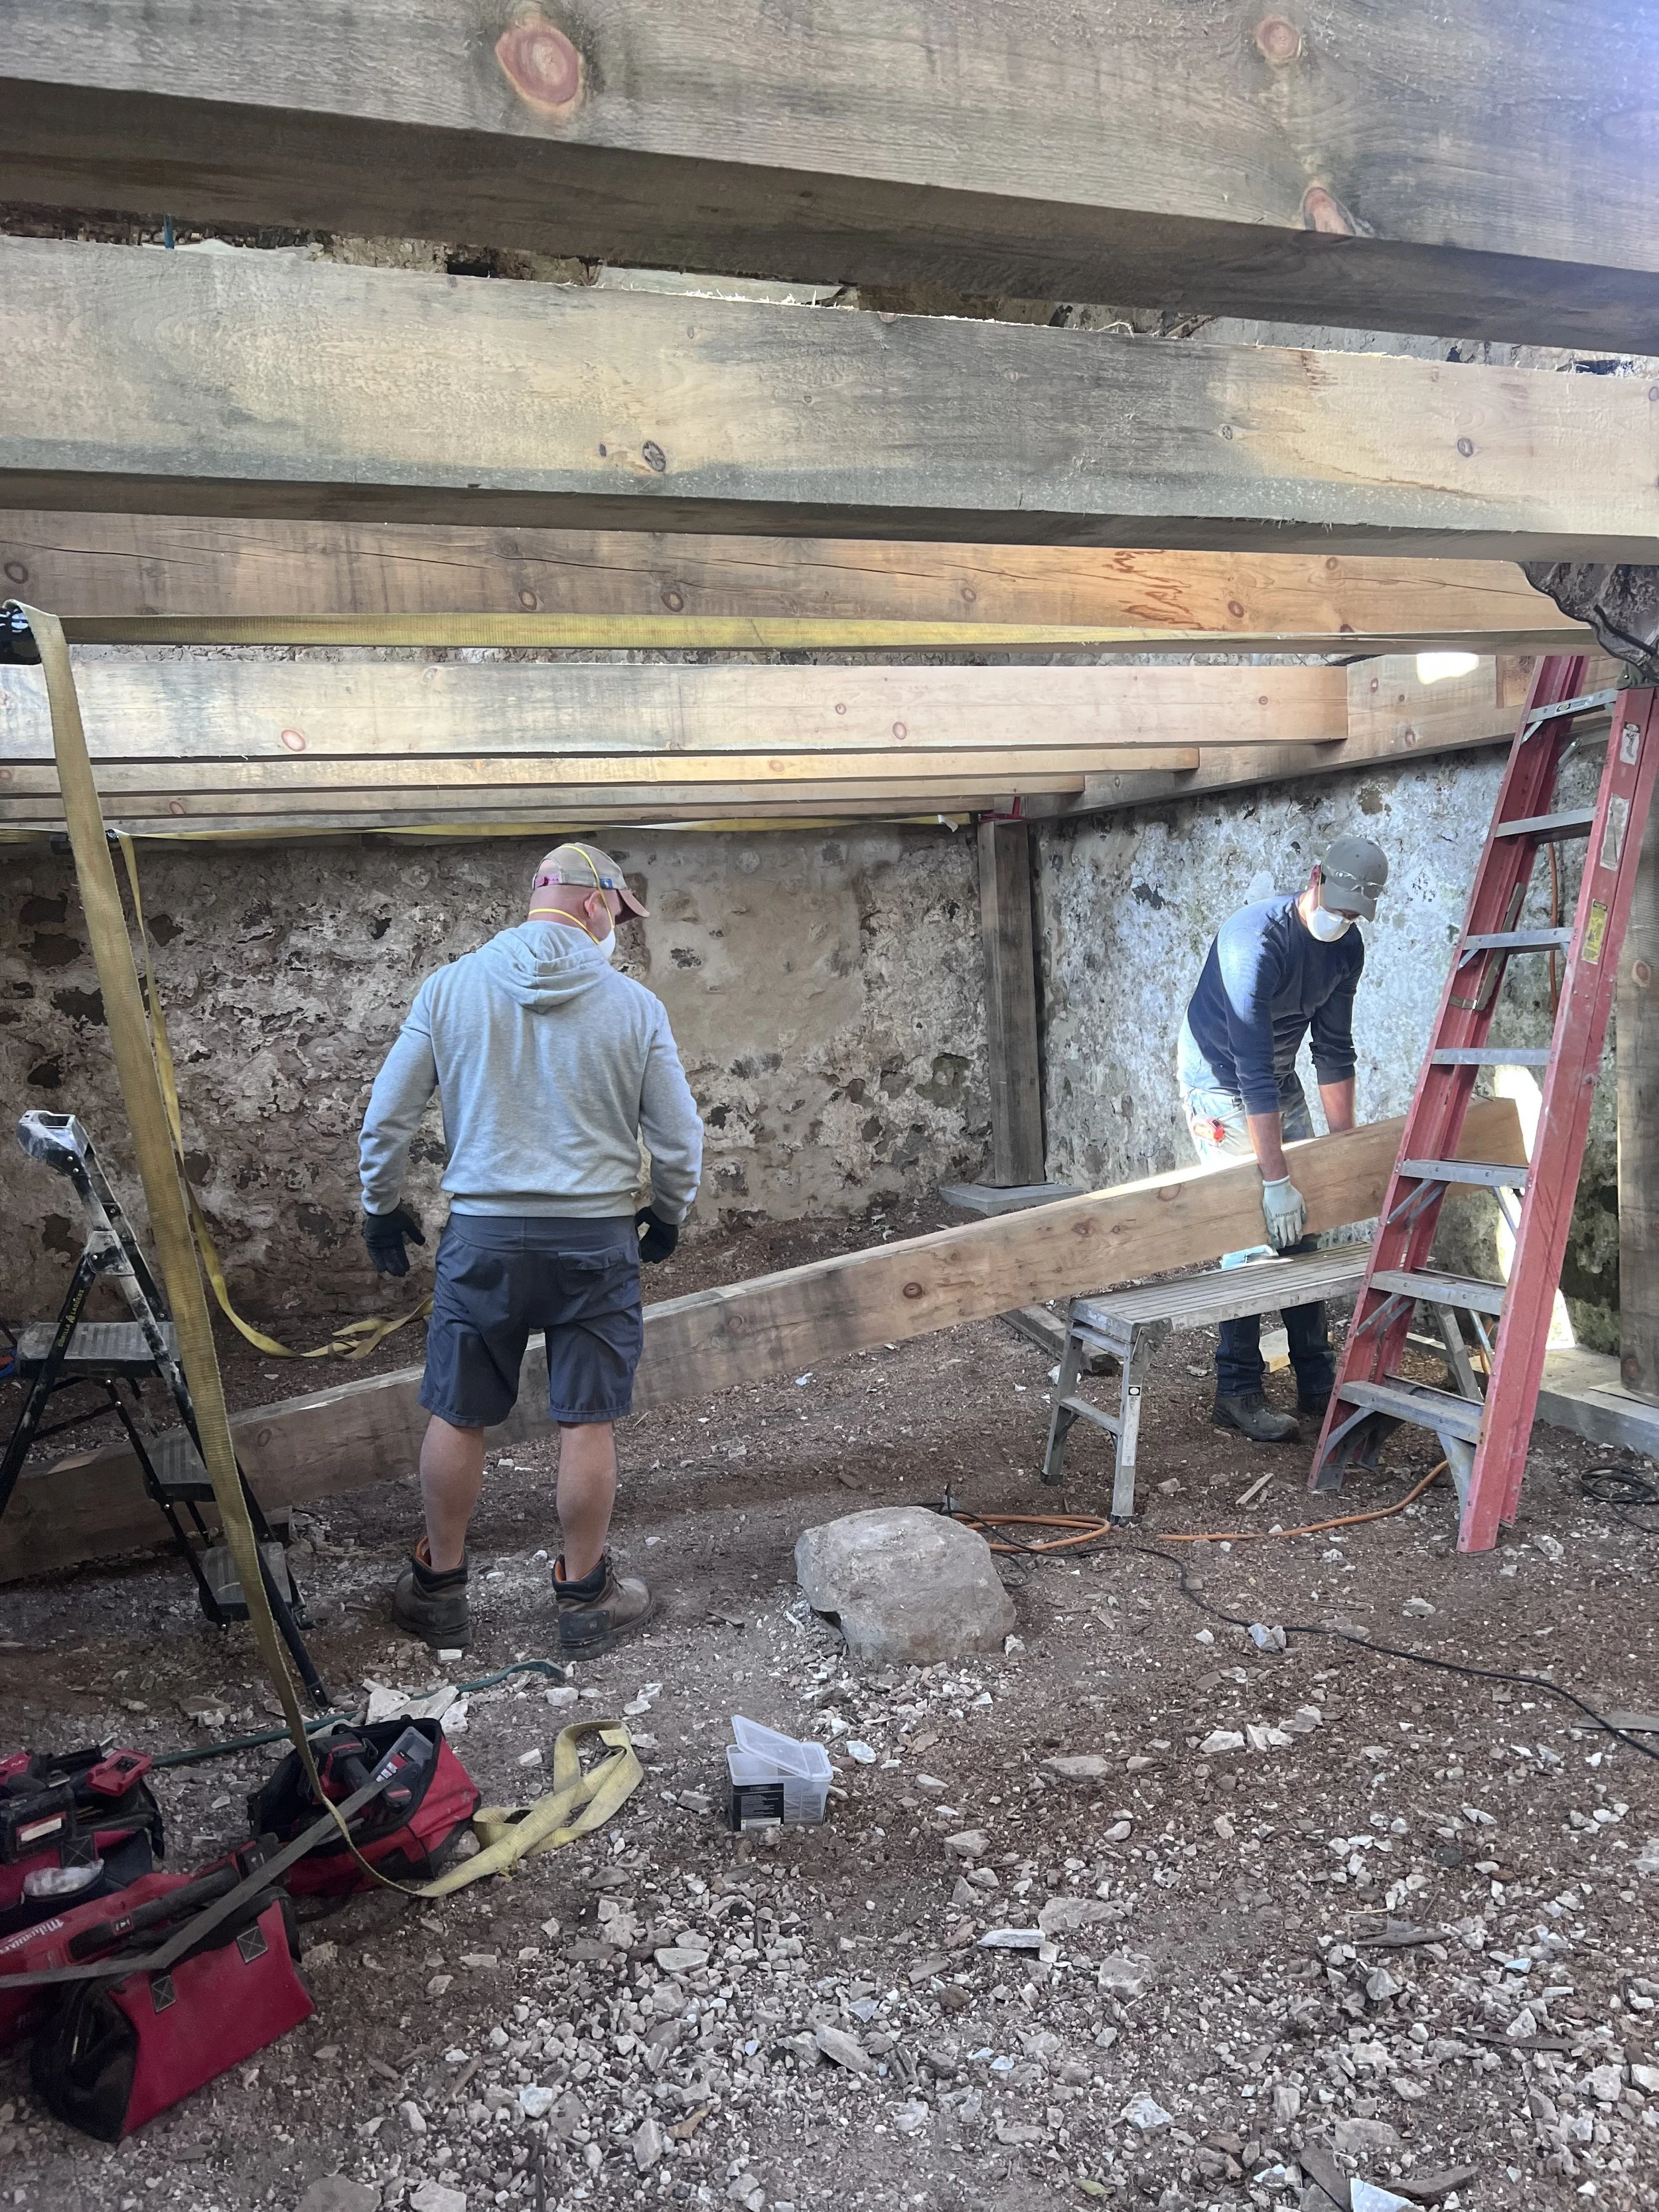
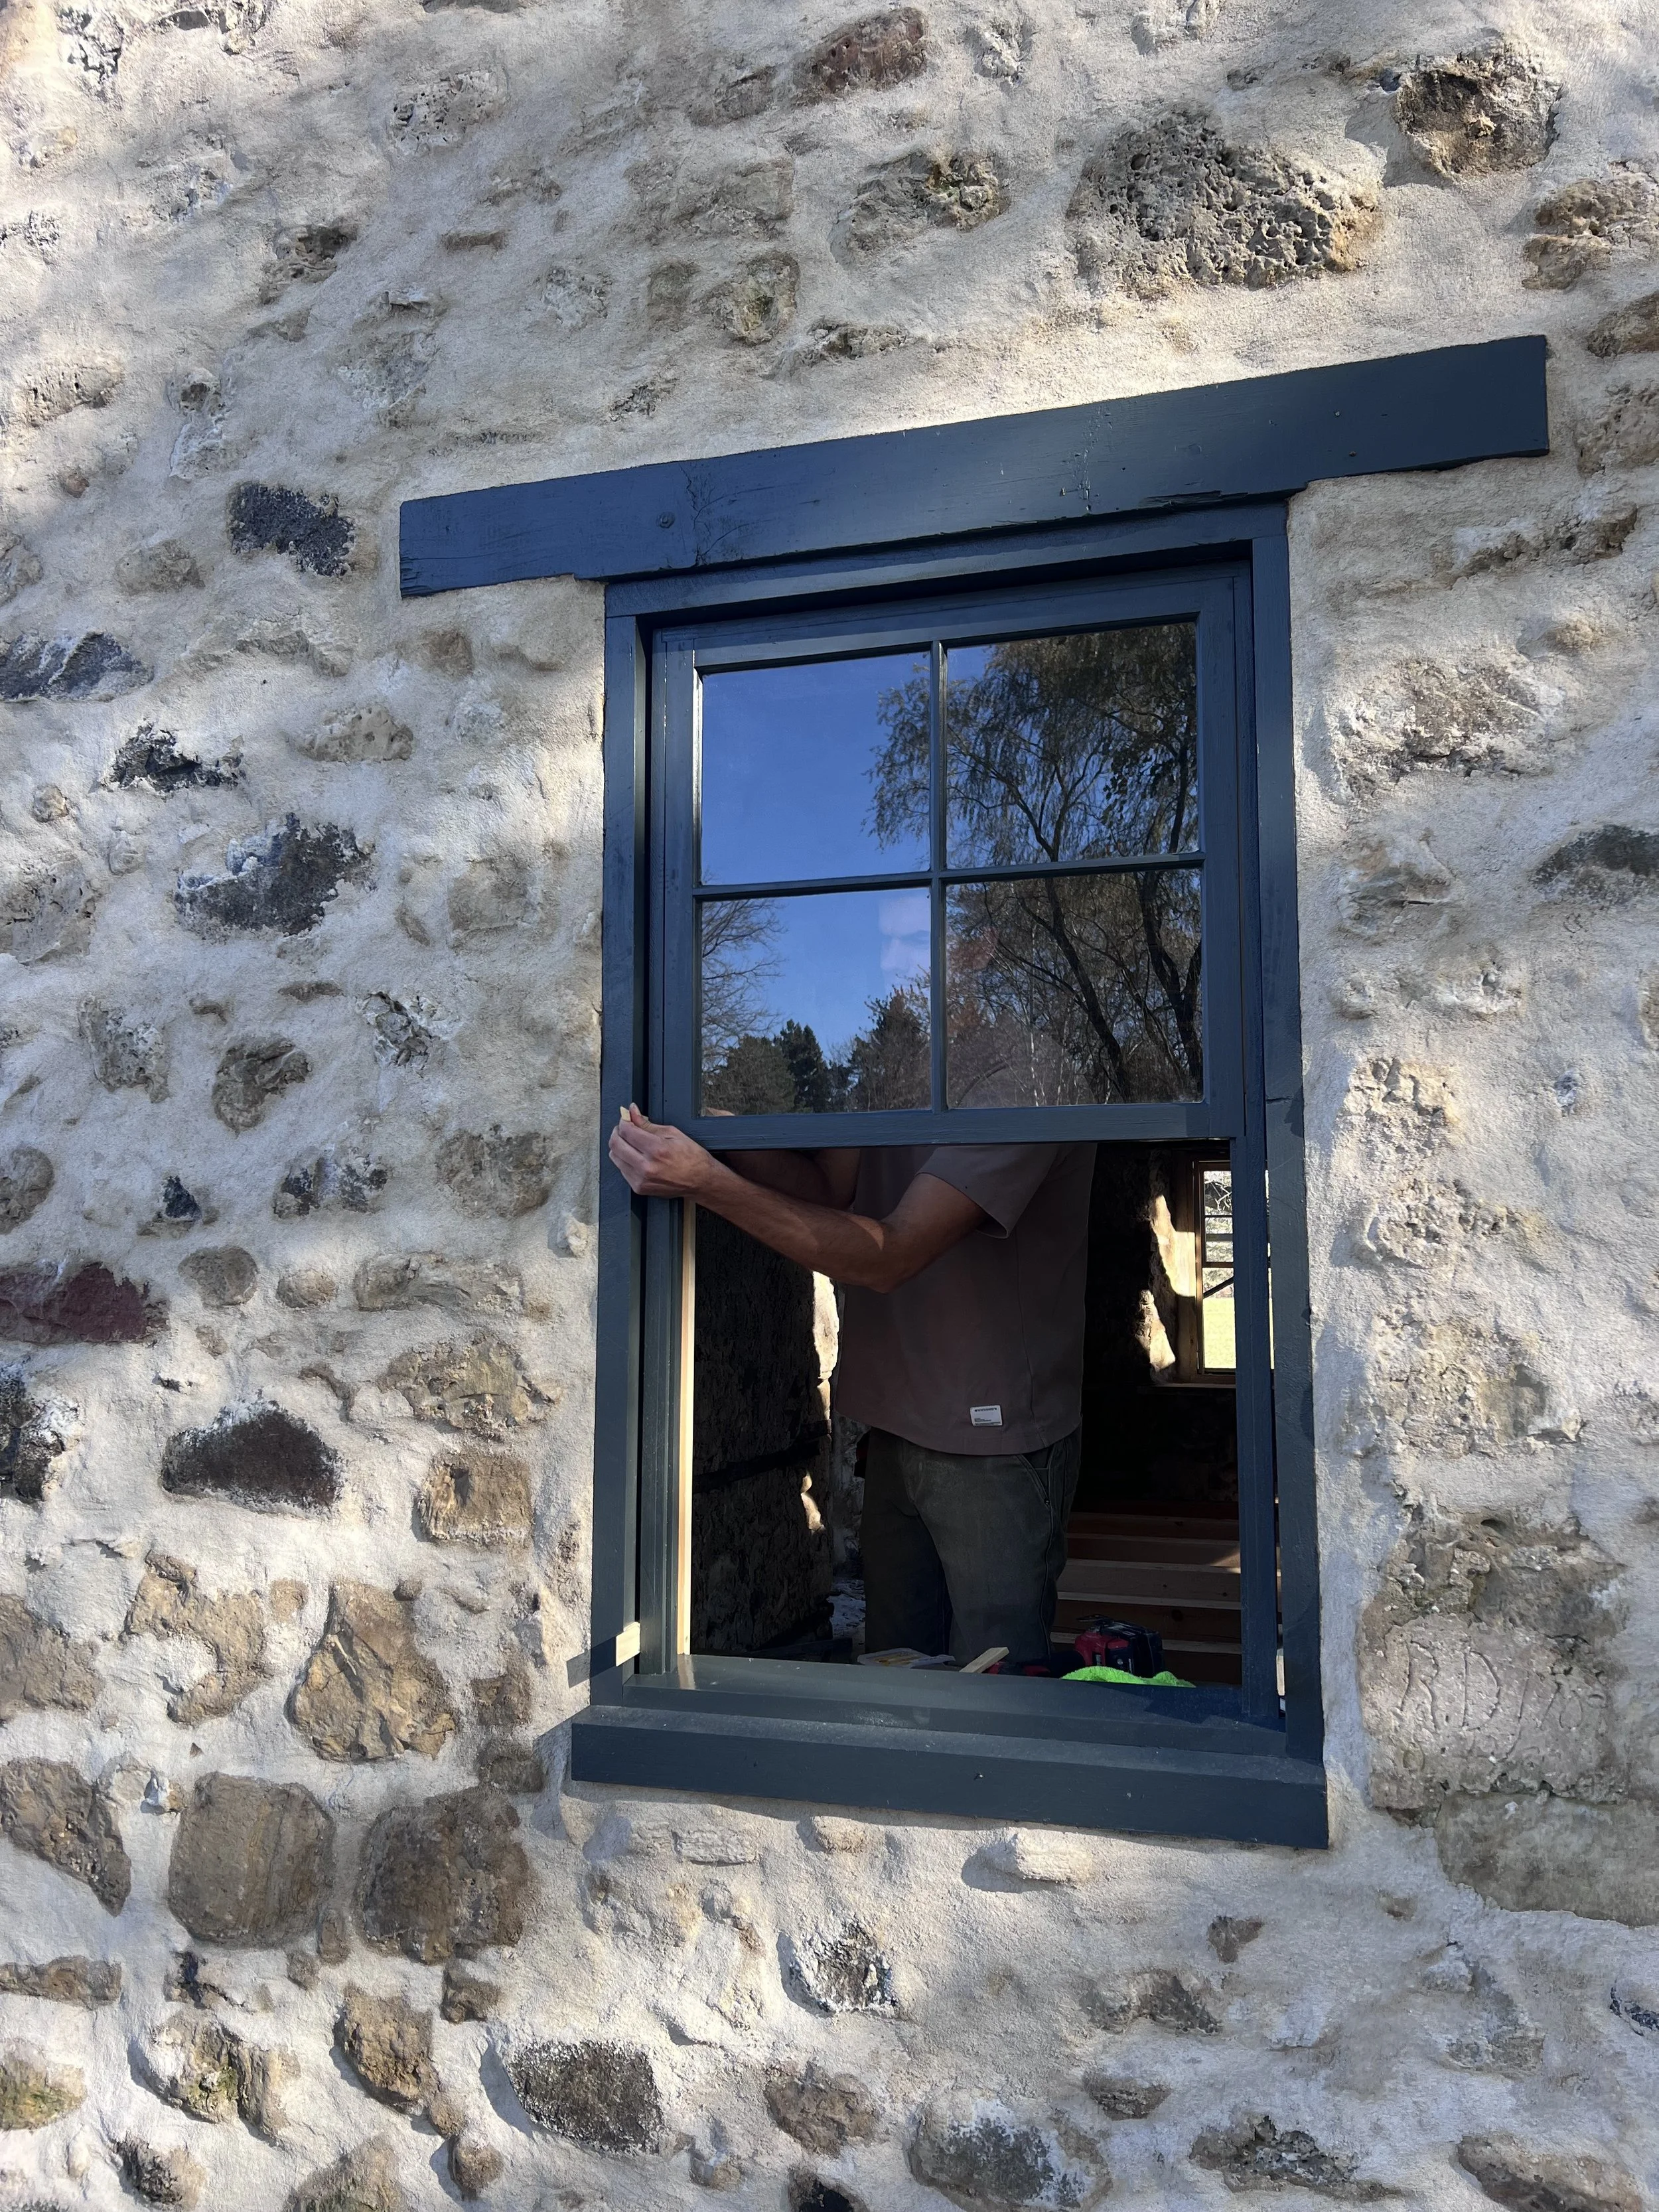
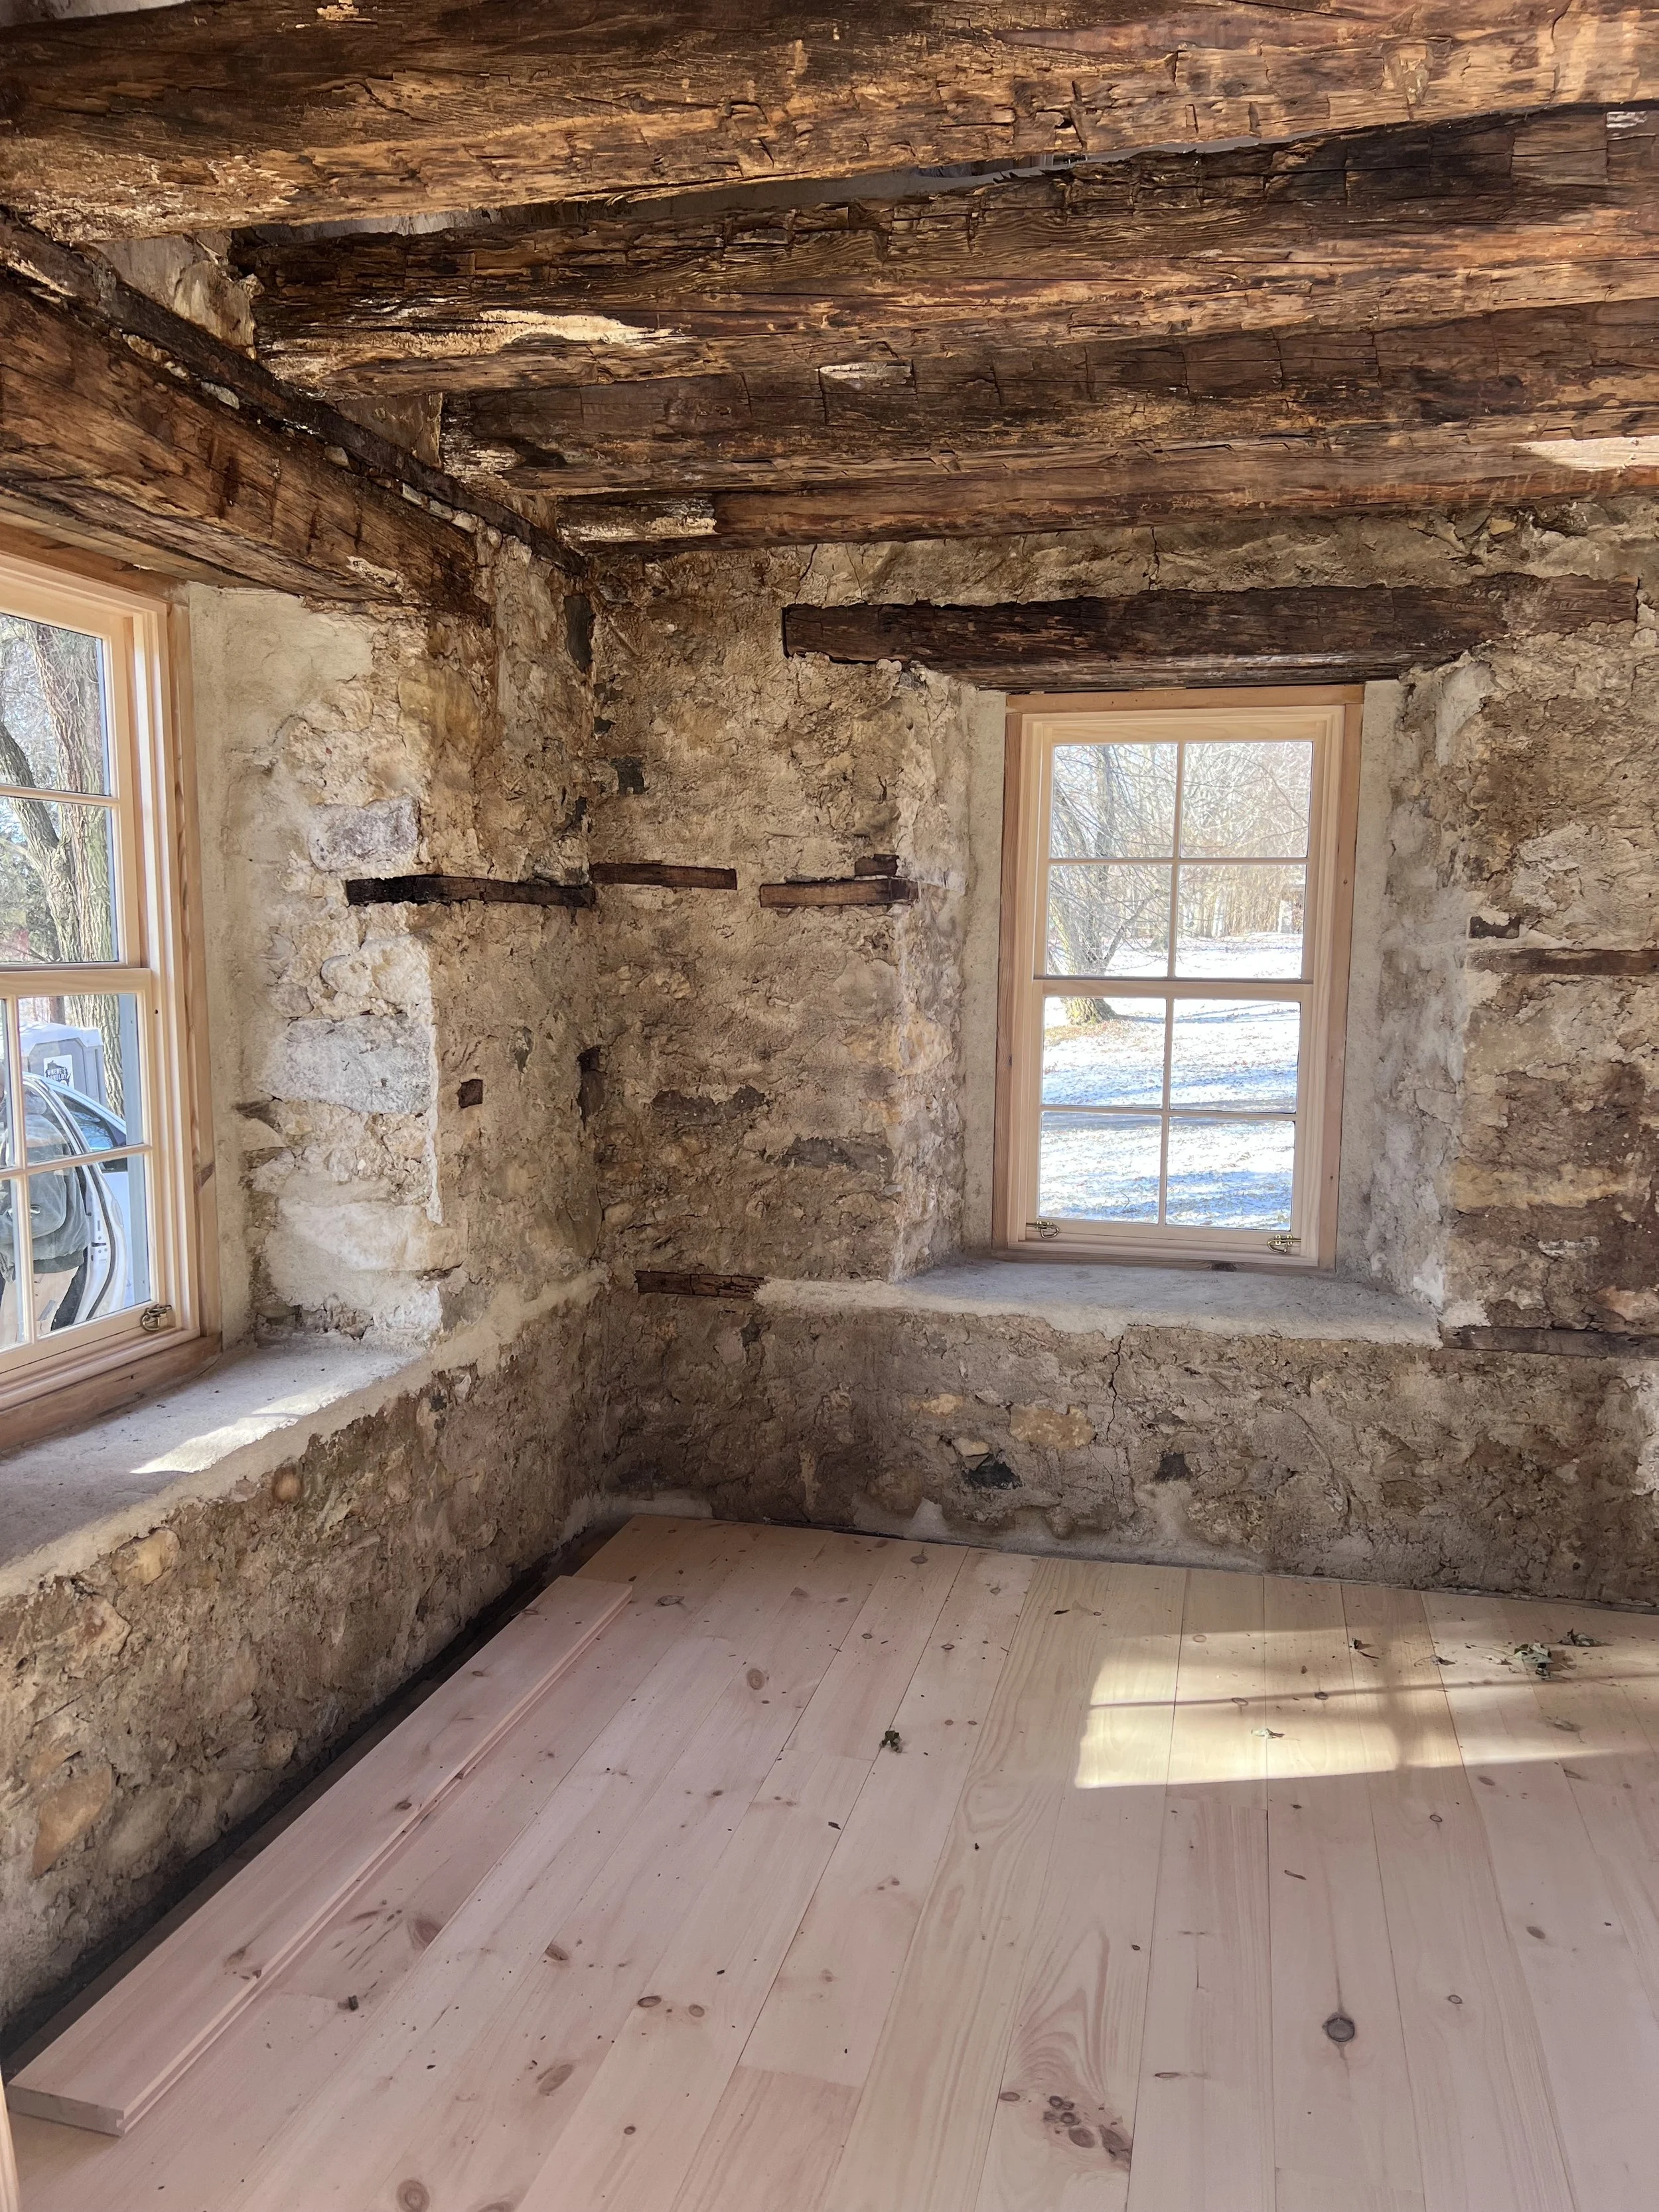
We ended up doing a bit of back and forth from here on out. We would repoint a whole side, and while letting it cure, go back to the previous side, take out the old rotted headers, replace the headers (and rebuild when we lost a load of stones), mortar in the headers, attach the window boxes, and then mortar in the window boxes, and repeat! What’s worth noting is that all the lumber for the headers and window boxes was old growth Douglas fir that was reclaimed from an 1890s warehouse in Milwaukee. Douglas fir is naturally more water resistant and being old growth with tighter rings contributes to that even more. We also treated all the wood with multiple coats of linseed oil from Earth & Flax. Once we were nearing the end, it was time to pick a paint color! The owners wanted to go with something dark blue/navy as is common on a lot of fieldstone houses in the area and would complement the darker granite stones and pull from the black standing seam steel roof. I mixed up multiple samples and we ended up landing on a 1:1 mixture of Natural Umber and Mountain Blue Ottosson Linseed Oil Paint.
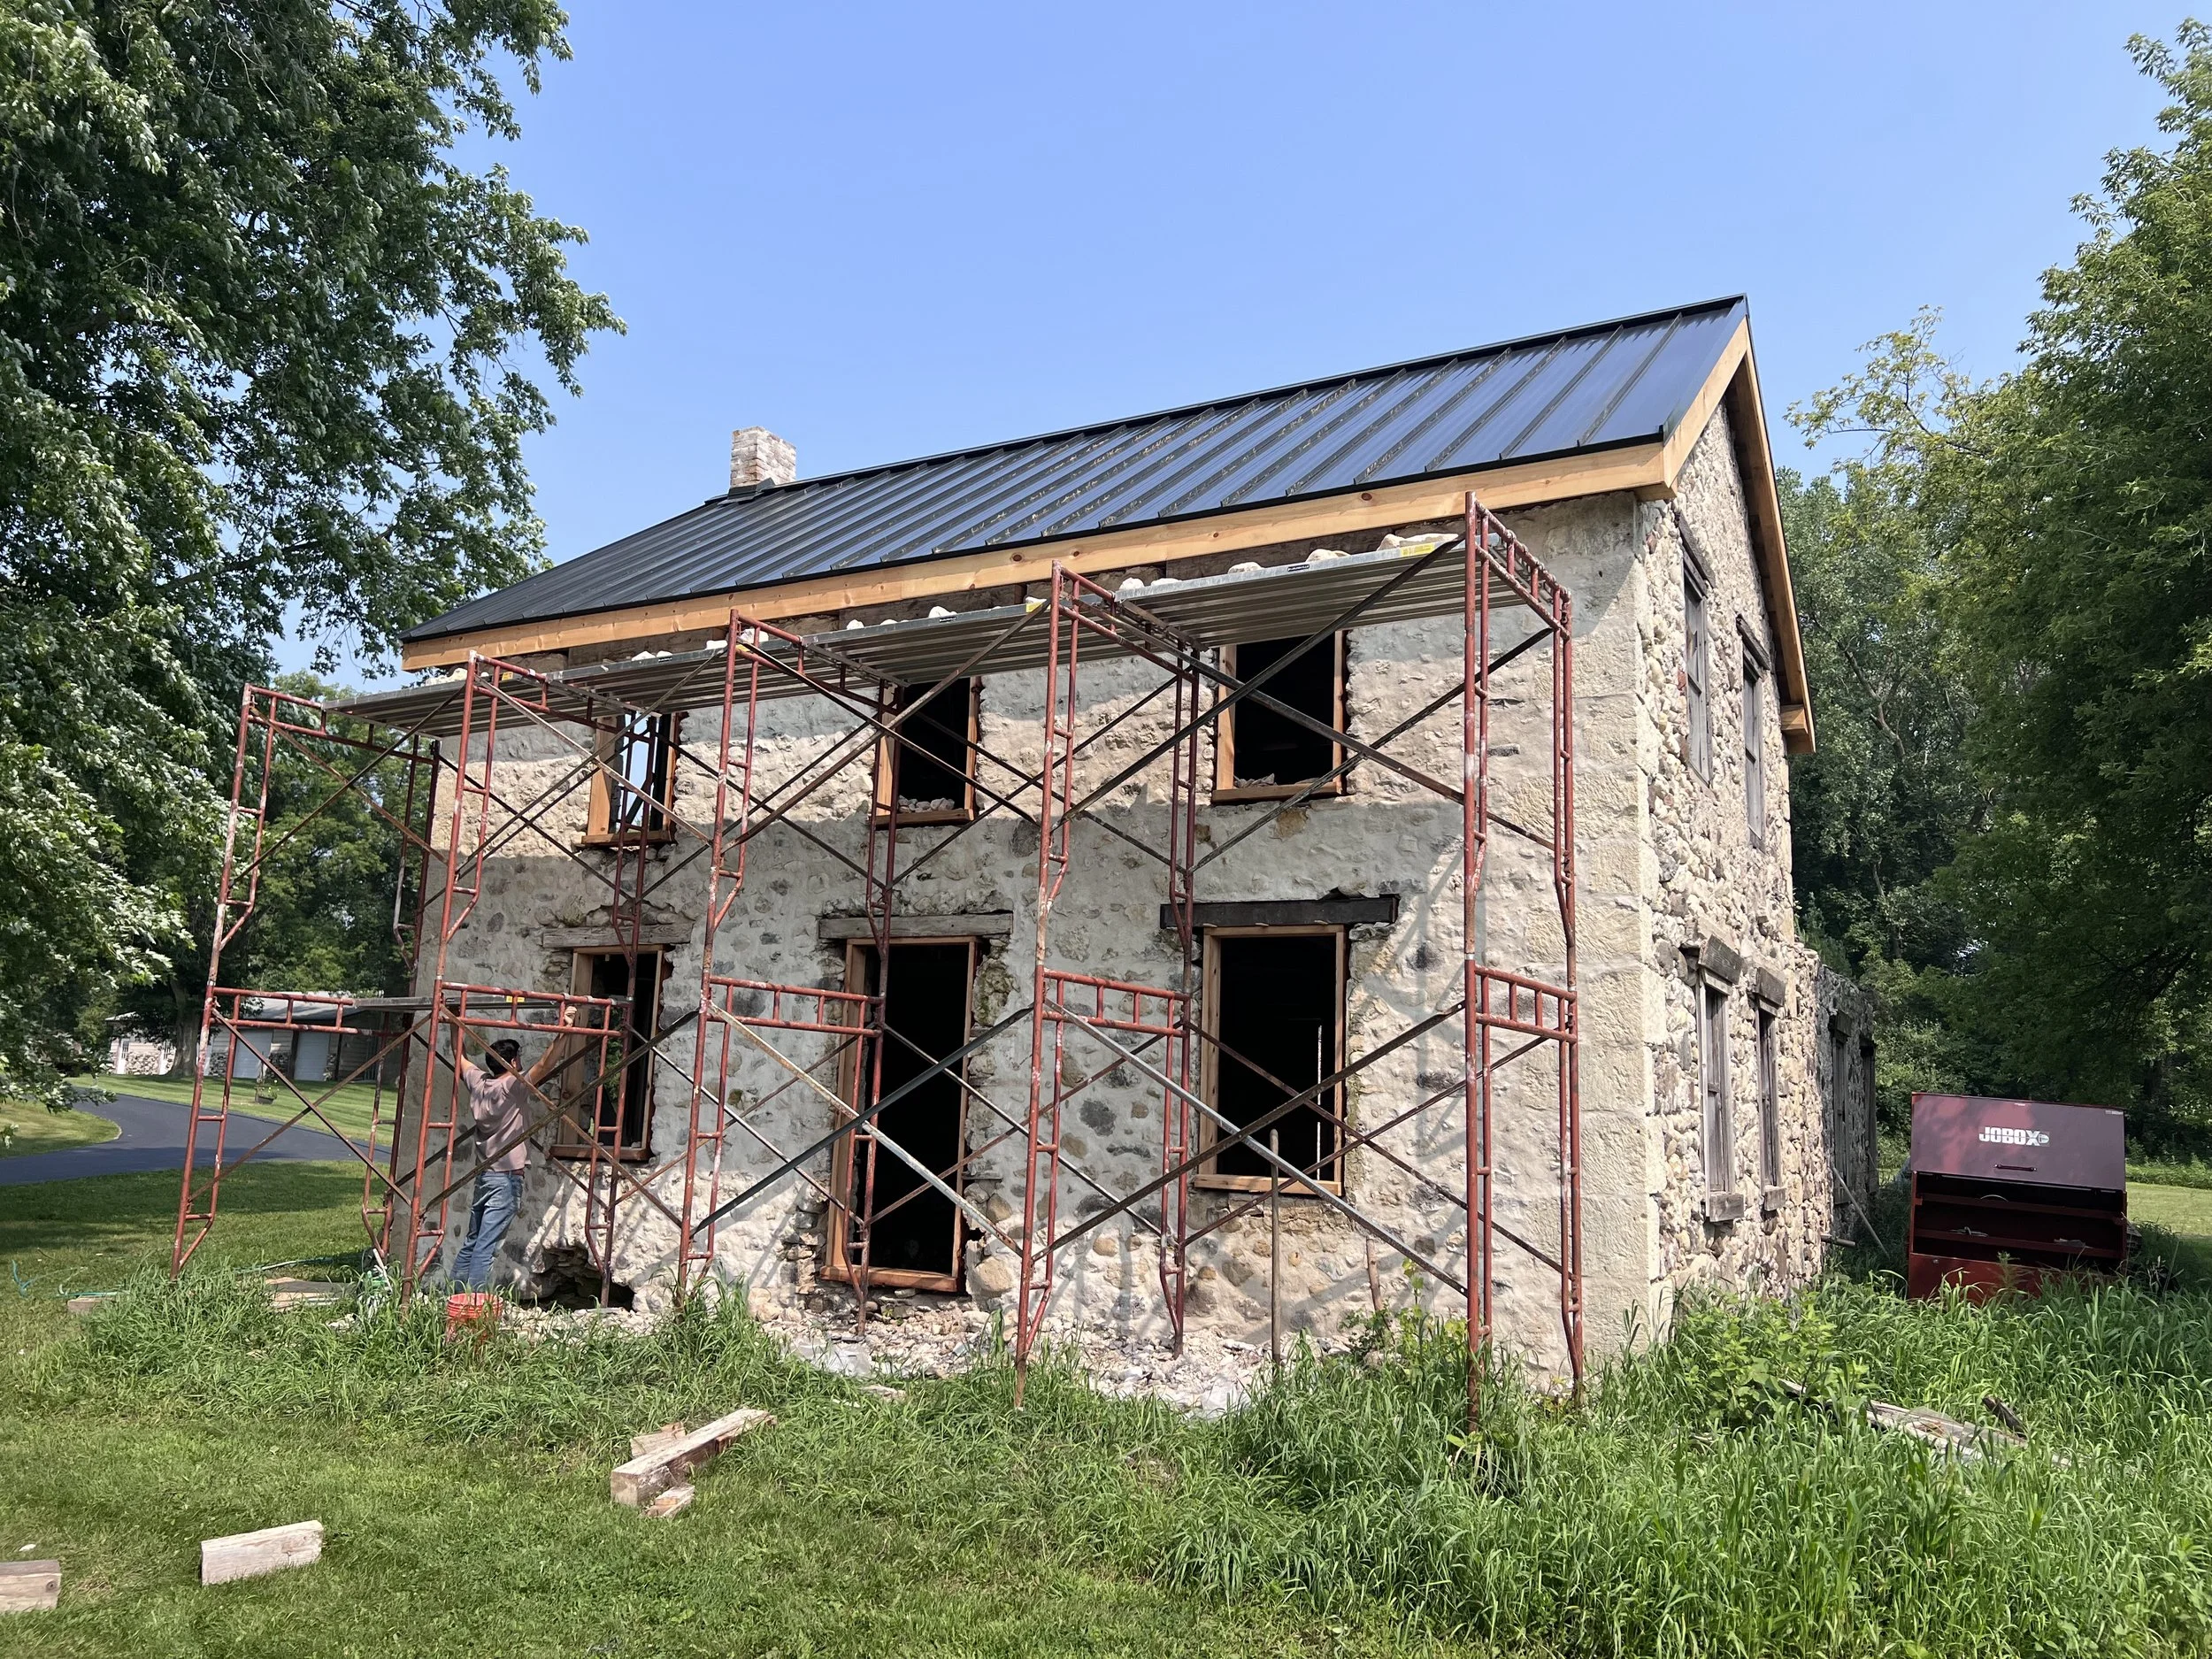
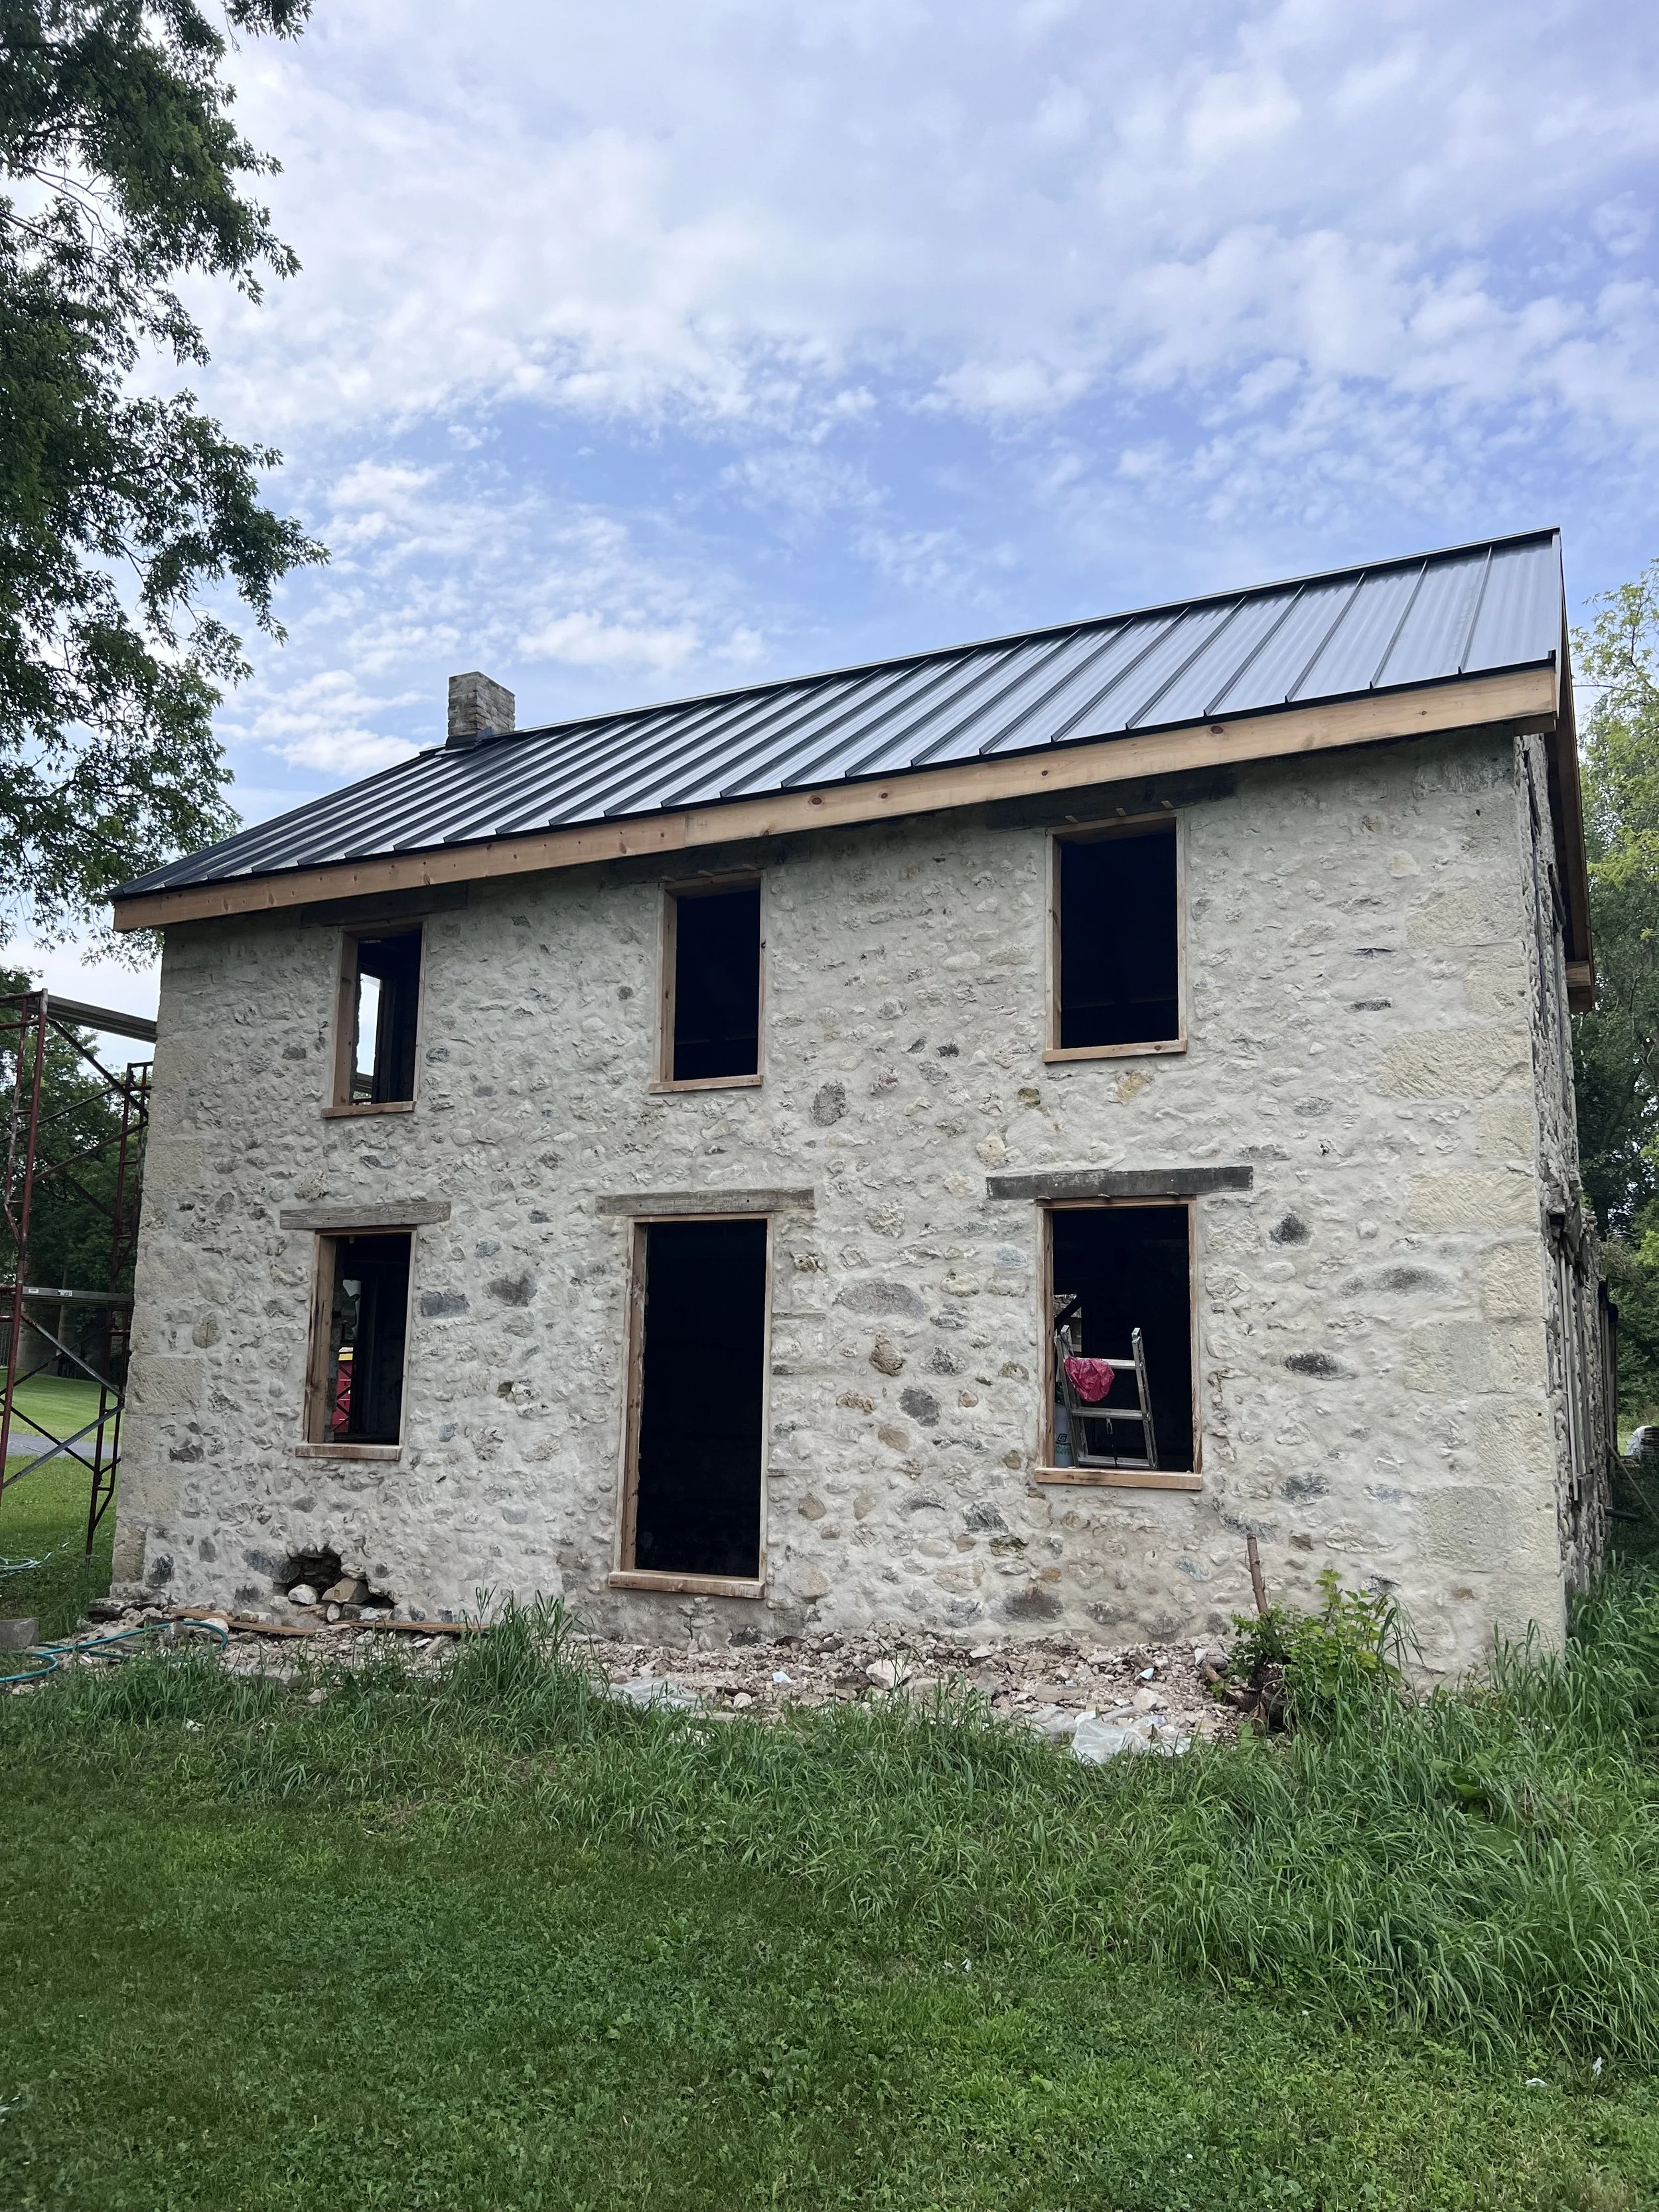
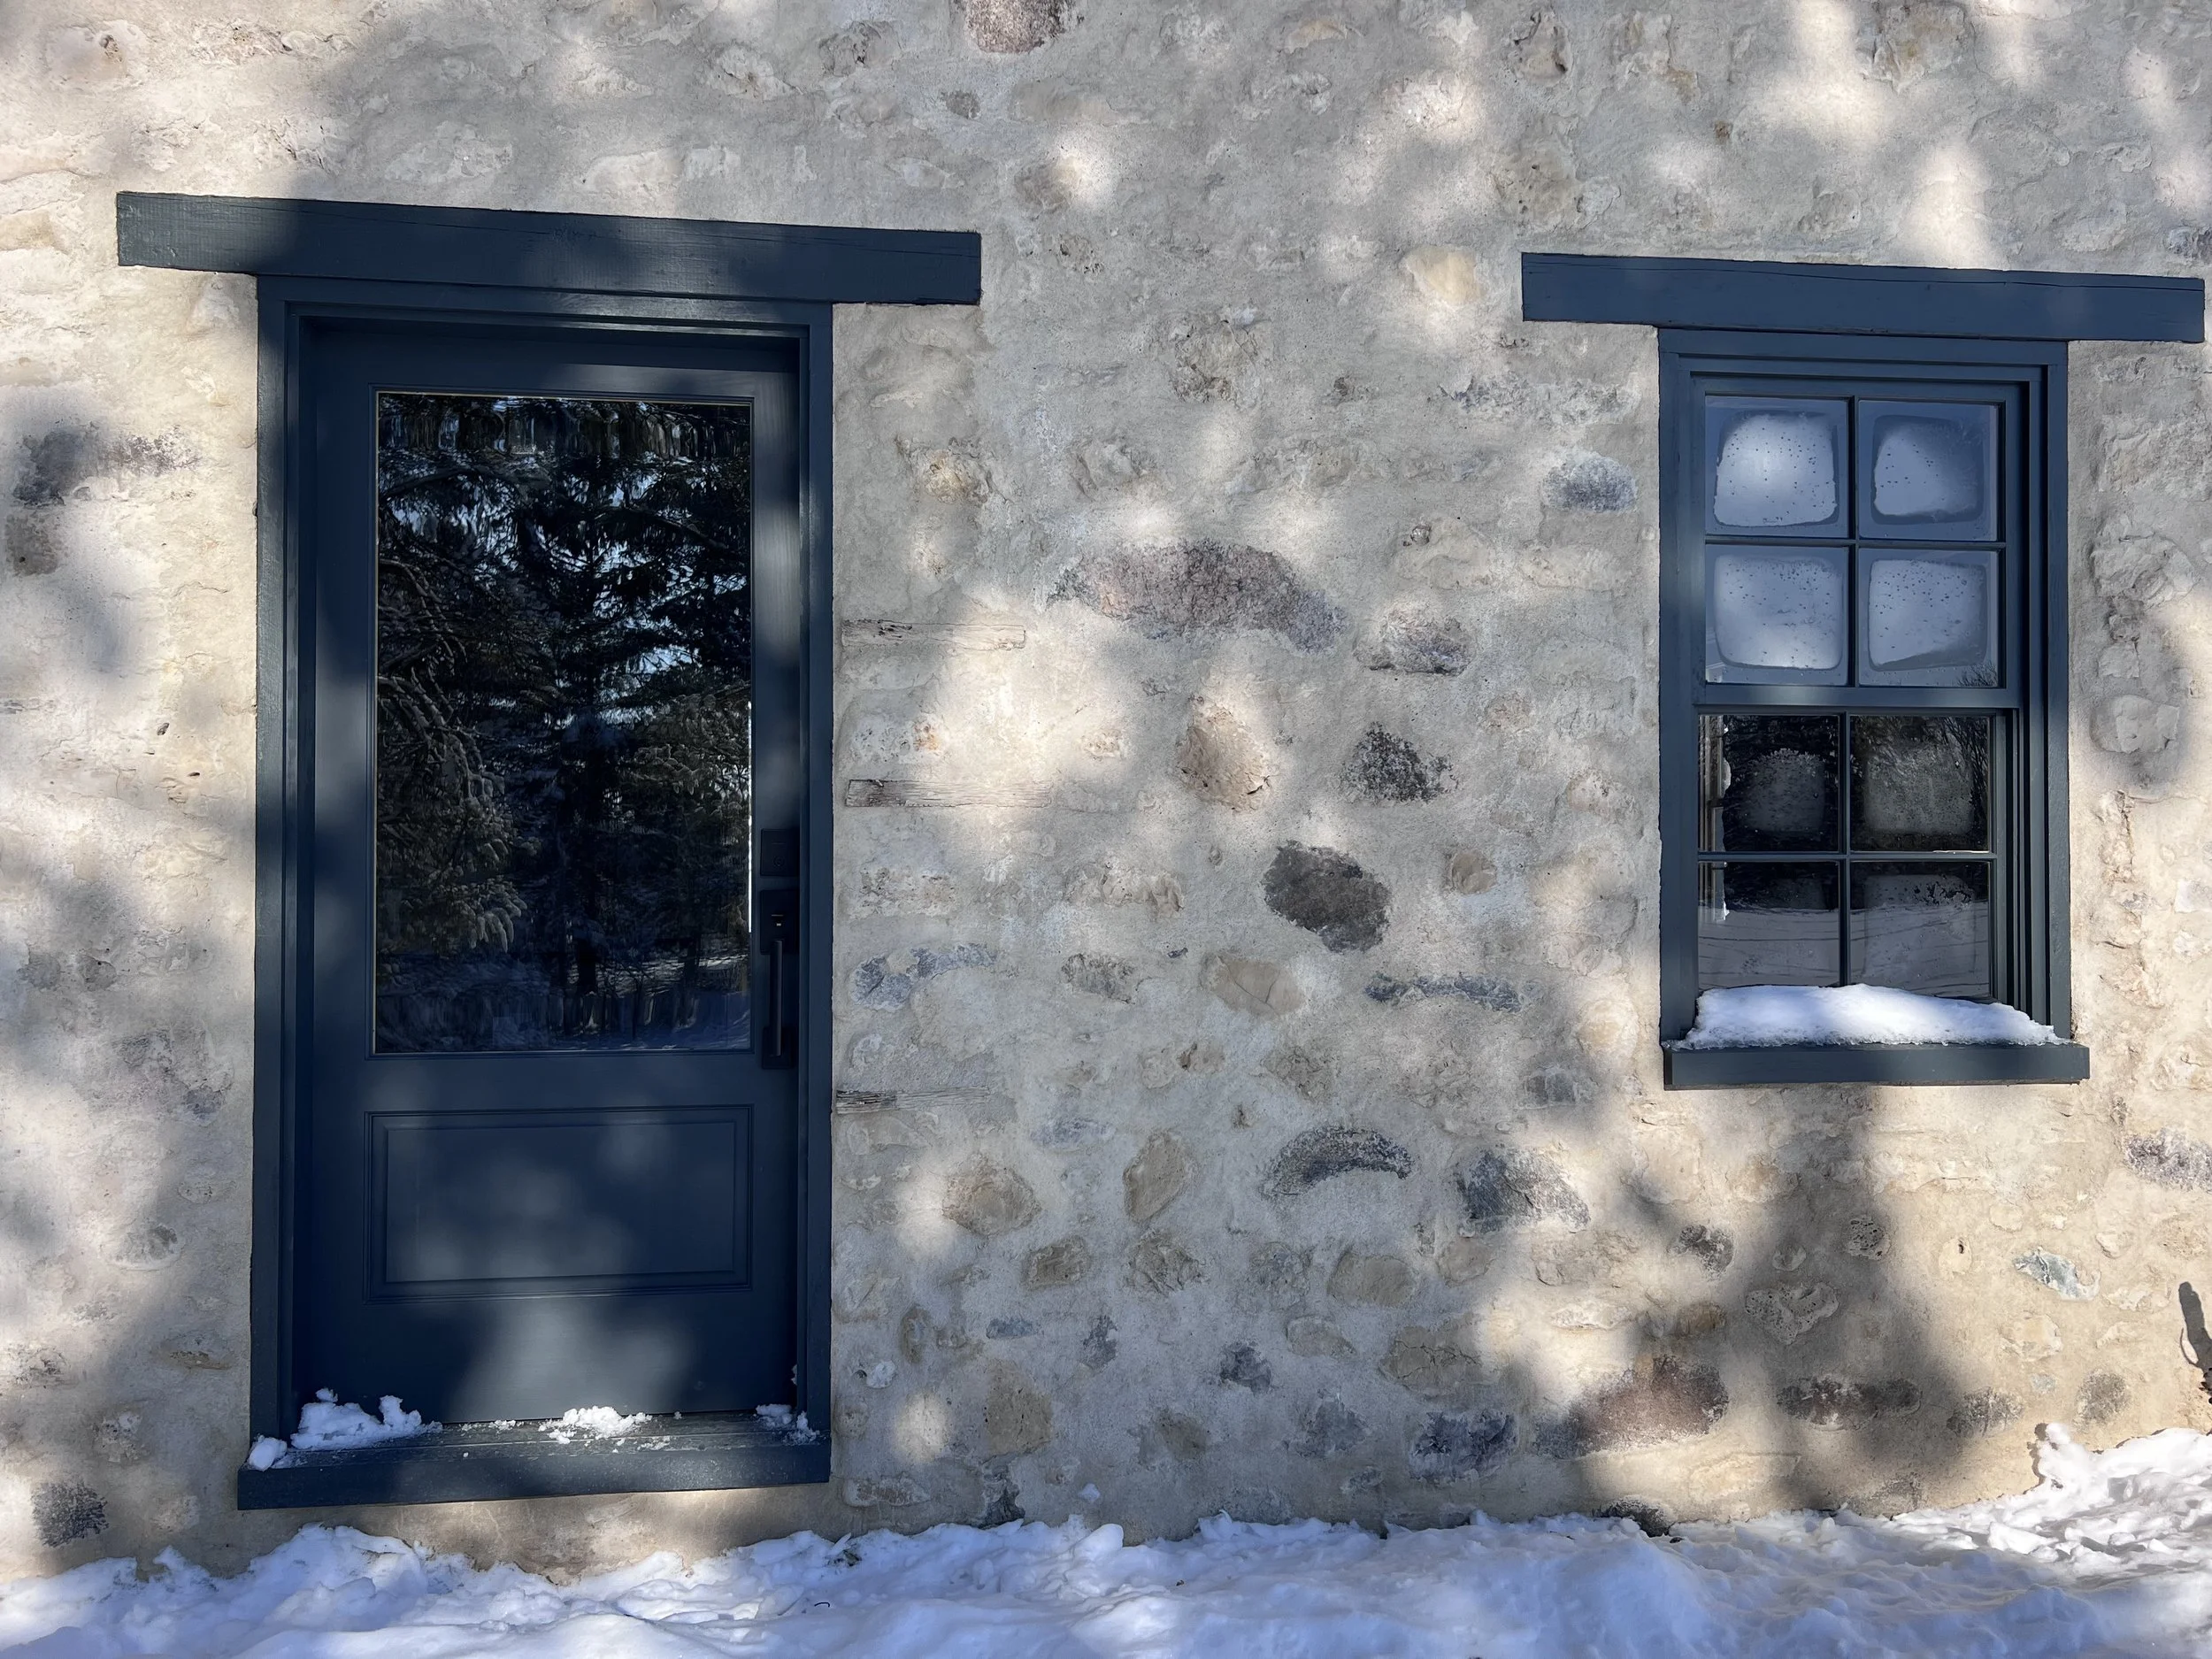
After the roof went on (thanks to our favorite Amish roofing crew!), we wrestled on some pine trim boards that matched the original profile/trim style that had originally been on the house. We also got to painting and put in the timber framed first floor system! My favorite part of this whole process was without a doubt installing the windows. It just looks so. good. And like such an official house again!!!


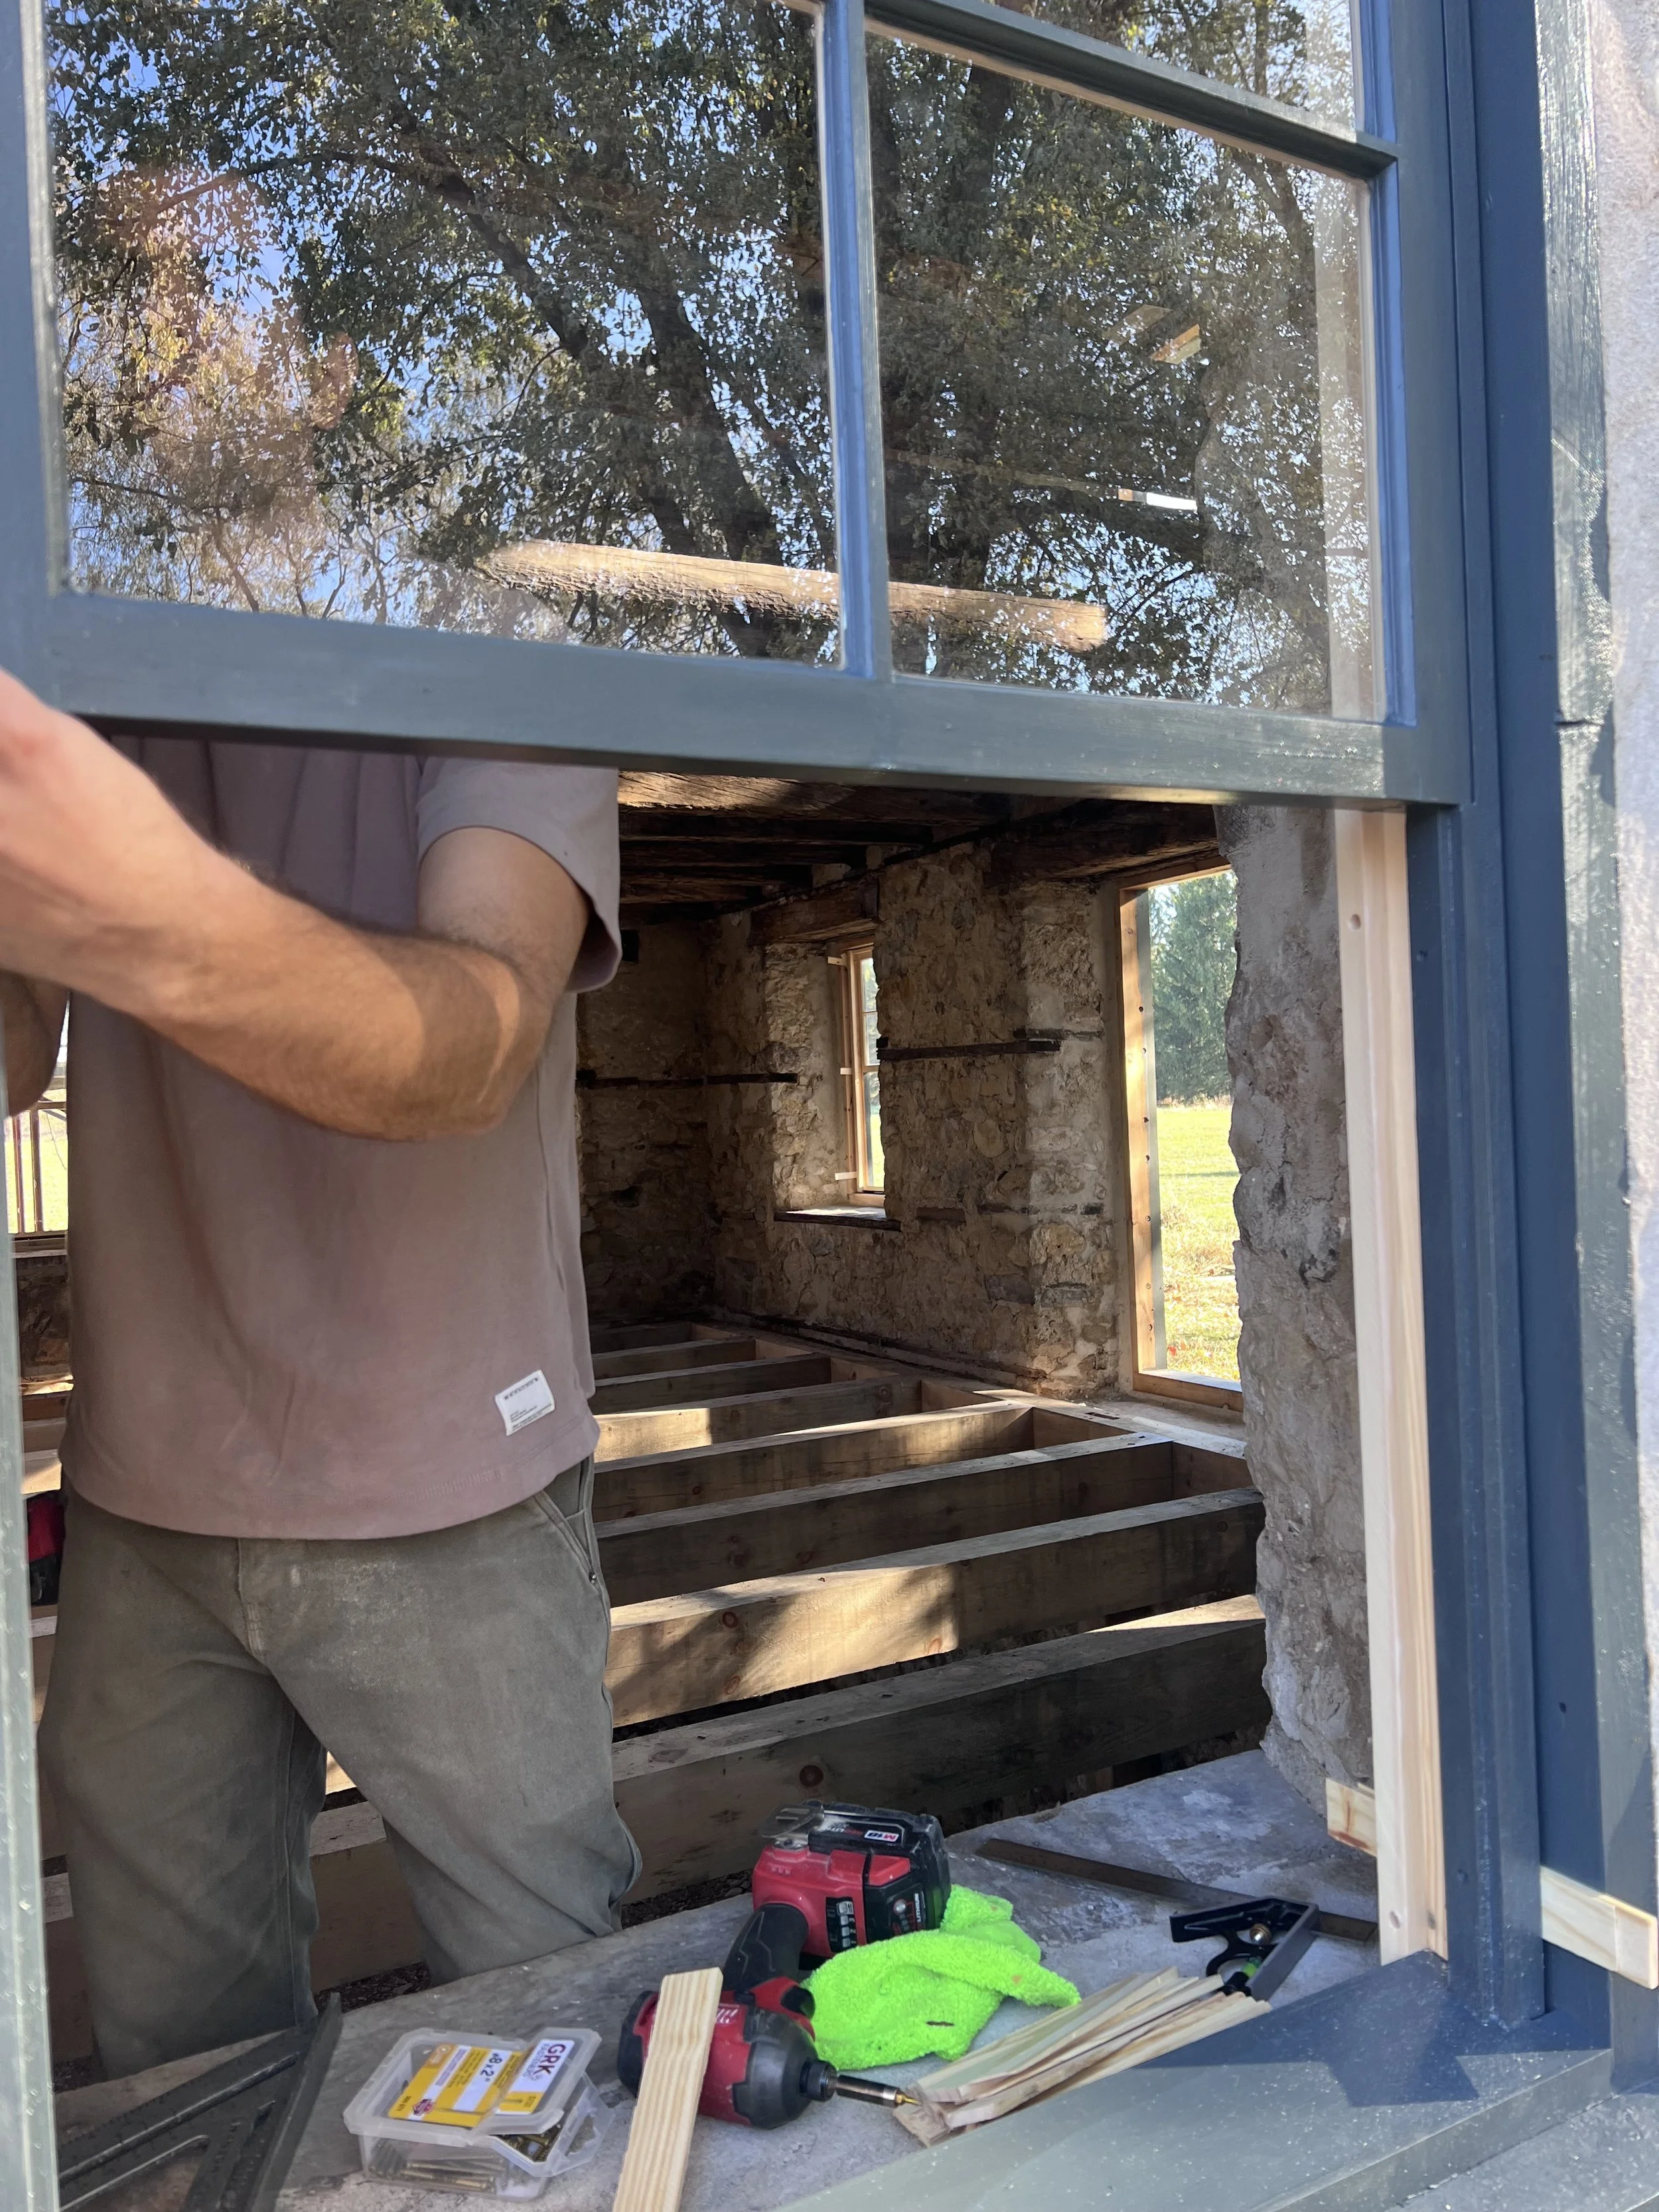
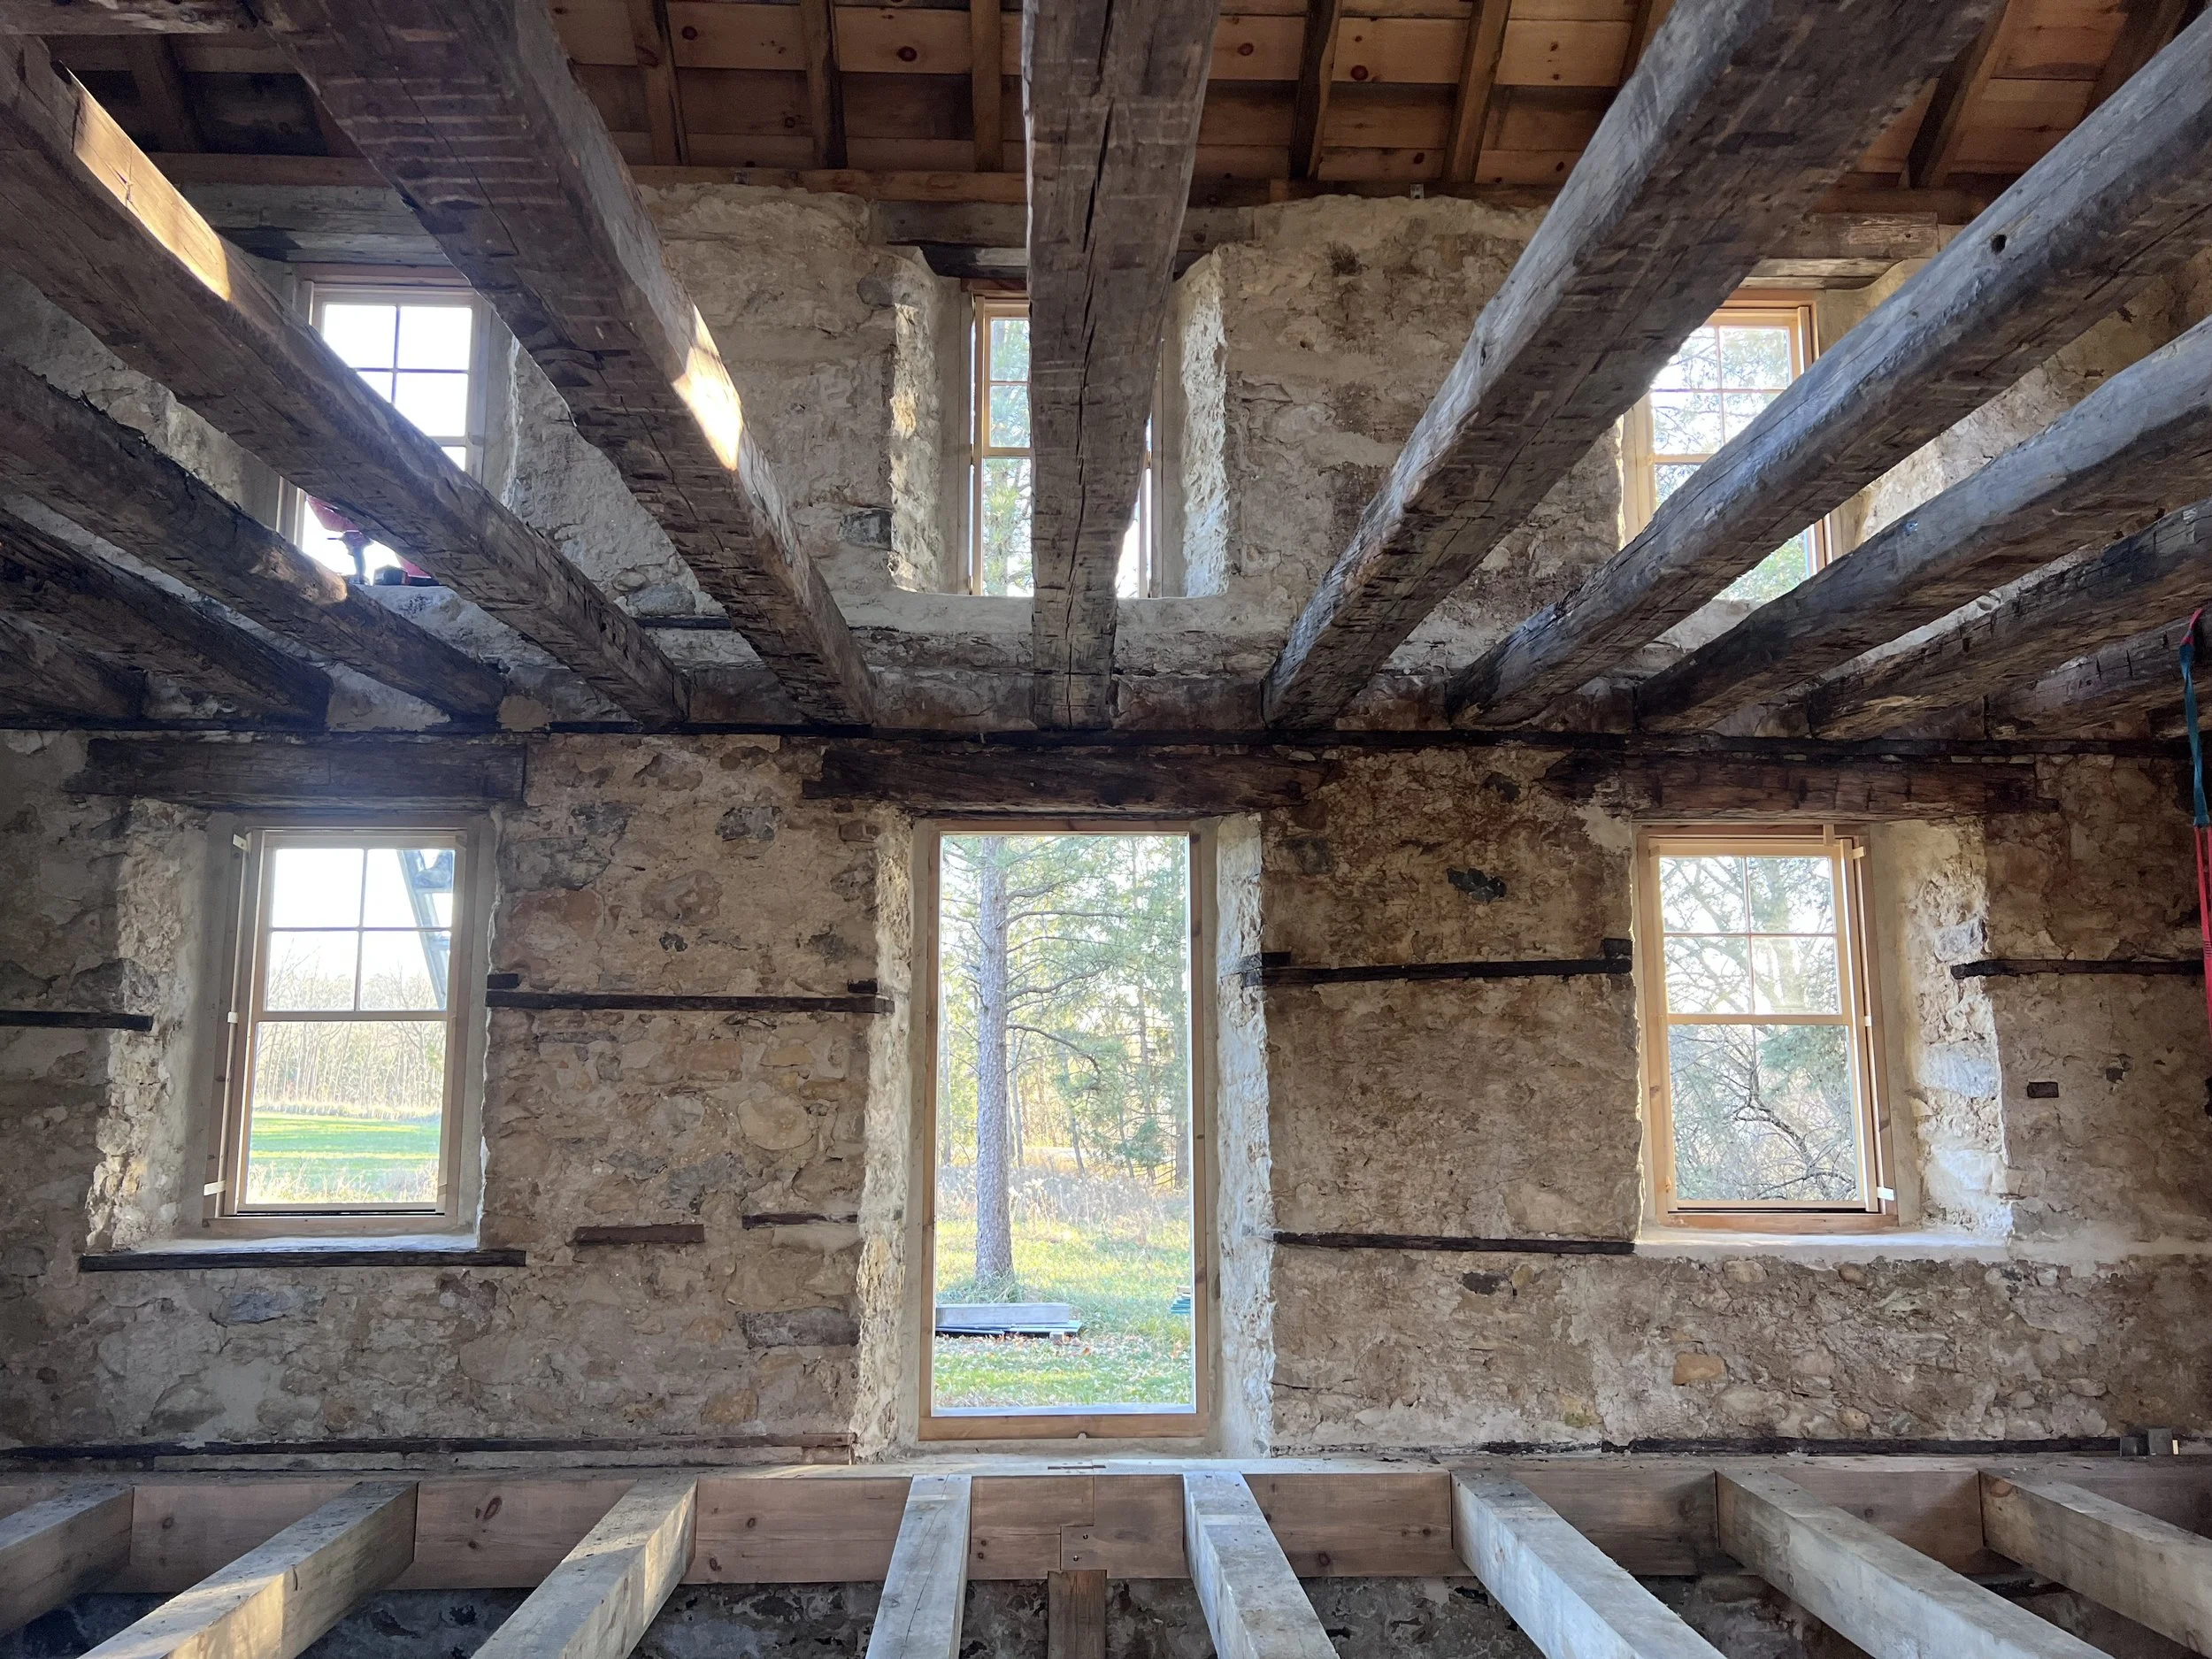

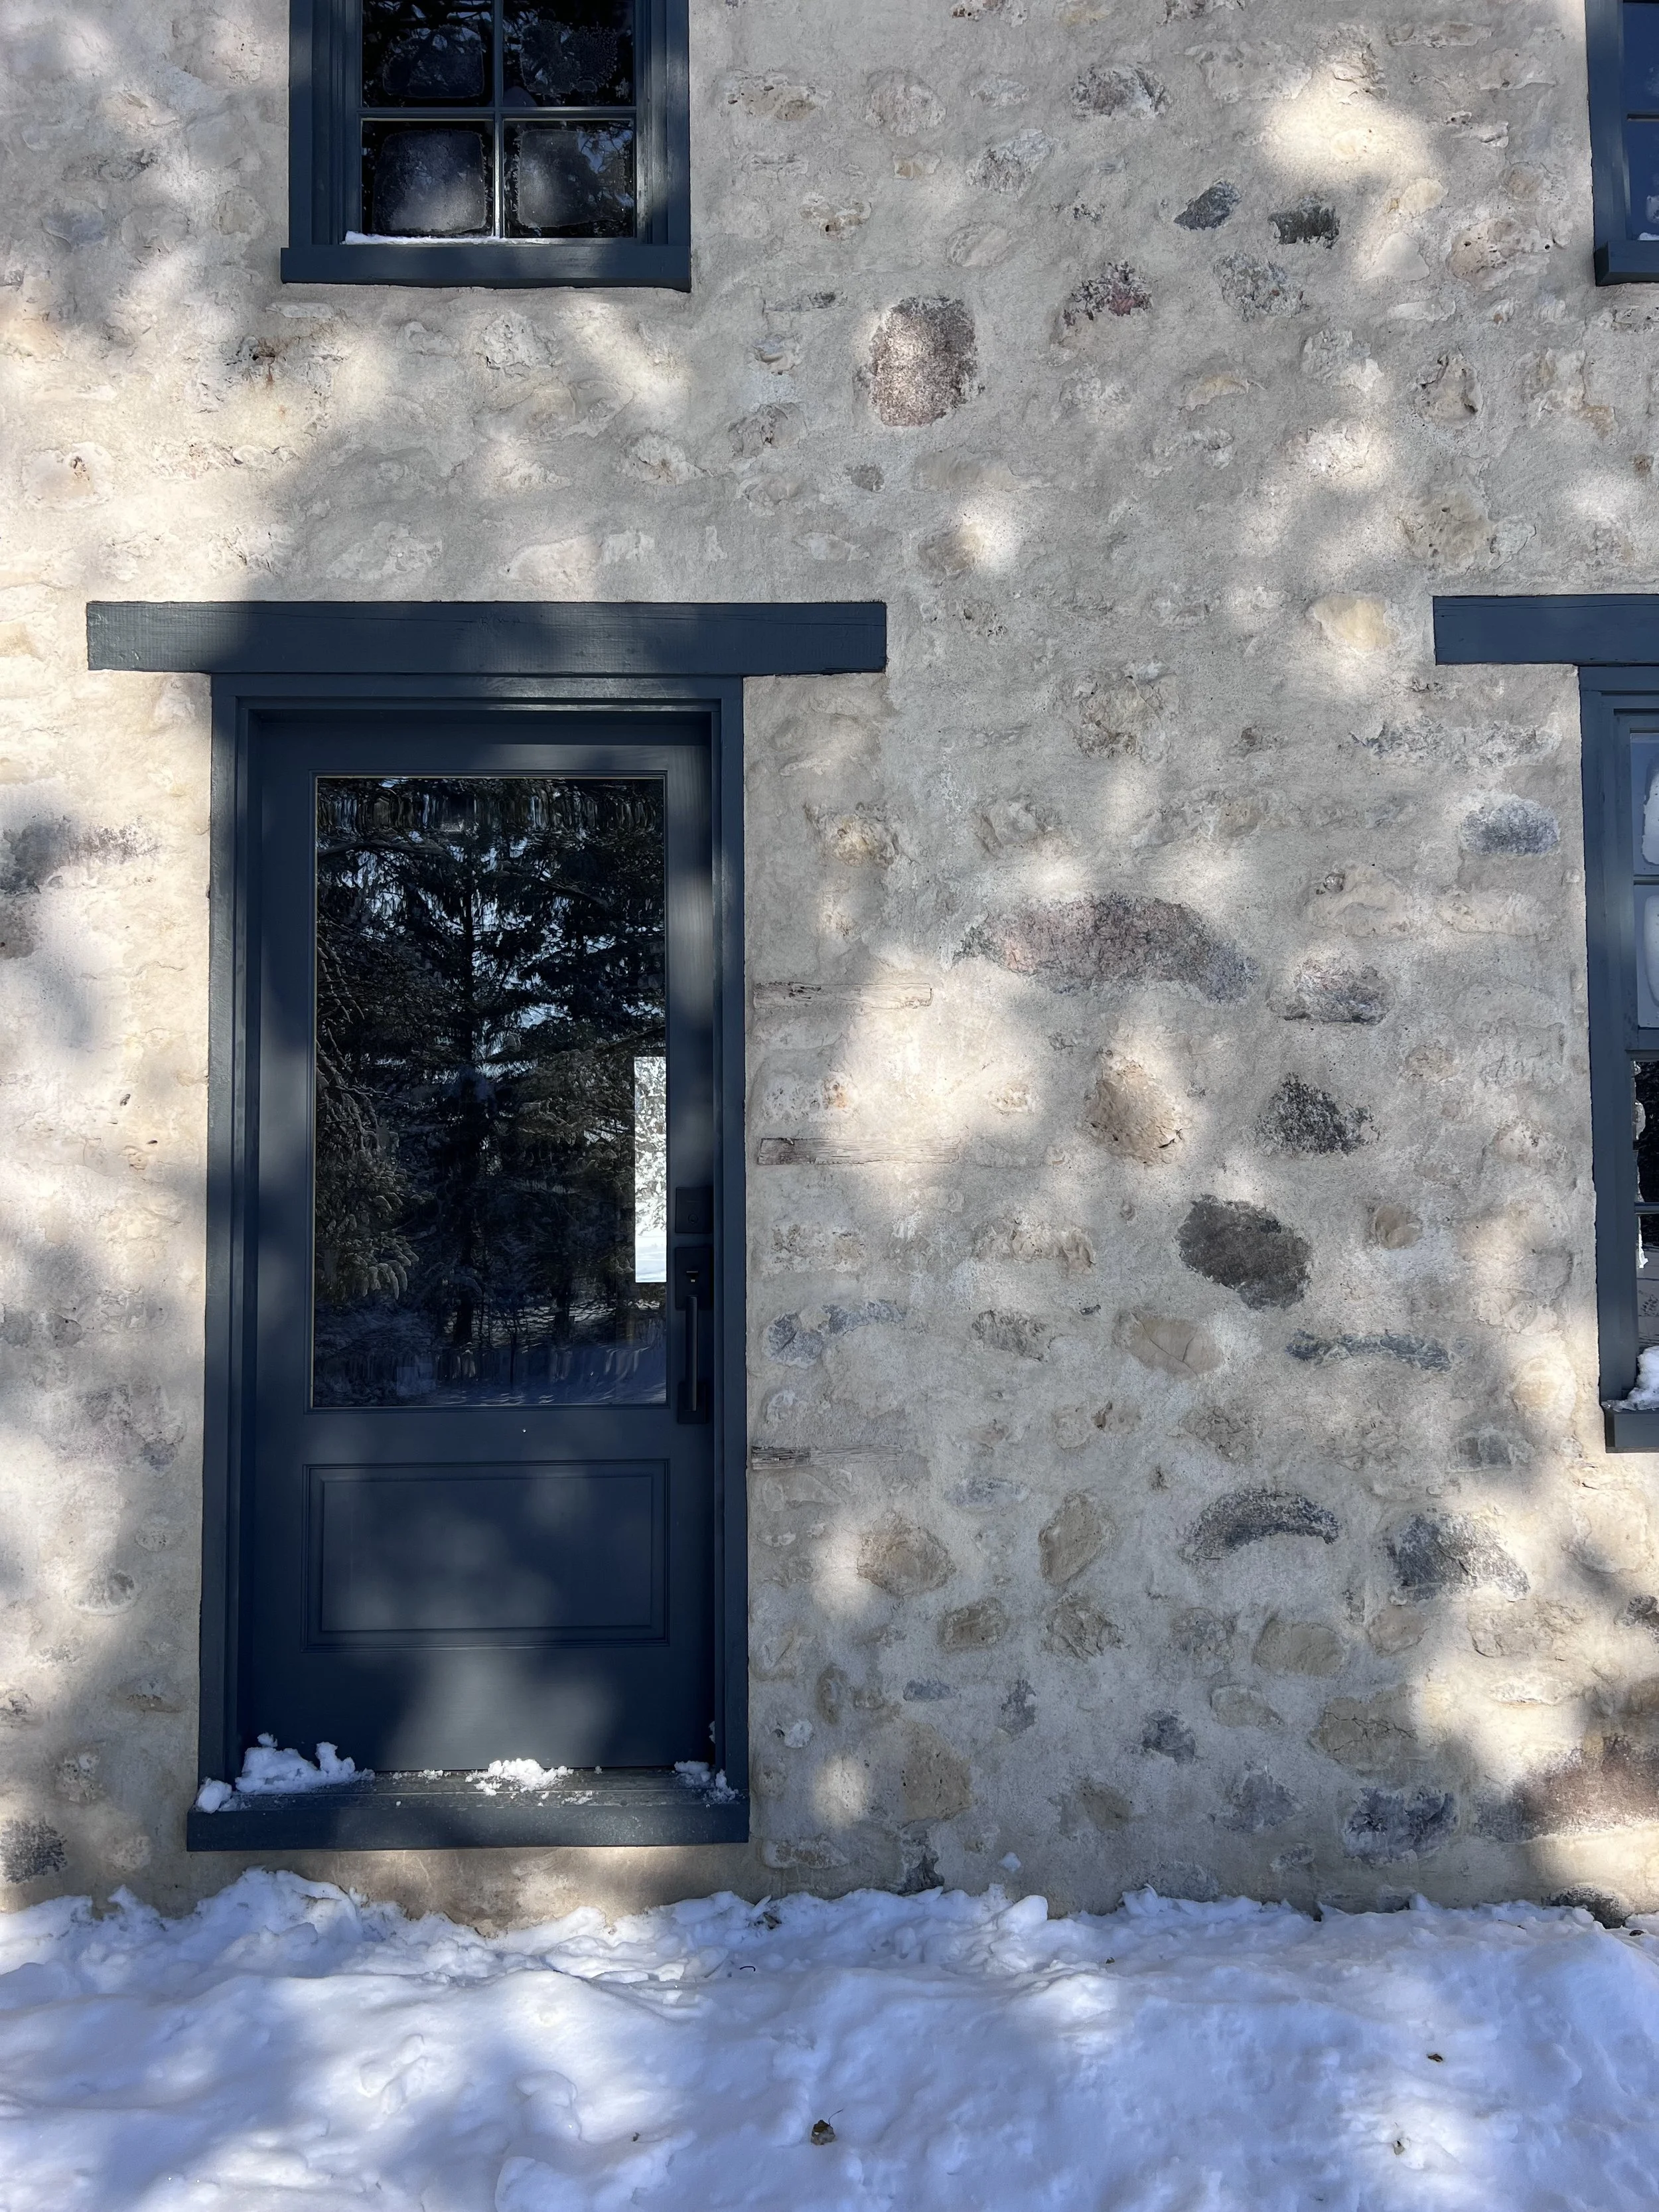
And then it was down to the final thing, the floor and the door! We installed 2” thick tongue and groove pine flooring which just makes the whole space sing.
We are so grateful to have had such an opportunity to preserve a piece of history and clients that were invested in ensuring the future of this house. We are thrilled to have ushered this sweet house into its next chapter of life and are excited to see what she may become down the line. But if nothing else, we take pride in knowing that we have afforded the story of this home to last hopefully another 140 years. :)